Heads up! This content is relevant for Clipchamp for personal accounts. Try this link If you're looking for information about Clipchamp for work accounts.
On this page
Opinion: We all underestimate the power of the little camera that we carry along in our pockets every day. You really don’t need an expensive camera to take an award-winning video. Your smartphone is capable of creating brilliant videos…if you follow a few basic tips!
Whether you’re creating videos for yourself, brand or your business, these tips will change the way you capture footage on an average day. We’ll also cover how using the right video editor can make the process even more painless!
Here’s what we’ll explore in this article:
PRO mode in smartphones
Basics of composition
Using filters in smartphones
Phone camera accessories to carry in your bag
PRO mode in smartphones
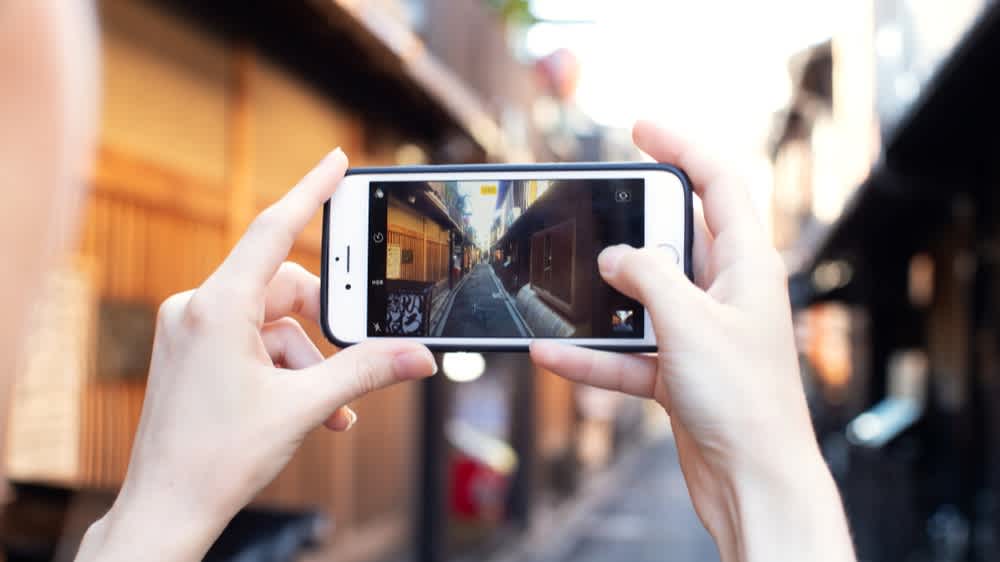
Ever flipped your smartphone’s camera to PRO mode? The PRO mode in smartphones usually comes in with a series of customizable options for recording videos. It gives you the freedom to adjust and control how you record your video manually. Here are some terms you need to get familiar with in order to make the best use of PRO mode:
FPS- Frames Per Second or FPS is the rate at which your camera captures back-to-back images or “frames” that appear in form of moving imagery that we know as video. The default frame rate of your smartphone should be 30 fps, which looks like life as we see it through our eyes. Most smartphones are capable of capturing a higher frame rate than usual. The higher the rate of fps the slower and smoother the footage will appear. Selecting 60 fps will smoothen your video and make it appear more realistic. This frame rate can be used for adventure shots or while vlogging. The FPS option in PRO mode sometimes comes combined with Resolution.
Resolution- Higher resolution means more detail and although most of our phones do not support viewing at 4k resolutions, capturing the video at a higher resolution enables you to crop out a certain portion of the video without having to lose out on quality. If your smartphone supports multiple resolutions then in PRO mode you can also switch between resolutions be it 1080p Full HD or 4k. Converting your 4k footage to 1080p later helps you save storage in the long run and your footage appears to be sharper.
HDR video- High Dynamic Range or HDR gives you whiter whites and blacker blacks with a wide range of colors and brightness. This means that the HDR mode can give you more details in the shadows and highlights on your video. Select this mode for better contrasts and more details in your video.
ISO- ISO is a setting that will either brighten or darken your footage based on the ISO value that usually ranges from ISO 100 (low) to ISO 6400 (high). Sometimes selecting a higher range of ISO results in grainy footage. This should depend on different situations. When you’re in darker environments, you have no choice but to increase the ISO however you should aim to create a perfect balance to maximize the video quality without having grainy footage. This will take practice but with time, you’ll be able to make the most of this feature.
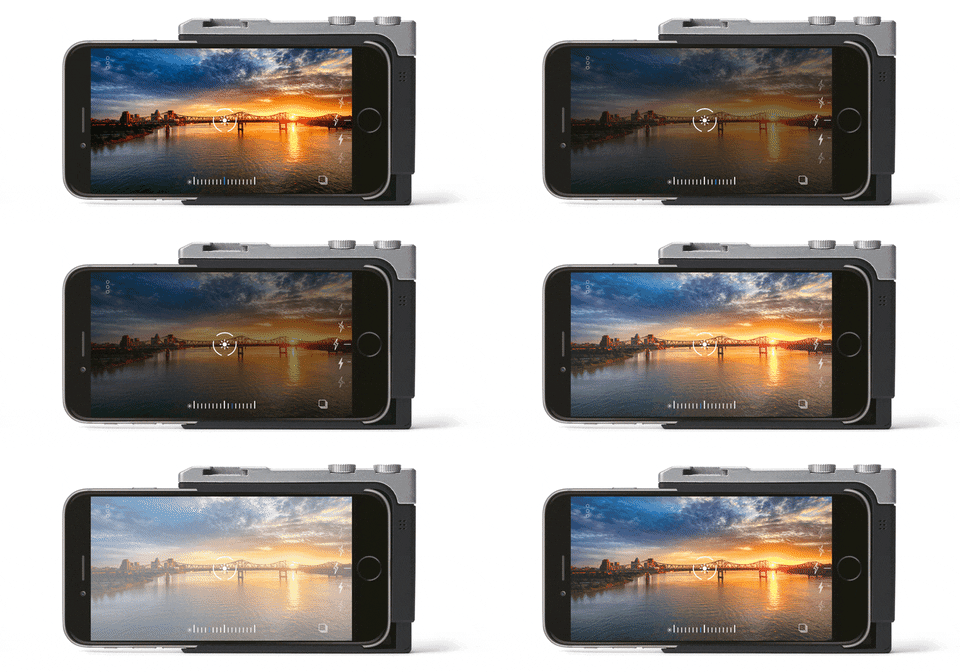
White Balance- Different lights have different color temperatures. These temperatures are denoted by Kelvin, which is abbreviated as a “K”. A low Kelvin temperature gives the video a yellow/orange tint whereas a high Kelvin temperature gives the video a blue-like tint. The color temperatures range somewhere between 1000k vs 10000k depending on your smartphone. This option by default is set to AWB or Auto White Balance but often comes with a manual slider to customize the color temperature. When you feel the overall video is slightly warm you can adjust it to cool down or vice versa as per your need. The aim is to get a neutral temperature so that you can make changes later while editing your video.
Video composition on smartphones
Rule of thirds- Remembering the rule of thirds is everything! It’s an easy thumb rule to divide the frame using two horizontal and two vertical lines called the grid. This rule helps you compose your video in a way that is soothing for the eyes. This option usually can be toggled in the PRO mode. The idea is to position the most important elements of your frame to the intersection points to create a natural image.
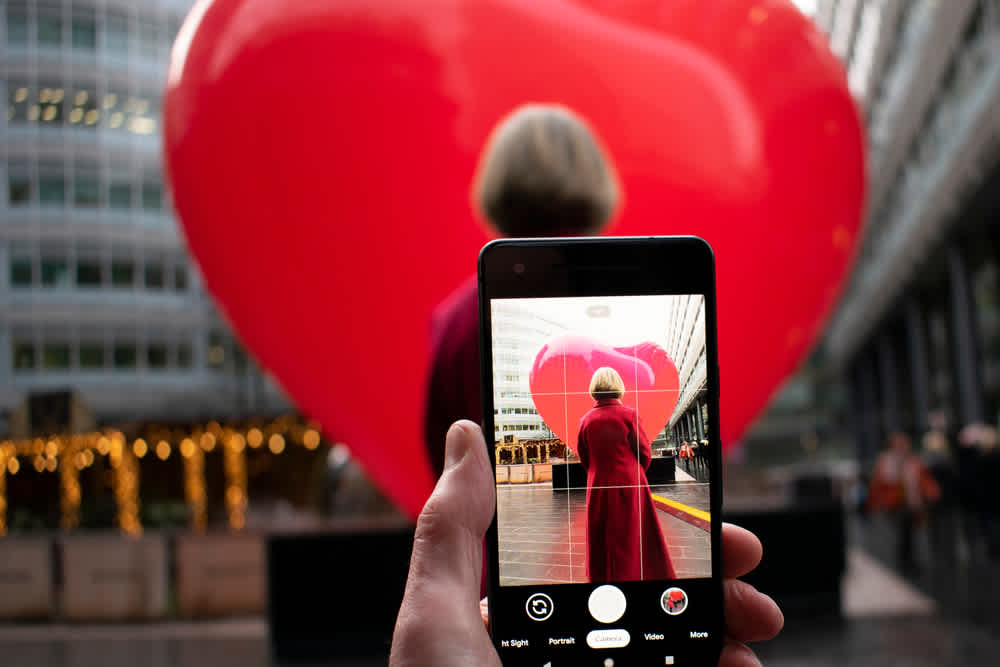
Golden Light- Surely you’ve heard that the “Golden hour” is the best time to get a selfie outside. It’s the first hour after sunrise and the last hour before sunset. Shooting video clips during the golden hour makes the video come alive, enhancing the colors as the light falls upon the landscape at an extreme angle.
Using filters on smartphones
Filters are used to change a variety of video properties that results in changing the look of your video – be it brightness, tone, texture, and mood. There are a variety of native filters available in a smartphone but we actually suggest not using those.
This is because if you use a filter while shooting a video, it will take away the freedom of adjusting the footage when you sit down to edit the video.
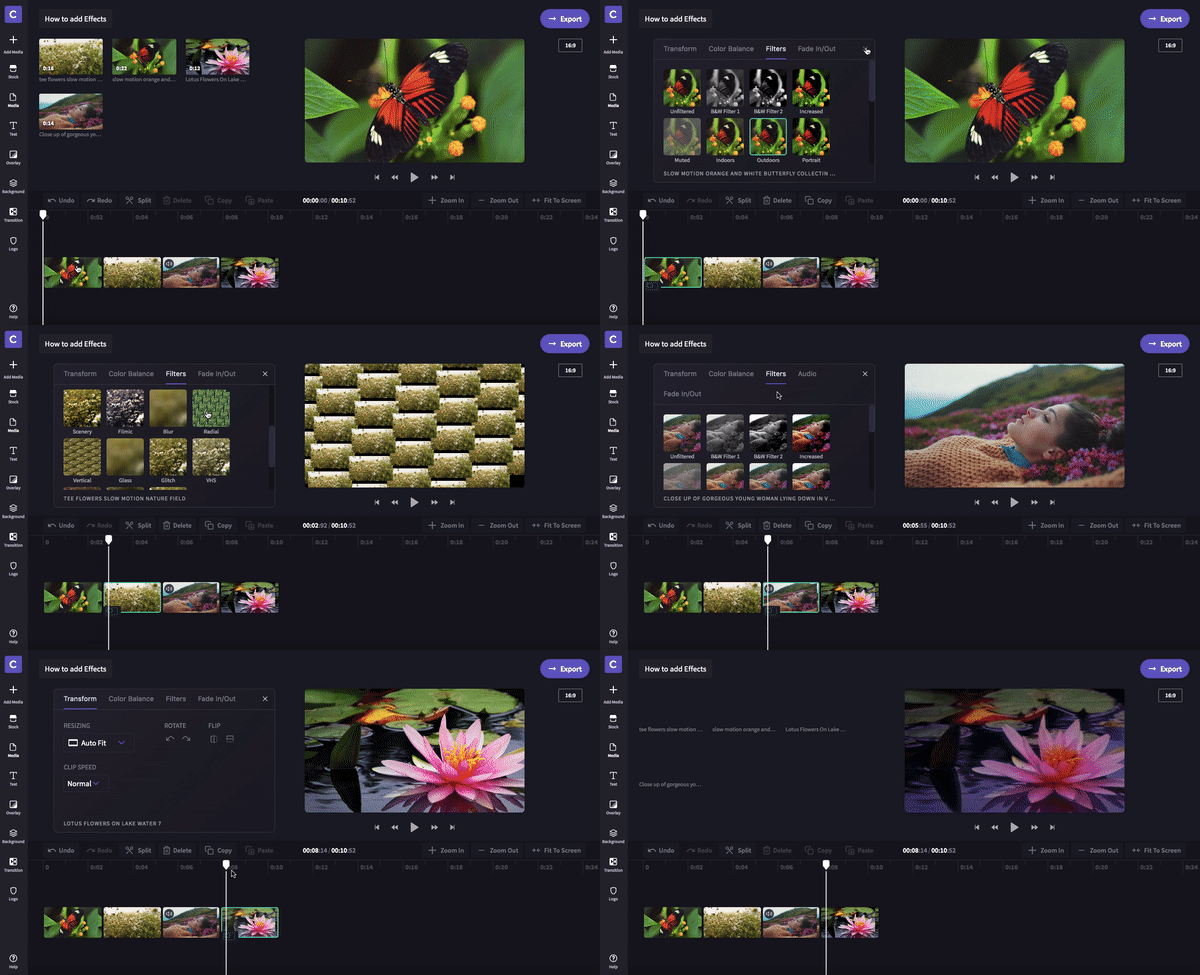
Our advice: leave filters to the last! Easily enhance your videos using filters while editing on Clipchamp’s video editor.
Phone camera accessories to carry in your bag
What are some basic accessories that can help you create professional videos from your smartphones?
Mini Tripod- A tripod is a stand that helps you put your phone at a height and take balanced and steady videos. This is great for moments at which you want to leave the phone and capture yourself as the subject, and can even be useful to capture time-lapses. It’s true that it comes with a few limitations, but that’s why a Gimbal is our next recommendation.
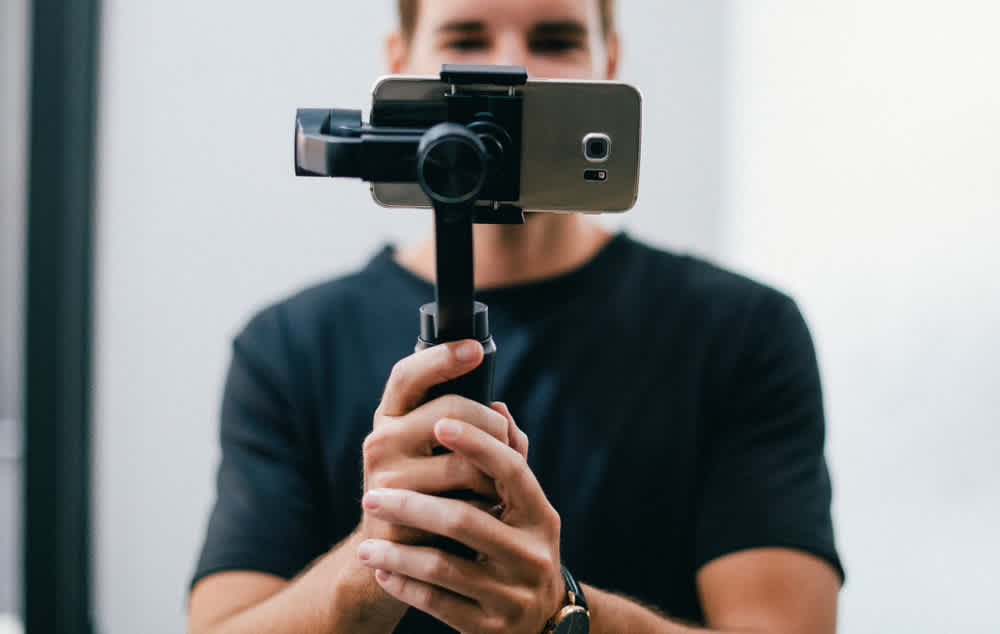
Gimbal- If your smartphone doesn’t have optical image stabilization, then you definitely need a mobile gimbal such as the DJI Osmo Mobile 4. These are great for capturing a hyper-lapse or when you’re moving swiftly for a shot. It’s hard to capture stable footage without jerks when you’re moving through rough terrain or on a bumpy train, but a gimbal solves that problem.
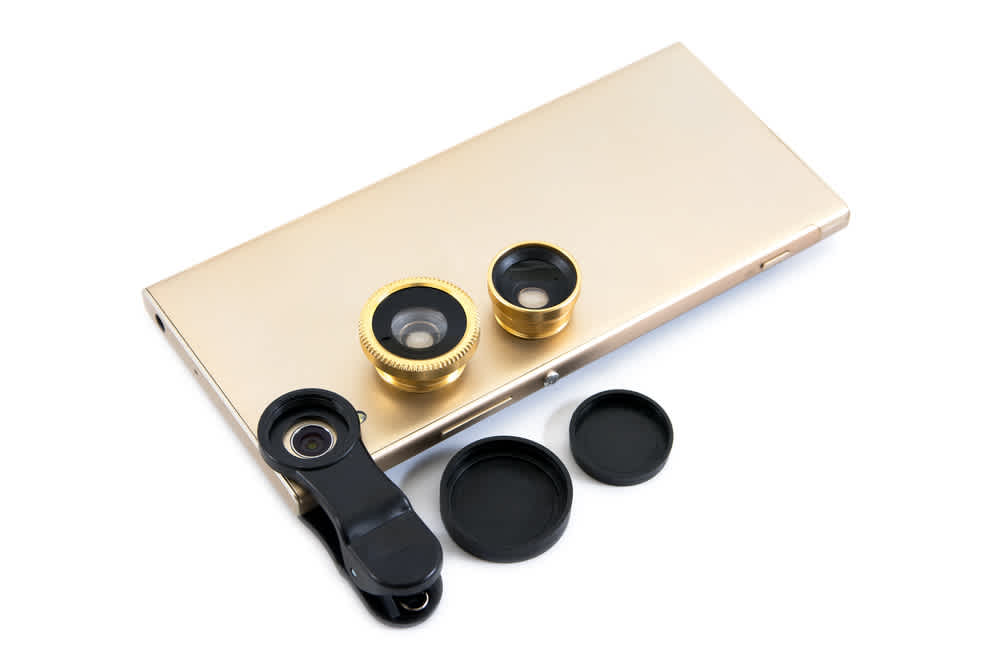
Lens- Most smartphones come with multiple lens modes. If your smartphone doesn’t have a variety of lenses, don’t worry! You can always add an attachment lens depending on your need. Some common popular lenses are the fish eye lens and the wide-angle lens.
Now you know how to use your smartphone camera to take the best video possible, with barely any extra effort! If you're looking for some accessories we recommend, take a look at our highly recommended smartphone camera accessories. It's also important to use Clipchamp’s video editor to edit them properly for a marvelous output. Sign up for free to start editing and enhancing your smartphone footage!

