Heads up! This content is relevant for Clipchamp for personal accounts. Try this link If you're looking for information about Clipchamp for work accounts.
On this page
Want to record a webcam video online securely? Whether you need to create tutorials and training videos or sale pitches, the online webcam recorder in Windows or Mac.
Our safe and easy camera tool records high-quality webcam footage with no external downloads required. You can also easily choose to record your screen simultaneously. Edit your camera recording like a pro by trimming out mistakes, add stickers to videos, or edit the volume of your audio for free.
Explore how to use the online webcam recorder to create professional videos with Clipchamp.
How to webcam record online for free
Step 1. Click on the camera tab
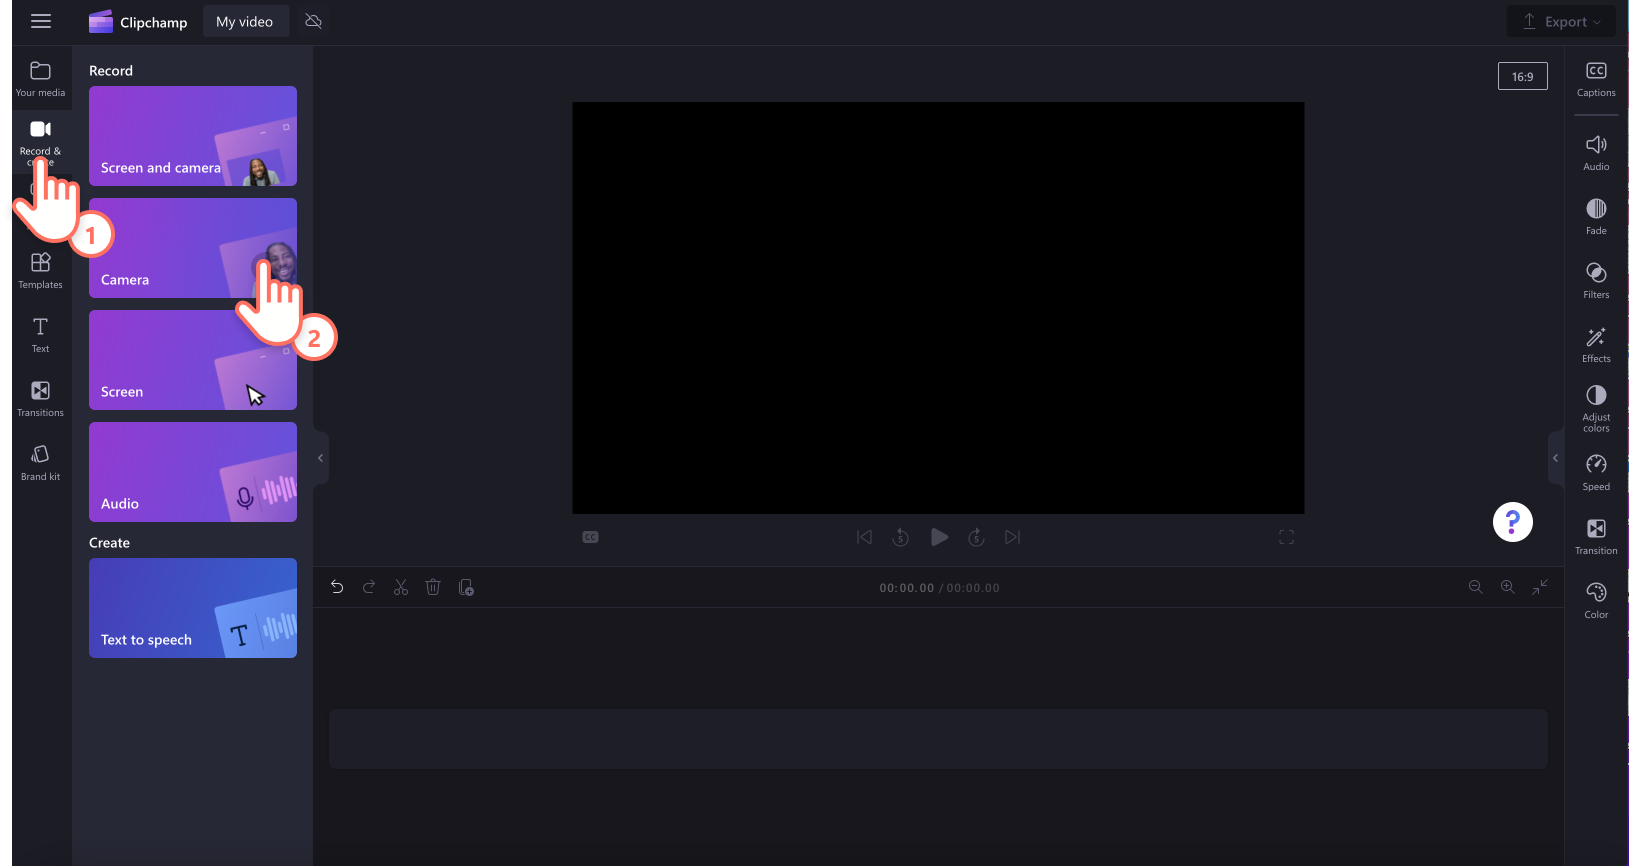
Click on the record & create tab on the toolbar, then click on the camera tab.
Step 2. Allow microphone and camera access
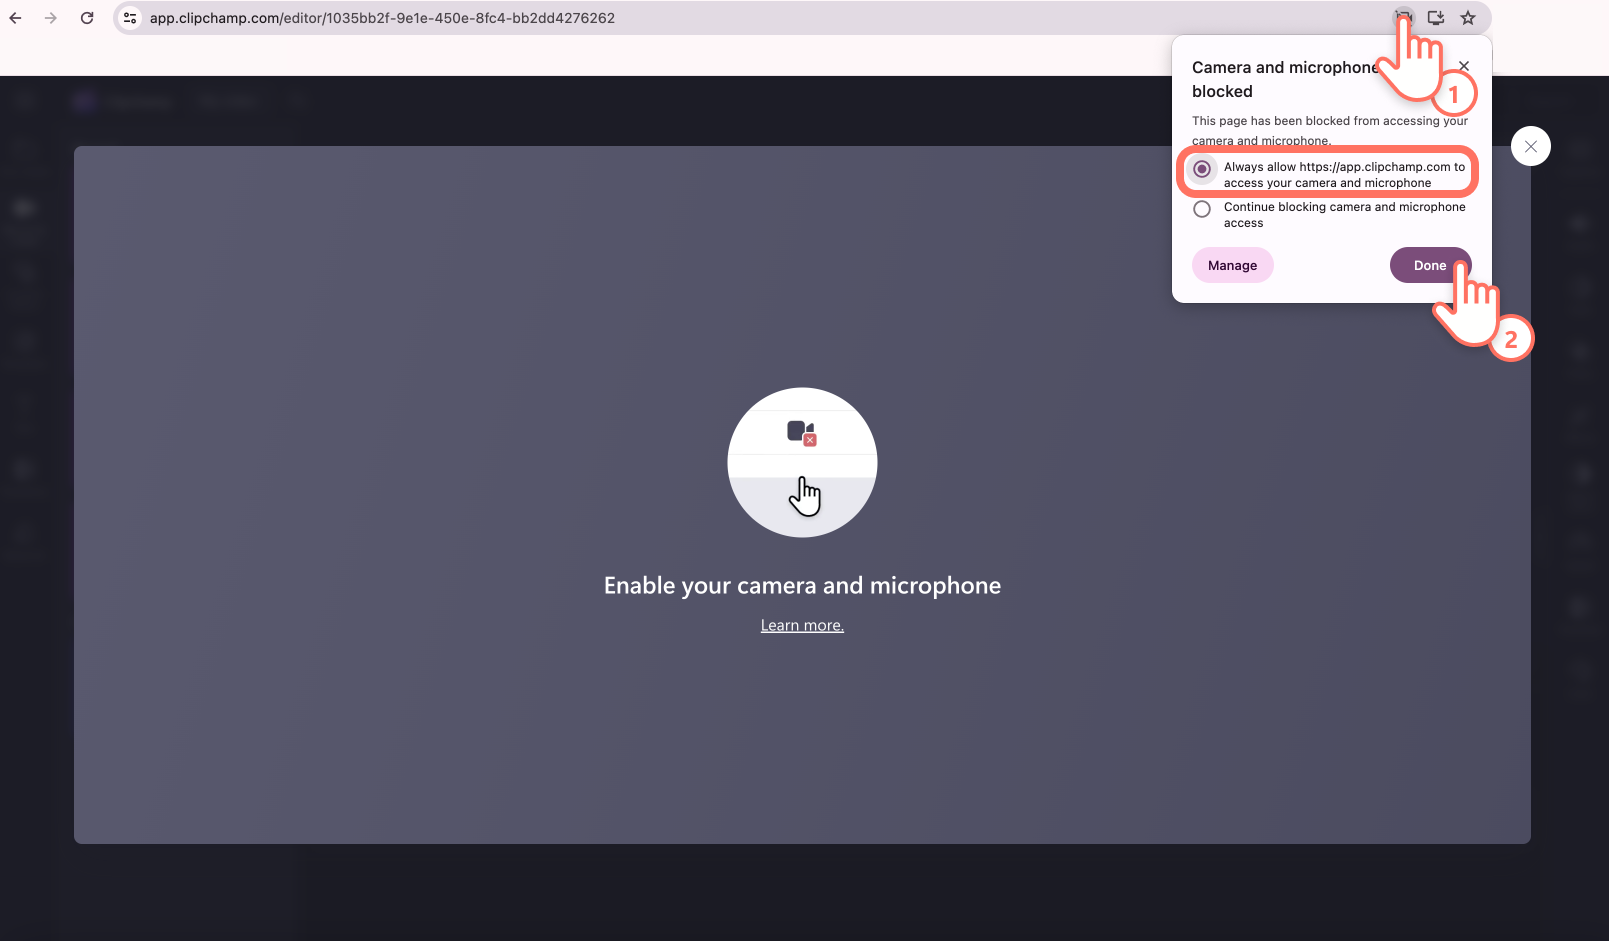
A popup window will appear with permissions. Allow Clipchamp access to your camera and microphone if you haven't used our webcam recorder before.
Step 3. Record your video
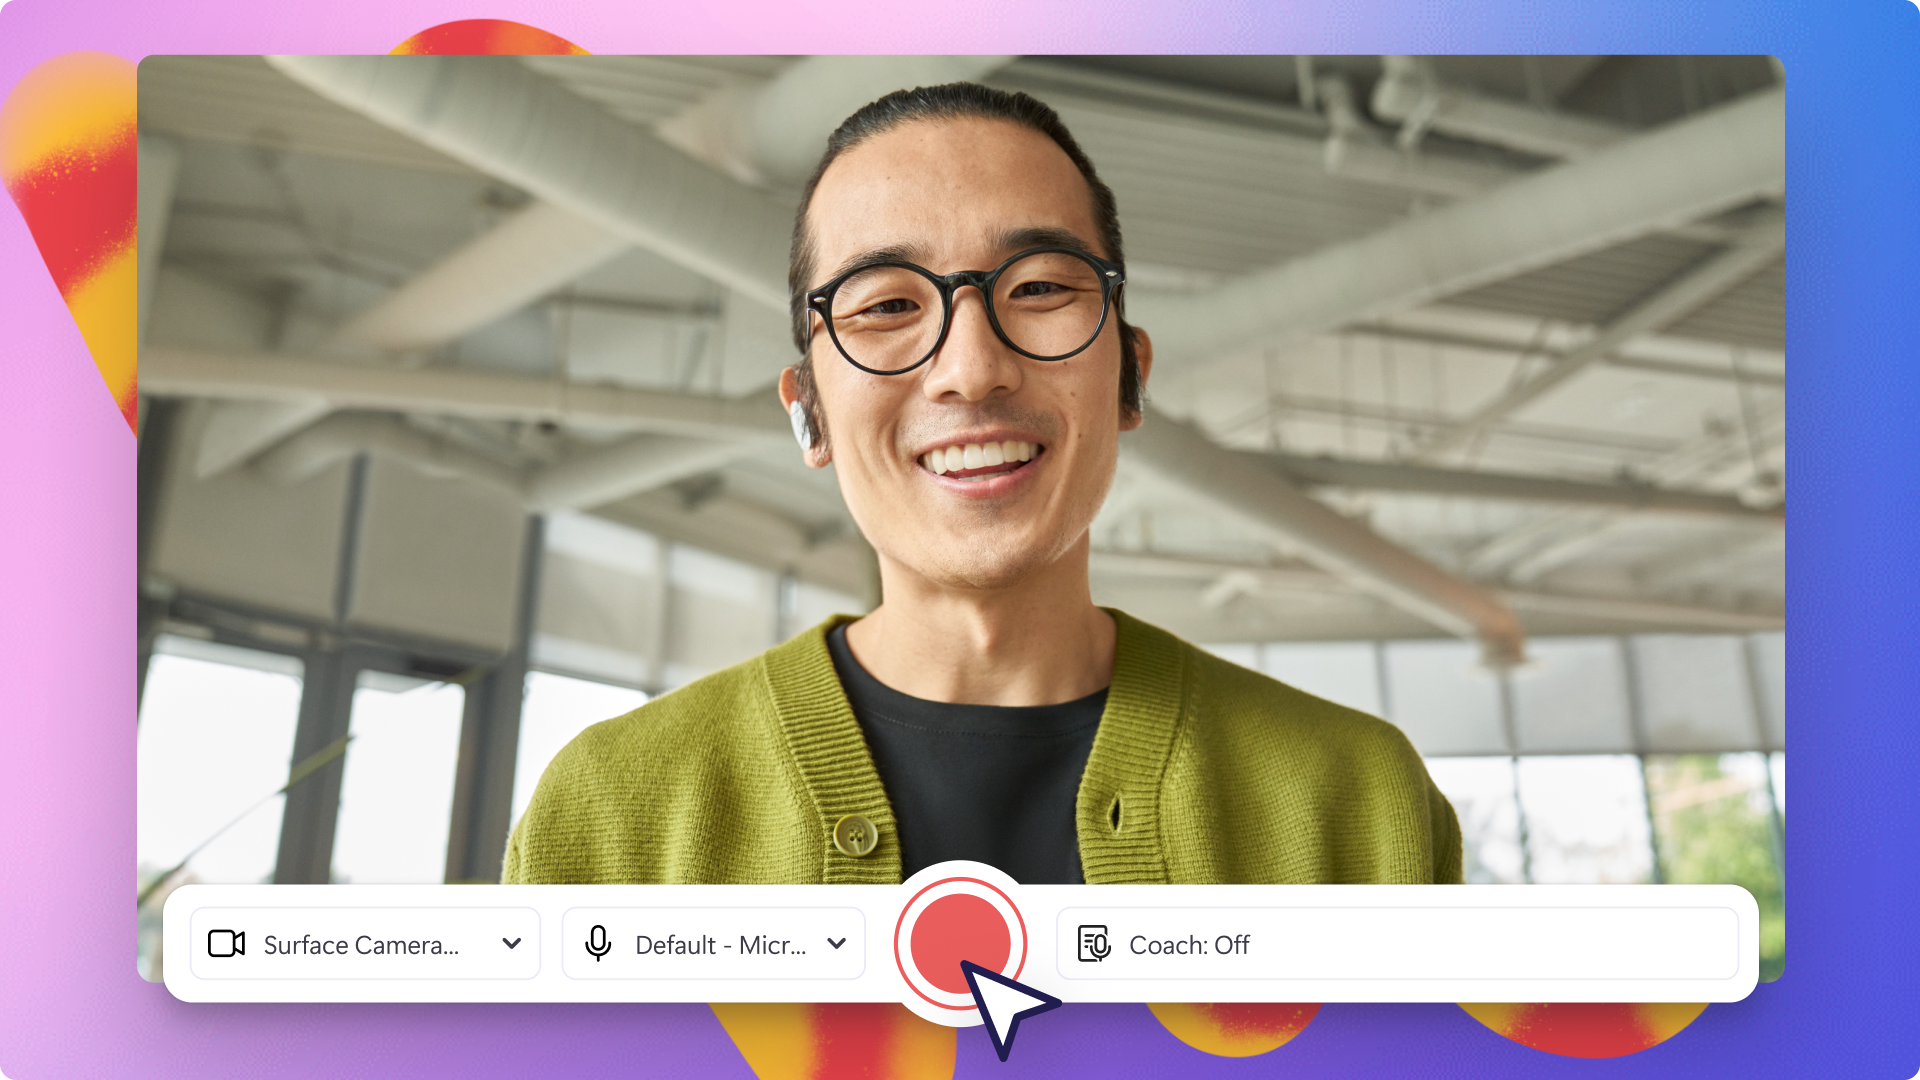
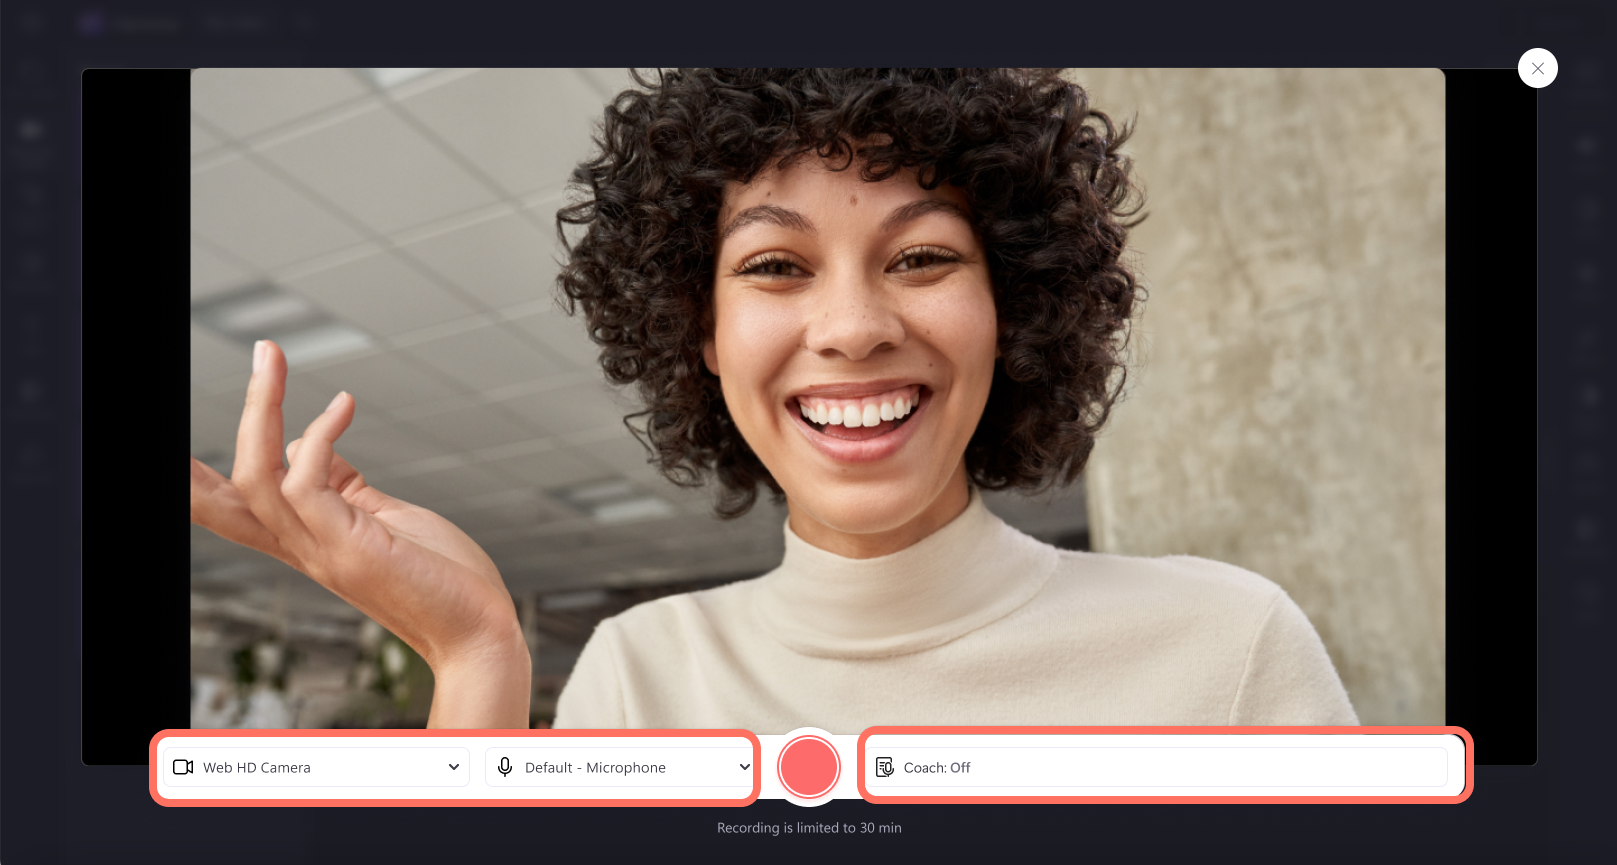
You will now see your webcam. Before recording, check your microphone and camera source, and turn on or off speaker coach. Record using your built-in webcam or apps like Camo and external webcam plugins. Click on the red record button to start recording.
Note: There's a 30 minute limit on all webcam recordings. If you would like to record videos longer than 30 minutes, just create multiple recordings.
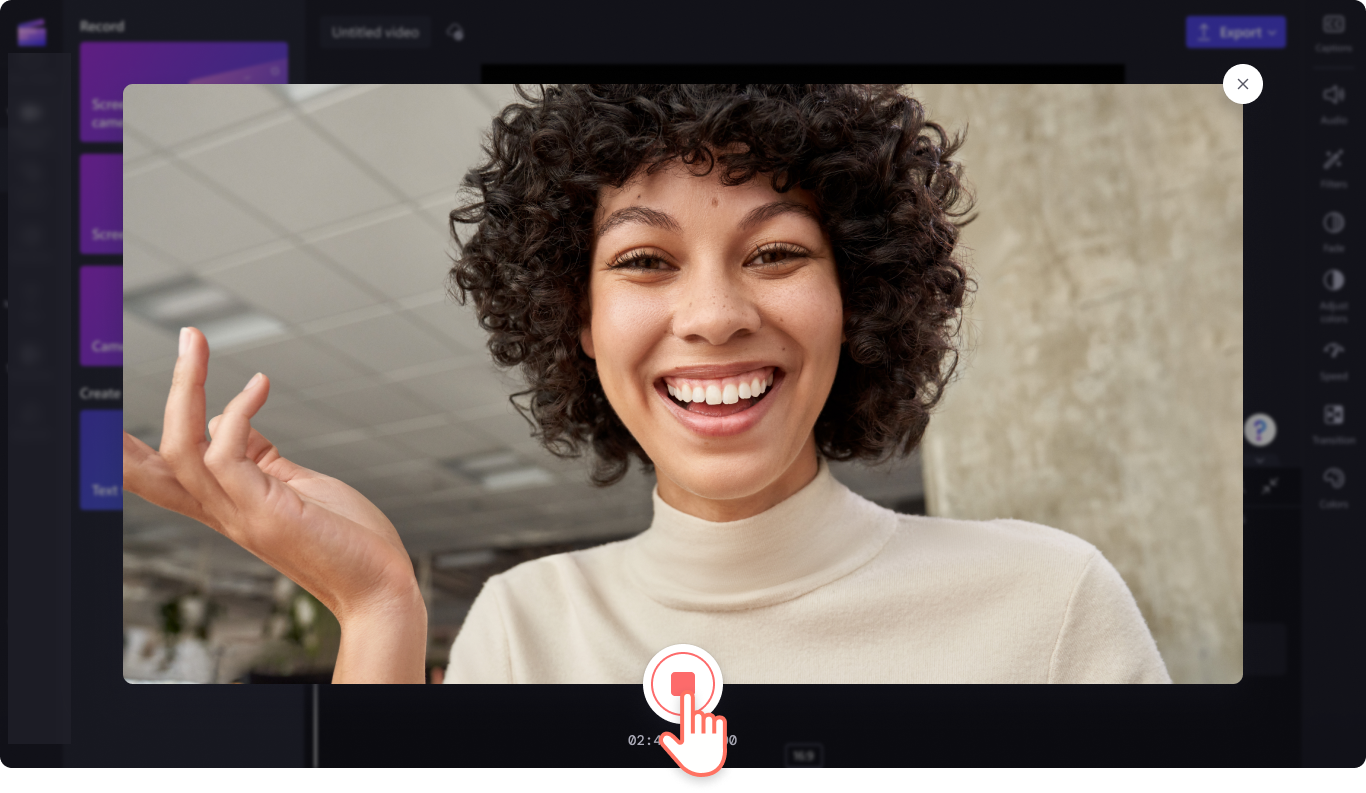
A 3 second countdown will appear on your screen before recording commences. Click on the red stop button to stop your recording.
Either click retake recording if you would like to redo your video or click save and edit to return to the editor.
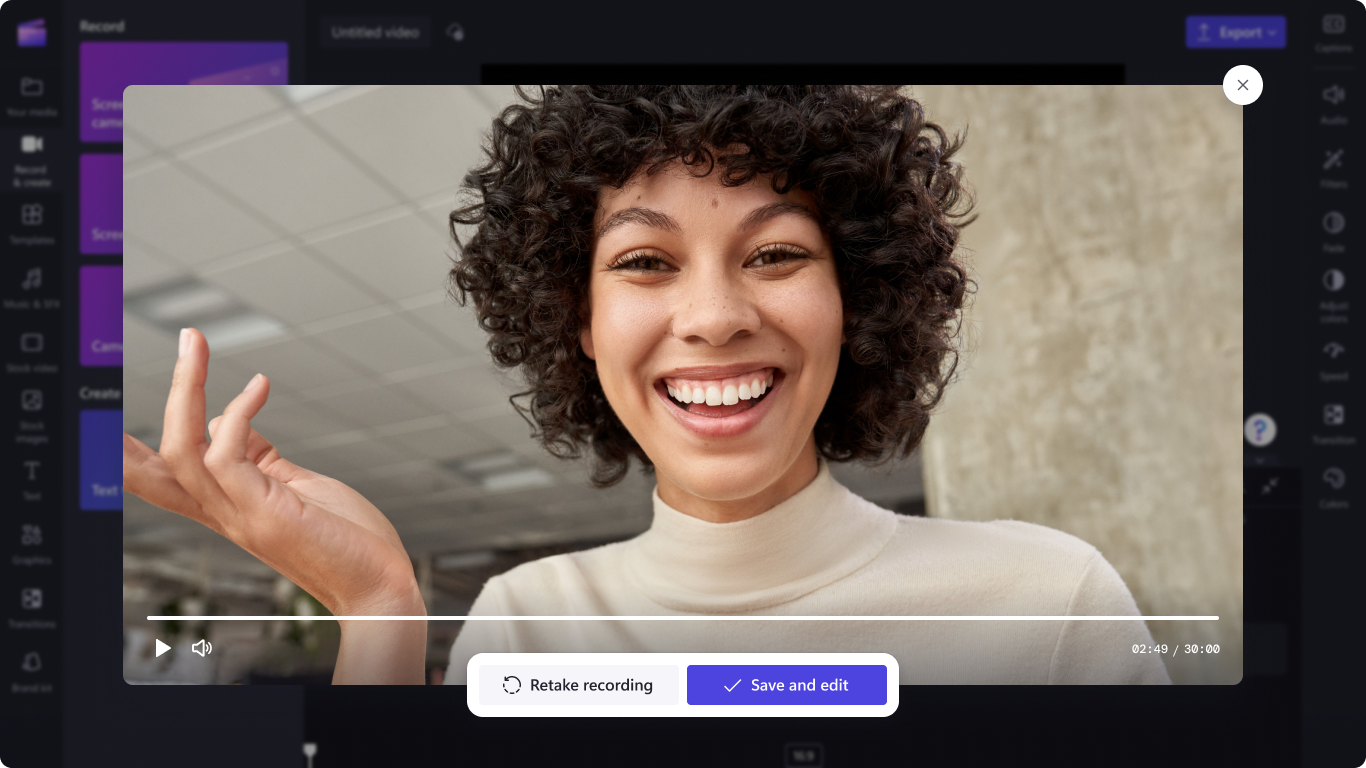
Your camera recording will automatically appear on your timeline and in the your media tab on the toolbar. The video recording will also download to your device as an MP4 video file. If you would like to save your camera recording audio separately, just detach your audio to download as an MP3 file.
Step 4. Preview, save, and share your webcam video
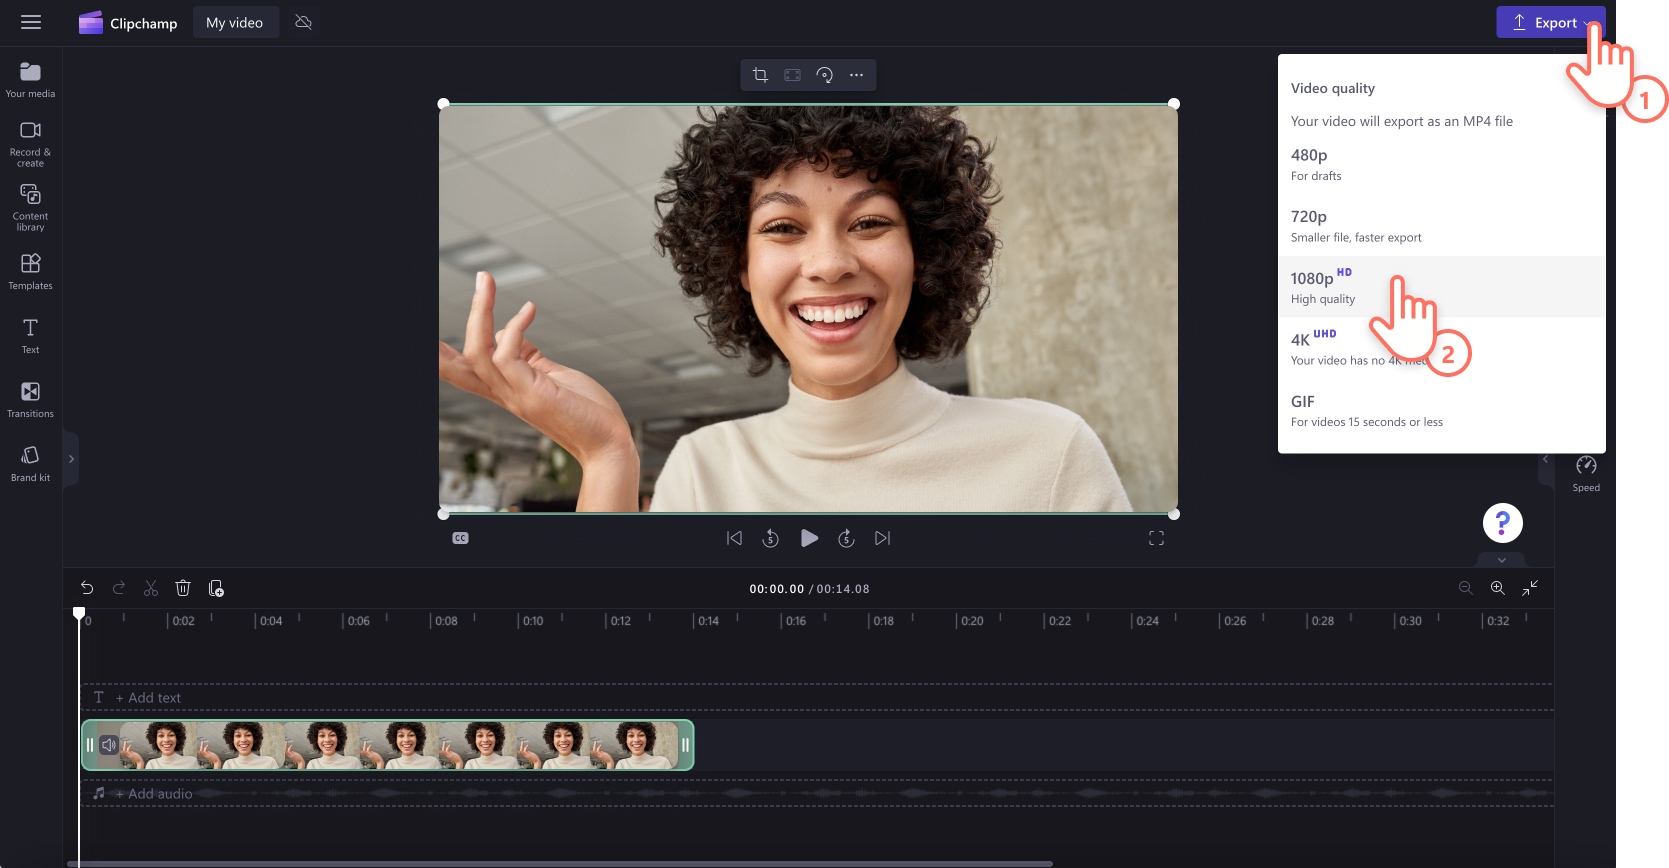
Export your camera recording by clicking on the export button then selecting 1080p video resolution. If your video has 4K video footage, paid subscribers can save in 4K video resolution. Your video will automatically download to your device. You can share your webcam recording to a social media platform using one of our sharing integrations.
For more help, take a look at our webcam recorder help article.
Expert tips for webcam recording like a pro
Resize and crop for any platform
Webcam videos automatically record in a widescreen 16:9 aspect ratio. If this video size doesn’t suit the platform you’d like to share on, easily adjust your video's aspect ratio in seconds. Resize your videos with our aspect ratio presets, or use the freehand crop tool to adjust the size of your video with no limits.
Polish videos and remove mistakes
Made a mistake in your video? There’s no need to retake your recording. Cut out awkward pauses and errors in a few clicks using the trim tool. You can also trim your audio separately, edit the speed if it’s too fast or too slow, and increase the volume. Just detach your audio from video to edit.
Adjust colors and add video filters
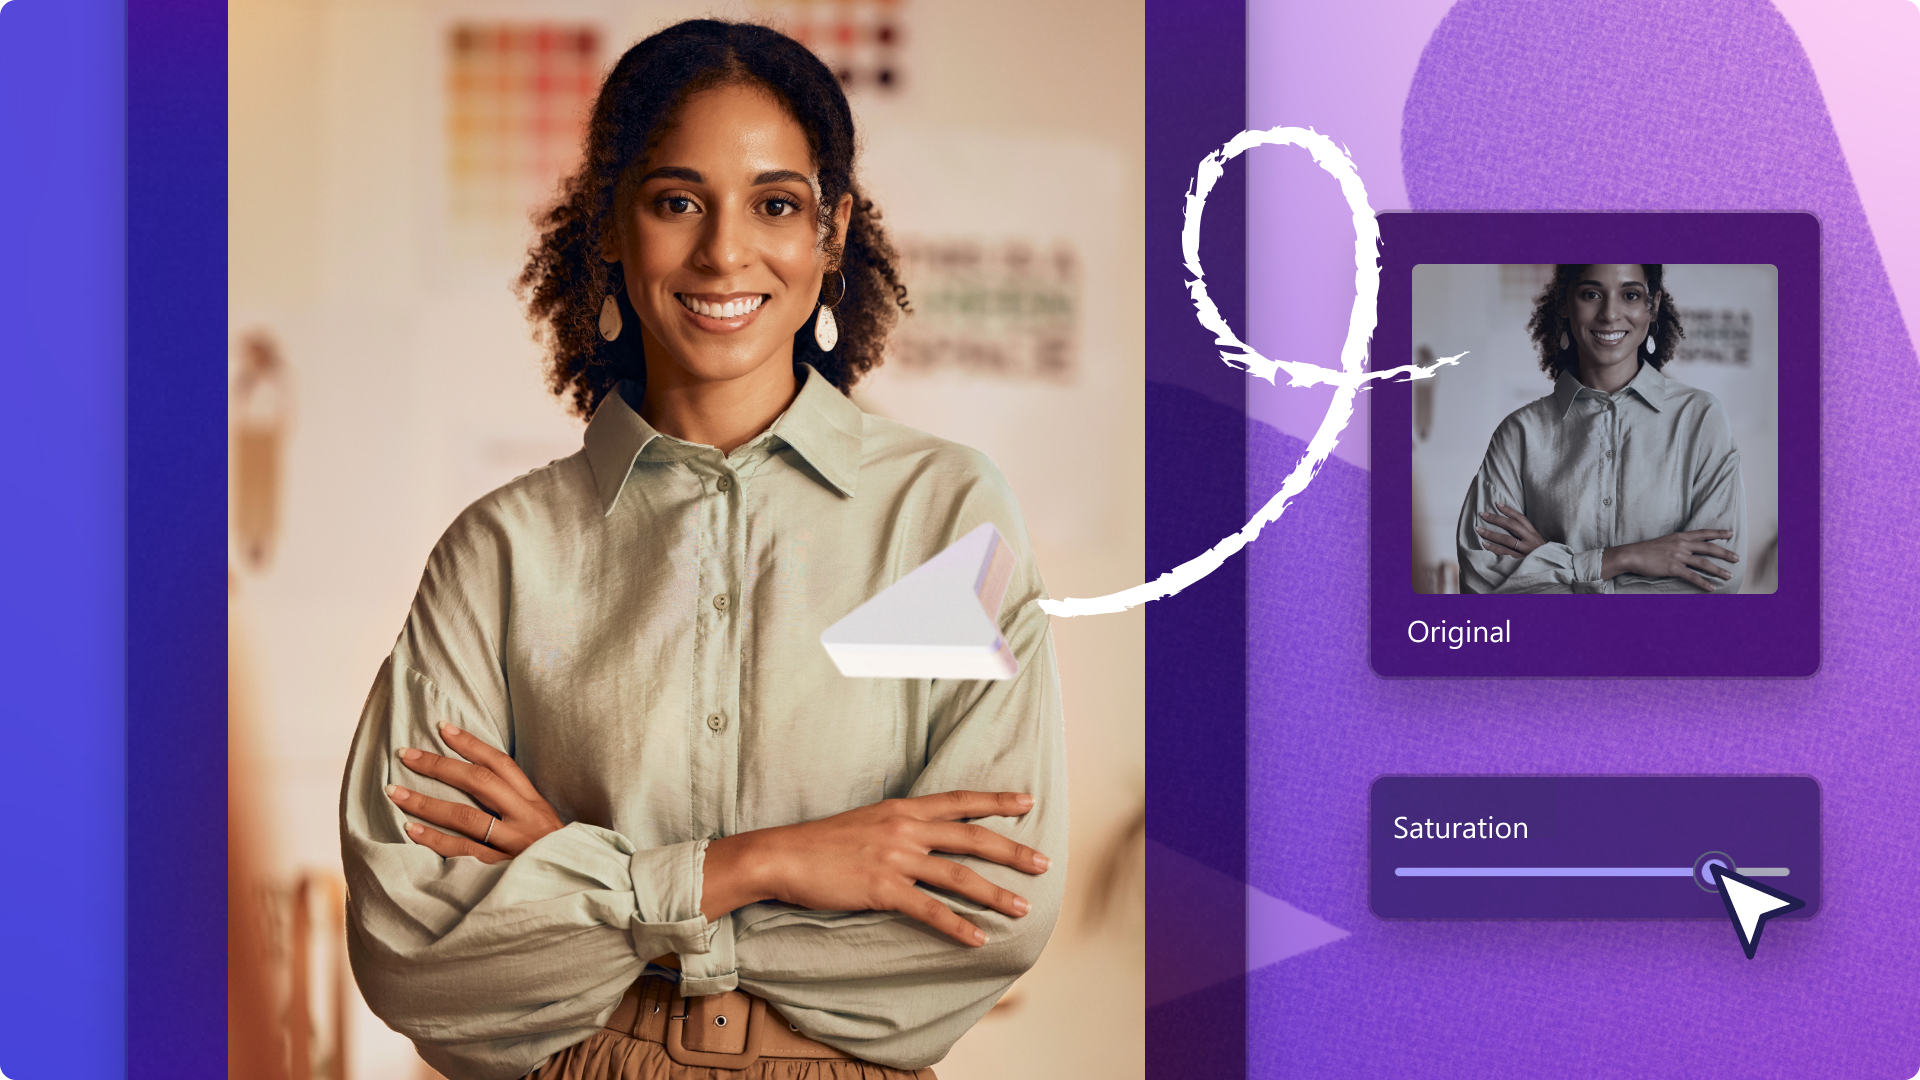
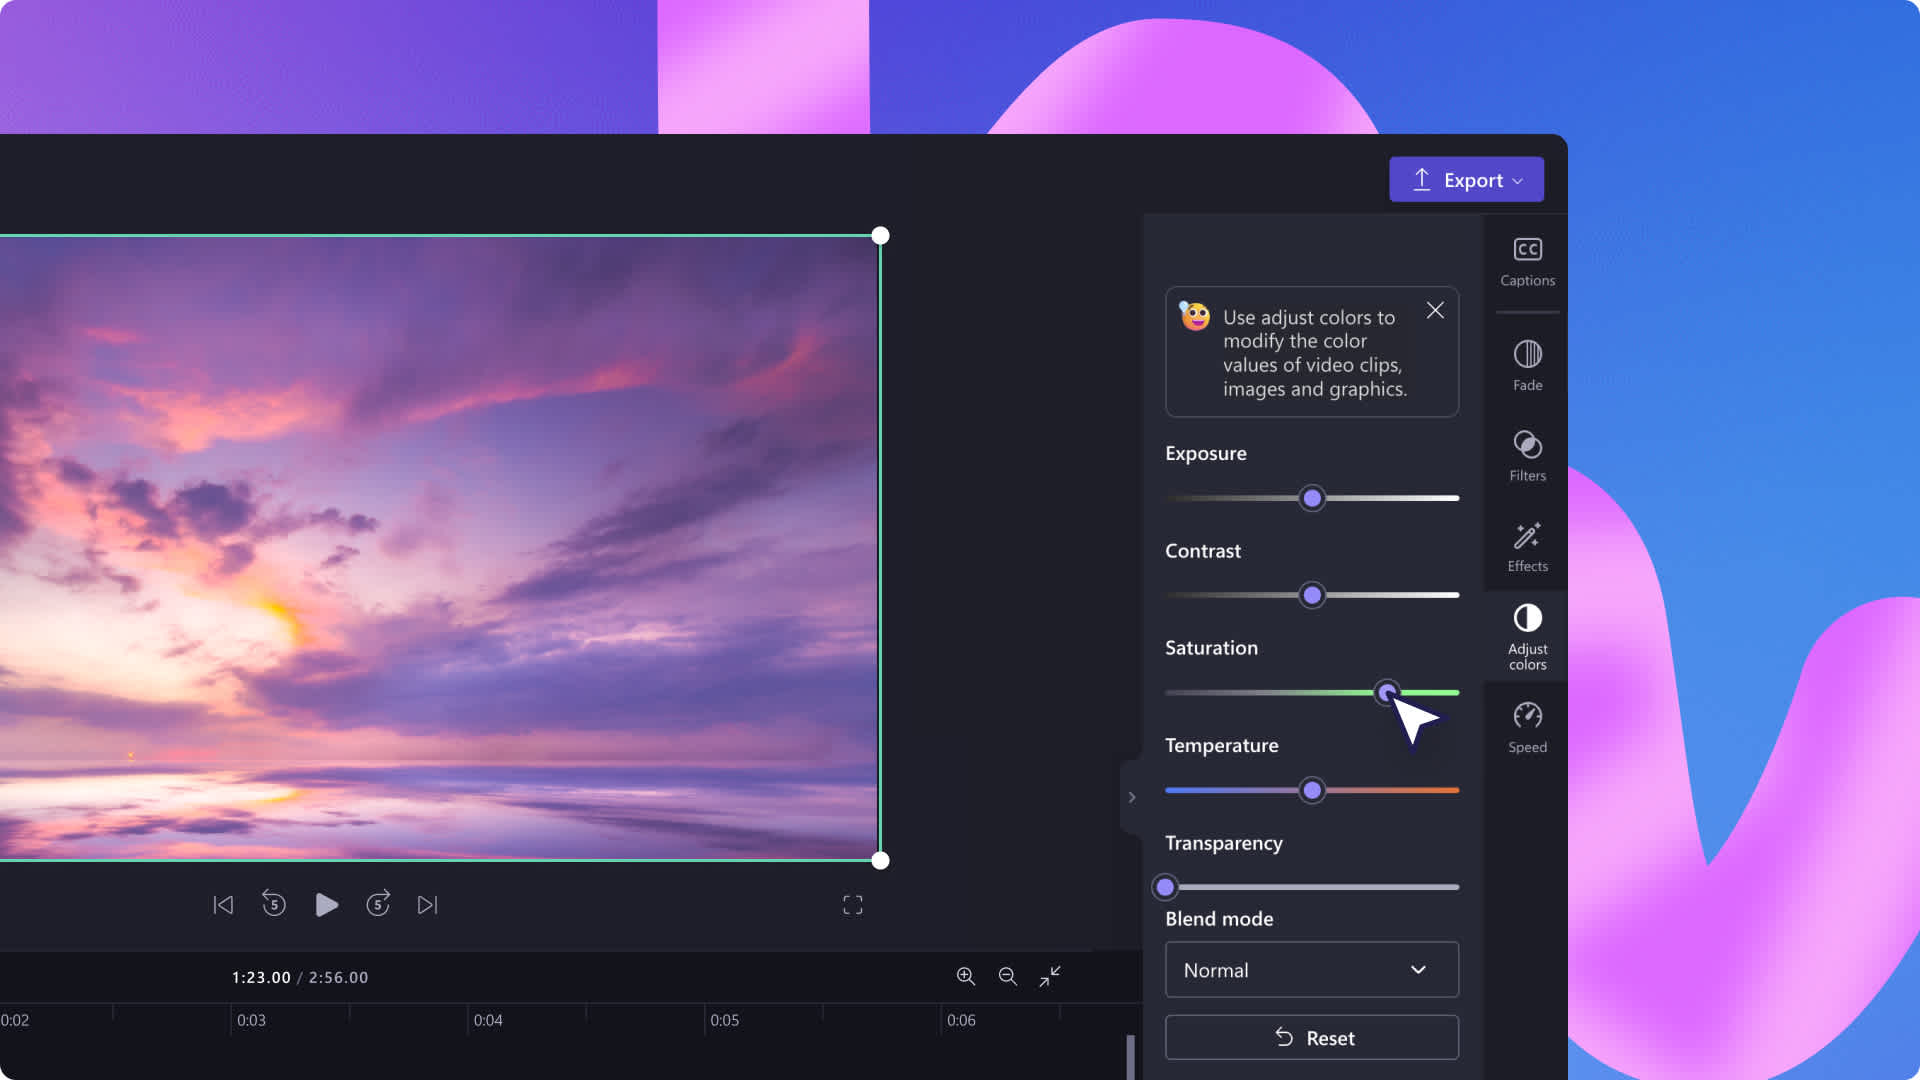
Adjust colors, contrast, and add filters to enhance your video in the editor. Edit your video if it’s too dark, bright, faded, or even make your footage look vintage or black and white.
Add stylish overlays and stickers
Build up the mood of your video with unique border overlays and stickers. Turn your regular camera recording into a vintage film, add seasonal borders, and unique stickers. With a few overlays, you can change the entire feel of your video.
Sound more polished and confident
Get real-time feedback to improve your presentation skills, become a more confident presenter, and create engaging videos with the speaker coach feature. Using smart technology, speaker coach filters words, detects repetitive language, and supplies feedback to you on the pitch and pace of your speech.
Make branded content with logo overlays
Make your videos consistent by adding your branding and logo. Either use your logo as an animation or edit the transparency to turn it into a watermark. Just add your logo to the brand kit, or upload your logo image to the editor for free.
How to add captions to webcam recordings
Make your webcam recording more accessible and easier to follow on mute, using the captions feature. The smart voice detection technology generates captions and a transcript for you in just a few clicks. The transcript also creates an index of timestamps to help you navigate and edit your video better. Follow the steps below to easily add captions to your webcam video.
Click on the captions tab on the property panel.
Click on the turn on autocaptions button.
Select a language and filter any profanity and offensive language.
Click on the turn on autocaptions button.
Track the progress of your autocaptions in the captions tab on the property panel.
Frequently asked questions
What format can I save my webcam videos in?
Save your webcam recording in 480p, 720p, 1080p MP4 files, and even as a 15-second GIF. If your video includes 4K video footage, save in 4K.
Can I share my webcam recording straight from the editor?
Send or save your video with any of the sharing integrations like YouTube, Pinterest, Whatsapp, and Messenger.
How to allow camera access on Clipchamp?
If you’re not sure how to allow camera access on Clipchamp, just click on the allow button in the pop-up window. Using the webcam recorder for the first time requires enabling access to webcam and microphone.
Can I webcam record on Windows?
Yes. Our online camera recorder is compatible for Windows 10, Windows 11, and Mac devices.
Looking for more ways to use the online webcam recorder? Create fun YouTube reaction videos and how to make video presentations.
Edit your webcam video today with Clipchamp for free or download the Clipchamp Windows app.
