25 ideas para vídeos de reel de Instagram de cualquier tipo de negocio30 de junio de 2025No importa lo que vendas, crea entretenidos Reels de Instagram para aumentar tu visibilidad...
15 ideas para vídeos corporativos: recomendaciones y ejemplos30 de junio de 2025Encuentra ideas y ejemplos para vídeos corporativos como demostraciones de productos...
9 estrategias de vídeo marketing para el Black Friday y el Cyber Monday: consejos y ejemplos 30 de junio de 2025Learn different video marketing ideas to boost your sales during Black Friday and...
Cómo añadir marcos y bordes de vídeo30 de junio de 2025Dale más estilo a tus vídeos creativos, educativos y corporativos con las superposiciones...
Cómo pedir a Copilot que cree un guion gráfico de vídeo30 de junio de 2025Aprende una serie de indicaciones de IA que te ayudarán a hacer un guión gráfico...
Cómo crear vídeos explicativos corporativos con IA30 de junio de 2025Aprende a crear interesantes vídeos explicativos para el trabajo usando herramientas...
Cómo hacer vídeos de testimonios de clientes: sugerencias y ejemplos30 de junio de 2025Generate brand awareness and drive more conversions by making professional customer...
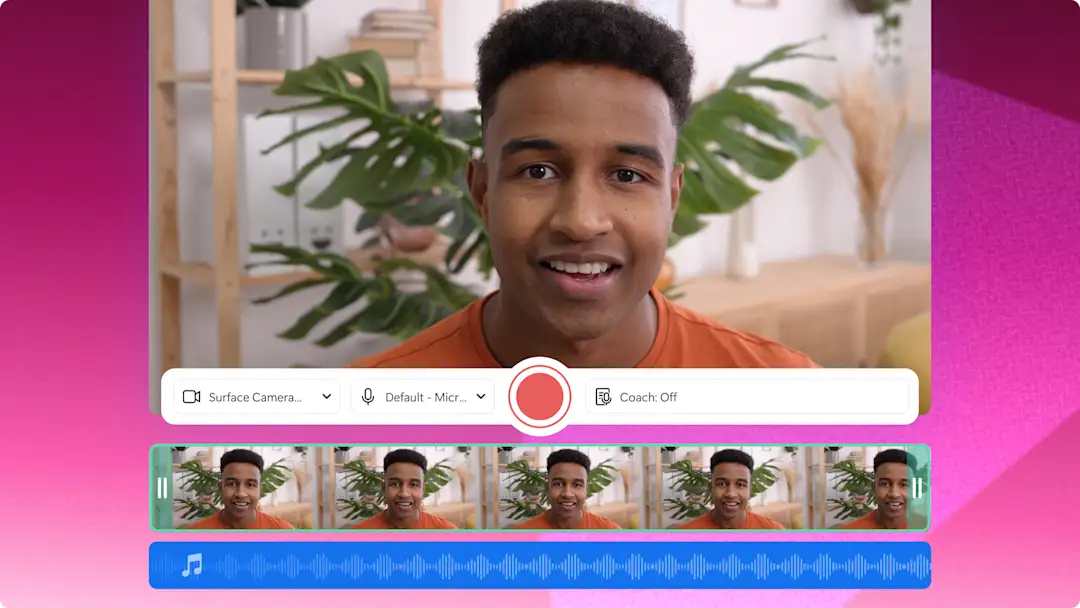
Cómo hacer vídeos de demostración para el trabajo con la grabadora de cámara web29 de junio de 2025Crea vídeos profesionales de demostraciones de empresa usando la grabadora de cámara...
Cómo crear una buena estrategia de marketing en vídeo para las empresas29 de junio de 2025Descubre la importancia del marketing en vídeo para las empresas y sigue estos pasos...
10 ideas de vídeos de aprendizaje para el trabajo: ejemplos y consejos29 de junio de 2025Explora 10 ejemplos populares de vídeos de entrenamiento con recomendaciones de edición...
Cómo agregar créditos finales a los vídeos29 de junio de 2025Create videos with a movie-like feel in seconds with the free online animated movie...
Cómo resumir un vídeo en Clipchamp29 de junio de 2025Aprende a usar el generador de resúmenes de vídeo de IA con Copilot en Clipchamp...
25 ideas para vídeos de reel de Instagram de cualquier tipo de negocio30 de junio de 2025No importa lo que vendas, crea entretenidos Reels de Instagram para aumentar tu visibilidad...
15 ideas para vídeos corporativos: recomendaciones y ejemplos30 de junio de 2025Encuentra ideas y ejemplos para vídeos corporativos como demostraciones de productos...
9 estrategias de vídeo marketing para el Black Friday y el Cyber Monday: consejos y ejemplos 30 de junio de 2025Learn different video marketing ideas to boost your sales during Black Friday and...