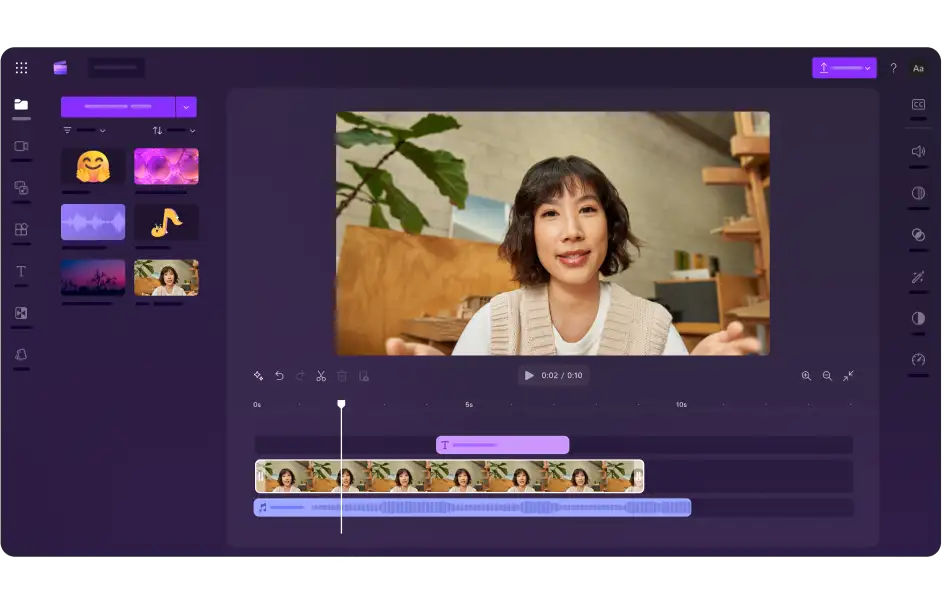
Quick and easy video editor
Everything you need to create show-stopping videos, no expertise required.
Create videos effortlessly with AI-powered editing tools
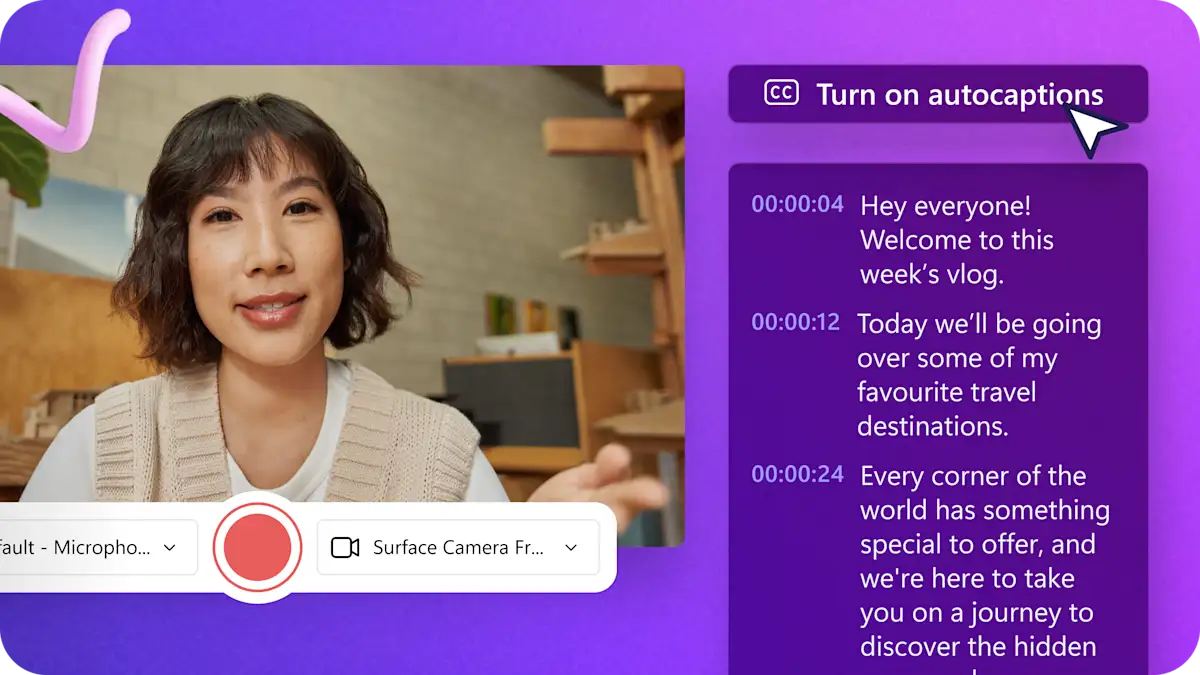
AI subtitles
Automatically create accurate captions in over 80 languages. Our AI technology securely transcribes your video's audio, converting it into readable captions in just minutes.
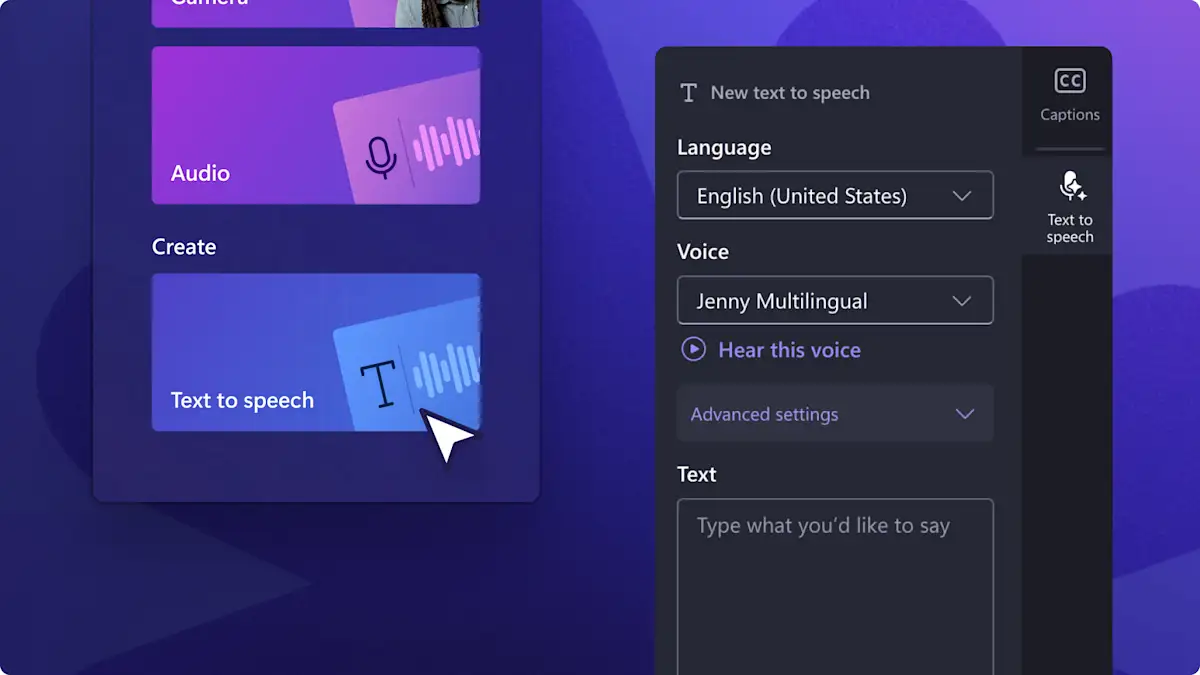
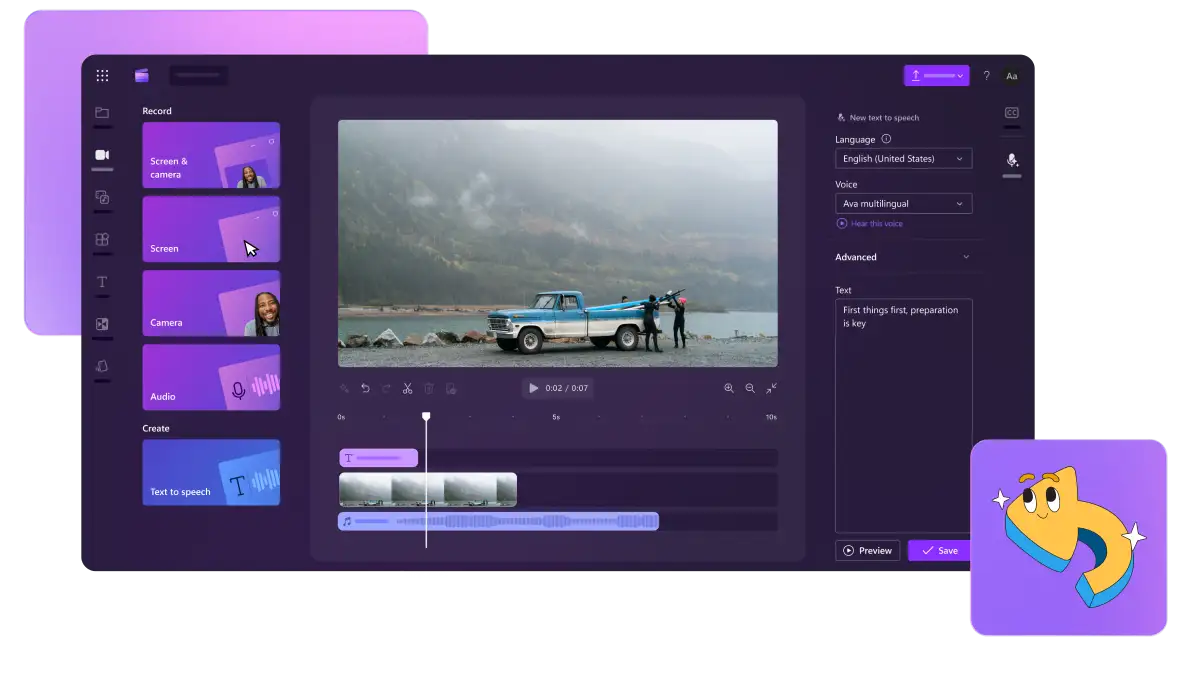
AI text to speech
Turn text into speech with one click. Choose a language, change the voice, pitch, style, and pace to accurately replicate a wide range of natural-sounding voiceovers.
Resize video
Change the aspect ratio of your video to suit any platform. Add background colors and blur effects to fill blank space around your video, or crop your footage to fill the entire screen.

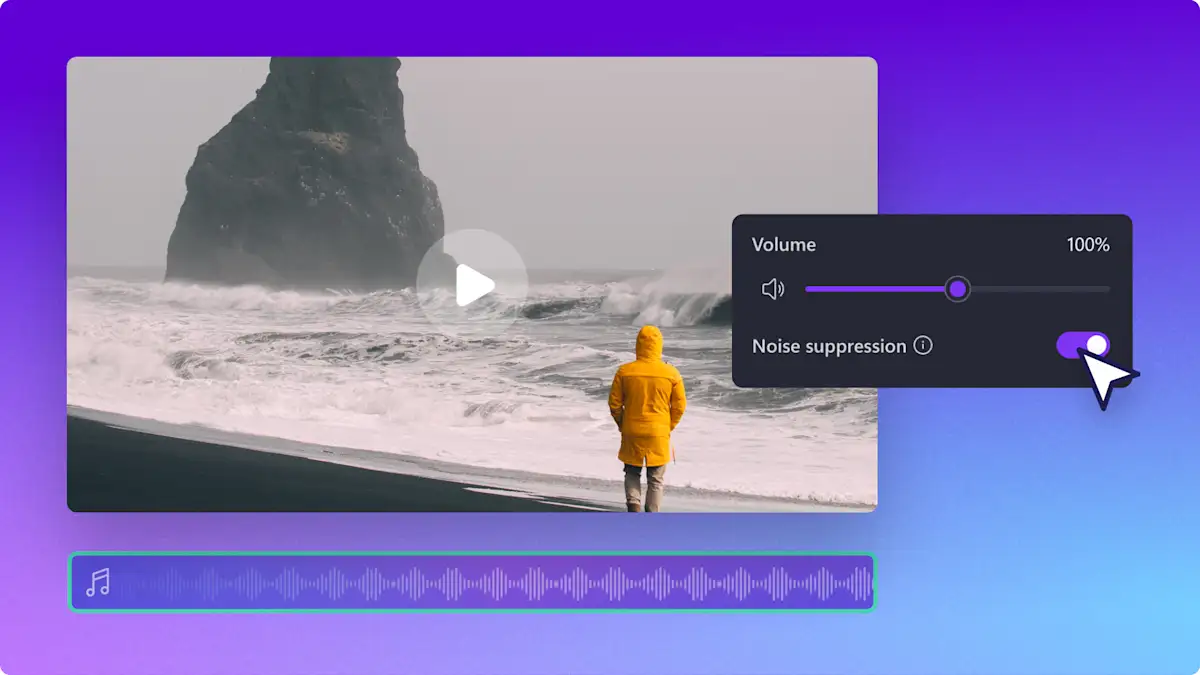
AI noise suppression
Remove background noises from audio with AI noise suppression. Enhance the clarity of your content by reducing street, wind, and ambient sounds when creating content on the go.
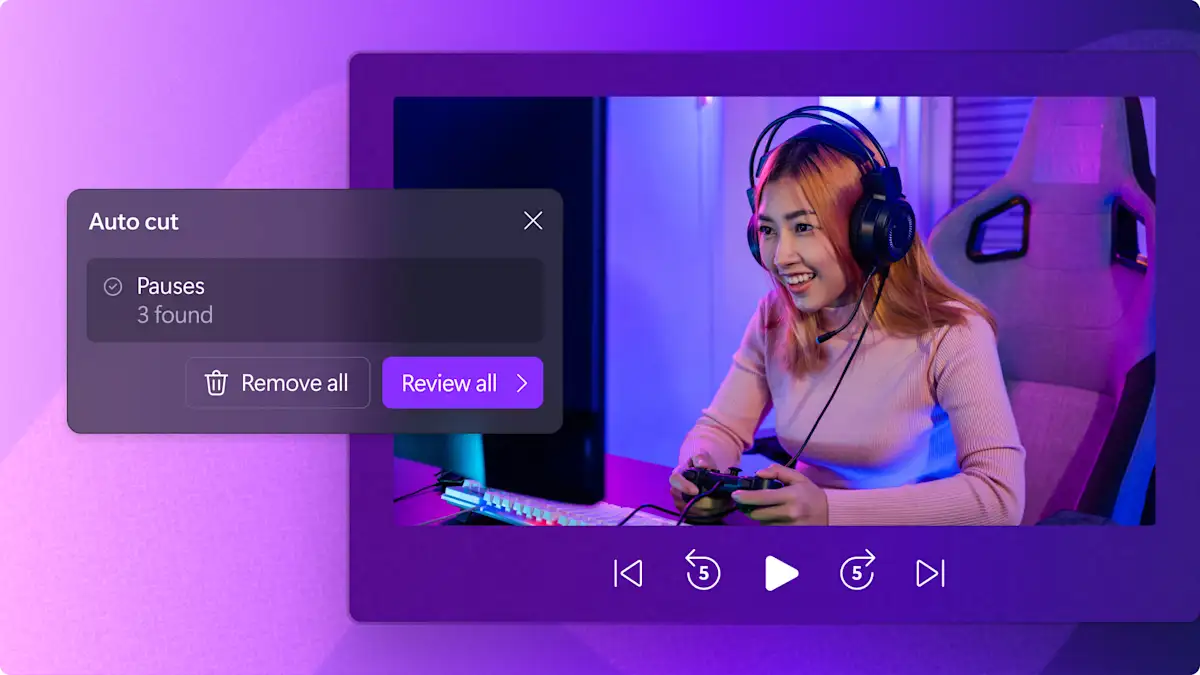
AI silence removal
Edit faster with auto cut. Easily find and remove silences or filler words from webcam and voice recordings to create engaging podcast or demo videos.

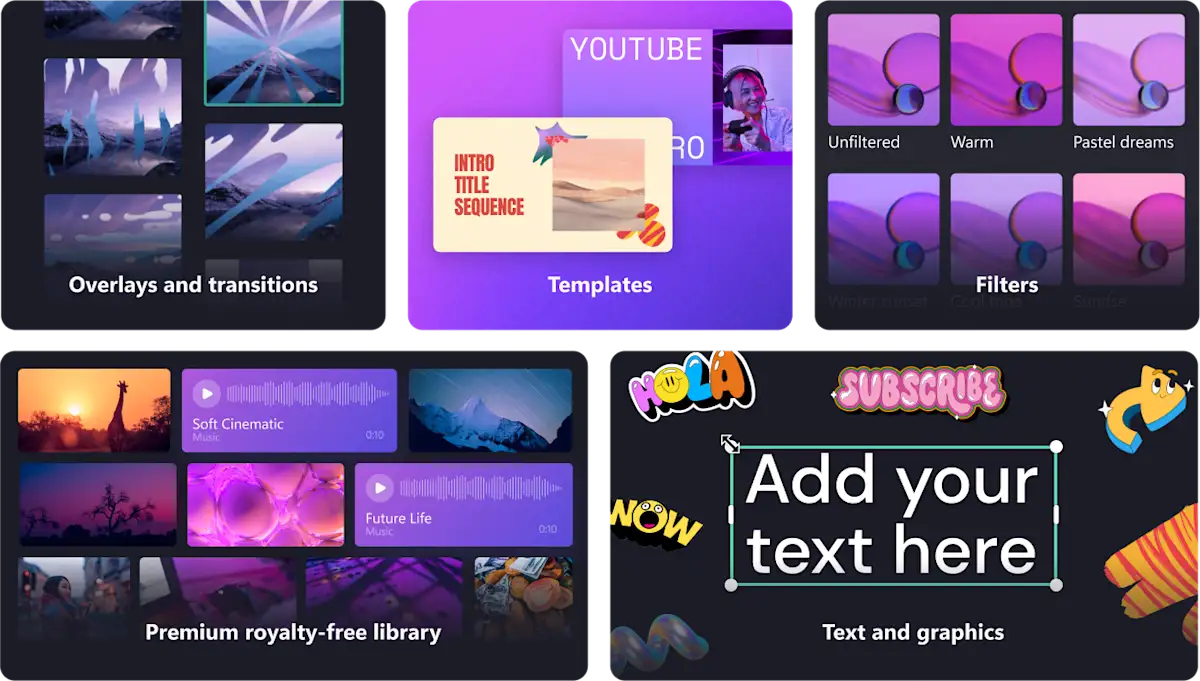
Transform your video with royalty-free elements
Unlimited video creation with no watermark
Clipchamp allows you to create as many videos as you want in high definition (1080p) for free, so you can focus on what matters most: your content. Whether you're creating videos for your business or just for fun, our free video editor is the perfect way to stay under budget while creating compelling content.
Everything you need, anywhere you need it
Our in-browser video editor allows you to easily access your videos and start editing them right away, without the need for a powerful computer or expensive software.
Find Clipchamp in the Start menu on Windows 11 or download for Windows 10 from the Microsoft Store. Premium features are available with a Microsoft365 subscription.
Create videos on the go. Record, edit, and caption your creations – all in one app. The Clipchamp mobile app is now available for iOS devices in the App Store.
Video editing for everyone
Join millions of everyday editors
I never expected that a free version would have all these features. I was amazed and honestly grateful for having a free, well-featured, and user-friendly video editing site. I loved every bit of experience while using it. Clipchamp is my primary video editing software for my social media content.
I love how easy it is to use Clipchamp. It really has opened the door for everyone to create great video, no matter your experience or skill. Whether you're an aspiring creator or a seasoned vlogger, Clipchamp has got you covered.

Start creating with Clipchamp