
It only takes a few minutes to make an amazing video in Clipchamp. We created folders to help passionate video creators who create dozens of videos stay organized and find their content easily.
You can use folders to organize your videos by occasion, content themes, where you plan to post them or any other label you desire!
Learn how to make folders and make the most of this simple way to work more effectively in Clipchamp.
How to create and use folders in Clipchamp
Step 1. Discover folders on the home page
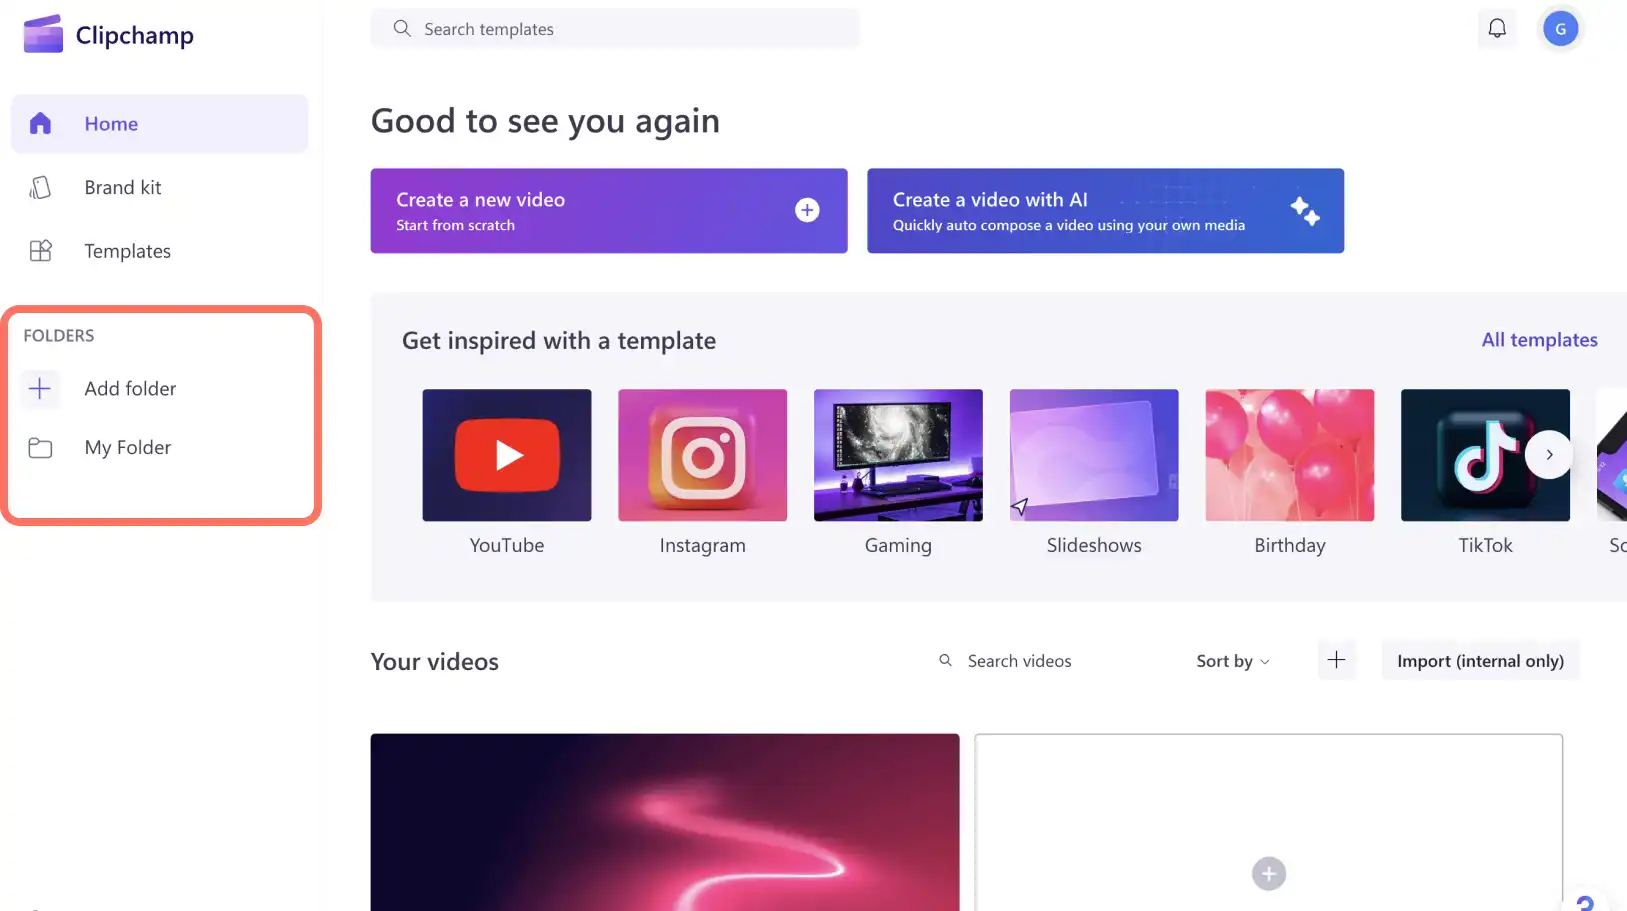
Sign in to your Clipchamp account to find the home page. Explore the home page menu on the left to find folders.
Step 2. Create a folder
Create a folder to get started. You can name your folder as you please and click create folder.
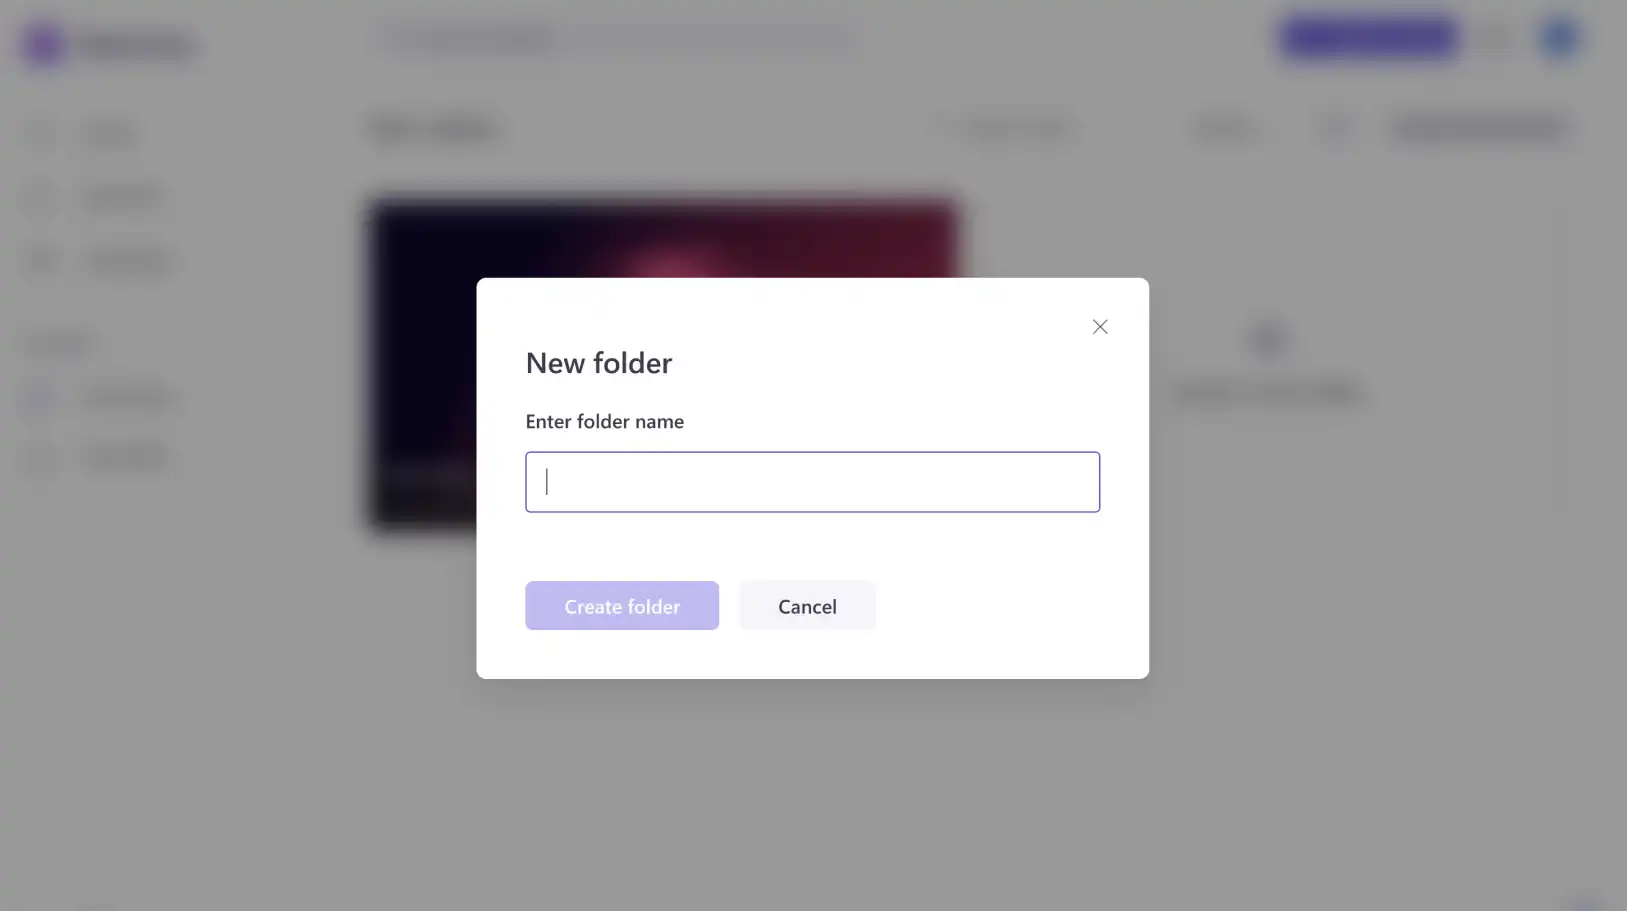
Your folder will be ready to use.
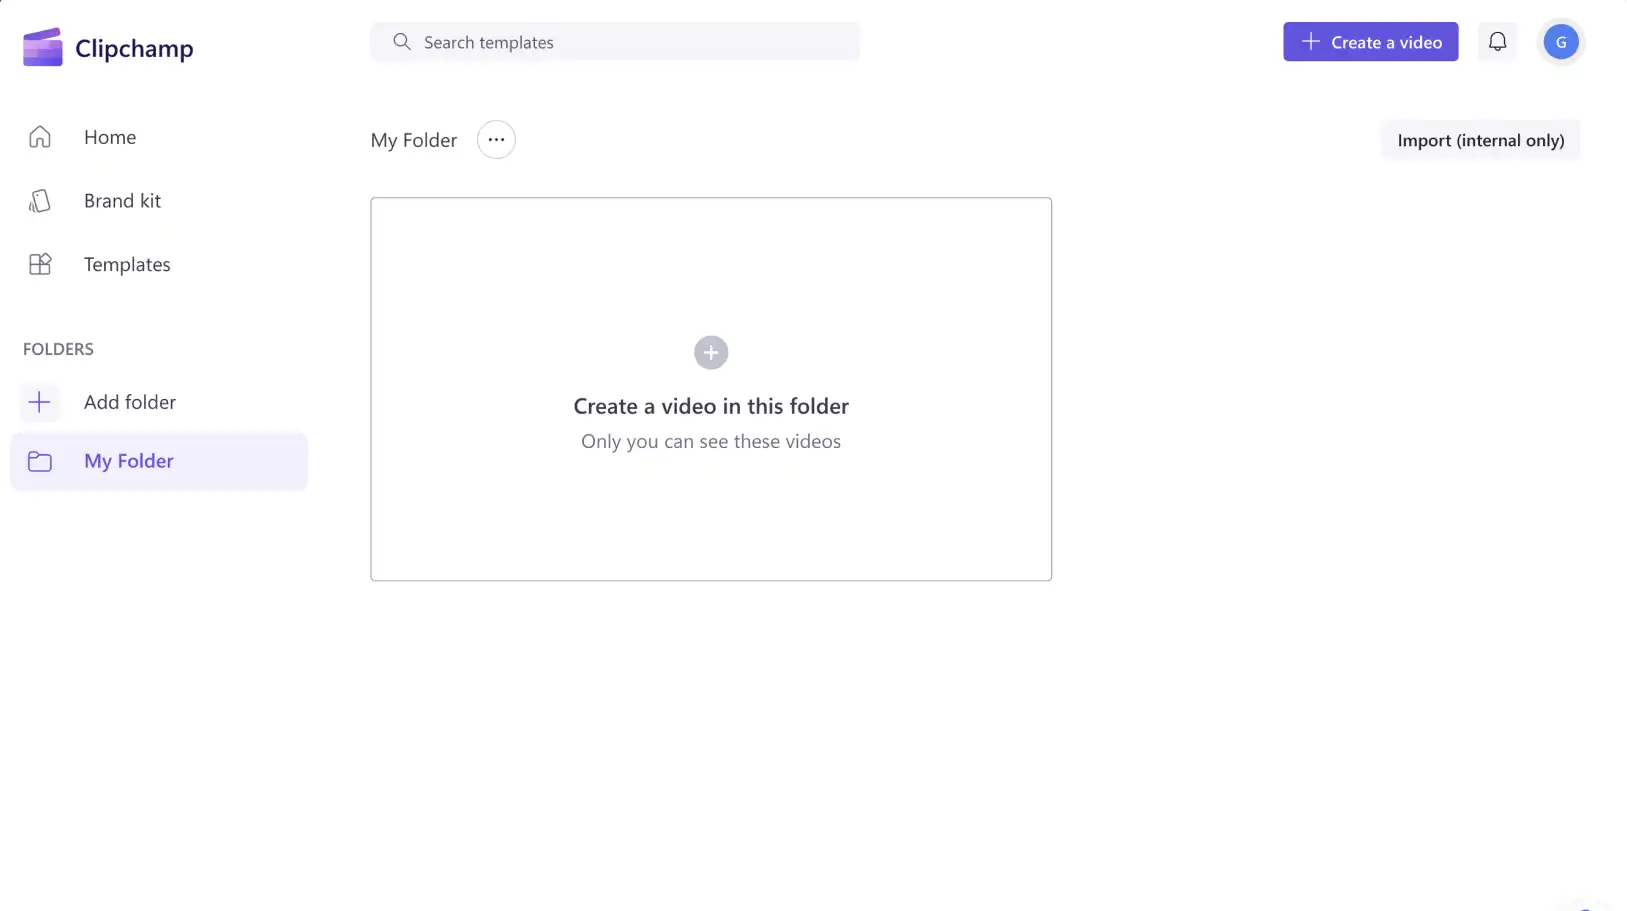
Step 3. Add videos to your folder
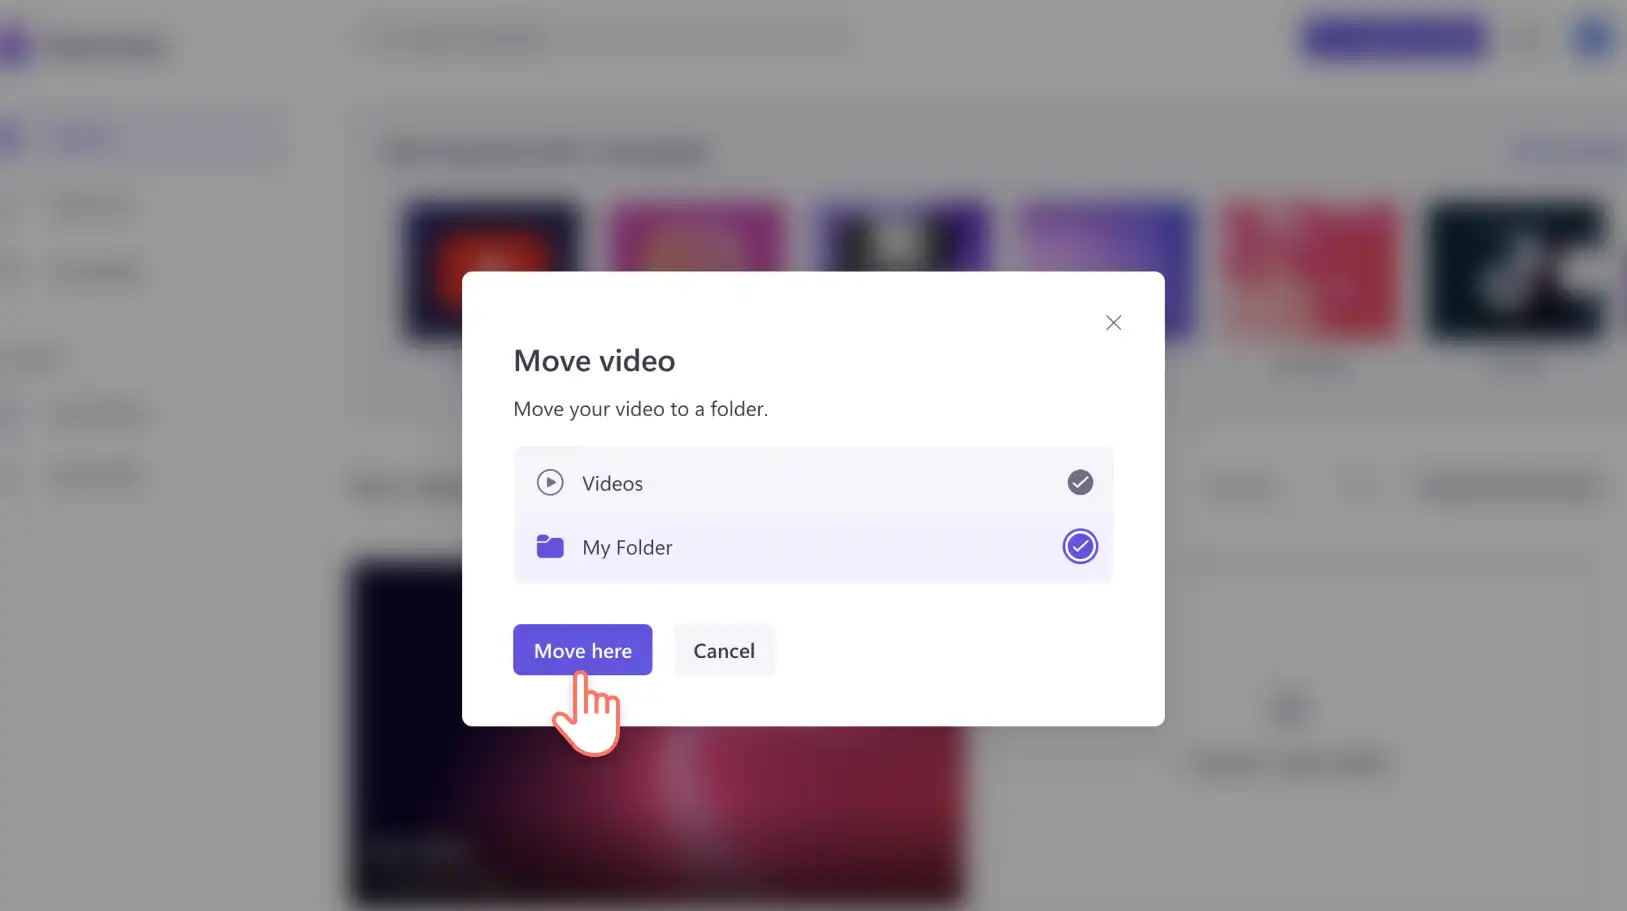
You can fill your folder up by creating videos directly in your folder or by moving existing videos into it. While on the home page, you can move your video to a folder by clicking on the see more button on the video you want to move, then select move.
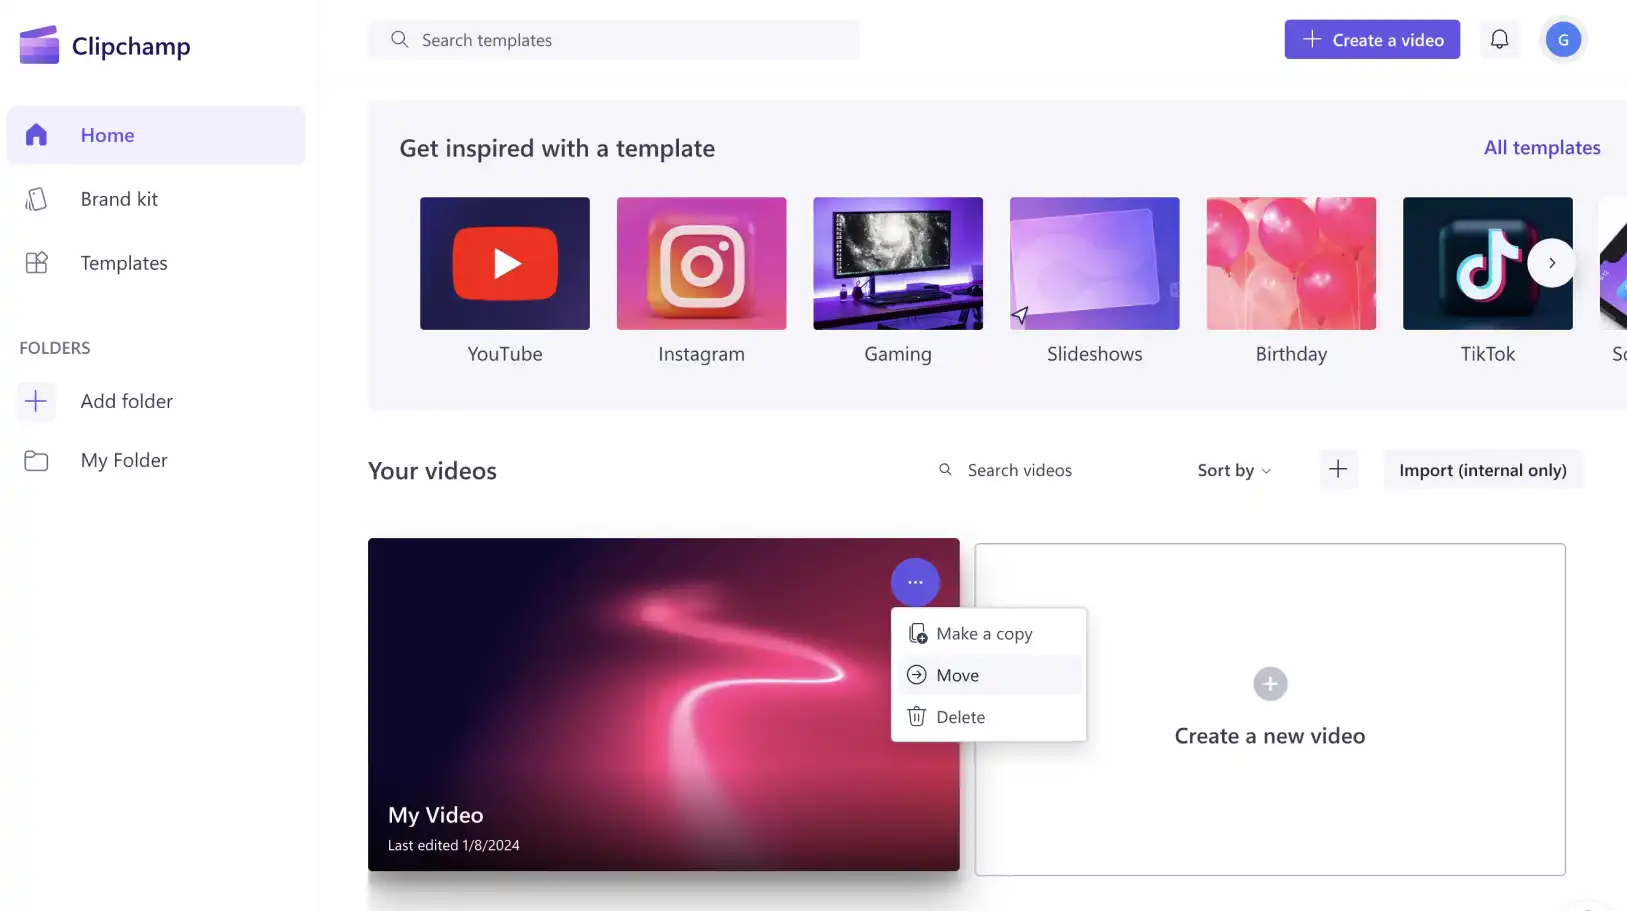
Next, select the folder you want to move your video to.
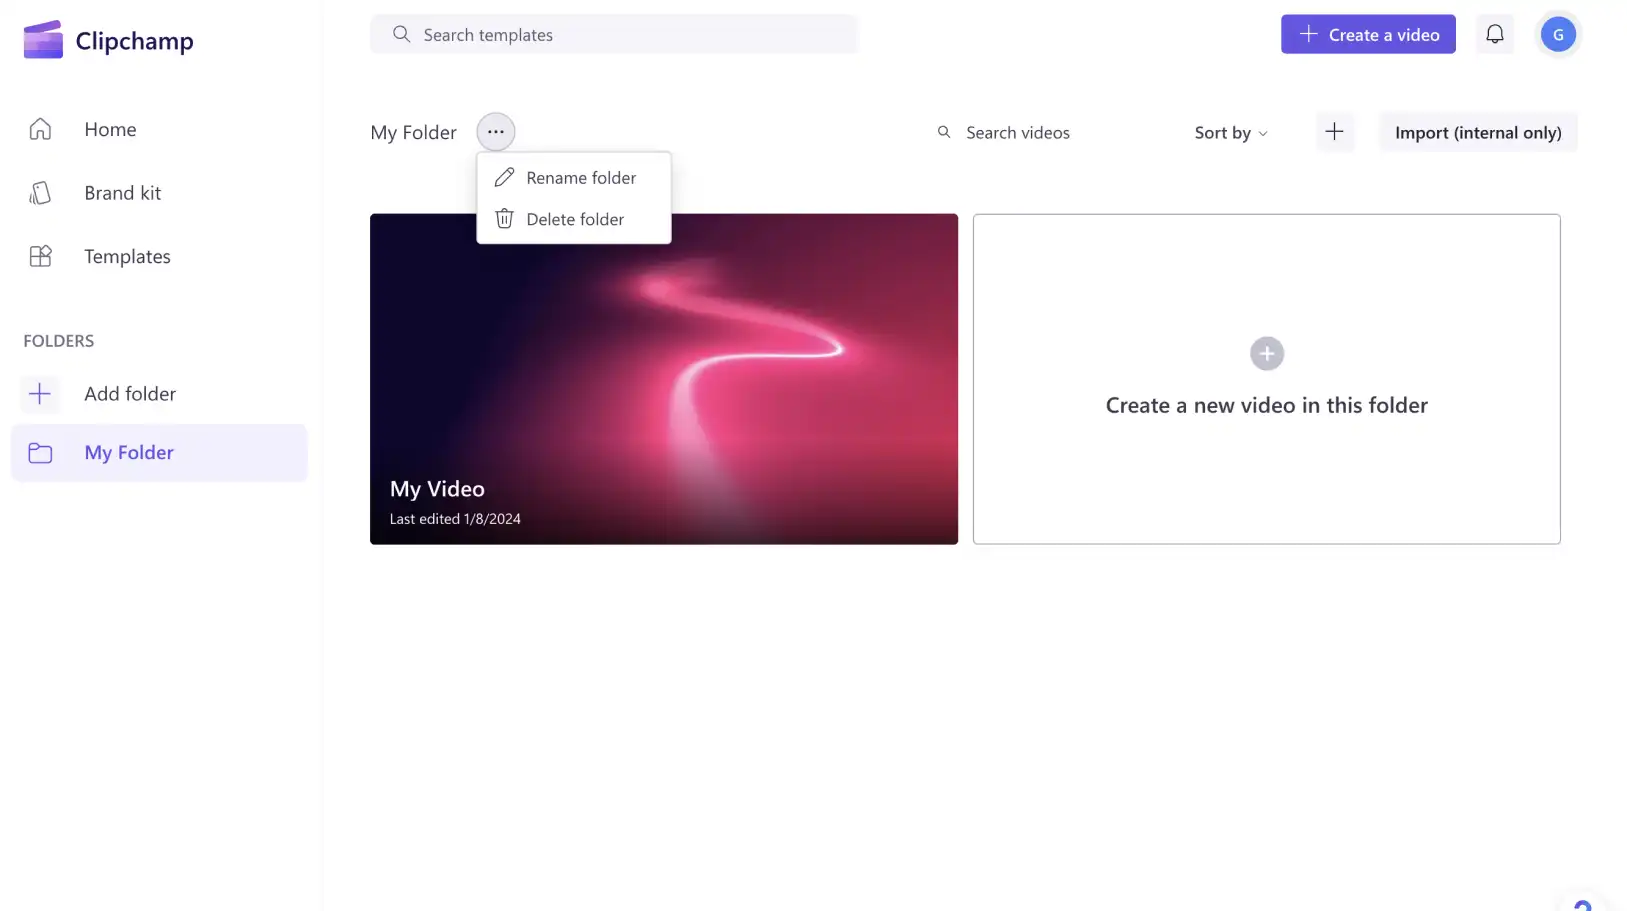
Step 4. Rename and delete folders
Find the more button next to your folder’s name. Here you can find a drop down menu with the options to rename or delete your folder if you ever need them.
How many folders can you create?
As many as you like! You can create an unlimited number of folders in your account.
As you wrap up your video editing in Clipchamp, take a moment to tidy up with our folders feature. Just like Marie Kondo transforms cluttered spaces into organized havens, you can now transform your video library into a neatly arranged collection.
Save time and enjoy a more streamlined and efficient video editing experience in Clipchamp.
To find more time-saving features in Clipchamp, explore what's new.
Heads up! The screenshots in this article are from Clipchamp for personal accounts. The same principles apply to Clipchamp for work and school accounts.