On this page
Are you a new GoPro Hero 9 owner and unsure how to edit your cool new video clips? We’ve got you covered!
GoPro makes shooting videos a seamless and easy process, but it takes the right knowledge and program to edit your videos into something memorable.
This blog will teach you how to edit your GoPro video for Mac and PC using our GoPro video editor, using Gopro YouTube ratios.
What file format are GoPro videos?
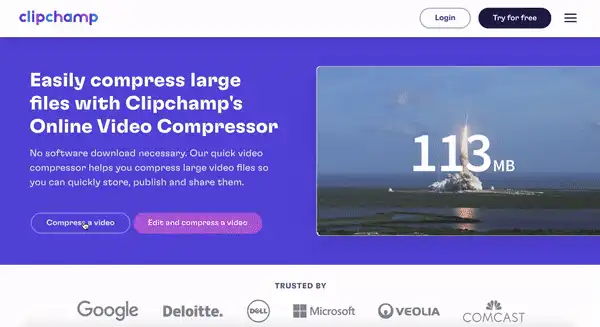
How to compress large GoPro files?
How to edit GoPro video on Mac and PC

What file format are GoPro videos?
GoPro video is typically recorded using the h. 264 codec and MP4 file type, making them 60FPS in 1080p or 4K. As GoPro videos are taken to capture adventures, underwater and fast movements, their file sizes will always be extremely large. This ensures that the clips are crisp, detailed and always high quality.
How to compress large GoPro files?
Uploading large files to a GoPro video editor can sometimes be a challenging task. Lagged display, freezing and glitches may occur due to the large file size overload. To avoid these issues, users can compress GoPro videos without any quality loss. So what’s the easiest way to compress large files? Our quick video compressor helps you compress large video files so you can quickly store, publish and share them. There’s no software download necessary.
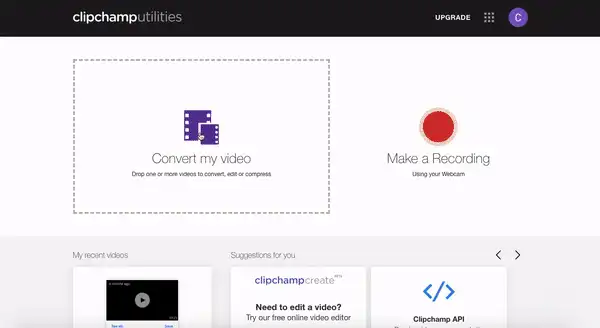
Step 1. Log into our free video editor
To compress GoPro video files, log into Clipchamp or sign up today for free.
Step 2. Compress GoPro video
Click on Convert my video and select your GoPro video from your files you would like to compress. You can also drag and drop your video file. Compression options will appear. You can optimize your video for the Web, Windows, Mobile or Animation. Select a Resolution or choose to keep it the same. Select the File Format and Quality.
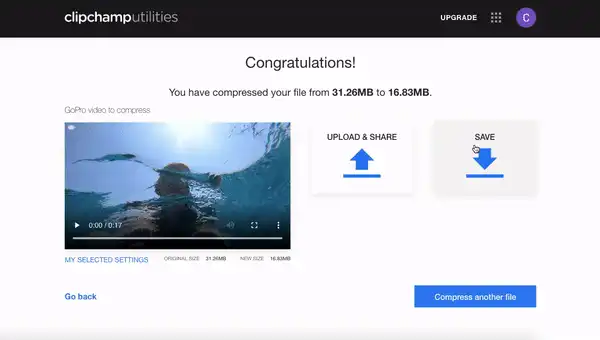
Step 3. Save compressed GoPro video
The final step is to save your new compressed GoPro video file, click the Save button and directly download the video to your computer. You’re all done!
How to edit GoPro video on Mac and PC
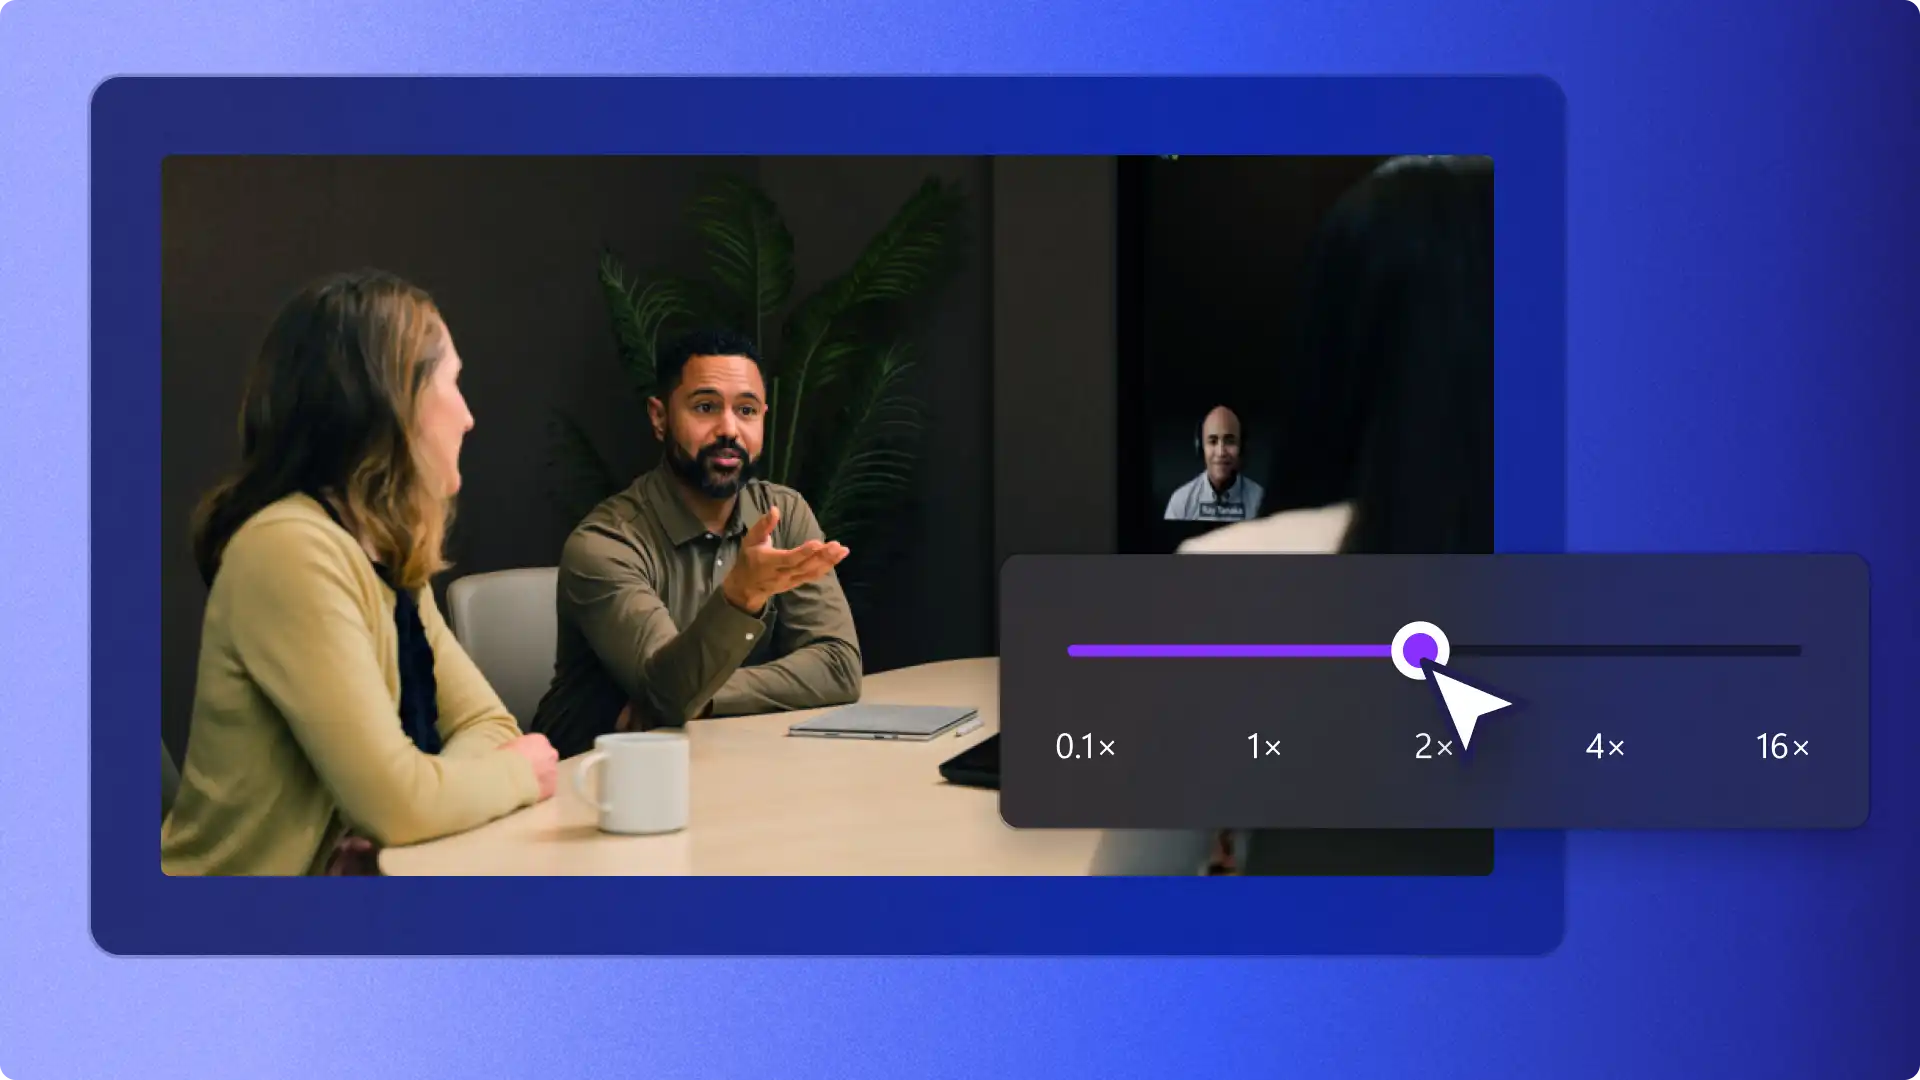
A GoPro camera is the ideal compact tool to film amazing footage on the go. With a click of a button, you can capture video in rain, hail or shine. Our GoPro video editor is almost too just as easy as that. Add text, slow motion, audio tracks and so much more using the free video editor for Mac and PC. Below is a walk through step by step tutorial on how to edit GoPro video. This process is the same for PC and Mac users.
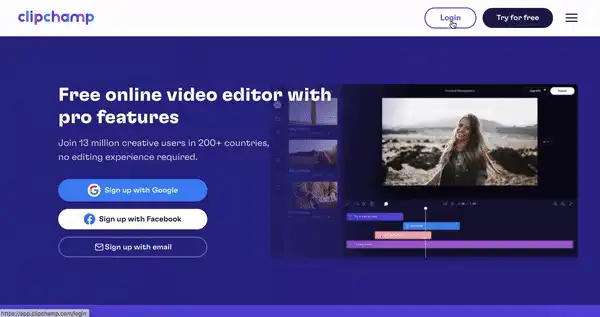
Step 1. Sign into GoPro video editor
To start editing your GoPro video for YouTube, click login or sign up for free.
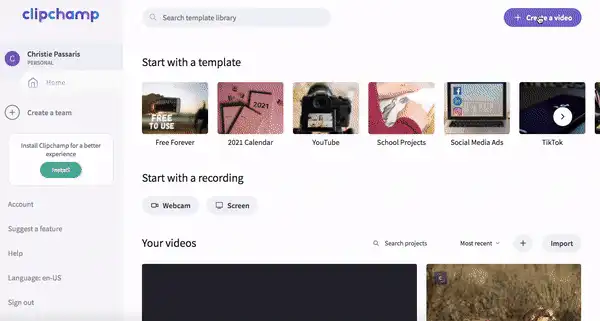
Step 2. Create a new project
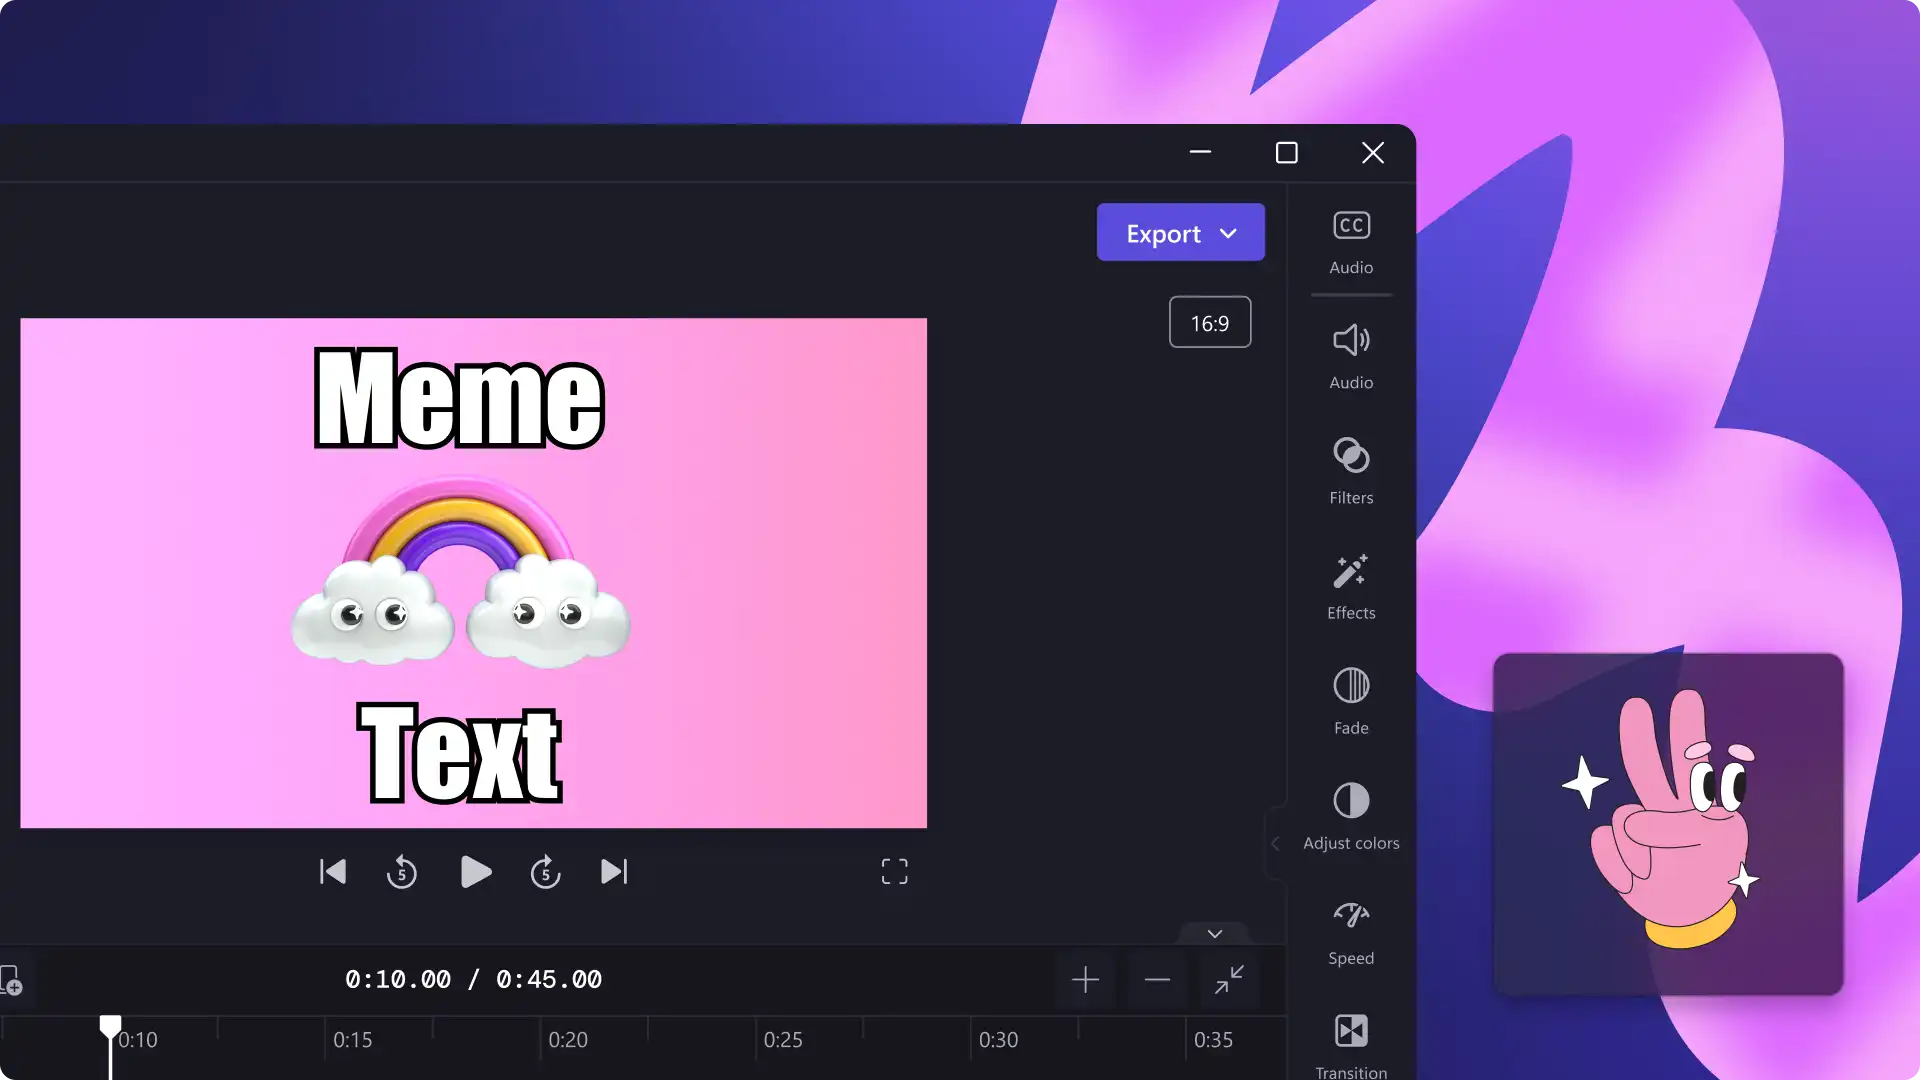
Select the + Create a Video button at the top right corner of your screen. The editor will automatically open. Change the size ratio of your project by clicking on the 16:9 ratio button on the right hand side. Hover over the ratios and click on your preferred ratio. We are keeping the size ratio as 16:9 format as GoPro video is usually filmed in landscape mode, making it compatible for an easy YouTube upload. Don’t forget to rename your project before starting.
Step 3. Upload your compressed GoPro video footage
To upload your now compressed GoPro video footage, click on the + Browse Files purple button on the editor. Select the video clips you would like to use in your video. You can also Drag and Drop your video file into the library.

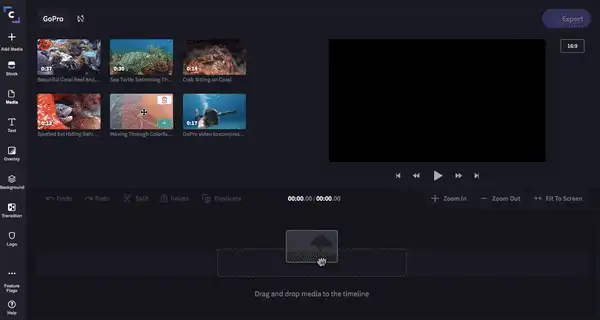
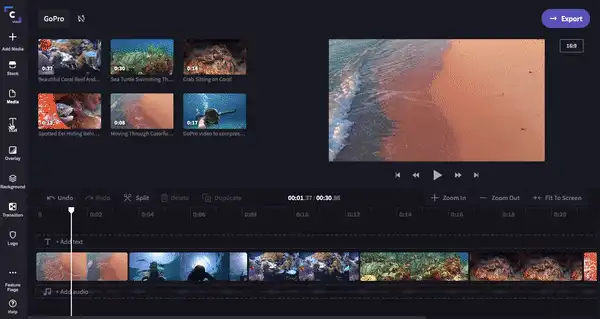
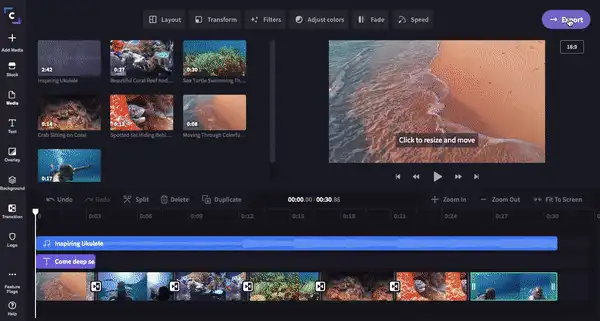
Step 4. Drag and drop footage into your timeline
Drag and drop each separate clip onto the timeline. Drag the right sidebar back to shorten the clips. Click Fit to screen to see the entire clip on your timeline without scrolling. You can rearrange the footage as many times as you’d like so don’t worry if you accidentally place one in the wrong order.
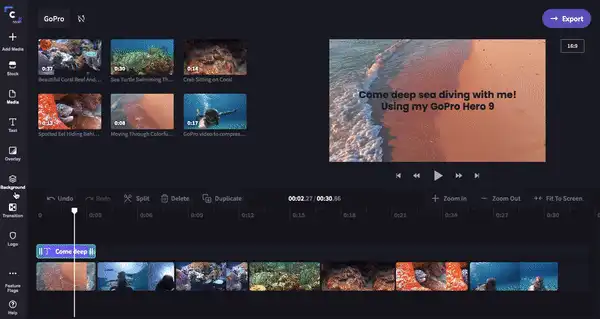
Step 5. Add your title
Click Title and drag and drop your selected title. Shorted the title to your desired length by moving the right sidebar back and forth. Change the text by making sure the text box is highlighted, click Text then type in your wanted text. You can change the font under Font. If your text is now too large, hover over your text preview screen and a box with circles on each corner will appear. Use the white circles to shrink the size of your text, and freely move the text box around the screen. Change the text color by clicking Colors and choosing a new color.
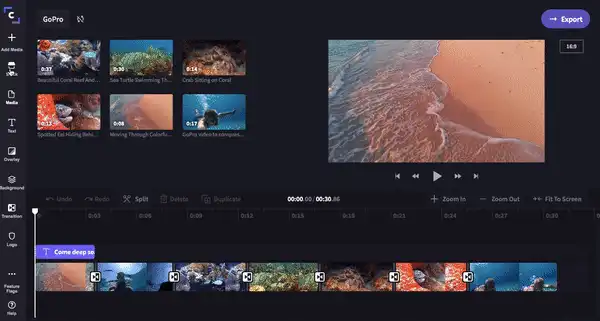
Step 6. Add transitions
Click on Transition then drag and drop your desired transition onto the timeline. The transition will automatically snap onto the green boxes between clips.
Step 7. Add audio from our stock audio library
Add an audio tune to your GoPro video by clicking Stock than Audio. Scroll through our stock audio or search a specific name. Click on the + Plus symbol to add the audio track to your library. Click Close to return to the editor. Drag and drop the sound onto your timeline. Trim the tune where your footage ends by clicking Split then Delete unwanted sound.
Step 8. Export GoPro video ready for YouTube upload
The final step is to save and export your GoPro video. Once happy with your video, click Export in the top right corner of your screen. A pullout window will appear with saving options. Our GoPro video editor allows you to save in 3 different resolutions and 3 different optimizations. We suggest for all GoPro YouTube uploads to save in 1080p and select Compression. This process is the same for PC and Mac users.
GoPro video ready to upload to GoPro YouTube
Heads up! The screenshots in this article are from Clipchamp for personal accounts. The same principles apply to Clipchamp for work and school accounts.