Heads up! The screenshots in this article are from Clipchamp for personal accounts. The same principles apply to Clipchamp for work and school accounts.
You’ve heard it before and you’ll hear it again: video is a powerful medium to tell a story. For marketers, it can help explain your service or product, drive traffic to your website, and can be a powerful tool to convince people to purchase your goods.
Video storyboarding is a straight-forward way to plan your videos and help set you up for success.
What is a storyboard?
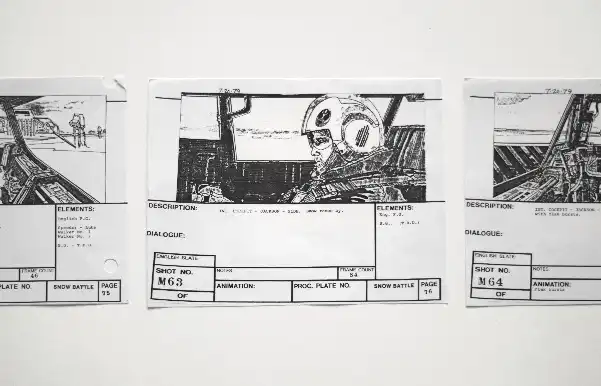
A video storyboard is a shot-by-shot visual breakdown of what every scene in your video will look like. Each board is a sketch of what’s in the frame and what the camera will capture. If someone picked up the storyboard to your video, they’d get a detailed rundown of what’s in each and every shot.
Sounds like a lot of work, right?
Well, you know what they say ... anything worth doing is worth doing well.
In this blog, we’re following on from our Beginner’s Guide to Writing Video Scripts by giving you practical tips to on how to storyboard to help you visualise your next video. Whether you’re making a creative video project or marketing your brand through video, there’s always a story to be told.
How to storyboard a video
While having a little artistic flair can’t hurt, you don’t need to be an artist to create an effective storyboard.
Creating a storyboard helps you work out the kinks in your video project before you start - saving you time, energy and dollars. Most importantly, it should result in a better, tighter story.
So not to get too overwhelmed, think of your storyboard as your first draft. Here you’ll get your ideas down on paper and sketch them out before picking up the camera. Putting in the planning work at the beginning will help you create awesome and effective videos, and can even end up saving you money in the process.
They say that hindsight is 20/20, why not make foresight 20/20 instead!
So, want to know how to create a storyboard?
Start by following these steps:
1. Lay down your story
First, get your draft ready. What’s the video about? Who are your key characters? Whether you’re selling ice cream or trying to save the world, you need a strong message that ties your story together. If your video is marketing a product or service, this is also the time to concrete your CTAs.
2. Slide time
Make life easy by using a storyboard template ...
Of which, you’ve got options:
Draw it on an online whiteboard.
Sketch it out on your tablet.
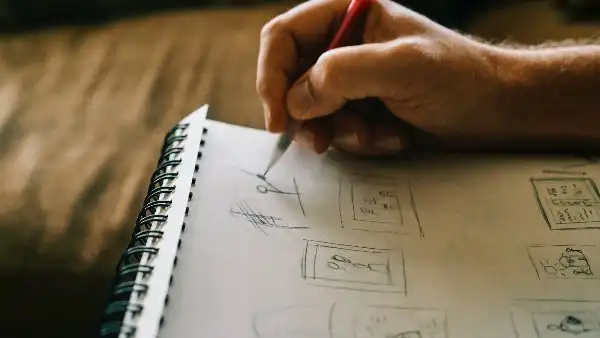
Plain old pen & paper, using a notebook or a handy printable storyboard template, like these ones.
Or, go pro and invest in a storyboarding software program.
Note: the latter three of those options allows you to easily add or remove scenes, or change their order.
Tip: Use frames that are the same aspect ratio as video, 16:9.
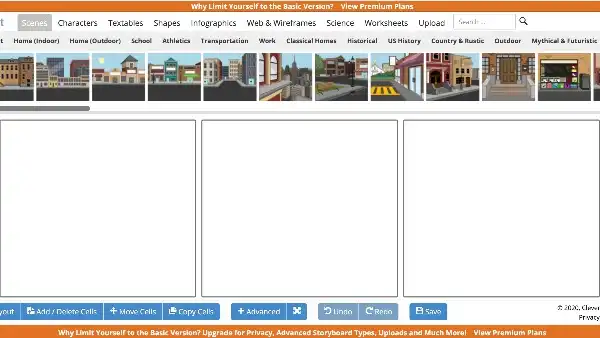
Tip: Check out some of the free storyboarding software programs out there, that help you easily create a storyboard online.
Why storyboard online?
With programs such as StoryboardThat, you can create, share, edit and print storyboards - right at your fingertips - making it easier to collaborate with others and save your work.
There’s no right or wrong way to template, just keep it simple and easy to share and edit.
3. Sketch ready
Remember, your storyboard doesn’t have to be a masterpiece. Just show what’s happening in the scene as best you can.
Tip: Arrows are life - they demonstrate what would take countless frames to show: movement.
And, movement is what film is all about!
Utilise arrows to show the direction objects, the actors or the camera are moving. Are they moving towards or away from the camera? Which way are they walking down the street?
Include all the people and things you want in the scene inside the frame.
Include the camera movement: what angle is the camera shooting from in each scene?
Tip: Use perspective to show the level of zoom you want for each scene: if the object fills the frame, it’s going to be a close-up.
If your drawing ability doesn’t go beyond stick figures, that’s okay. Stick figures can still give a lot of context to your storyboard. As they say in the industry, ‘scamp it!’ Scamping is storyboarding at it’s rawest form, (aka stick figures). Or, these days you can outsource the sketching with the help of a drawing app to generate your visuals instead! Here’s a few programs to check out: Procreate, Paper, Vectornator, and Astropad.
Sketches still not conveying your vision well enough? Get crafty with cut-outs. Not unlike how you might have collaged your high school notebooks, using images can help build the vibe of your story. Gather images from magazines, your own photos, or stills from TV shows and movies to use as visual references for your storyboard. Viola!
4. Get out the post-its
A picture can only paint so many words (okay, 1000), but the notes are where you add the details about what’s happening onscreen. Remember to add the video script to each card too - so you know exactly what’s being said in each scene.
5. What are your greatest assets?
Keep a list of all assets you’ll need for the video and add notes in the margins of your scene storyboard.
Things to note:
Music
Actors
Wardrobe
Filming equipment
Any physical props
Any filming permits
Need a little more help getting started? Try out a storyboard tutorial like the one below. And once you’re ready to roll and the filming is done, Clipchamp is here to help you create and edit your masterpiece!
Storyboard examples
We know now a good storyboard serves two major functions: planning and communication. It’s a roadmap for your video, not only does it help visualise your video frame by frame, but it also serves as a big checklist for ALL the things needed in each scene too. And, it communicates a clear roadmap to everyone involved in the video production - helping everyone get on the same page (pun intended).
Below are some great examples of a range of storyboards and styles.
