Heads up! The screenshots in this article are from Clipchamp for personal accounts. The same principles apply to Clipchamp for work and school accounts.
On this page
Our video editor is forever improving! We’ve advanced our freehand capabilities to bring you our new freehand 2.0.
Now users can freely crop and reposition video clips without any limitations. Say goodbye to awkward stretching or cropping! You will never have to compromise which footage to cut out again.
Learn how to use our Freehand 2.0 video editing tool in Clipchamp Create with this step by step tutorial.
How to use Freehand in Clipchamp Create
Freehand 2.0 is a very useful tool within the video editor. Users have the ability to move personal or stock footage around their project to avoid cropping or include more than one video in the frame. This tutorial will explain how to use our new freehand tool using stock footage from our Stock Library.
Step 1. Log in or create an account
Log into your Clipchamp Create account or sign up for free today!
Step 2. Create a new project
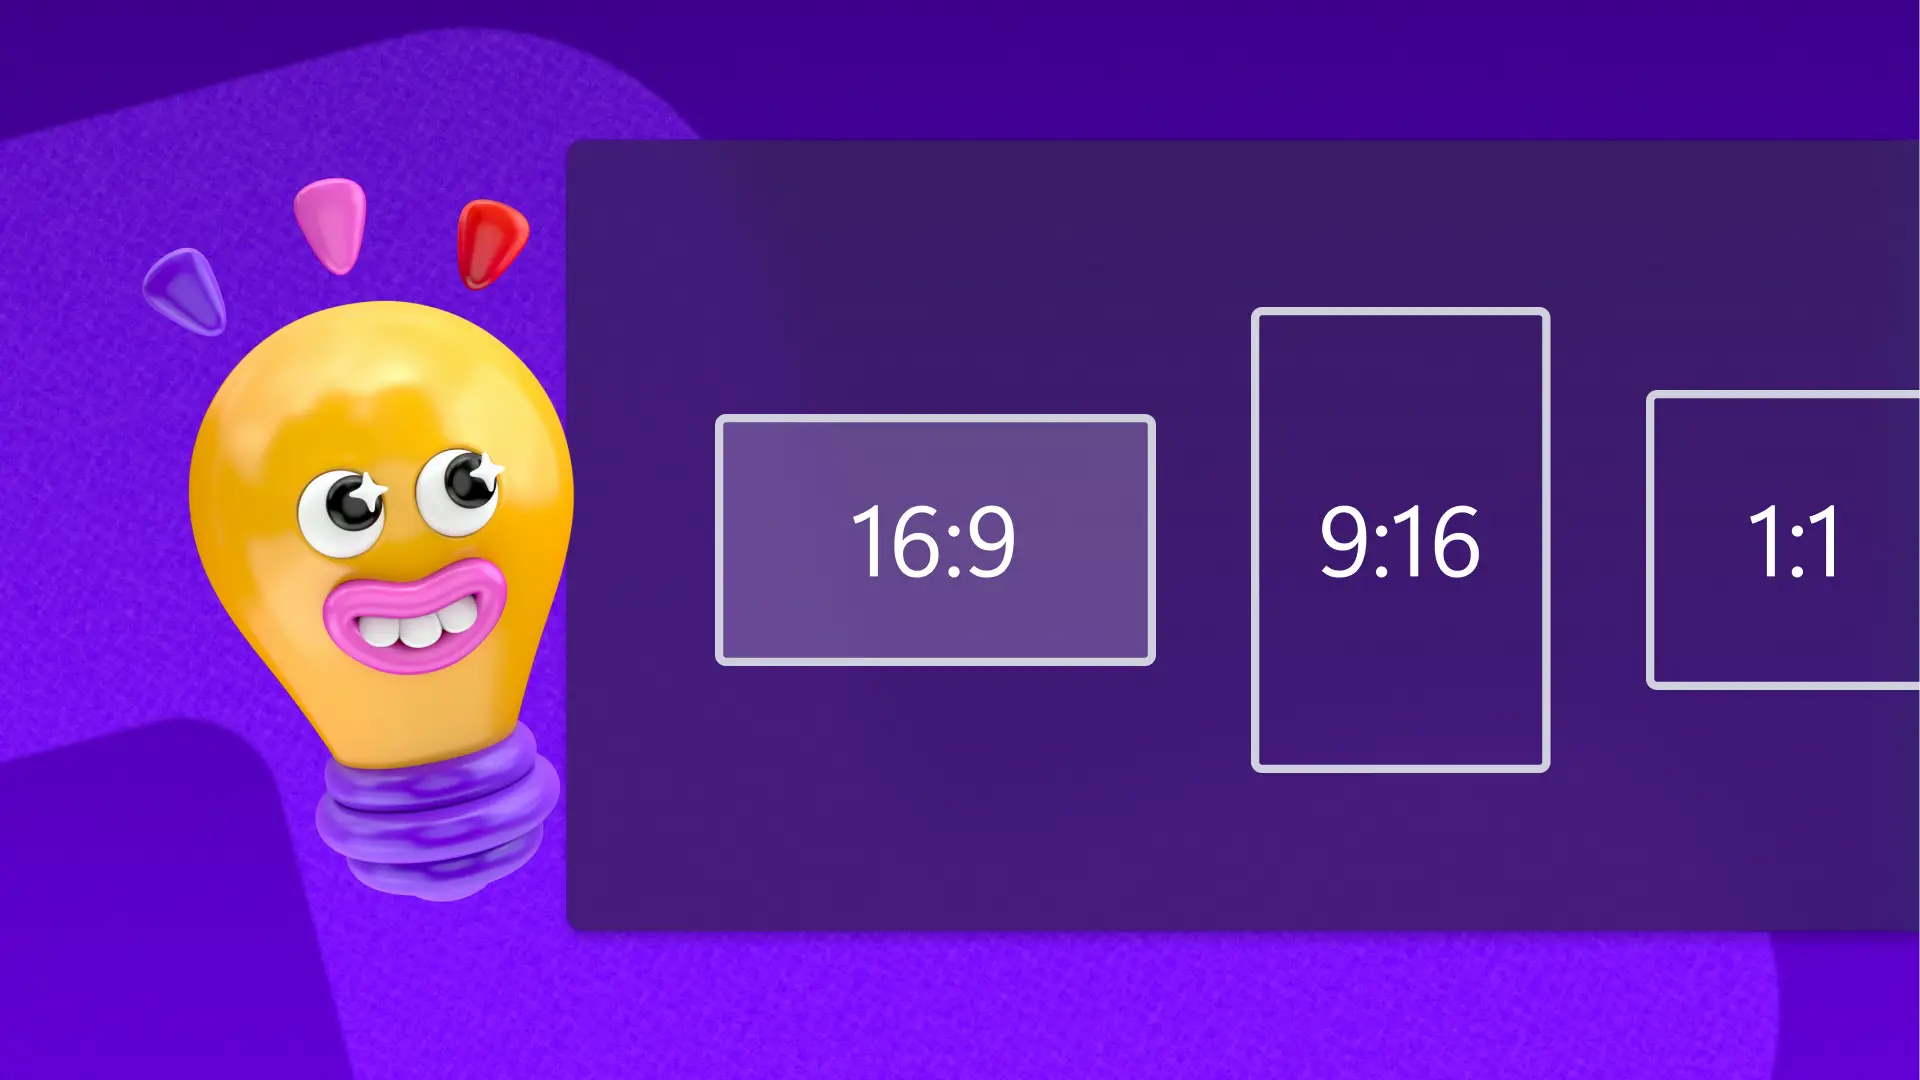
Create a new project by clicking Create a video button on the left side bar. You will then select the video ratio you would like to create. For Instagram, we recommend using 1:1 Square ratio. The editor will automatically open once your video ratio has been selected.
Step 3. Add stock or personal footage
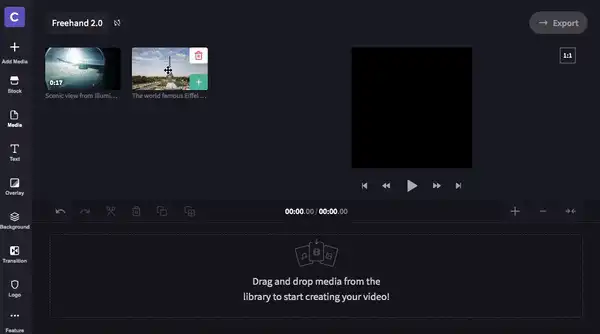
Click on the Stock button on the left toolbar. Search keywords or scroll through our popular folders. Click + Add to add the footage to your media library. Click Close when finished to take you back to the editor.
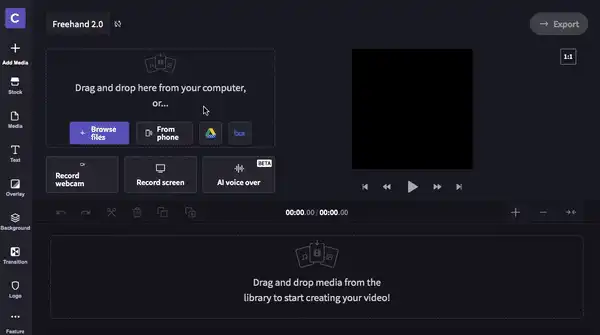
If you want to use personal footage, click Browse Files on the home screen or drag and drop your footage into the media library.
Step 4. Drag and drop clips to timeline
Click on the clip you want to add to the timeline. Drag and drop the clip to the timeline. Repeat step 4 for multiple clips. If you place your clips in the wrong order, don’t worry. You can move them as many times as you’d like.
Step 5. Crop and resize video
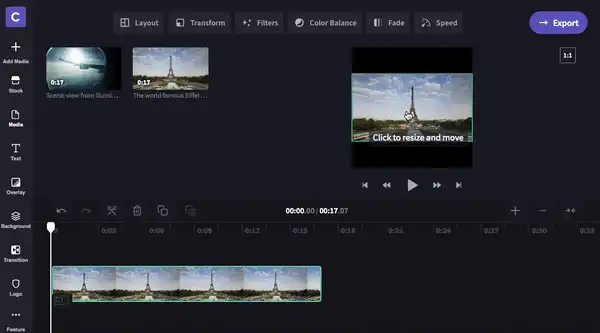
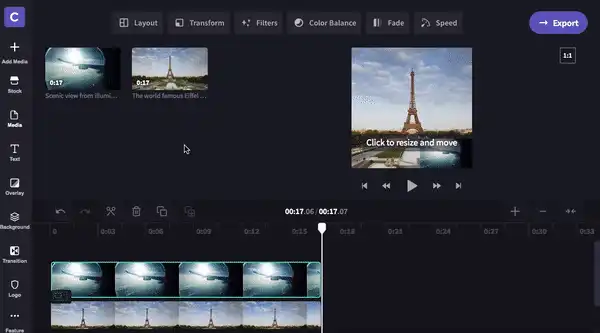
Now it’s time to use our Freehand Tool. Click on the preview video above your timeline. A green box will appear around your clip. Two options will appear on the left hand side of your clip. These options are Fit to centre and Crop to fill. Your preview is currently fit to centre. Crop to fill will crop your video to fill the entire 1:1 ratio.
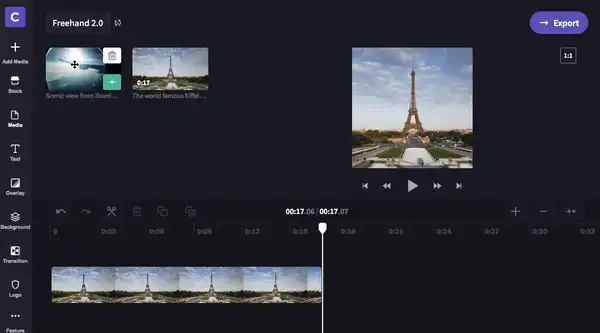
Hover over your video, then click to move your video anywhere within the ratio border. You can also use the white circles to drag your clip in and out to make it smaller or larger manually.
Step 6. Picture in Picture
Drag and drop your second clip directly above your existing clip on the timeline. Crop the clips to make them both the same length by moving the green side bars in and out. On the preview video above your timeline, click the smaller, front clip. Resize the clip by dragging the white circles in and out and move freehand around the screen.
Step 7. Save and export video
Once you are happy with your video, click the Export button on the top right corner of your screen. Select your exporting resolution and click Continue to save video. If you are wanting the best quality, we recommend exporting in 1080p, with maximum resolution selected.
Bonus Tip: Learn how to add cool effects!
If you’re wanting to take your video one step further, check out our How to add motion titles to videos and slideshows blog! We have created an easy to follow video tutorial and step by step guide on how to add motion titles to your video project.
We hope this blog has taught you some great tips and tricks on how to crop and resize video. We can’t wait to see what you create!


