On this page
Enabling accessible video is a priority at Clipchamp. We’ve launched autocaptions and keyboard video editing, and now we’ve created a new range of American Sign Language (ASL) video stickers to help anyone make accessible videos for work, school or social media.
These animated sign language stickers can be used side by side with your video content or as standalone video clips to convey meaning to the deaf and hard of hearing community. These 16 ASL stickers are available to all Clipchamp users for free and are available in three inclusive skin-tones.
Keep reading to explore where to find and how to use ASL stickers to make accessible videos in Clipchamp.
How to use ASL stickers
Step 1. Locate the sign language animations
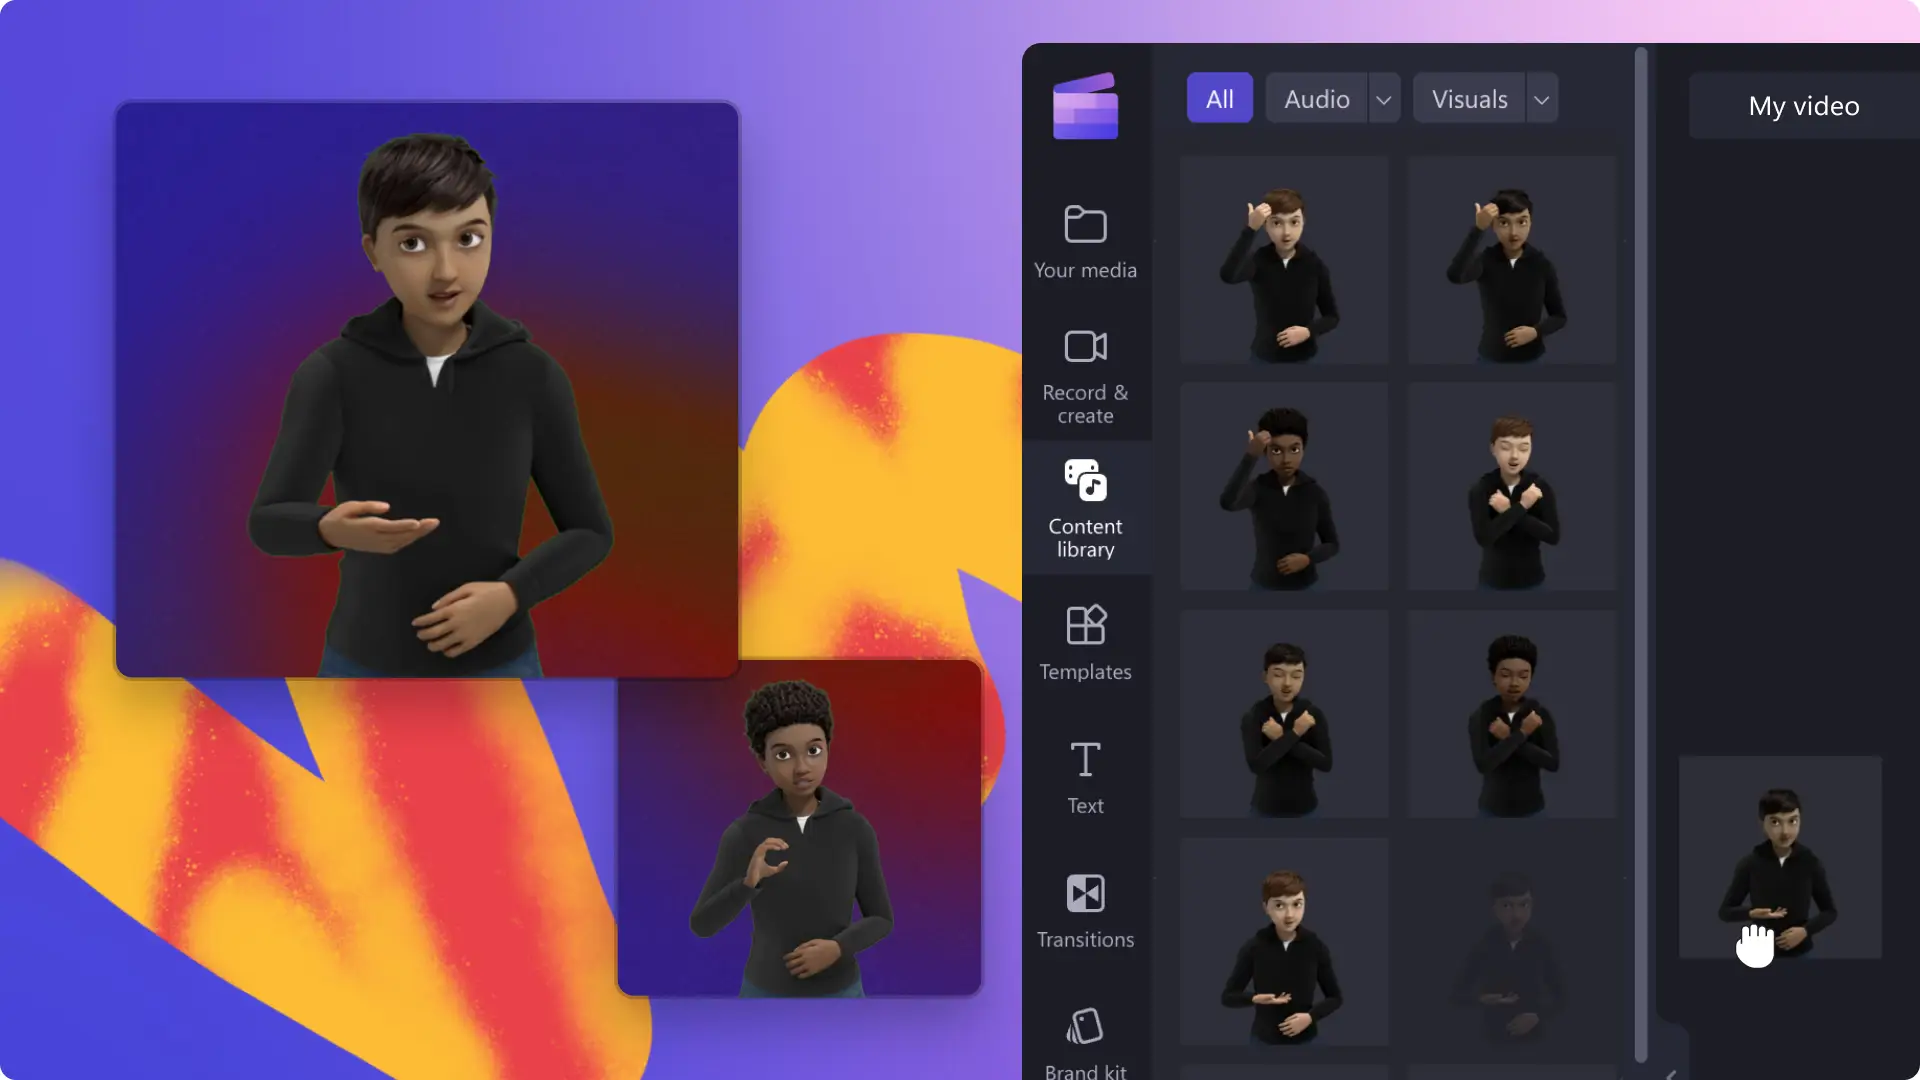
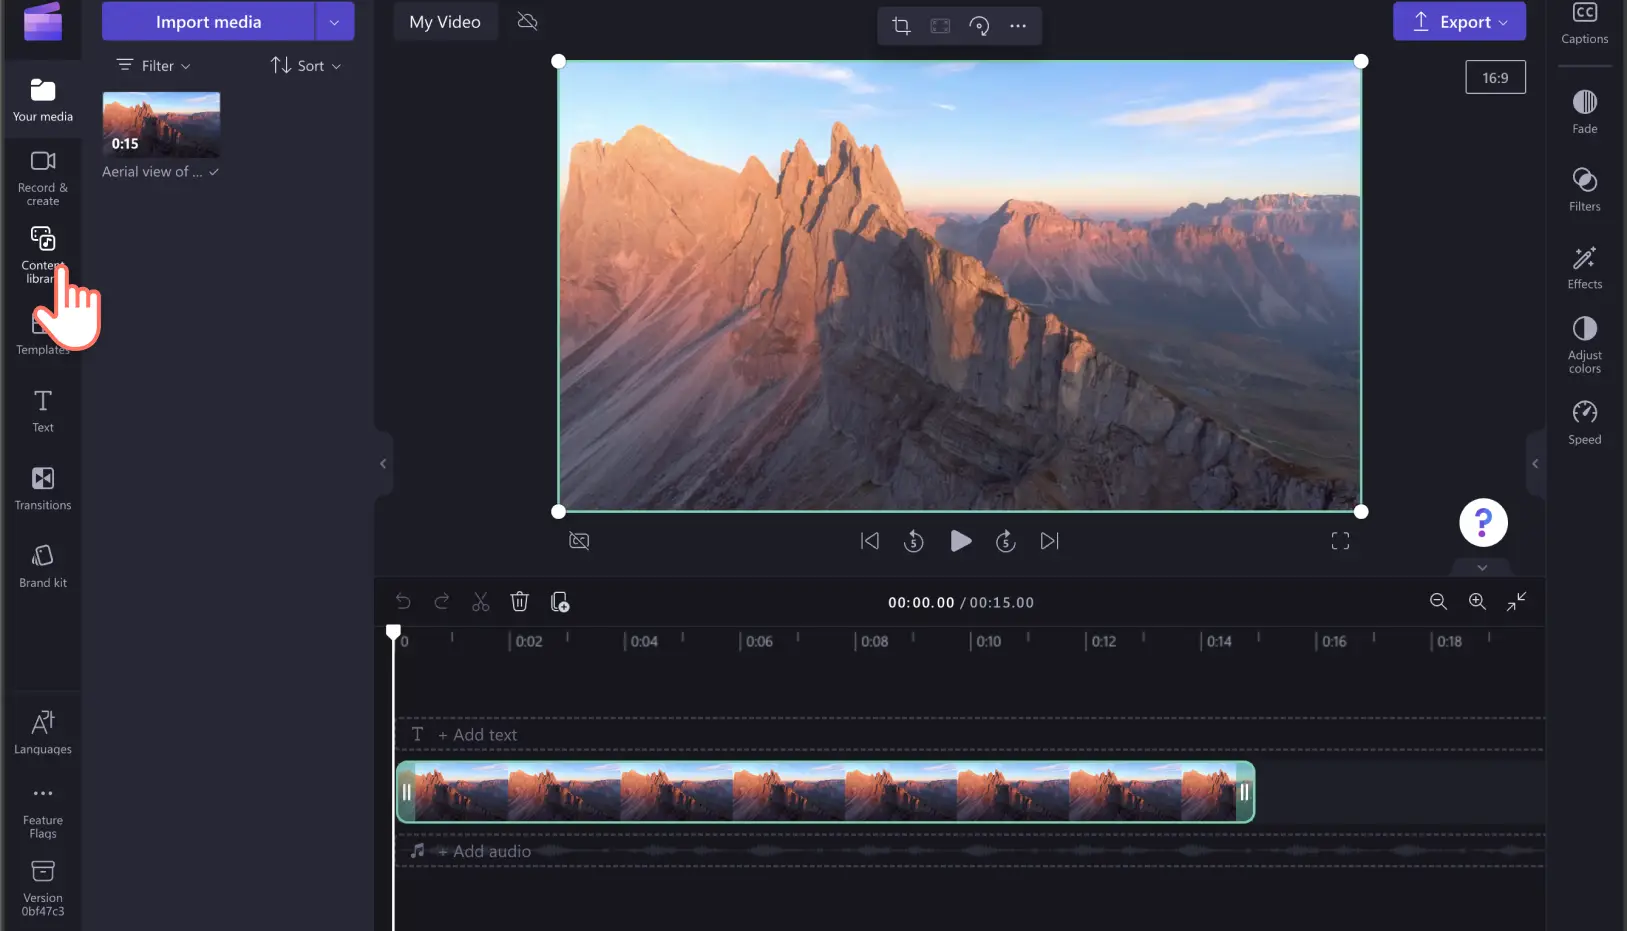
To locate ASL stickers, click on the content library tab on the toolbar.
Type ‘ASL’ on the search bar and choose the stickers option.
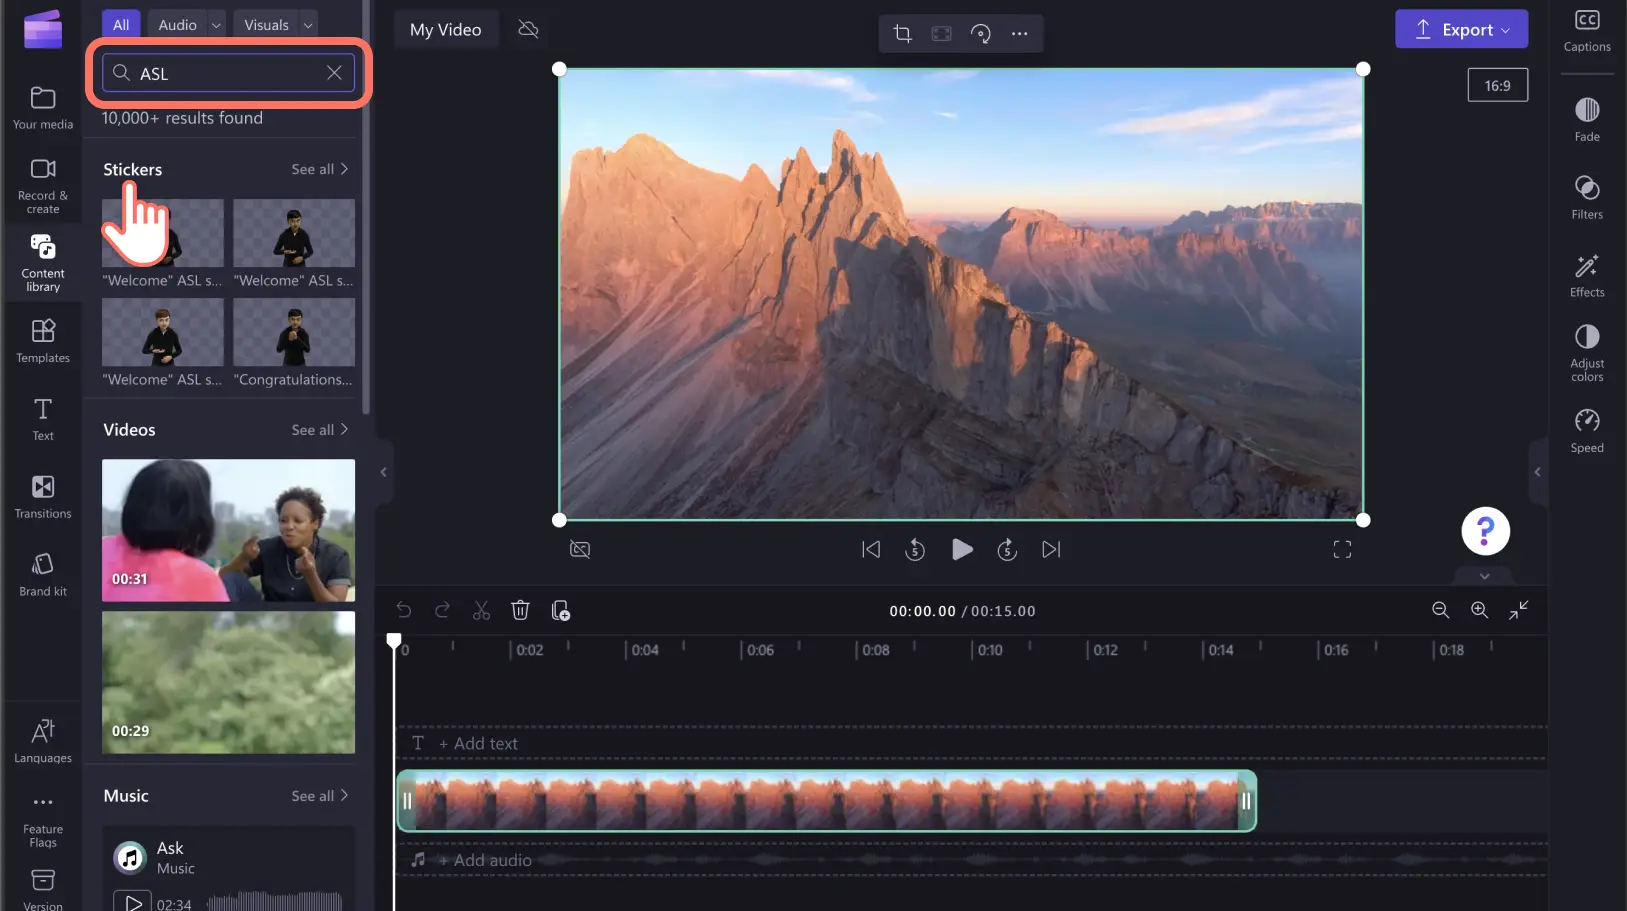
Browse through the ASL sticker options. To preview each sign language, hover your cursor over the sticker.

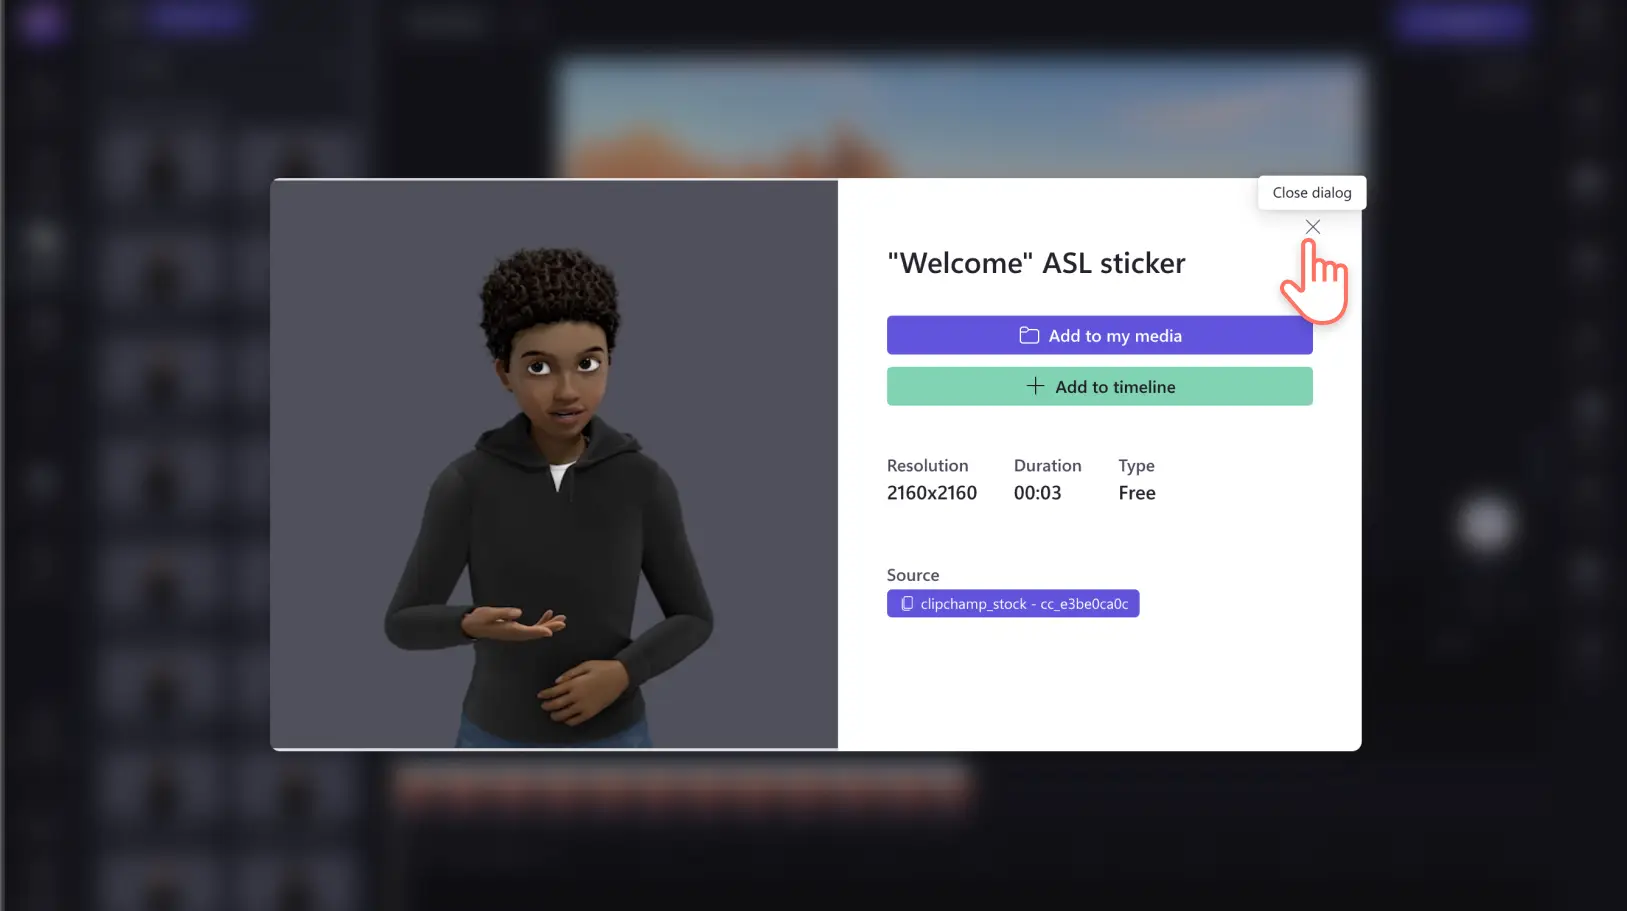
You can also click on the sticker for an enlarged preview, then just click on the x at the upper right corner to close the dialog.
Step 2. Add an ASL sticker to your video
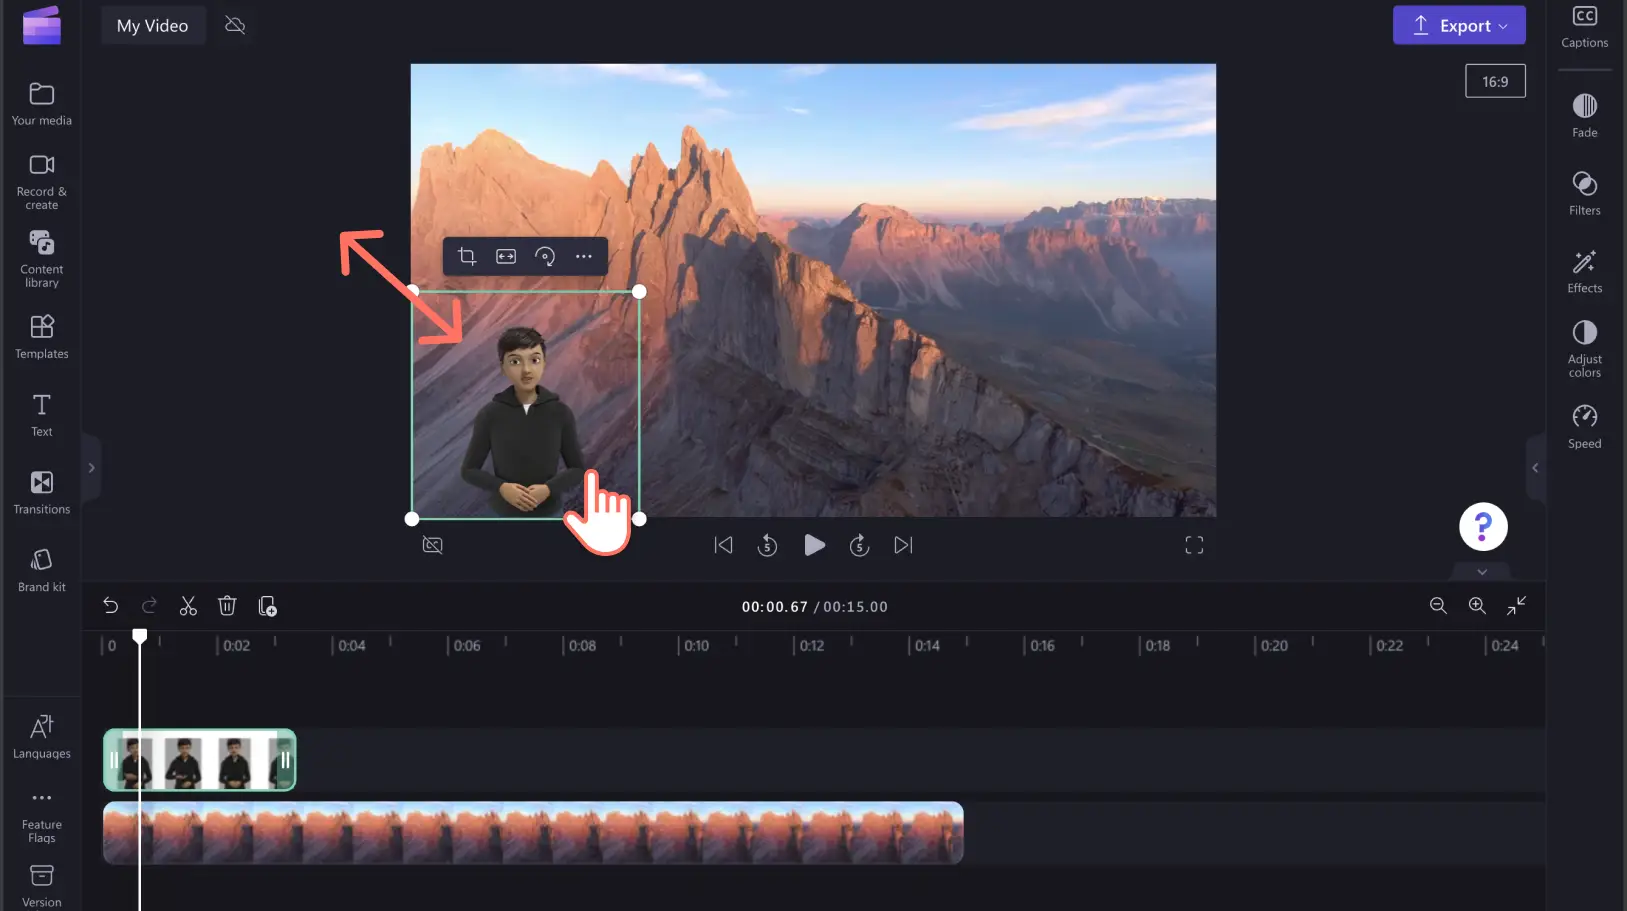
There are three different ways and styles you can add animated sign language avatars to your videos. Either use an ASL sticker as an overlay, standalone clip, or by using the split-screen layout. Start by dragging and dropping an ASL sticker onto the timeline.
A) ASL sticker overlay
To add your ASL sticker as an overlay, drag and drop the ASL sticker on top of your video footage on the timeline. Freely move the sticker around the video preview to find the right location. You can also use the corners to edit the size of your ASL sticker overlay.
B) ASL sticker standalone clip
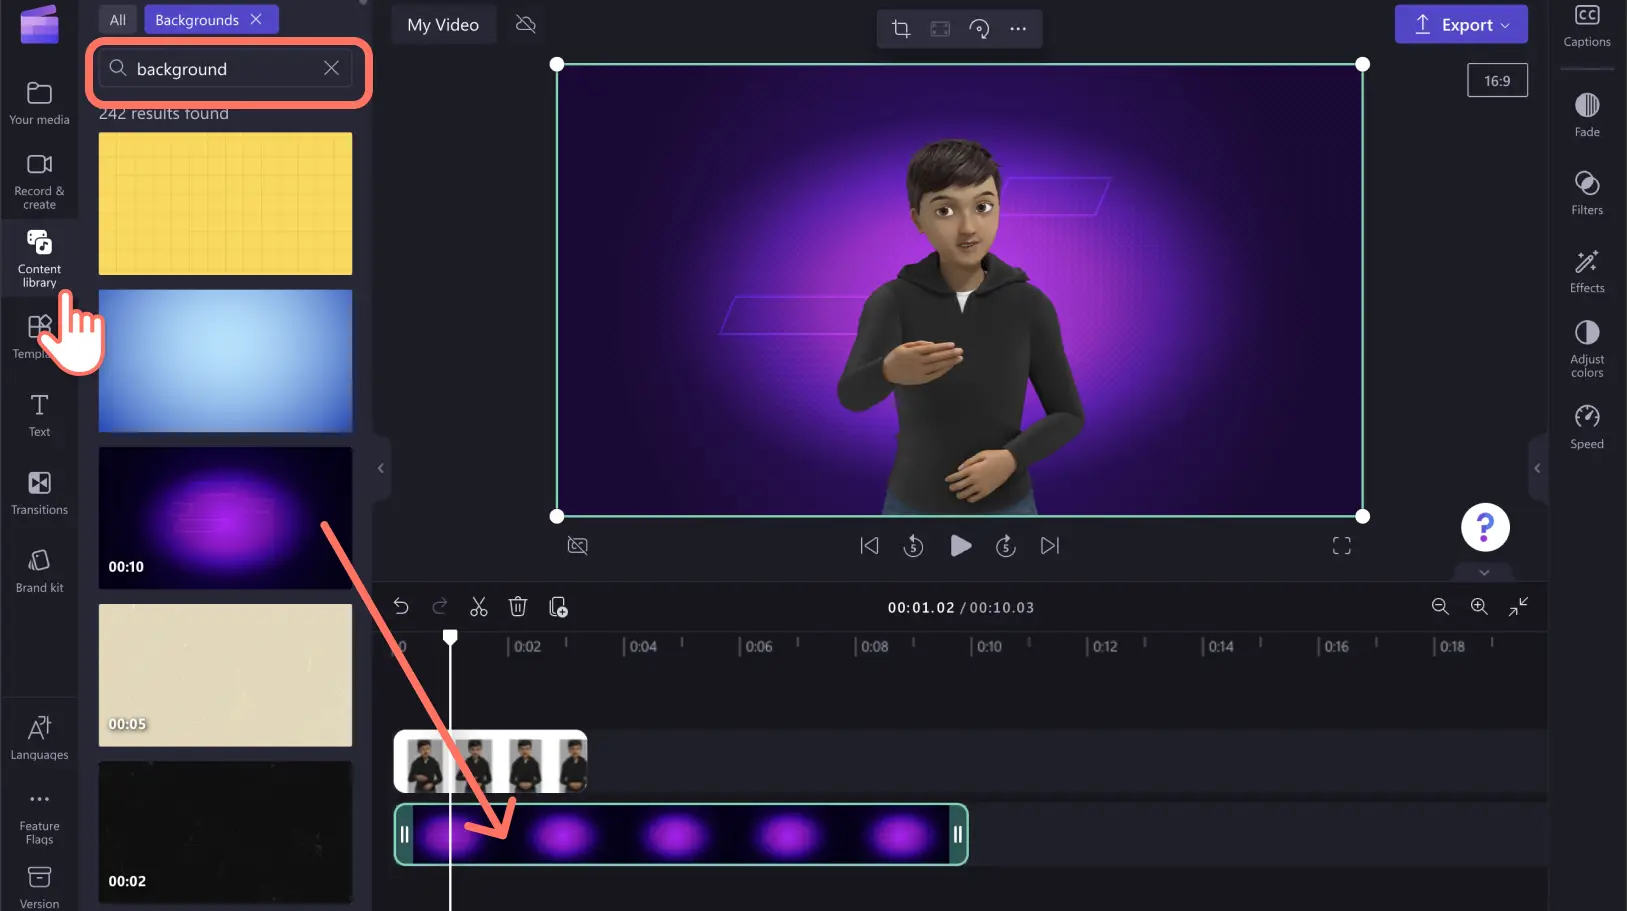
To turn your ASL sticker into a standalone clip, add a solid background to your timeline below the ASL sticker asset. Click on the content library tab on the toolbar and click on the backgrounds option. Drag and drop a background onto the timeline below your ASL sticker.
C) Split screen effect ASL stickers
To put your ASL sticker side by side a video, drag and drop a video onto the timeline below your ASL sticker asset. Click on the ASL media on your timeline so it’s highlighted in green. On the video preview, click on your ASL sticker and freely drag the media over to the left or right side of the screen, centering the media using the on-screen prompts.
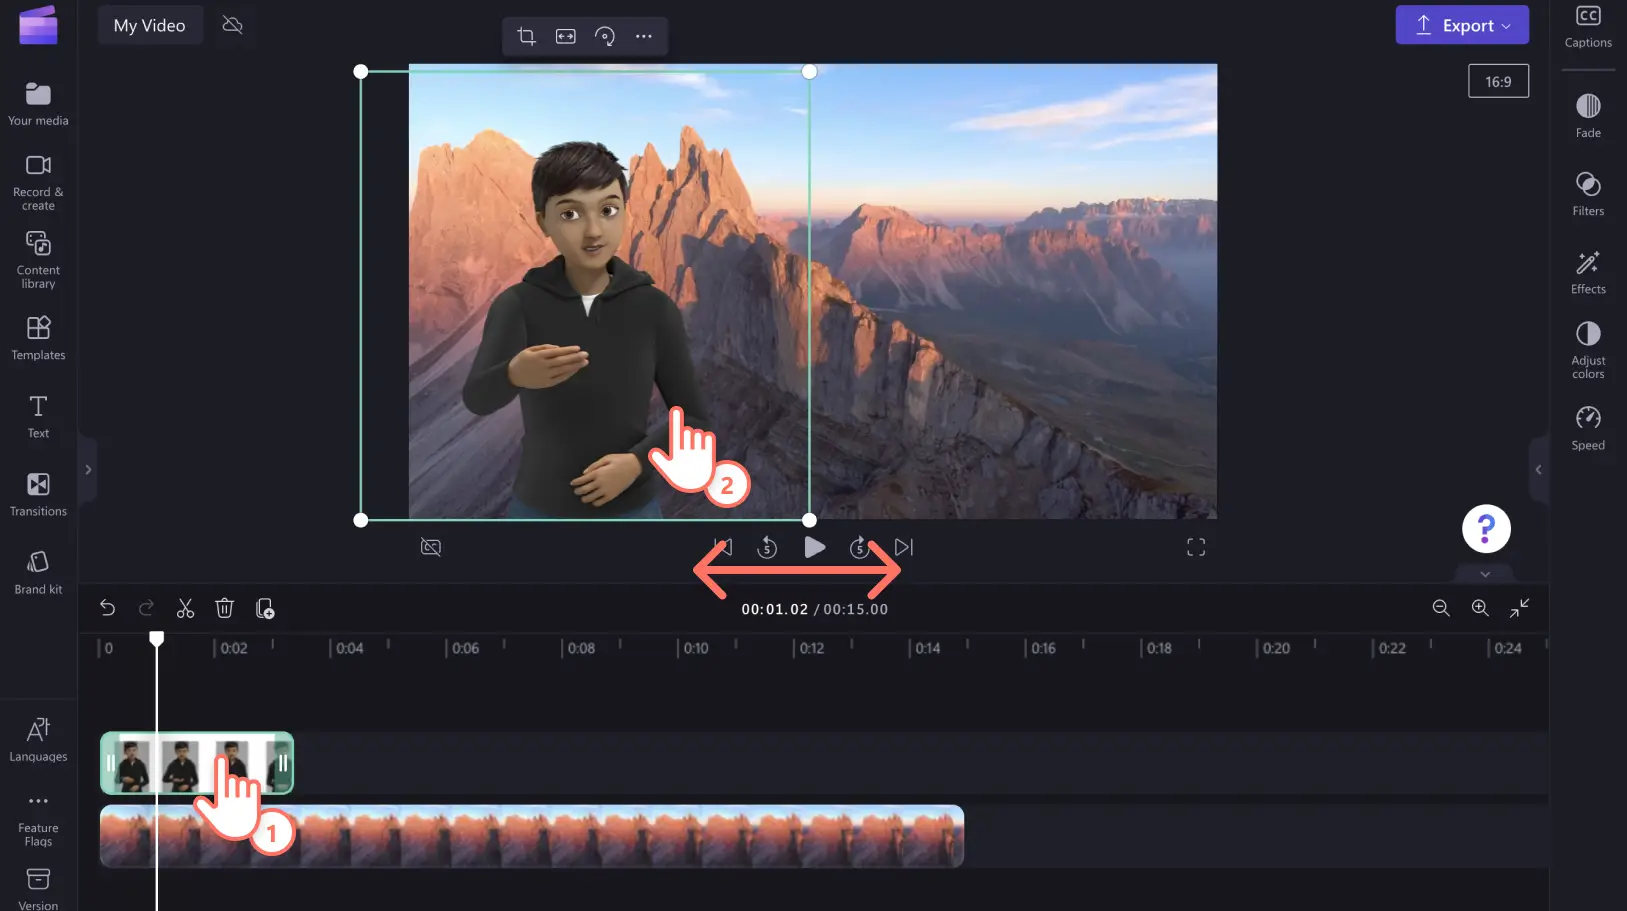
Next, using the same method, move the other video on your timeline to the side of your video preview. In this case, we’re moving the video to the right of the screen.
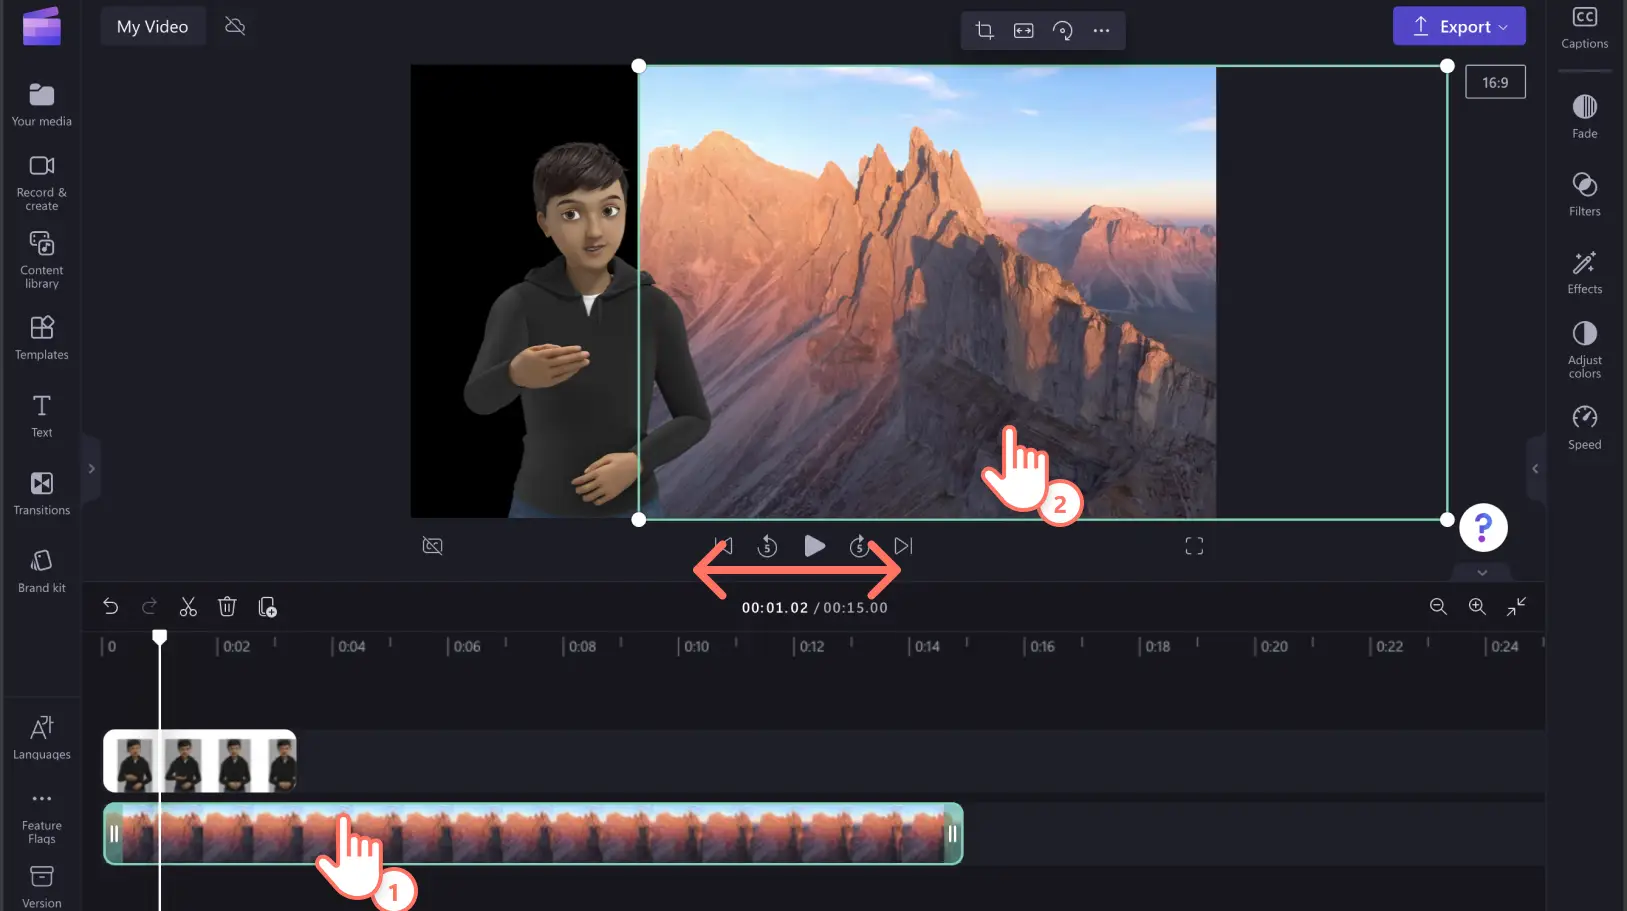
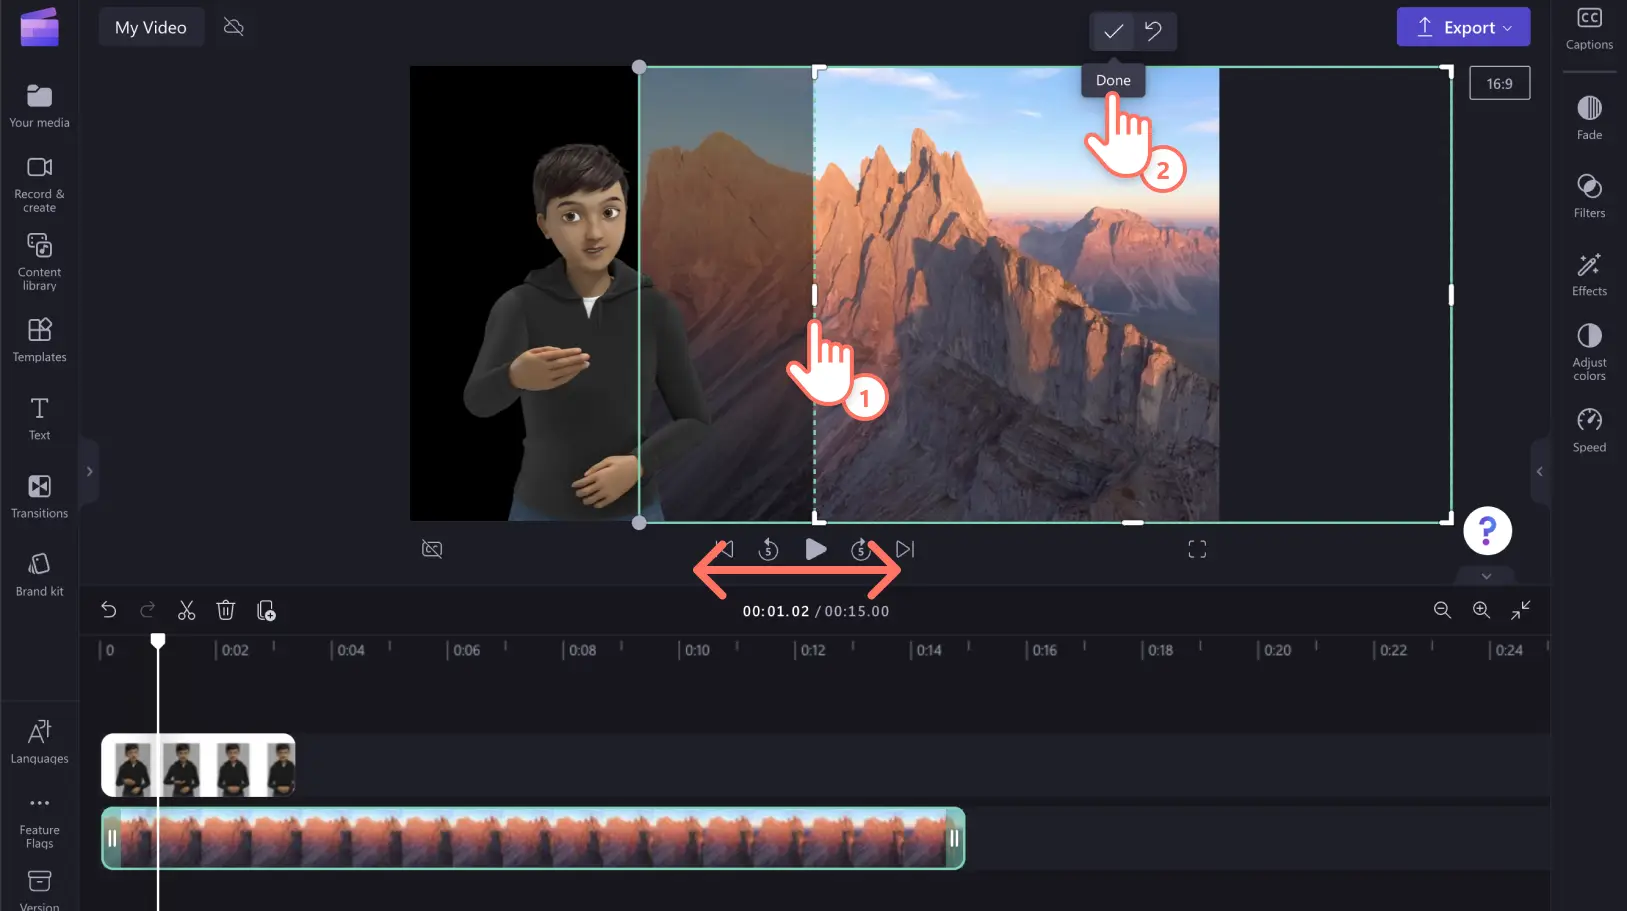
You might have to crop your video. Click on the crop button on the floating toolbar.
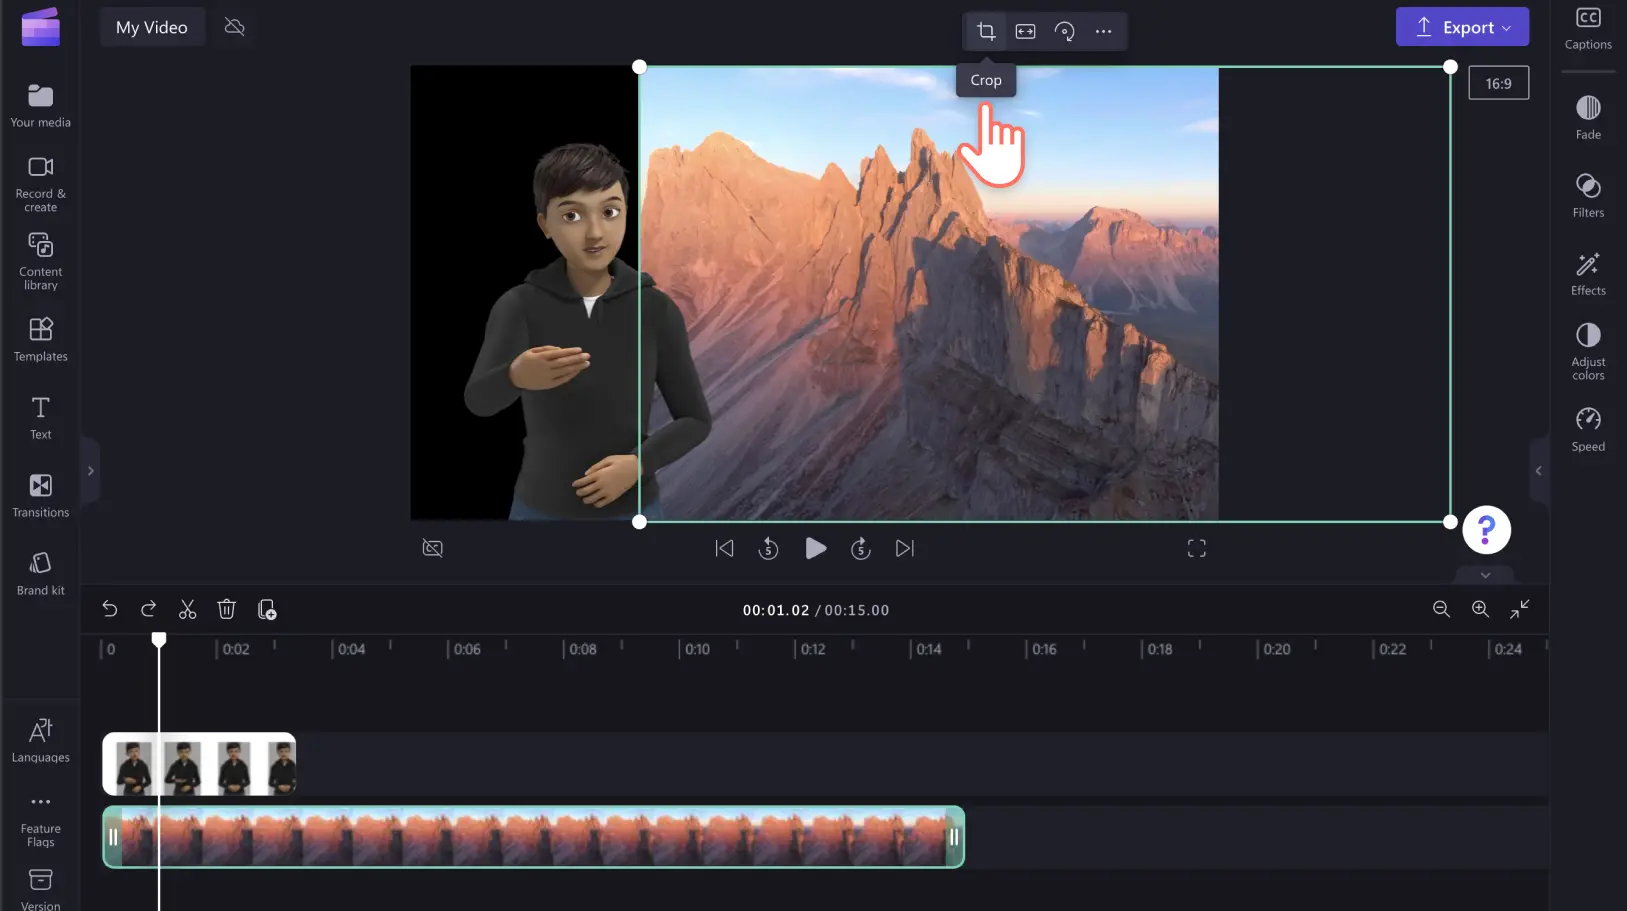
Crop your video to the center of your video preview by dragging the handles. Click done when you’re ready to crop.
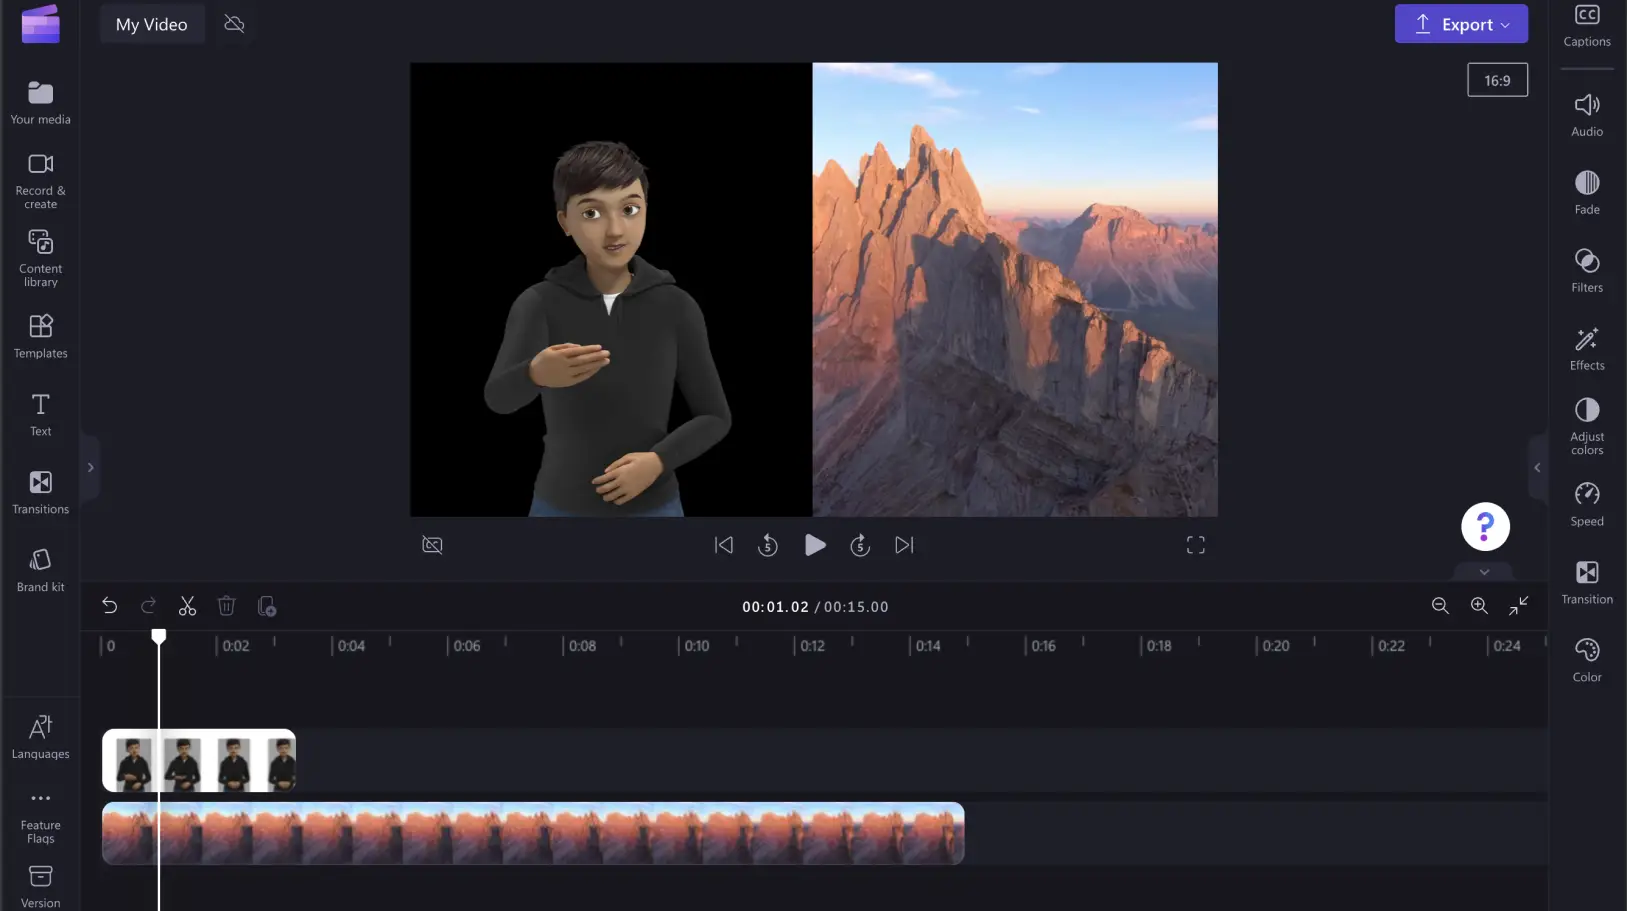
Your video should now look like this.
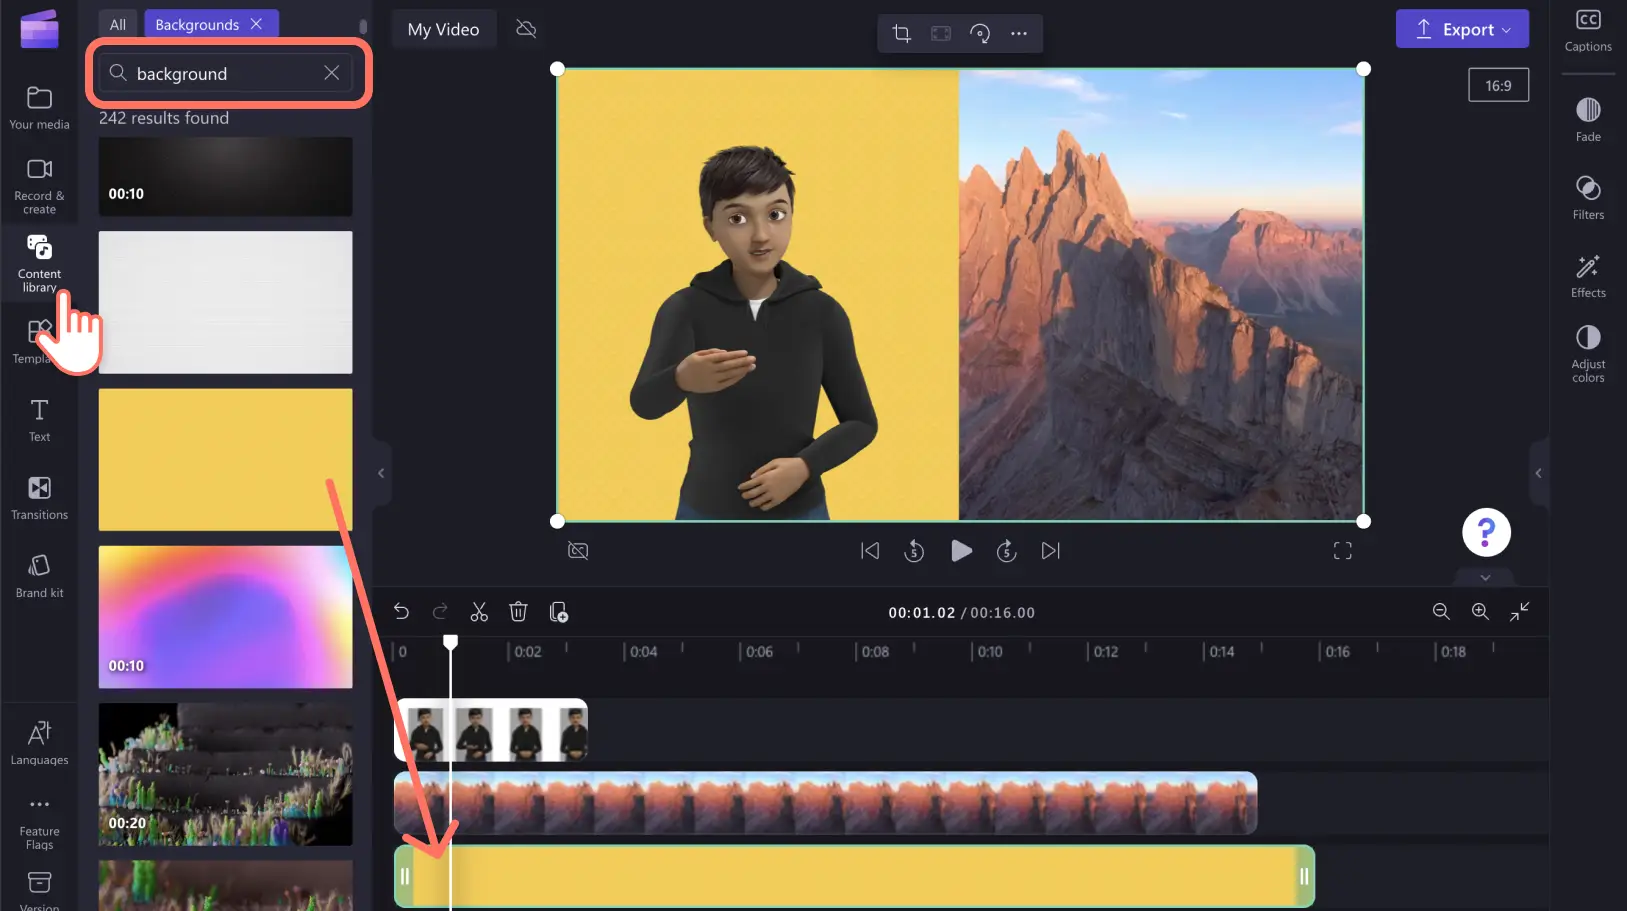
Add in a background to the ASL sticker if you would like to change it to a color or print instead of black. Click on the content library tab, search for ‘background’, and click on the backgrounds option. Drag and drop your chosen background onto the timeline below your video clip.
Step 3. Preview and save your accessible video
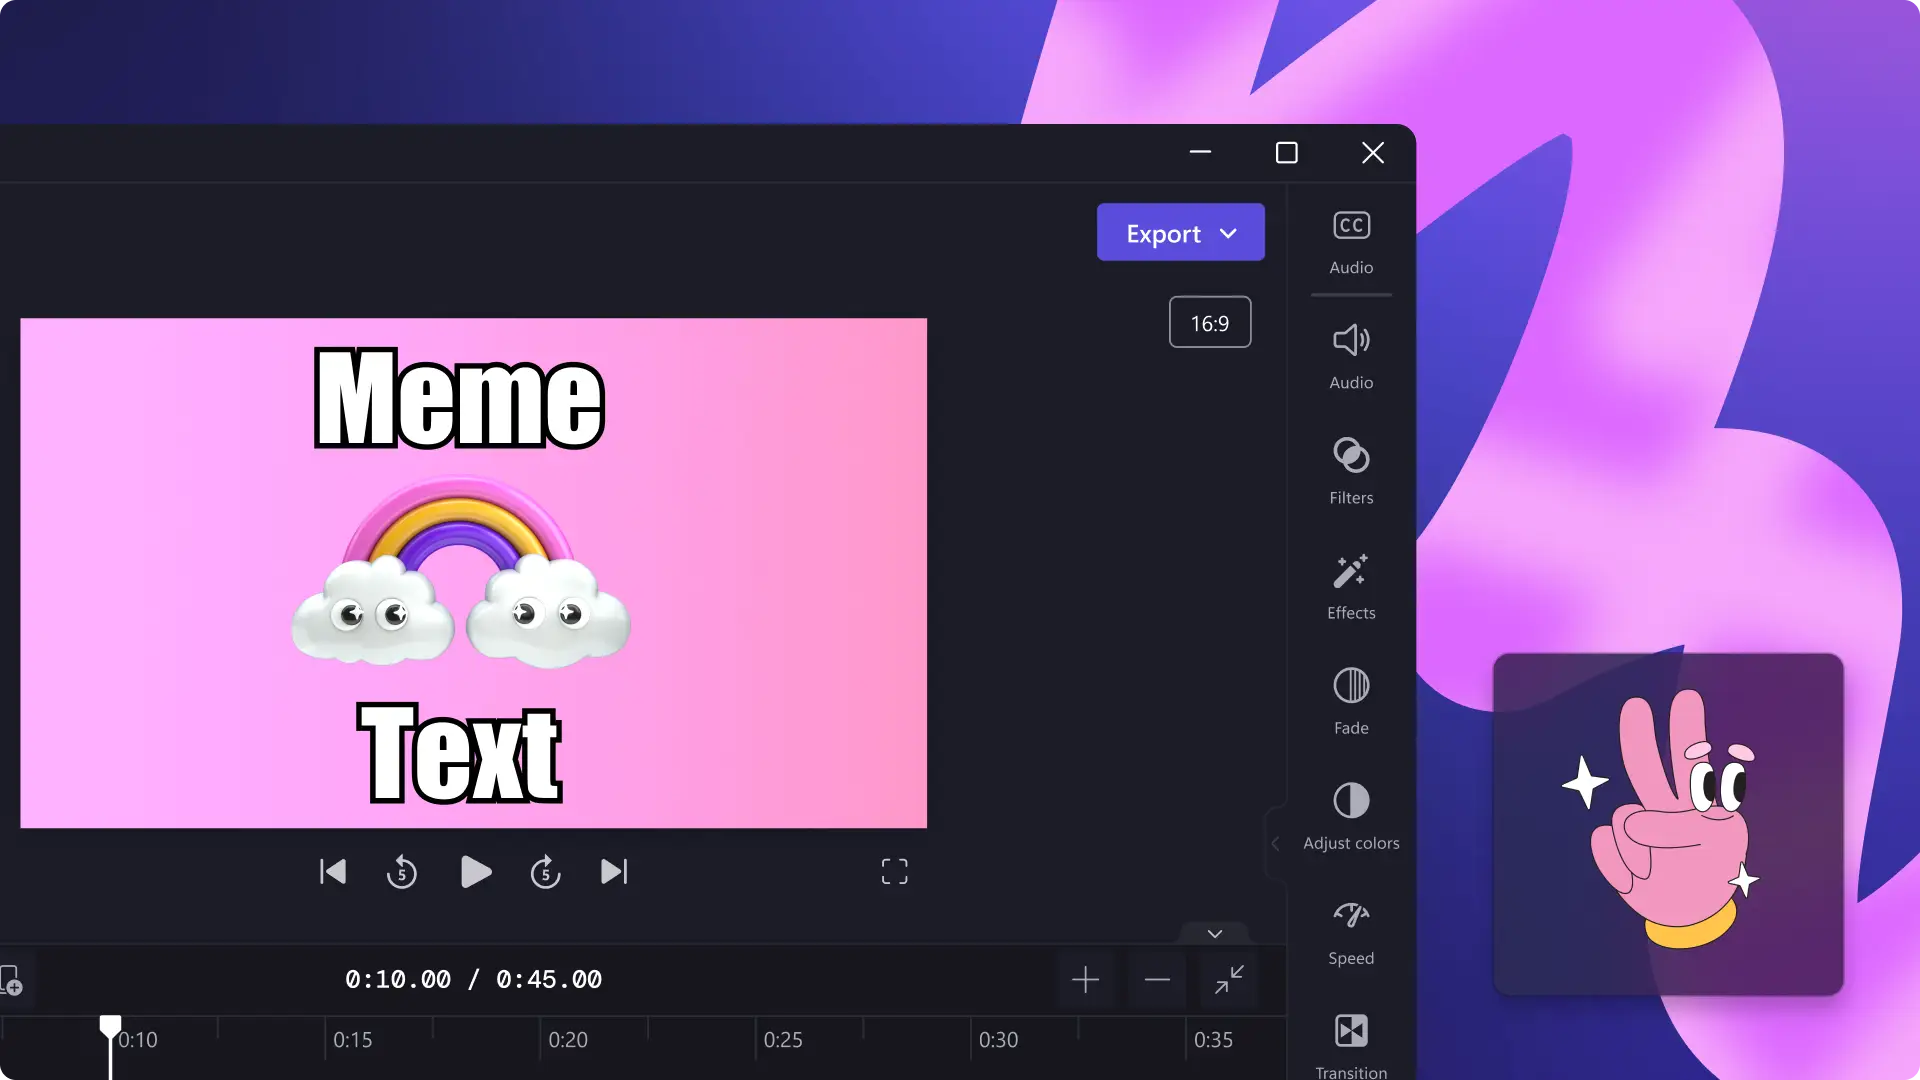
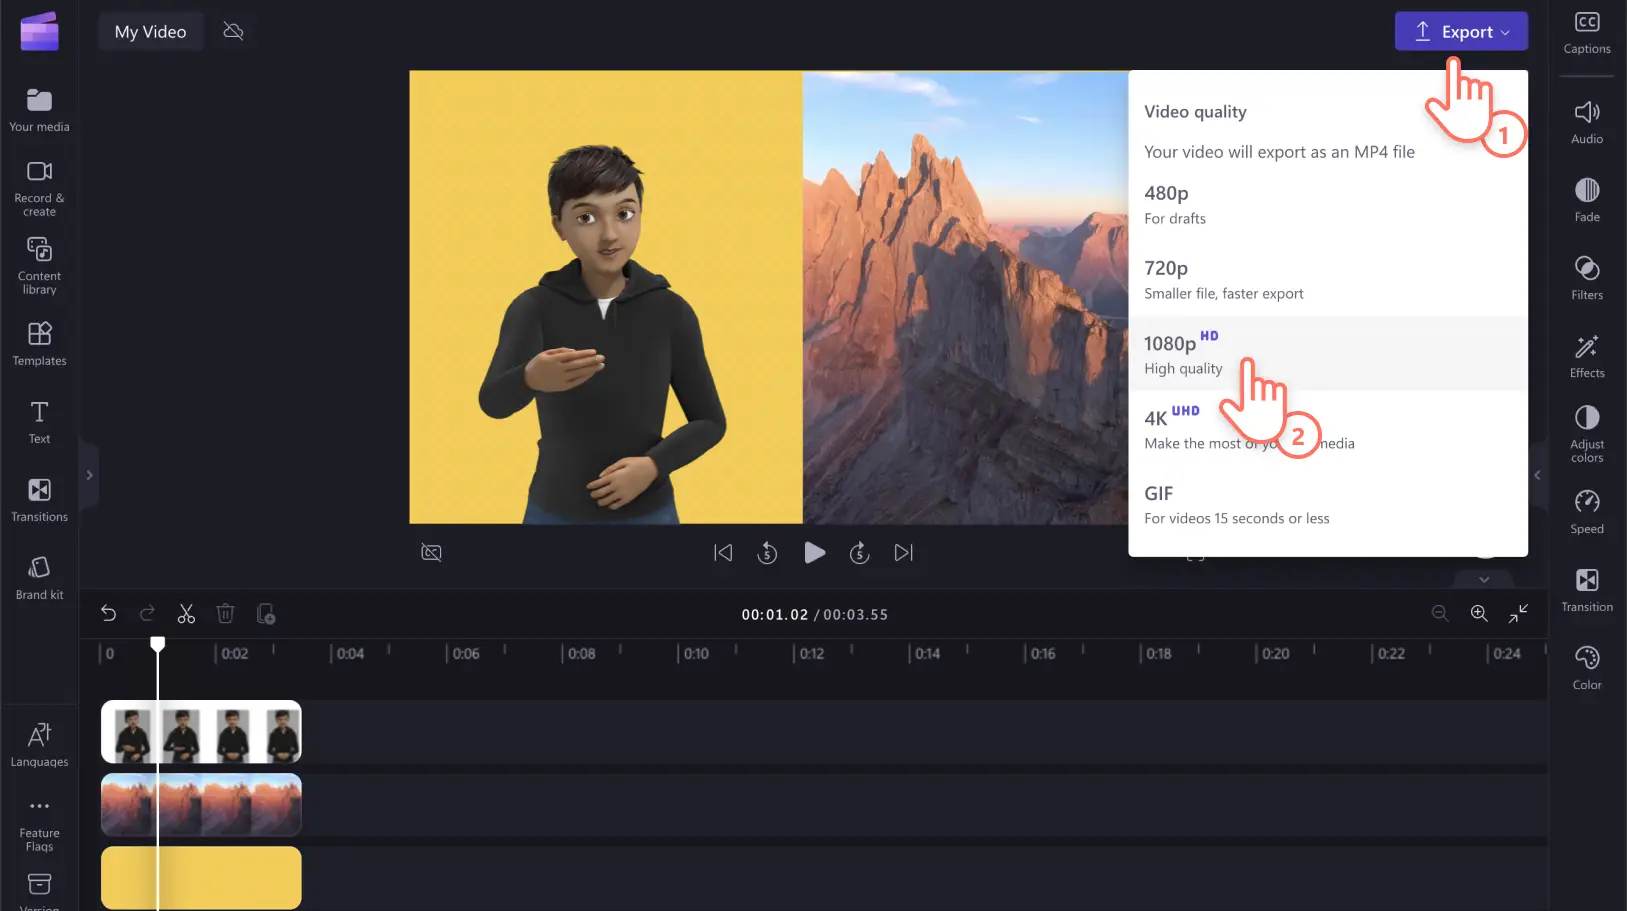
Make sure to preview by clicking on the play button. When you’re ready to save, click on the export button and select a video resolution. We recommend saving all videos in 1080p video resolution for the best quality. Paid subscribers can save in 4K video resolution.
Find more ways to create accessible videos with the free subtitle generator and explore how to create a video transcript. Explore the collection of unique animated stickers in Clipchamp.
Start promoting inclusivity and create accessible videos today with Clipchamp or download the Clipchamp Windows app.
Heads up! The screenshots in this article are from Clipchamp for personal accounts. The same principles apply to Clipchamp for work and school accounts.