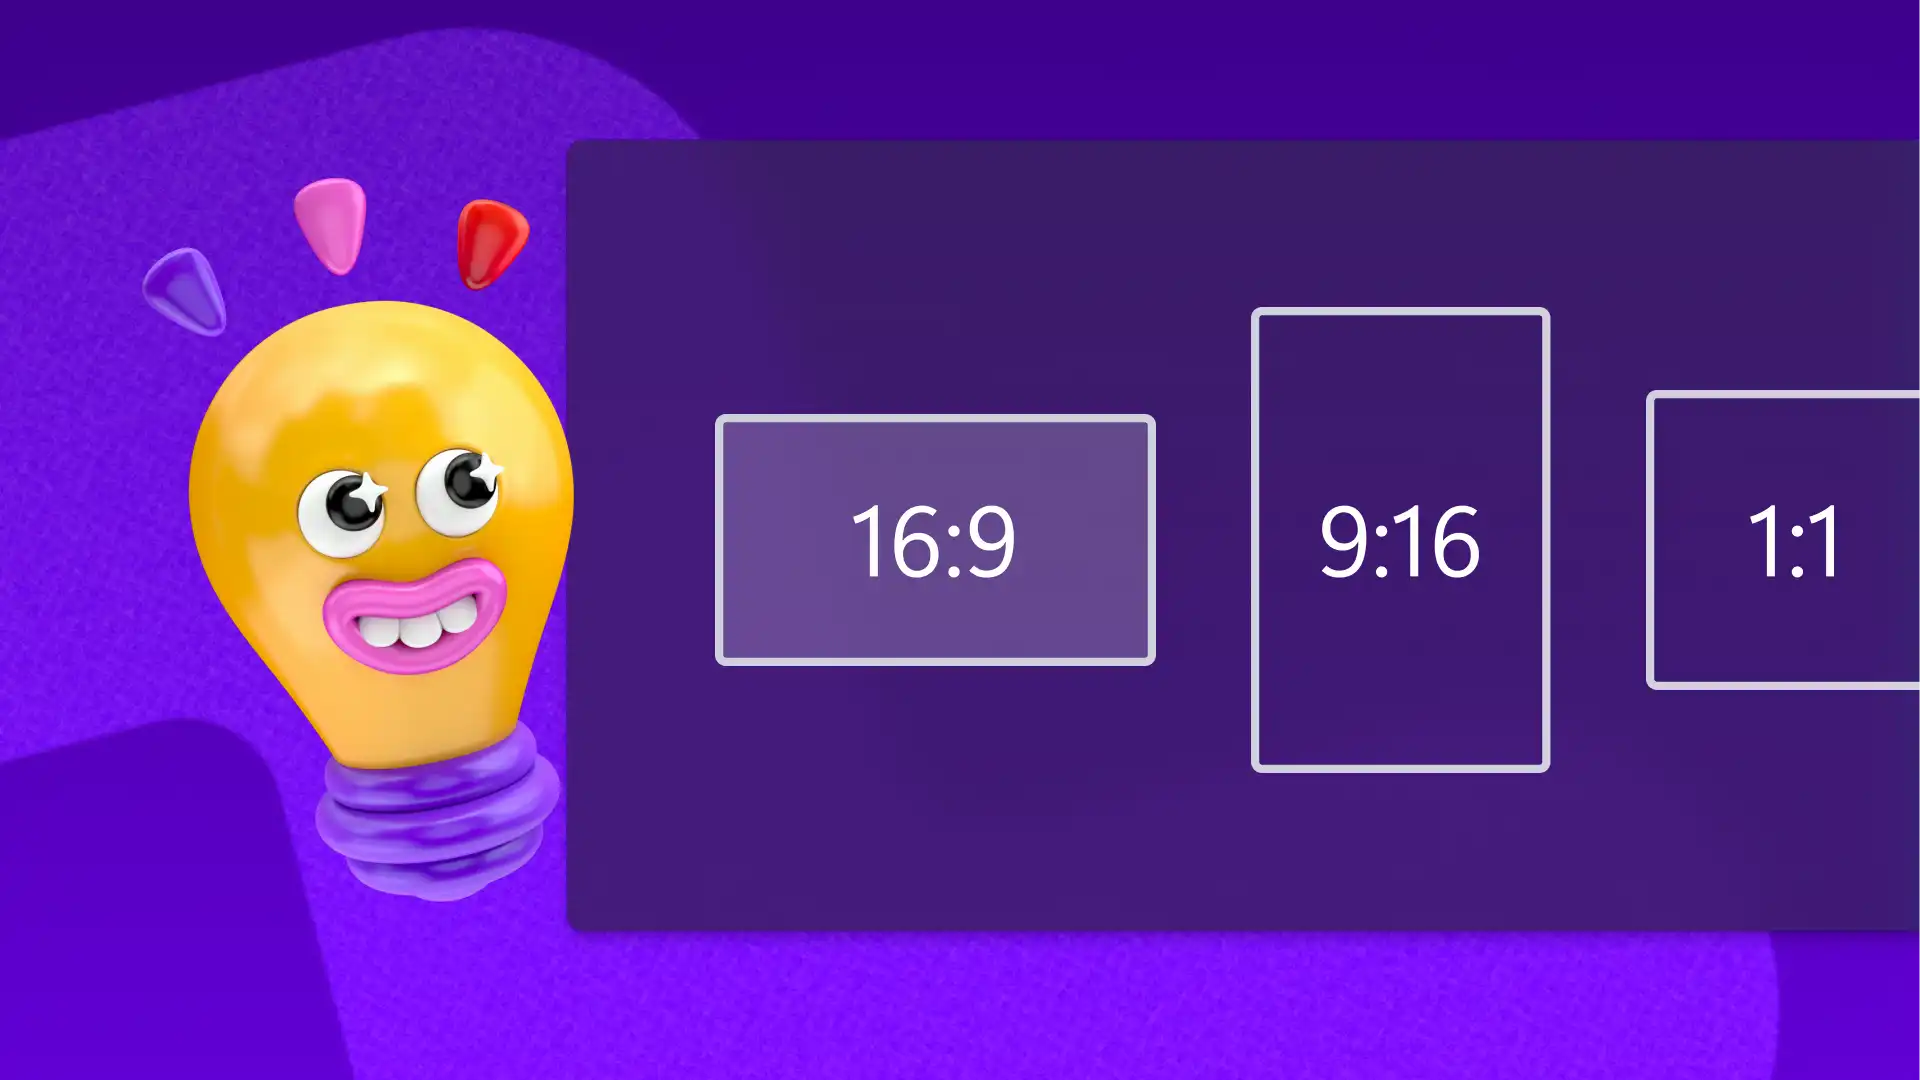
Crop visuals to fit any video size perfectly. Resize your videos and images manually or automatically so the dimensions are just right for YouTube, TikTok, Instagram, and other platforms.
You can even remove unwanted background footage, watermarks, and black borders, all without sacrificing video quality or warping the aspect ratio.
Learn how to easily crop videos, images, and GIFS for free in Clipchamp video editor.
How to crop a video in Clipchamp
Step 1. Import or select a stock video
Upload your own videos by clicking on the import media button in the your media tab on the toolbar, or connect your OneDrive.
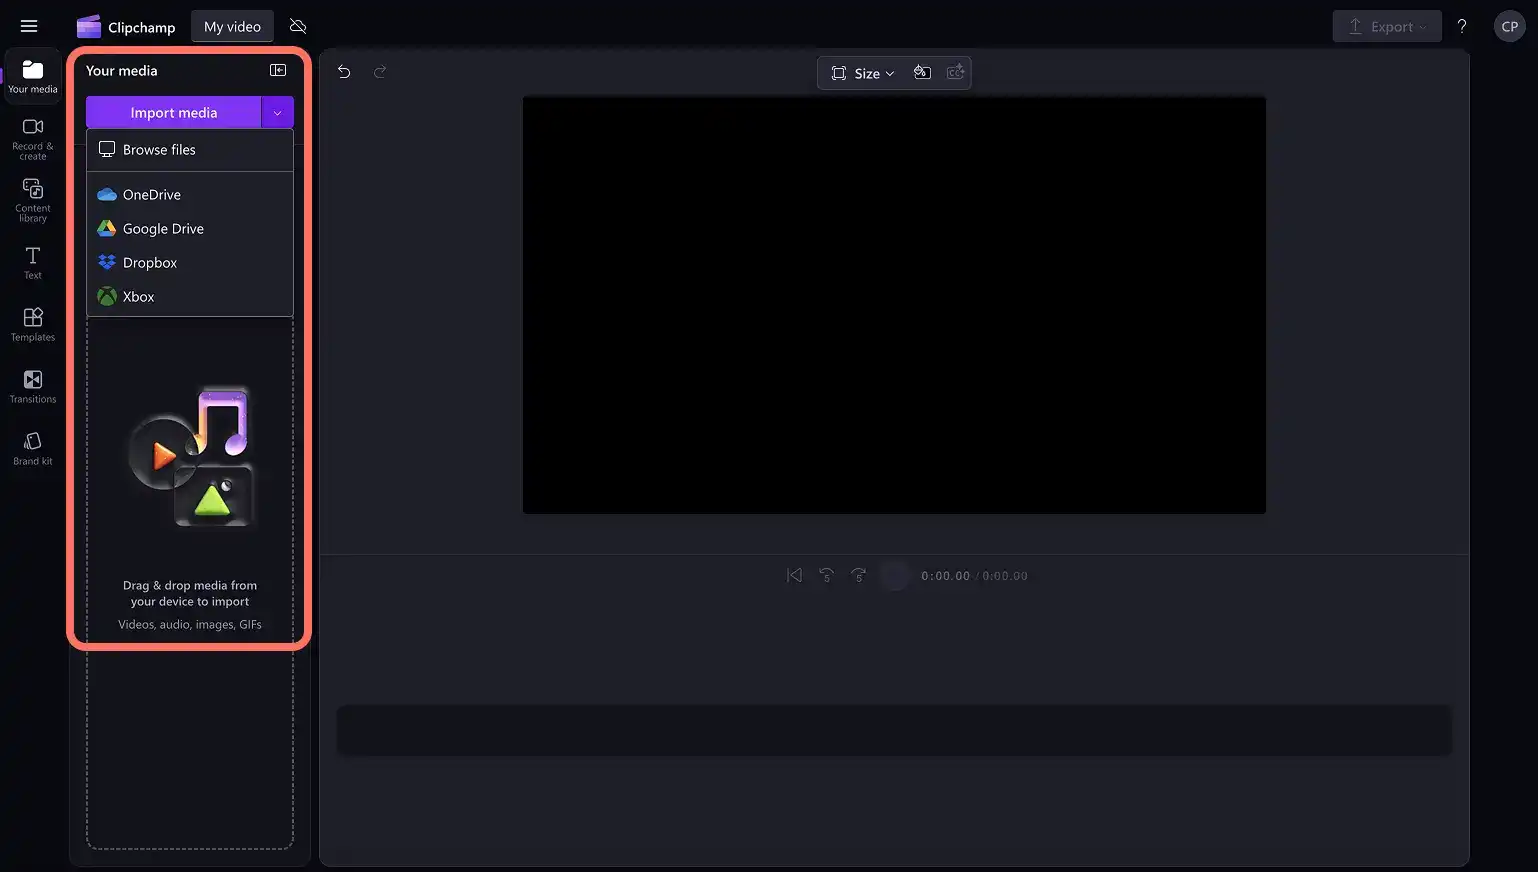
You can also use royalty-free stock videos. Click on the content library tab on the toolbar then click on the visuals drop down arrow and browse by category or enter keywords into the search bar.
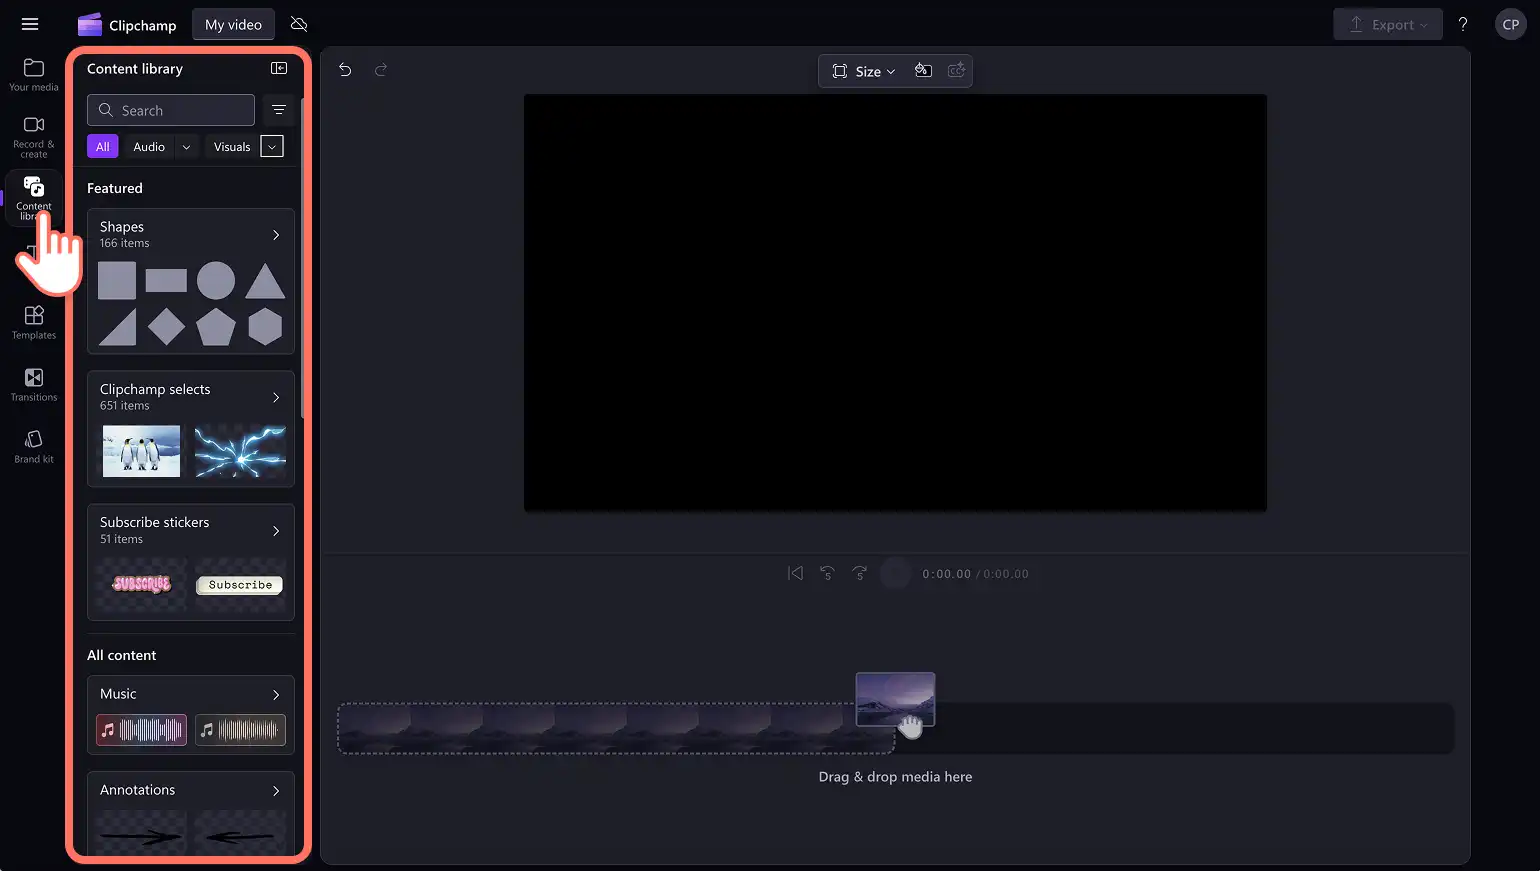
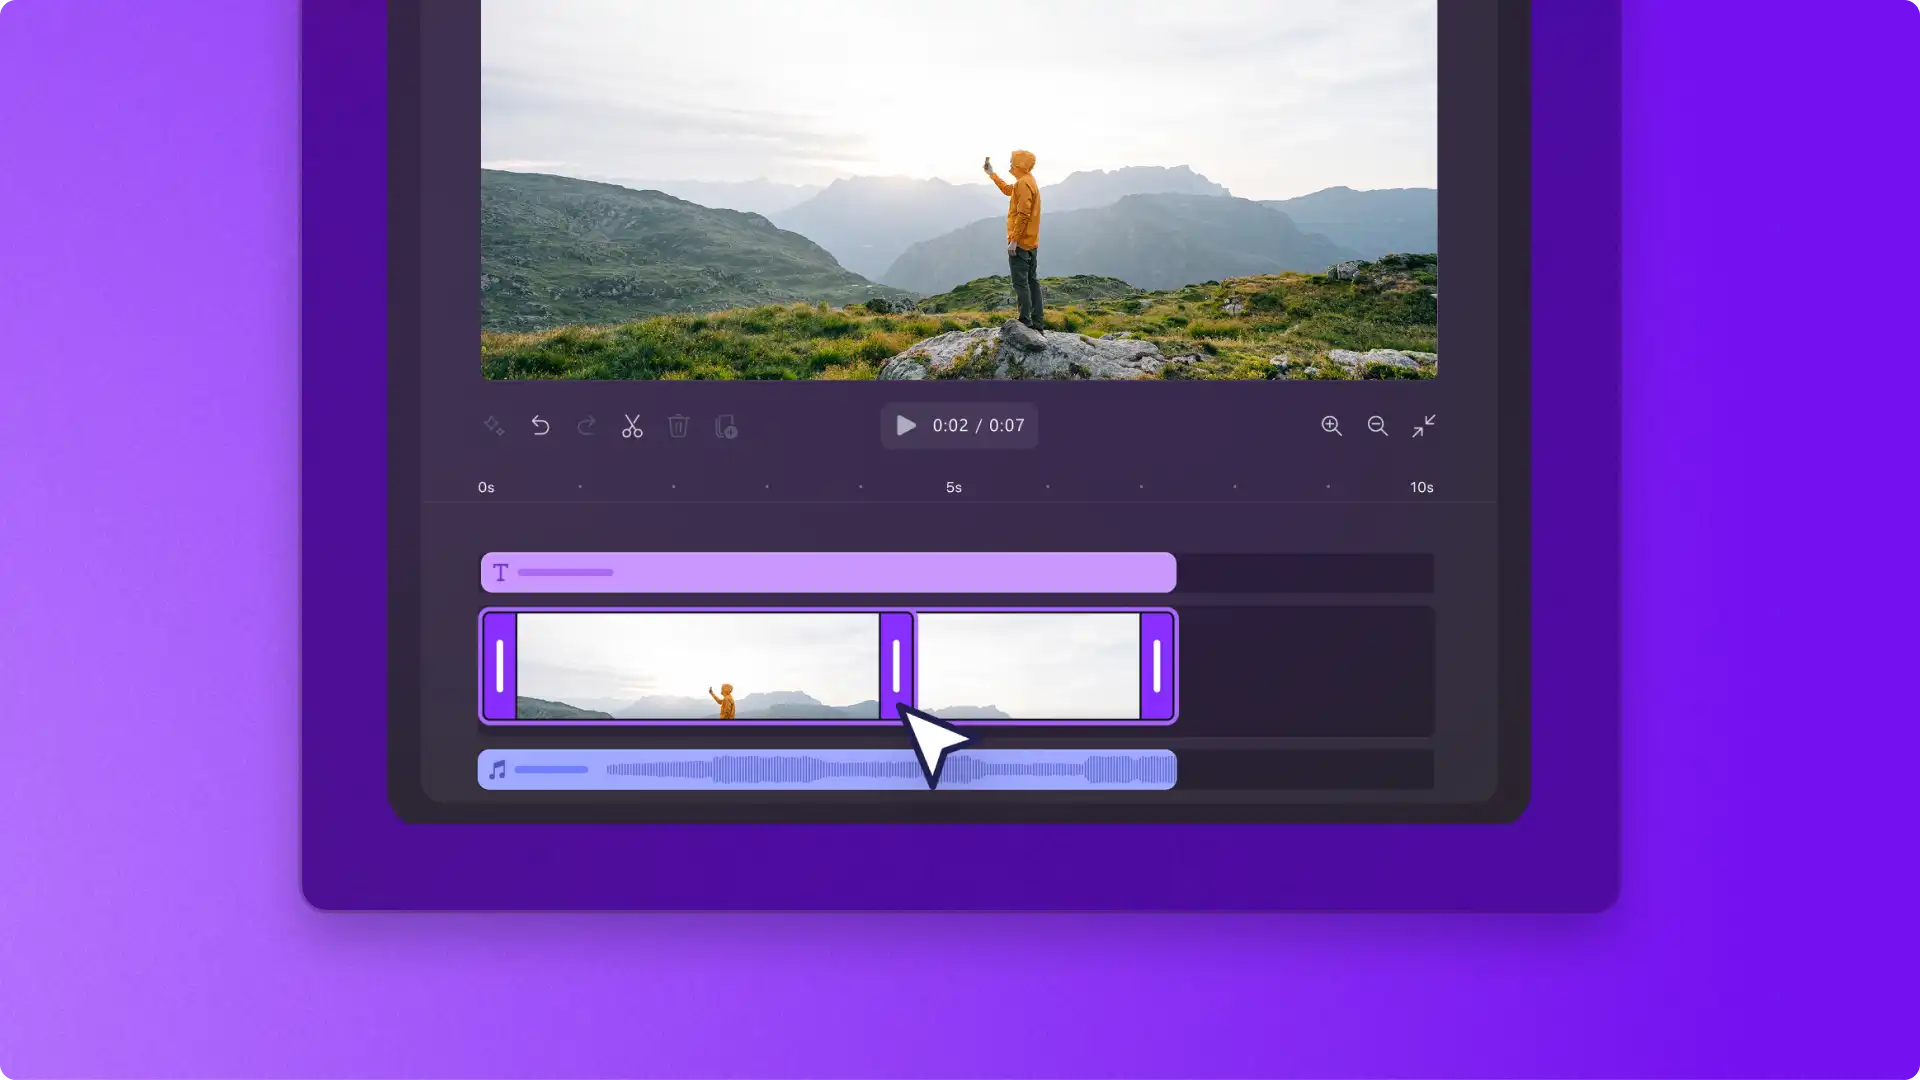
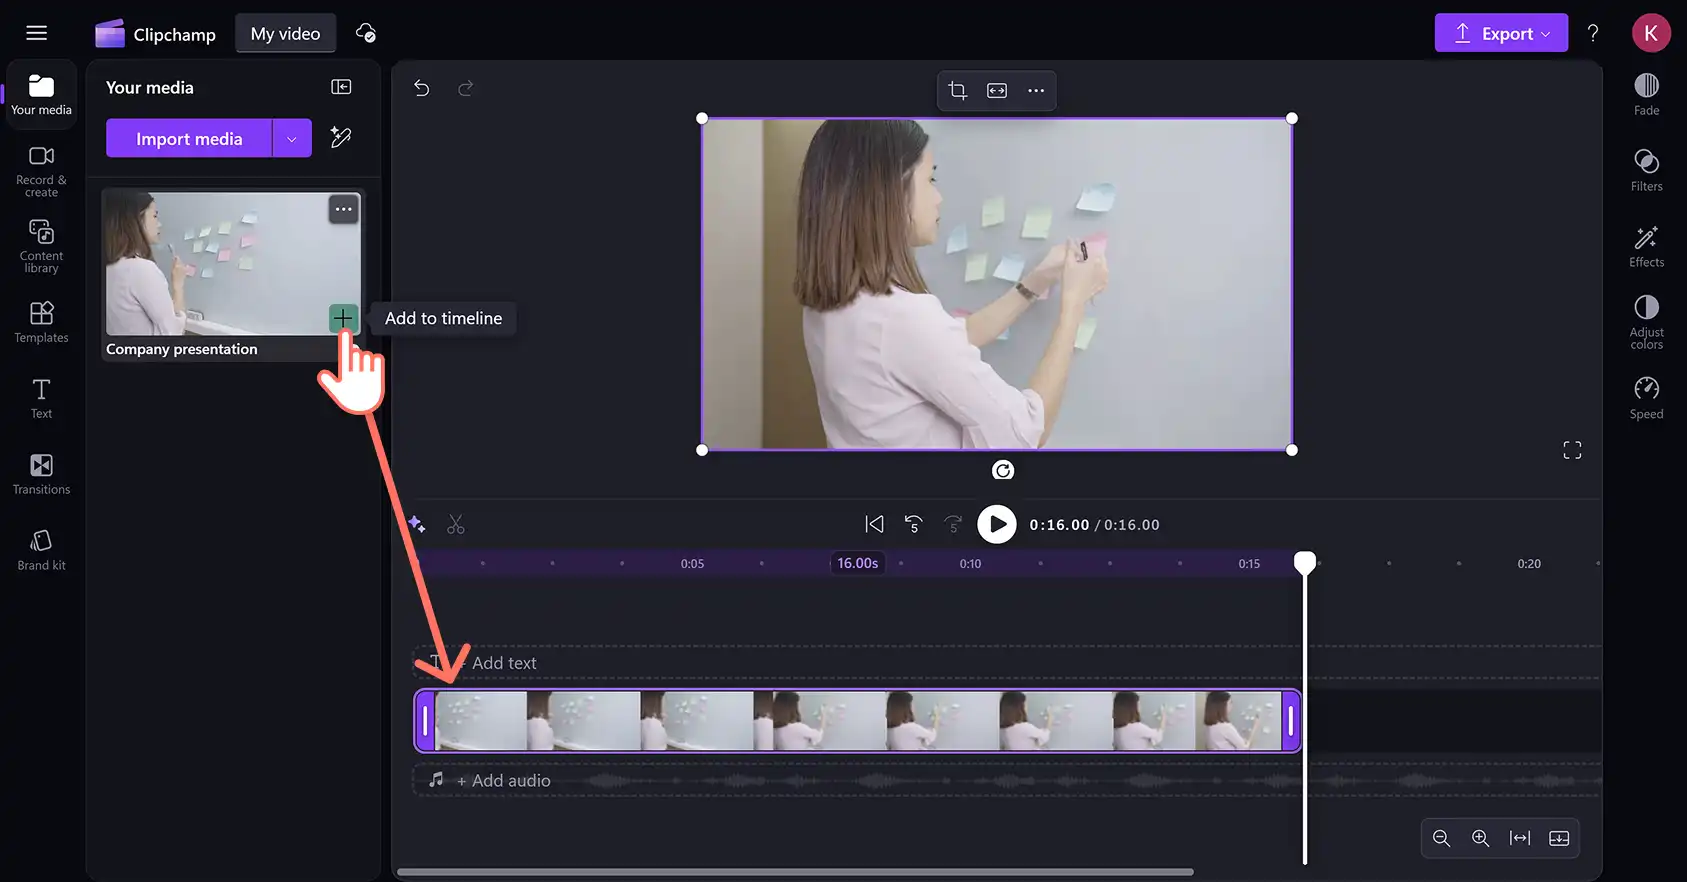
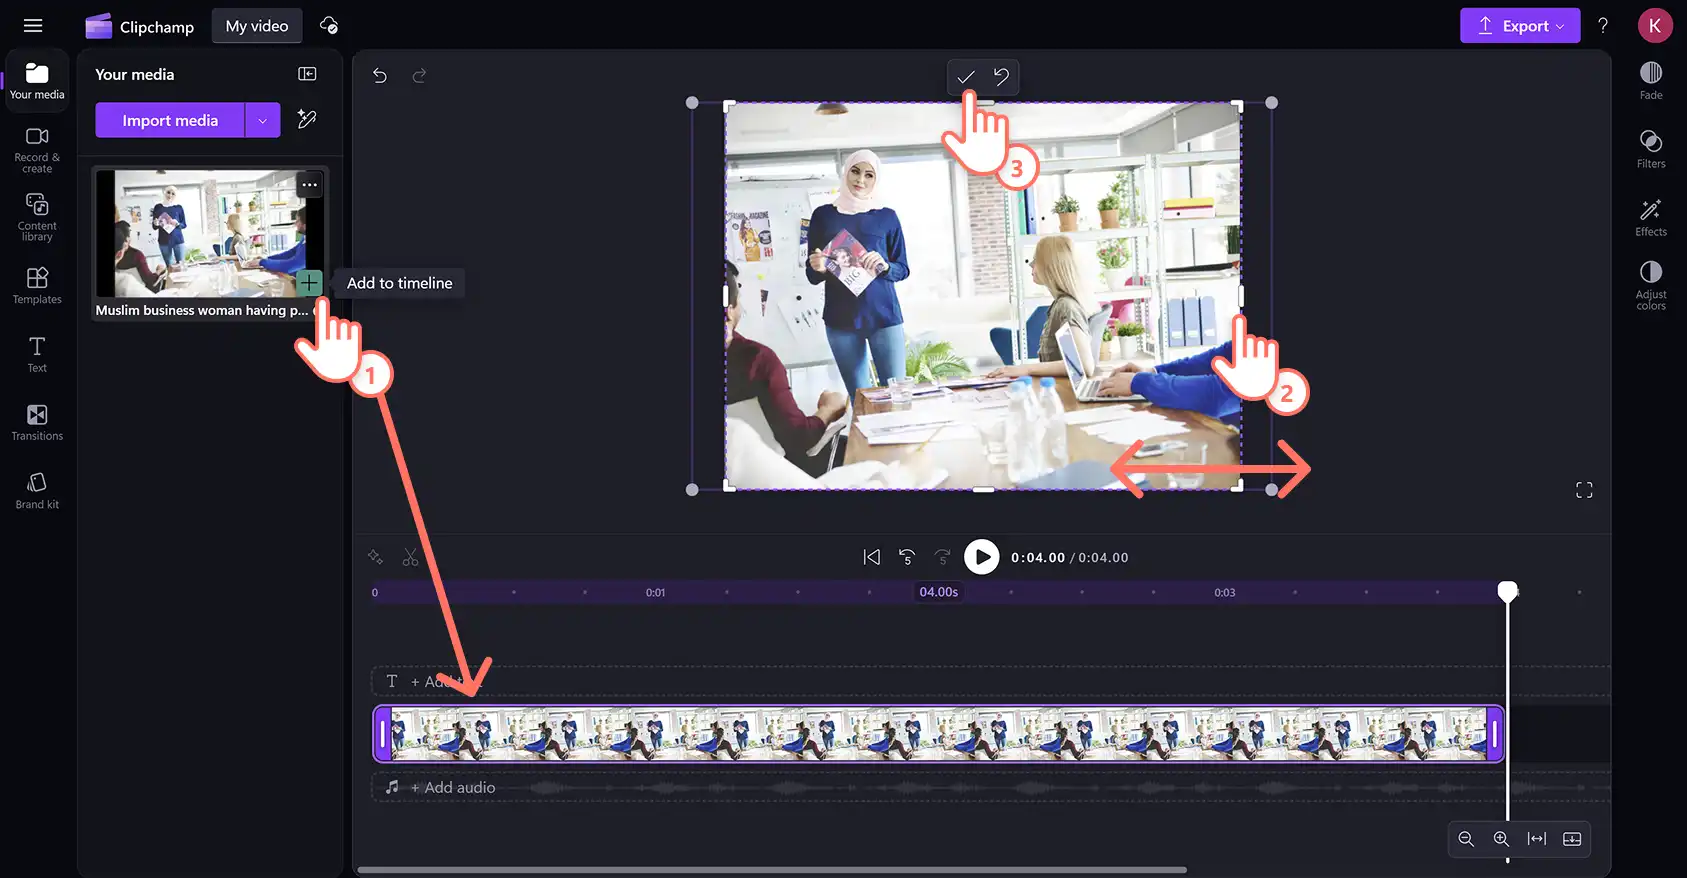
Once you’ve uploaded or selected your media, drag and drop your asset onto the editing timeline.
Step 2. Crop your video
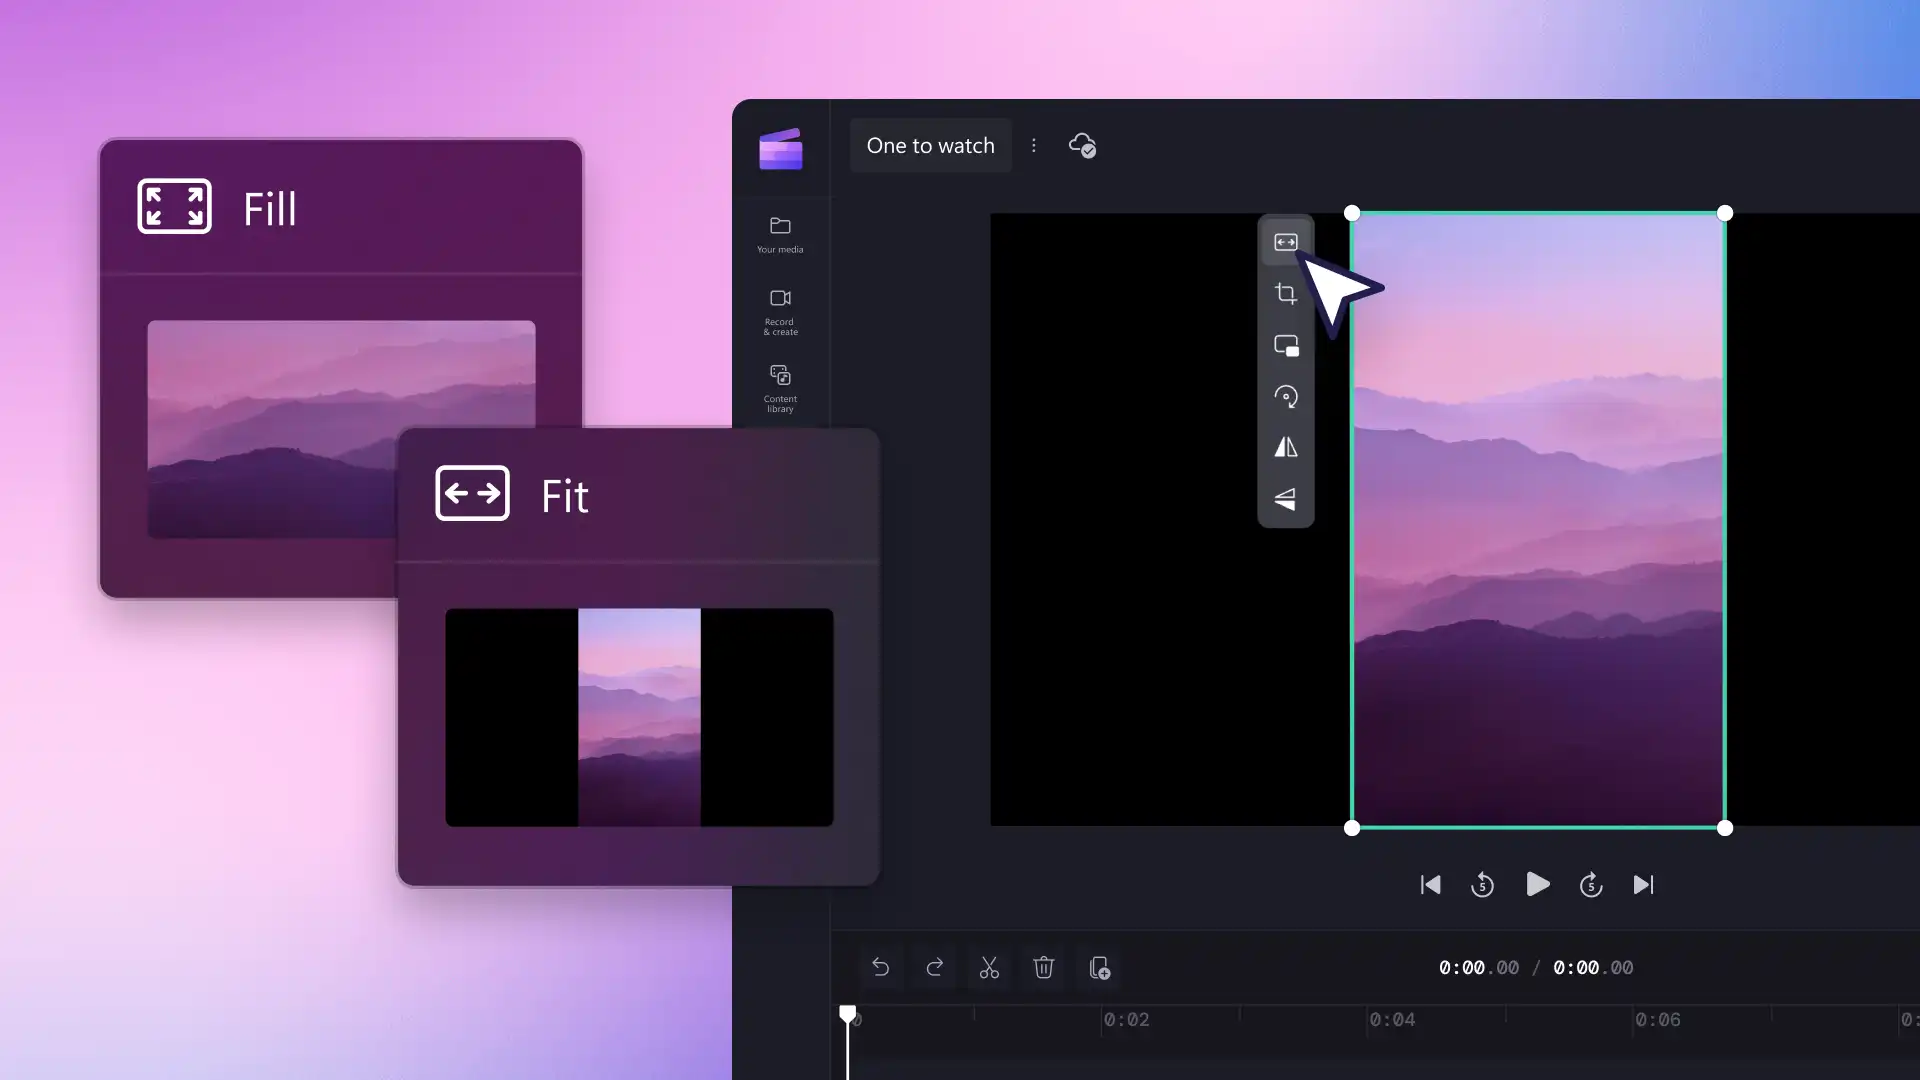
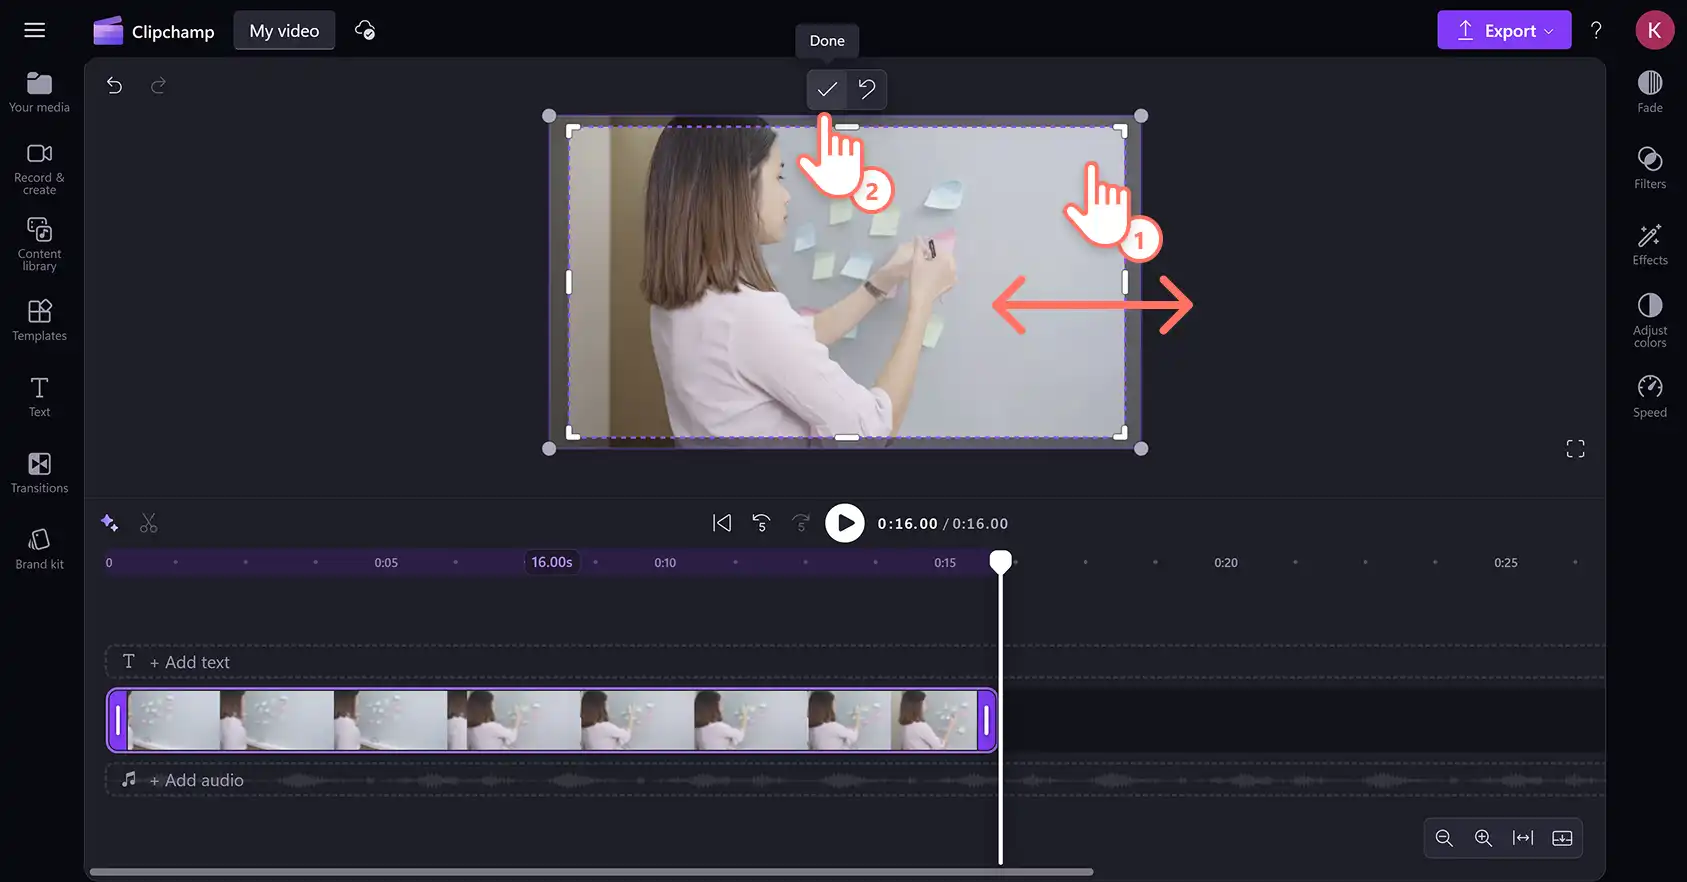
You can freely crop unwanted areas of your video using the cropping handles. To open the video cropper, click on the video on the timeline so it’s highlighted, then click on the crop button on the floating toolbar.
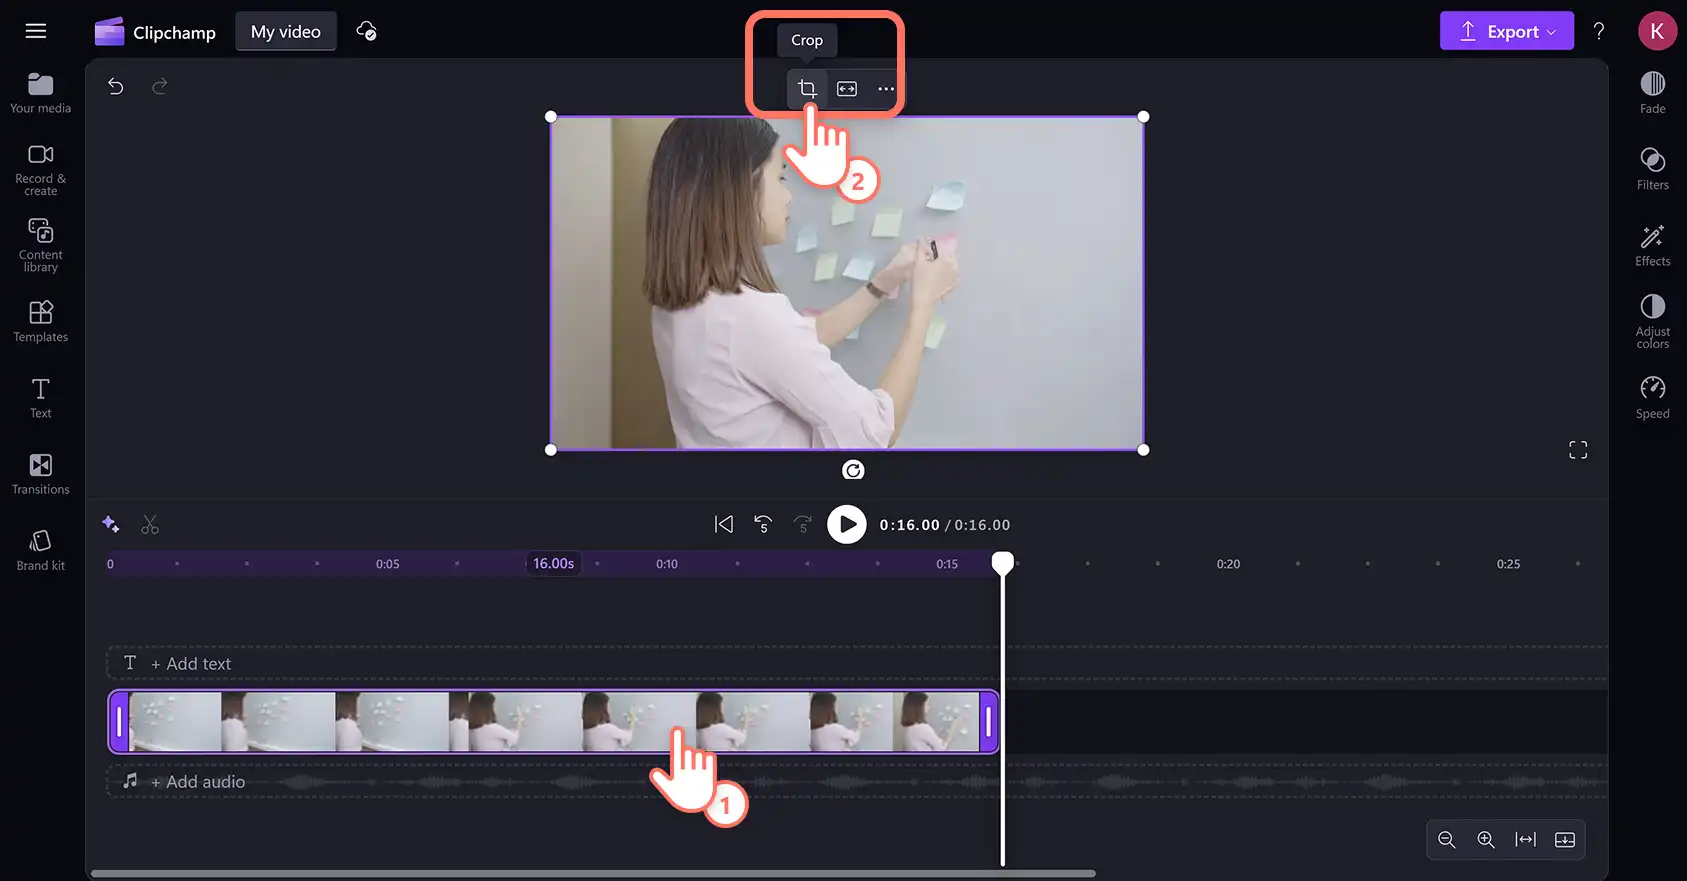
Cropping handles will appear on the sides and corners of your video asset inside the stage. Drag the video cropper handles inwards or outwards to adjust your video freely to any size. If you need to reposition after cropping, just click on your video then drag it around the stage. Click on the done button when you’re finished to set your video in place.
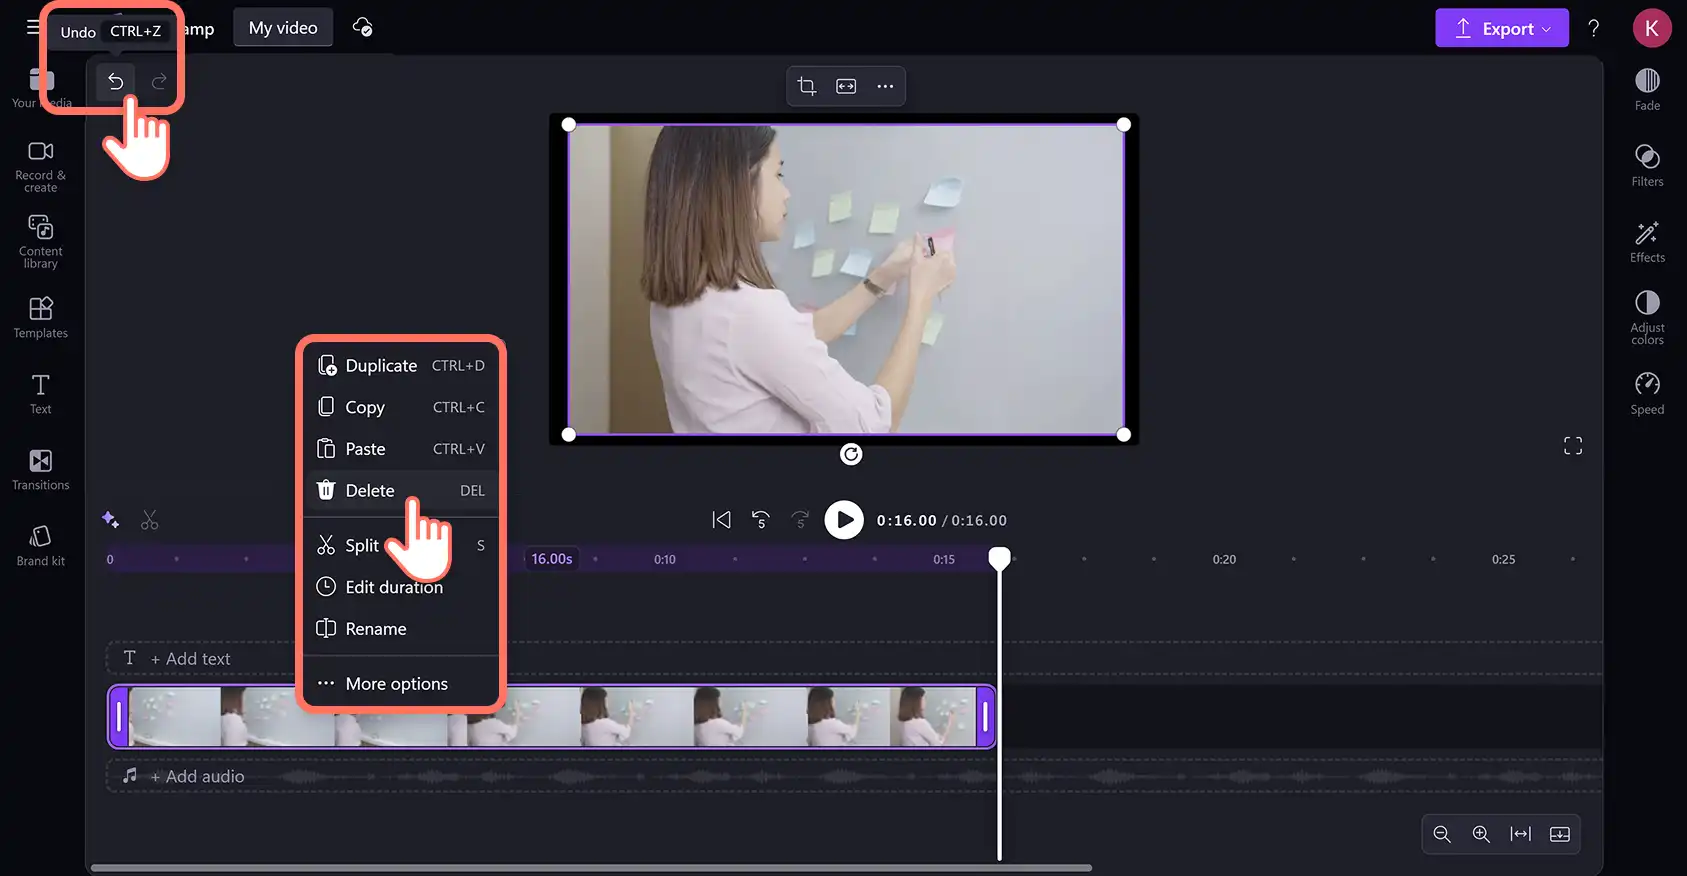
To undo any cropping, just click on the undo button. Alternatively, delete your video then add it again to the timeline from the your media tab.
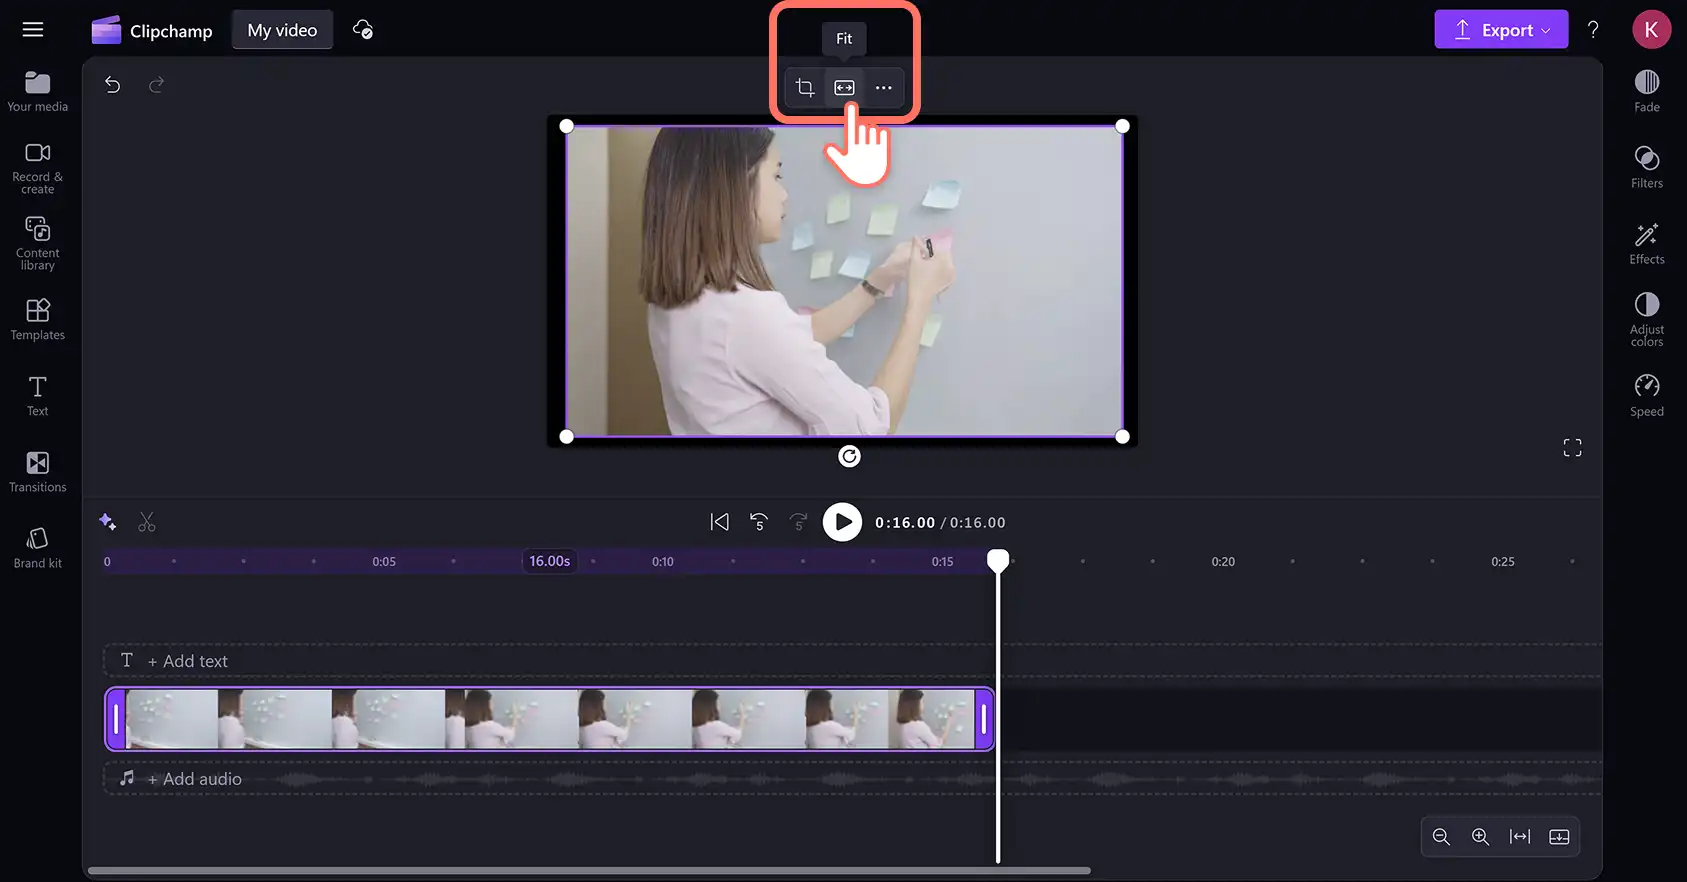
Alternatively, you can automatically crop your video. Click on your video on the timeline so it’s highlighted then click on the fit button on the floating toolbar. This will automatically remove any black borders by fitting your video asset to the aspect ratio.
Step 3. Add a background to your cropped video (optional)
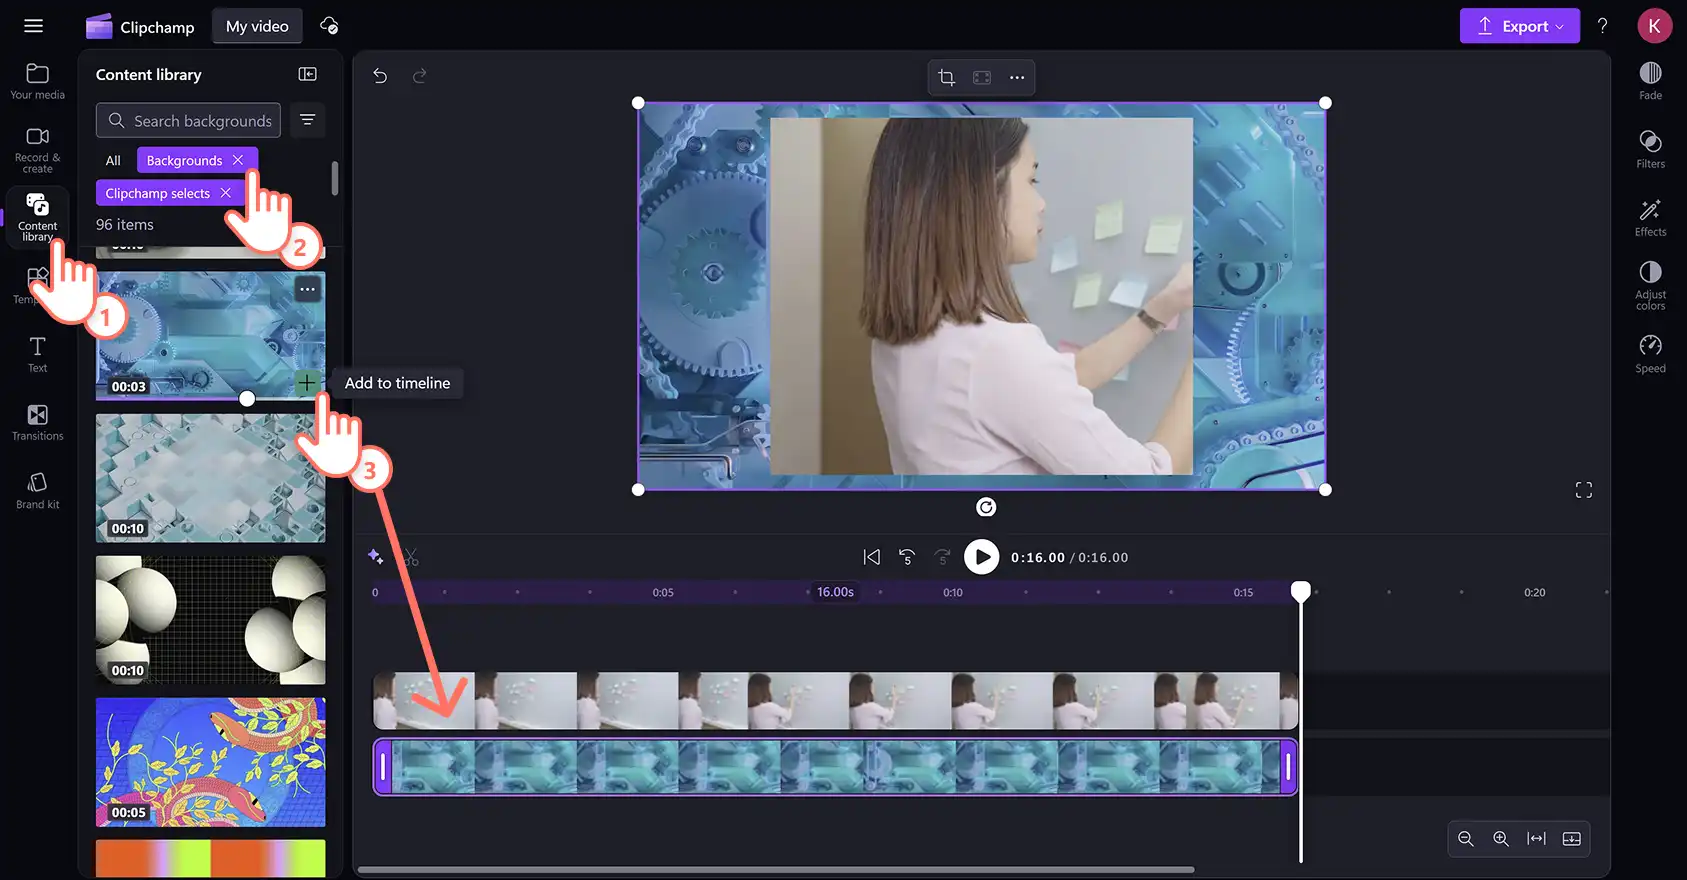
If you want to keep your video’s size without fitting or filling the frame, you can hide the black borders by adding a background.
Click on the content library tab on the toolbar then click on the visuals drop down arrow. Click on the backgrounds option and browse by category or type keywords into the search bar, then add your background onto the timeline on the layer below your video.
Drag and drop your video around the preview window to recenter or reposition it. Click on the done button to apply your action.
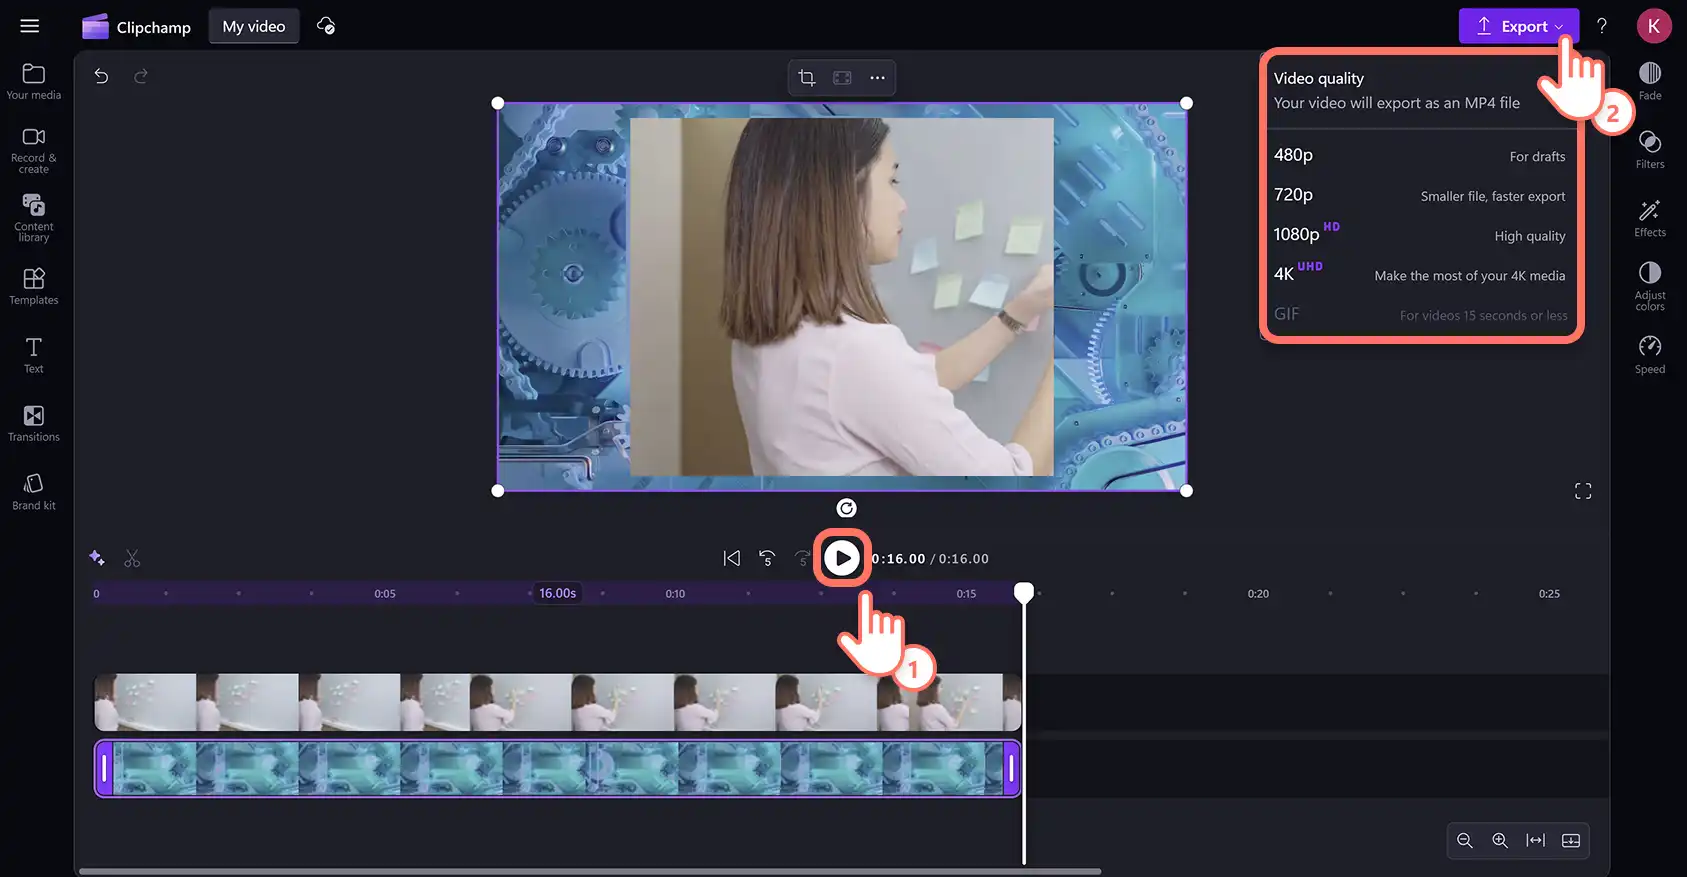
Step 4. Preview and save your video
Preview your video by clicking on the play button. When you’re ready to save, click on the export button and select a video resolution.
Watch this beginner-friendly YouTube tutorial for more help cropping a video.
How to crop an image online
Learn how to crop personal images and stock images when creating video overlays.
Import an image from cloud storage like OneDrive or select a stock image from the content library then add it to the timeline.
Click on the image asset on the timeline so it’s highlighted.
Click on the crop button on the floating toolbar and follow the same cropping steps as above to use the image cropper.
Click on the done button.
How to crop GIFs and graphics
Learn how to crop unwanted visuals like logos and watermarks out of GIFs and graphics in just a few clicks.
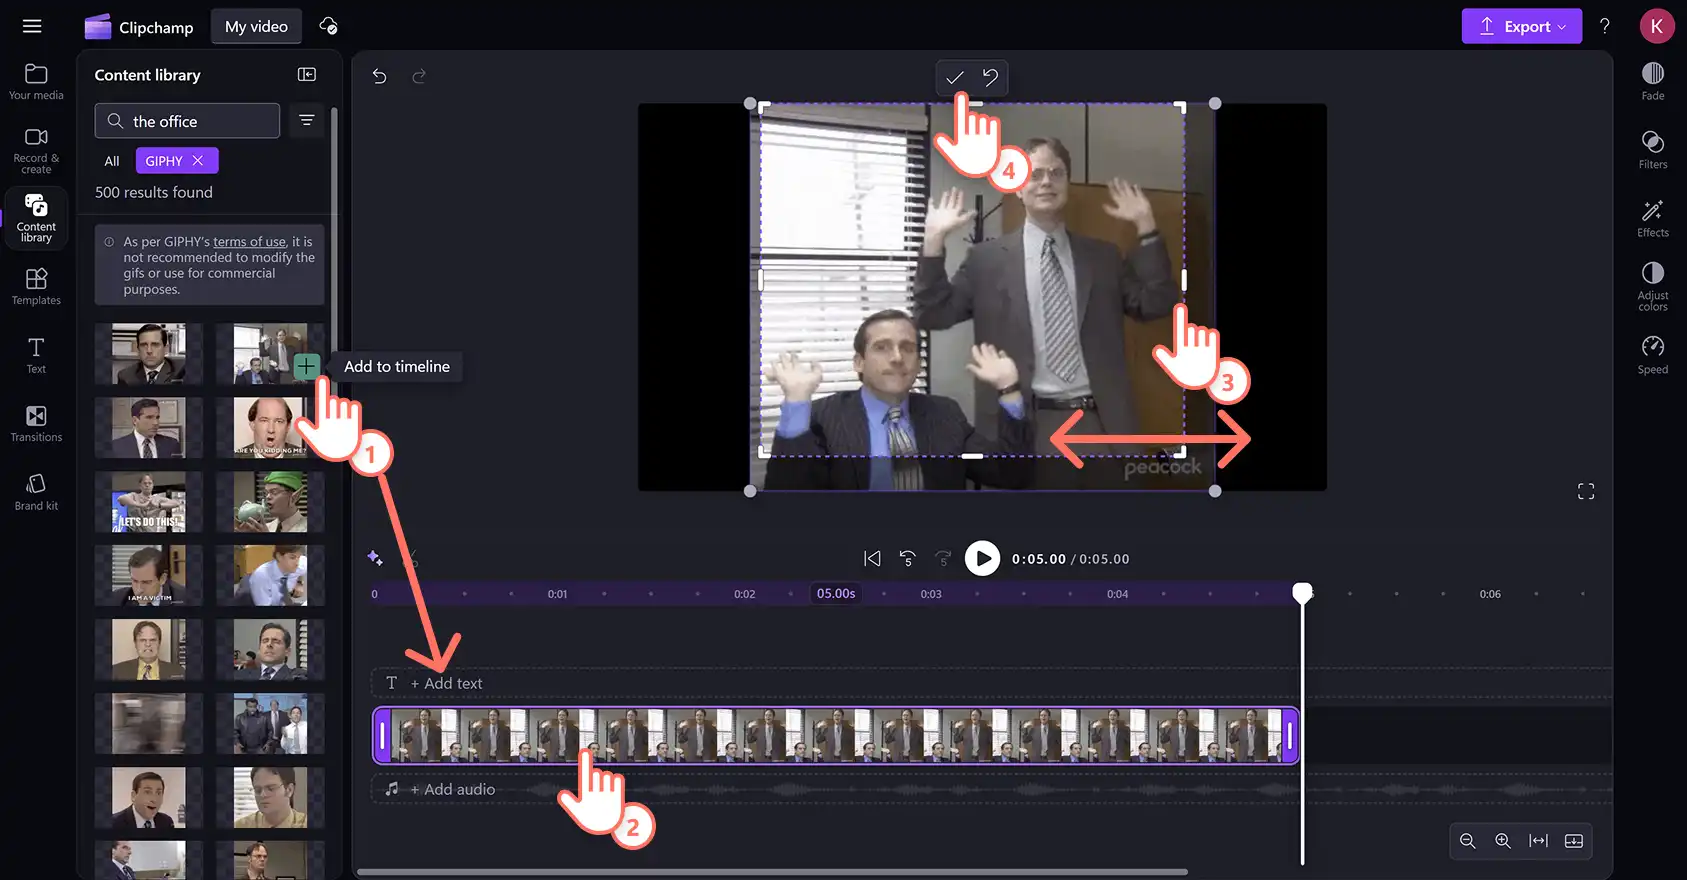
Import a GIF or select one from the GIPHY integration in the content library then add it to the timeline.
Click on the asset on the timeline so it’s highlighted.
Click on the crop button on the floating toolbar and follow the same cropping steps as above to crop your GIF or graphic using the cropping handles.
Click on the done button.
Frequently asked questions
- How do I crop a watermark out of a video?
You can use the video cropper to remove logos and watermarks from the corners and sides of your video. Use the cropping handles to frame a focus area that doesn’t include the watermark or logo.
- How to crop a video without losing quality?
Cropping in Clipchamp video editor will not affect video quality. You can keep the original quality of your video by exporting in the highest video resolution or improve the appearance using the video enhancer.
- Can I crop videos for TikTok?
Easily crop videos to suit TikTok dimensions using the crop button or change the aspect ratio to the TikTok preset.
- How do I crop a piece of a video?
You can use the crop button to freehand remove any unwanted visual areas inside the frame of your video. You can also use the trim tool to remove any unwanted footage by reducing the length of your video clip.
Looking for more ways to edit your video footage? Learn how to split videos then how to make overlays for picture-in-picture videos.
Start editing videos today with Clipchamp or download the free Microsoft Clipchamp Windows app.
Heads up! The screenshots in this article are from Clipchamp for personal accounts. The same principles apply to Clipchamp for work and school accounts.