On this page
Add humor and show your personality in videos with an entertaining and trending GIF overlay. Convey emotions or messages clearer in all video styles from travel vlogs to product reviews with animated pop culture references and memes.
Explore and embed an endless range of GIFs and stickers directly from GIPHY without needing to pause your video editing workflow. Just search the content library using keywords or themes to find the perfect GIF to overlay on video.
You can also quickly upload your favorite GIFs from the internet or convert your own videos into GIFs using the online GIF maker.
Learn how to use the GIPHY integration to add GIFs and stickers to any video for free with Clipchamp video editor.
How to add GIFs to videos
Step 1. Import background video or select stock footage
If you're adding a GIF to your own video, upload your clip by clicking on the import media button on the your media tab. Import MOV and MP4 files from your computer or connect your OneDrive. You can also upload GIFs that you've downloaded from the internet.
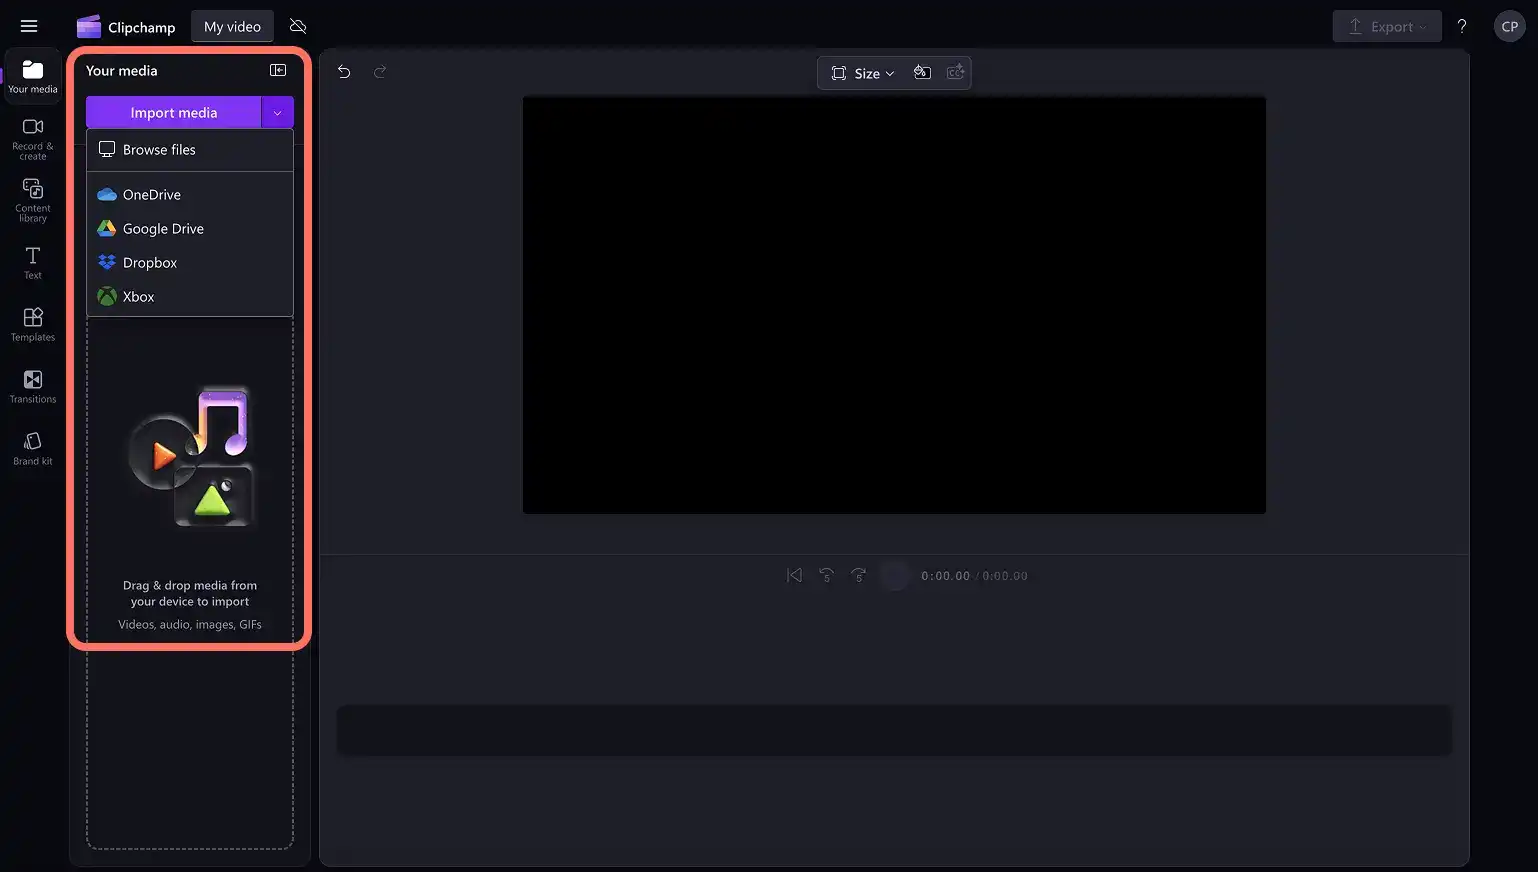
If you don’t have your own footage, you can add a GIF to royalty-free stock videos and backgrounds.
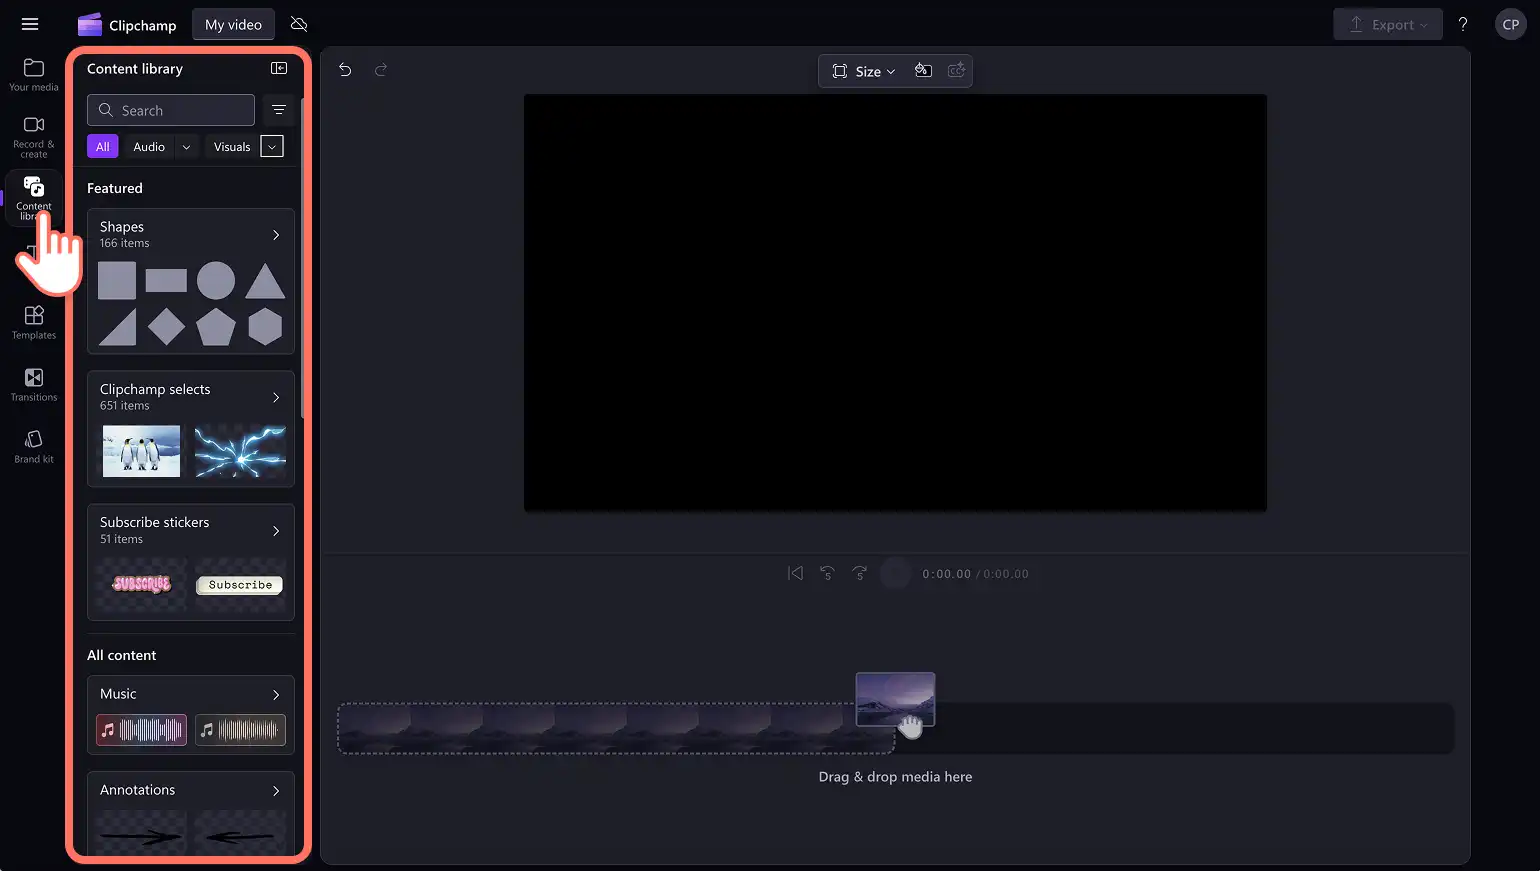
Just click on the content library tab on the toolbar, then click on the visuals drop down arrow and select either videos or backgrounds.
Browse the stock library by category or enter keywords into the search bar to find the right style for your video.
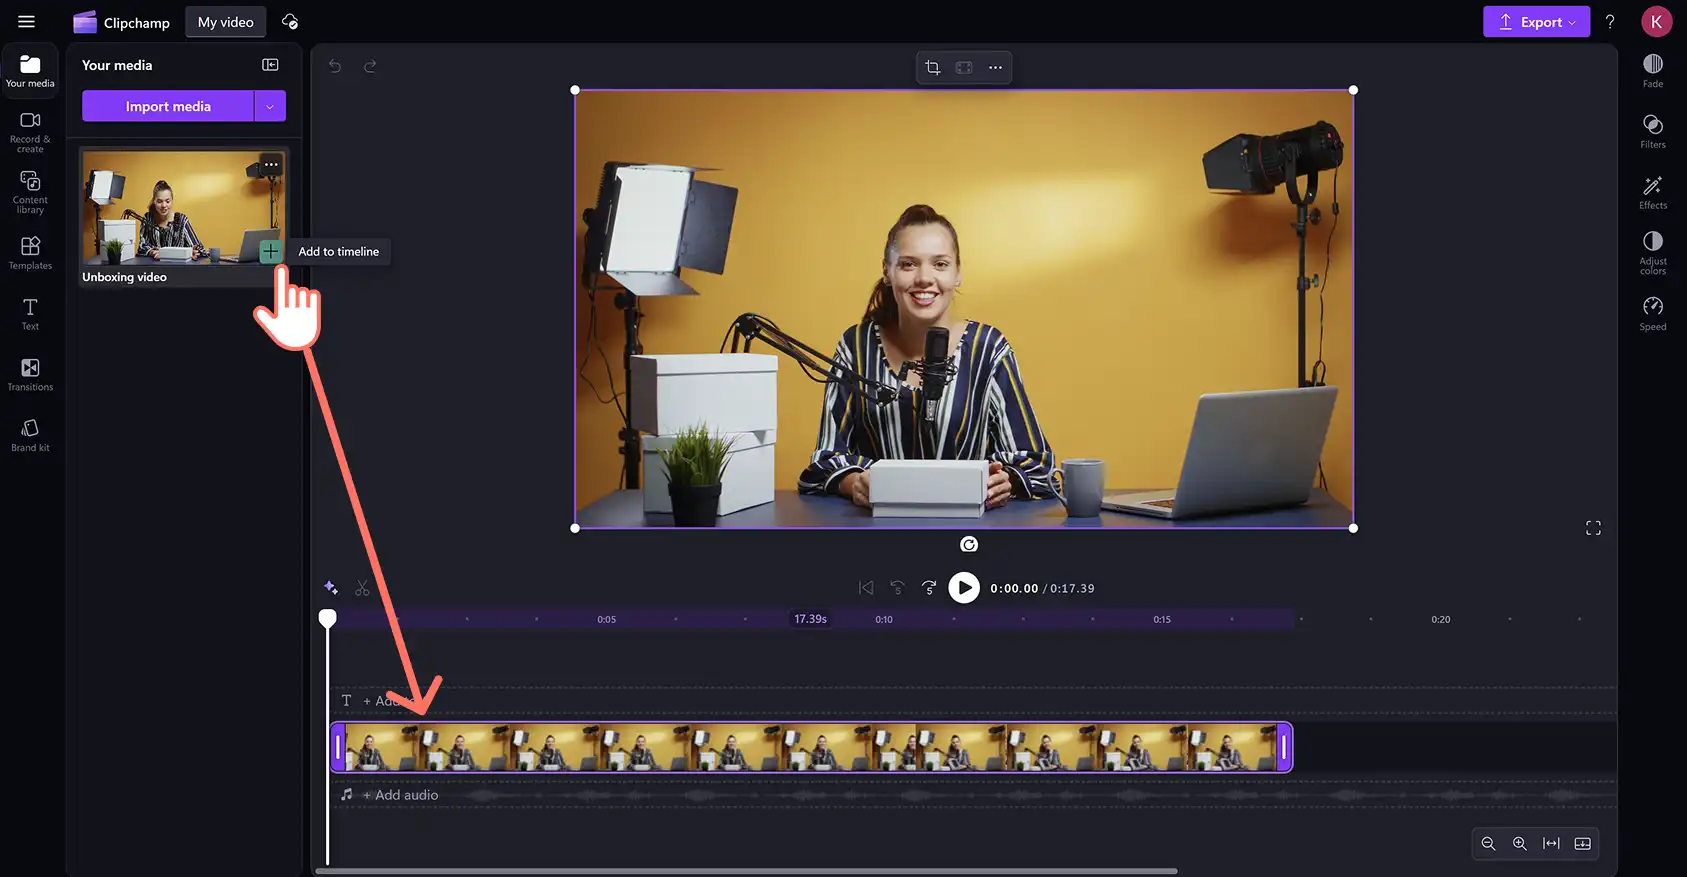
Drag and drag your video asset onto the editing timeline from the your media tab.
Step 2. Search the GIPHY library in Clipchamp
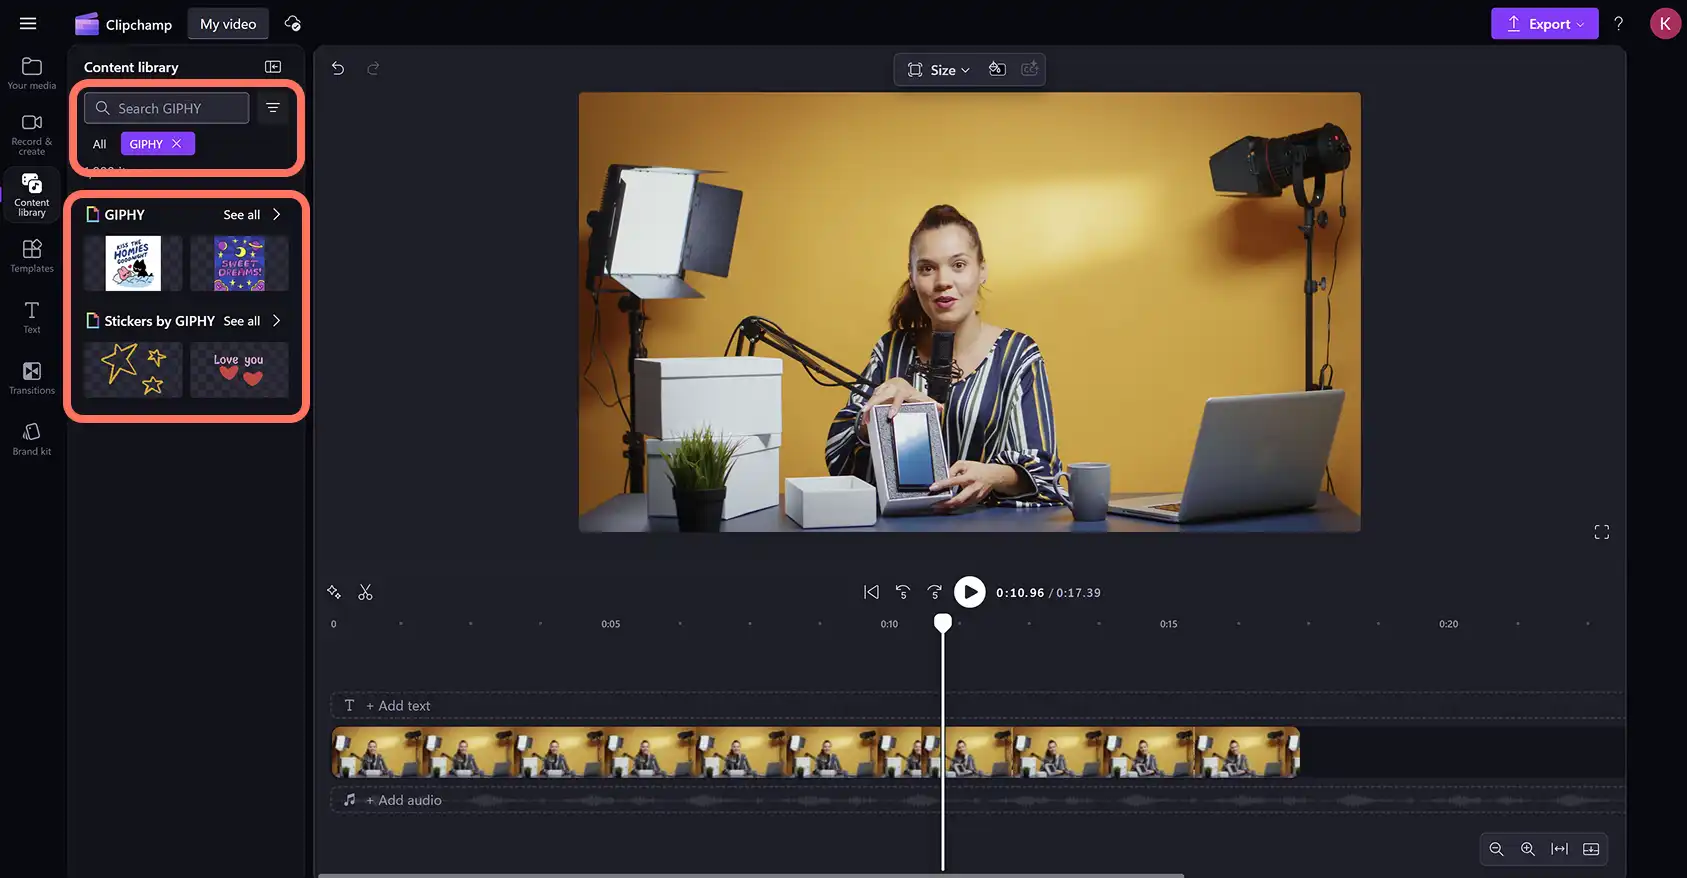
Add animated GIFs from one of the internet's biggest GIF databases using the GIPHY integration. Click on the content library tab then click on the visuals drop down arrow and select GIPHY.
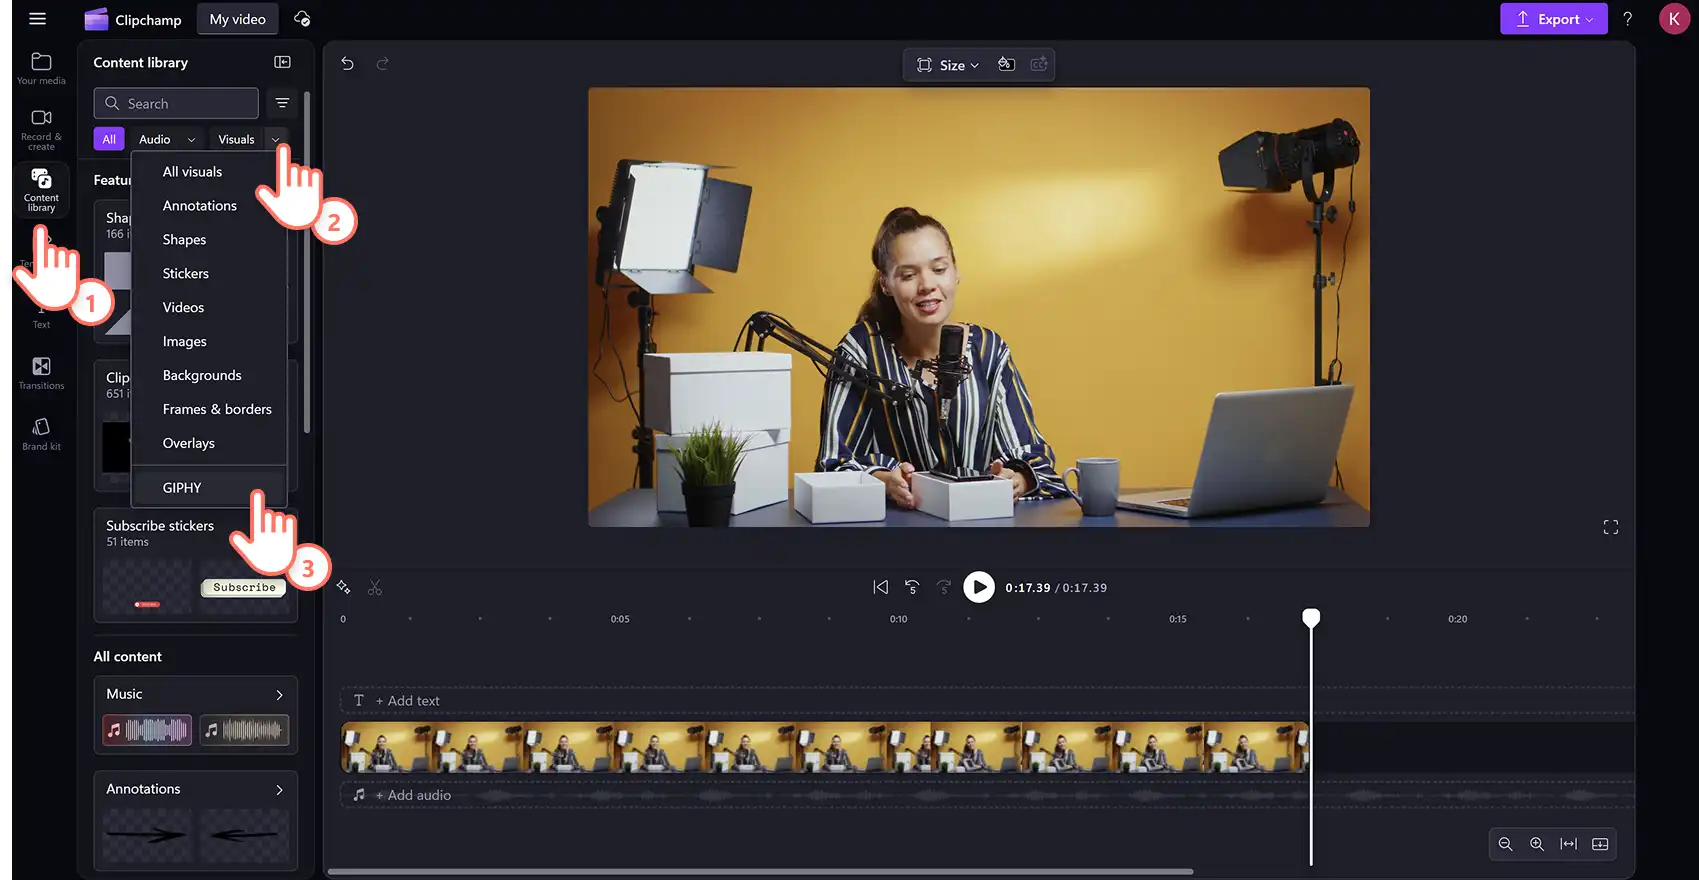
Inside the GIPHY collection, you can then either search for animated GIFs or stickers.
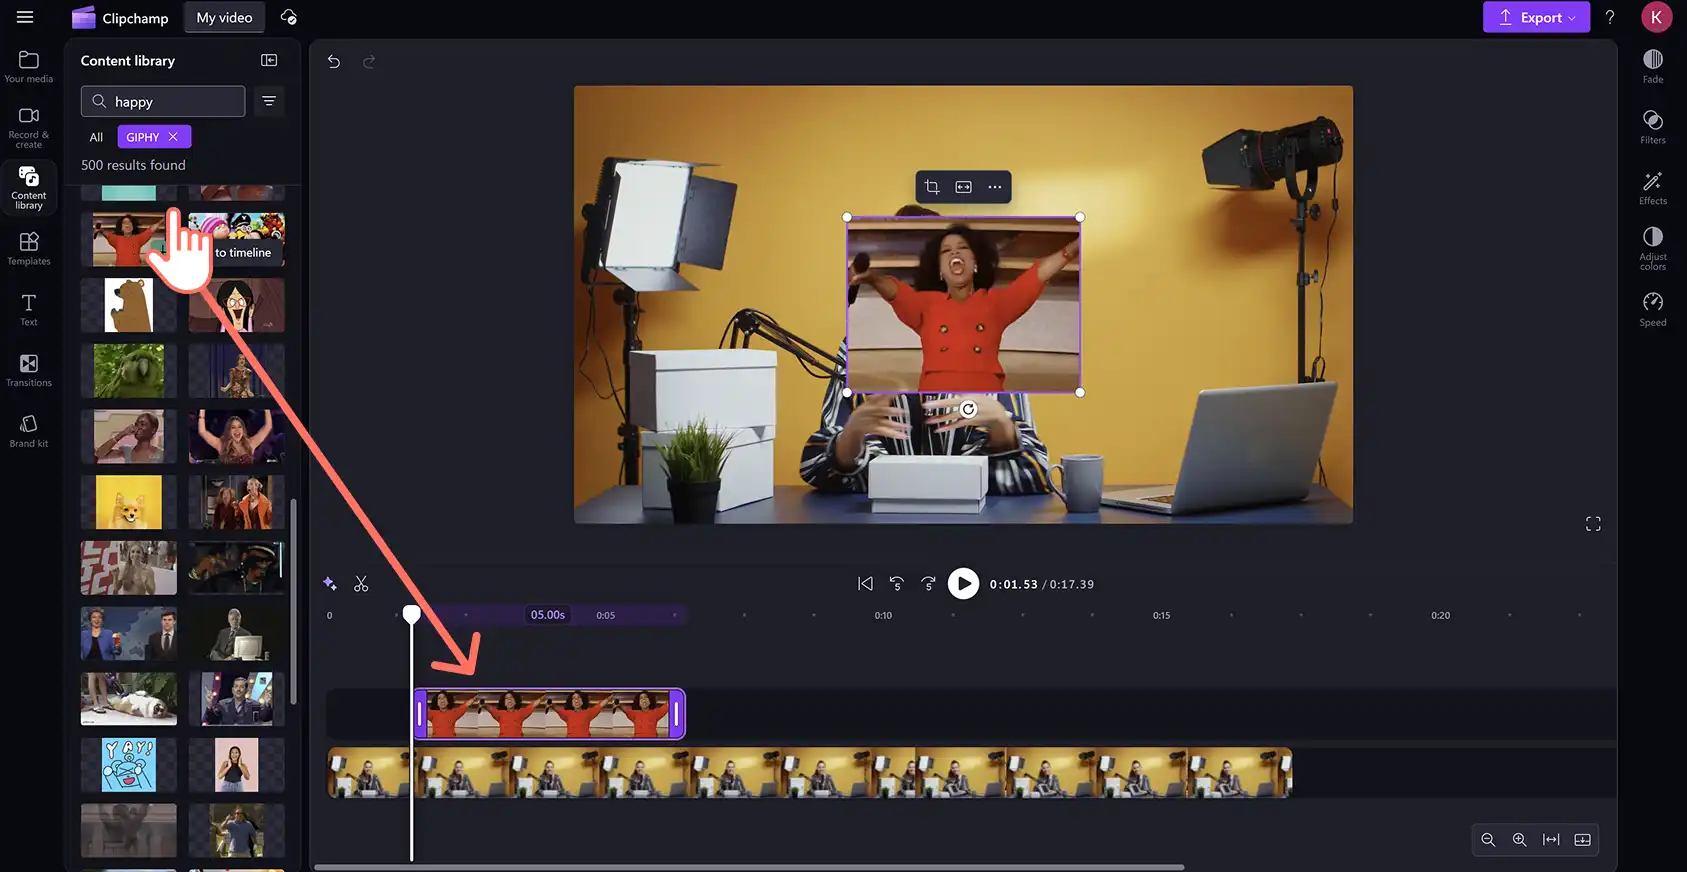
To find the perfect animated GIF for your video, type topic or theme keywords like "Happy Birthday” or "work” into the search bar. Drag and drop your selected GIF onto the editing timeline on a separate track above your video.
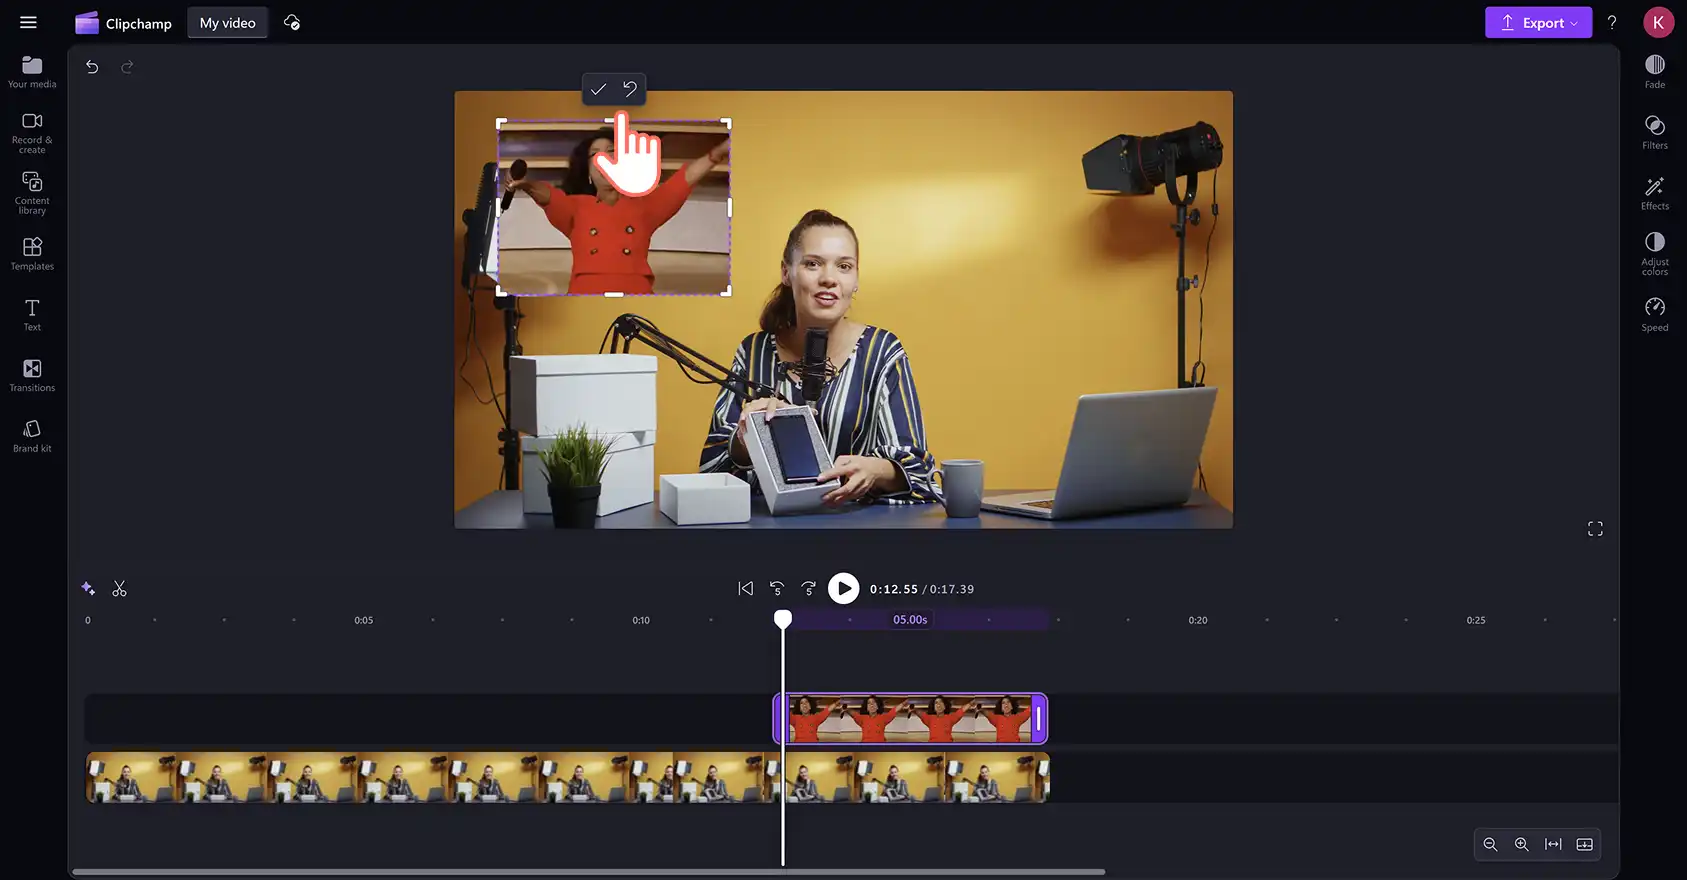
Step 3. Overlay GIF on the video
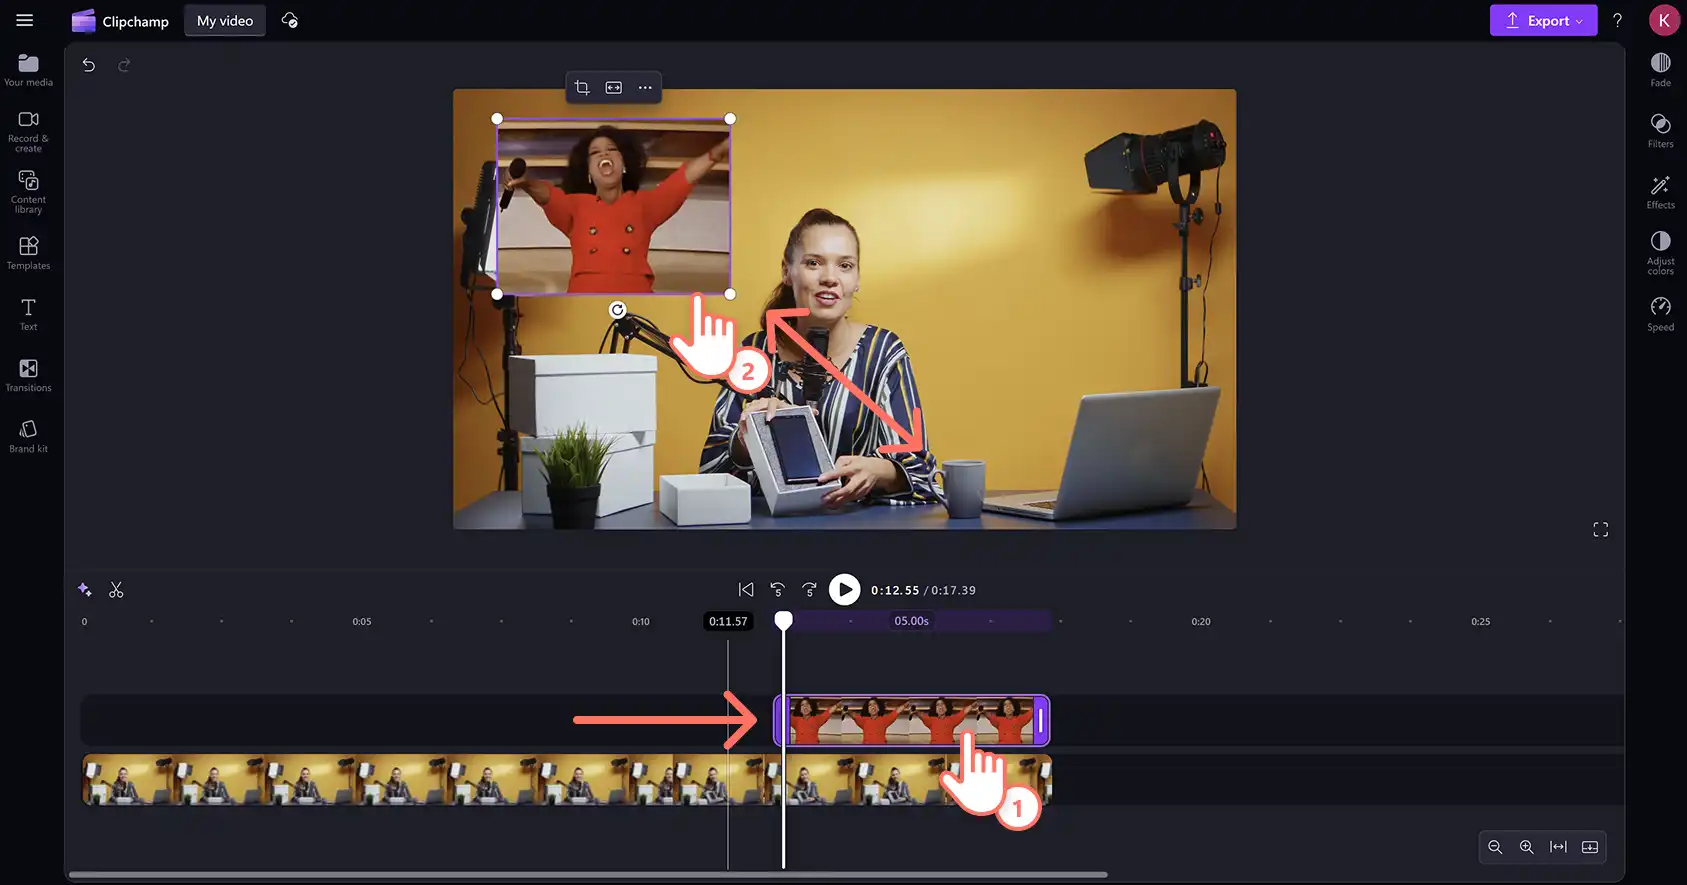
For the best GIF overlay, make sure the GIF isn’t blocking any of the video's main visuals and appears on-screen at the right time.
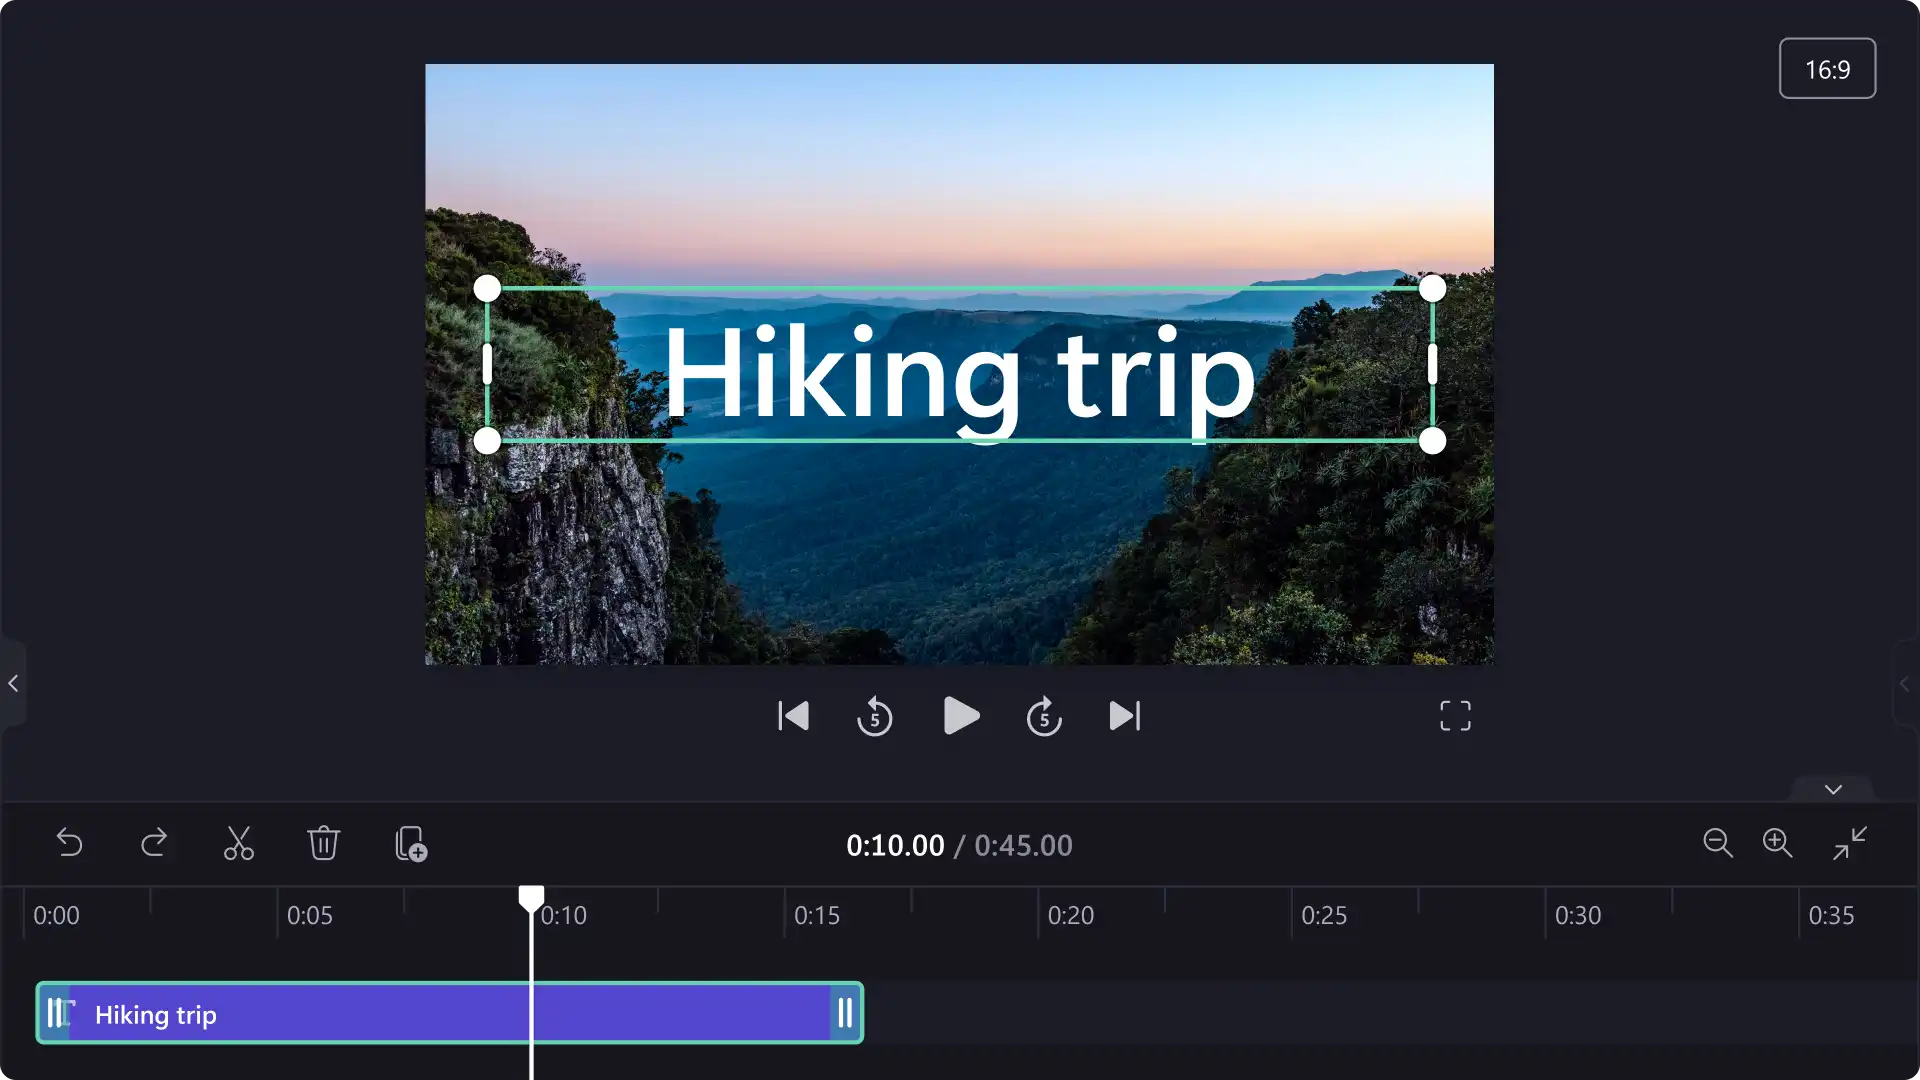
To customize the GIF overlay placement, click on the GIF in the preview window and use the freehand tool to change the position and size.
To change the timeframe, click and drag the GIF asset to your desired timestamp on the editing timeline so it appears at the right moment in your video.
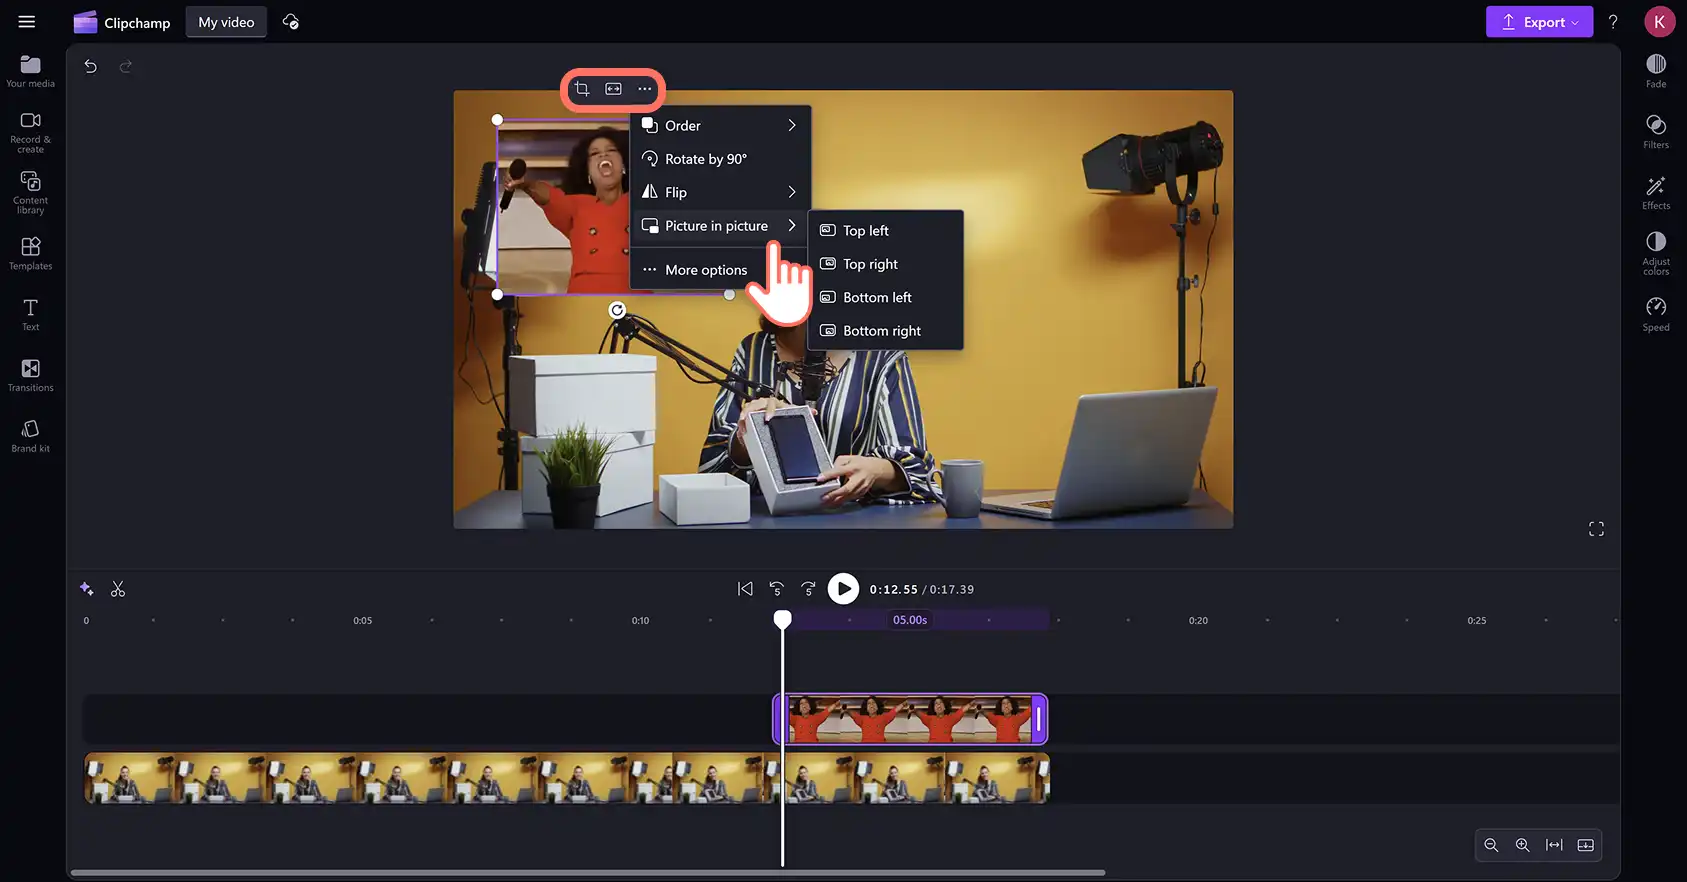
You can also automatically move your GIF overlay to one of the corners of your video using the picture-in-picture effect. Click on the three dots on the floating toolbar then click on picture-in-picture and select one of the preset positions.
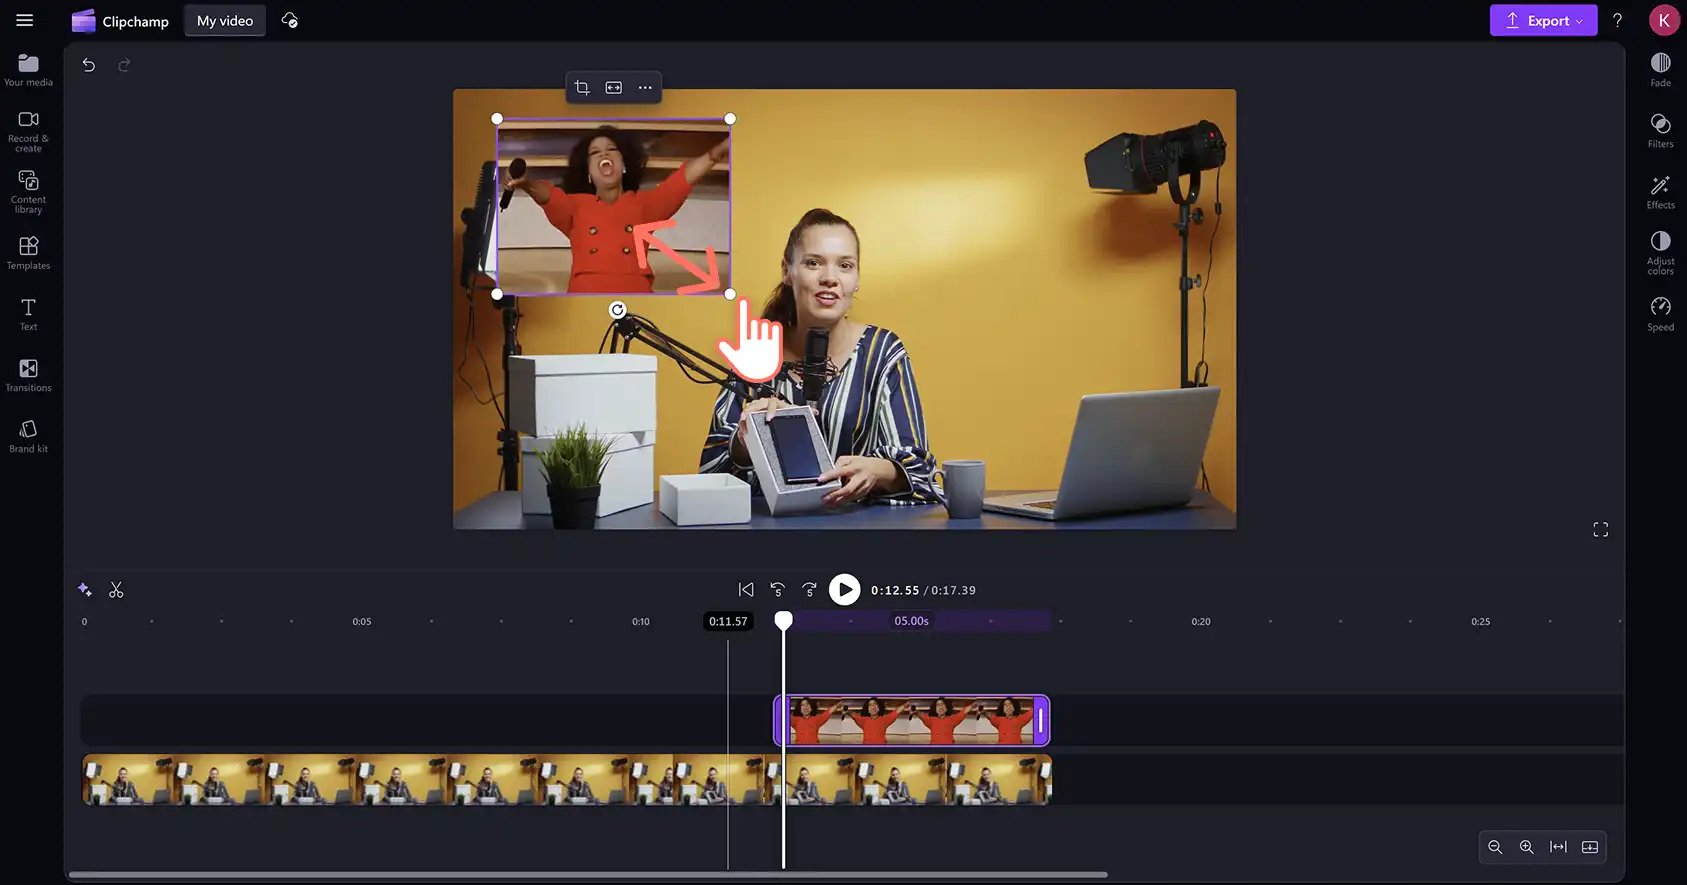
Step 4. Crop and resize GIF
If you’d like to remove unwanted visuals like negative background space or watermarks from a GIF, you can use the crop tool to change the dimensions.
Click on the crop button in the floating toolbar. Next, click and drag the cropping handles on the sides in or out to crop your GIF.
To make a GIF bigger or smaller, click on the GIF corners on the video preview, then drag outwards to enlarge and inwards to decrease size.
Step 5. Preview and export your GIF video
Once you’ve finished editing your GIF overlay, preview your video by clicking on the play button above the timeline.
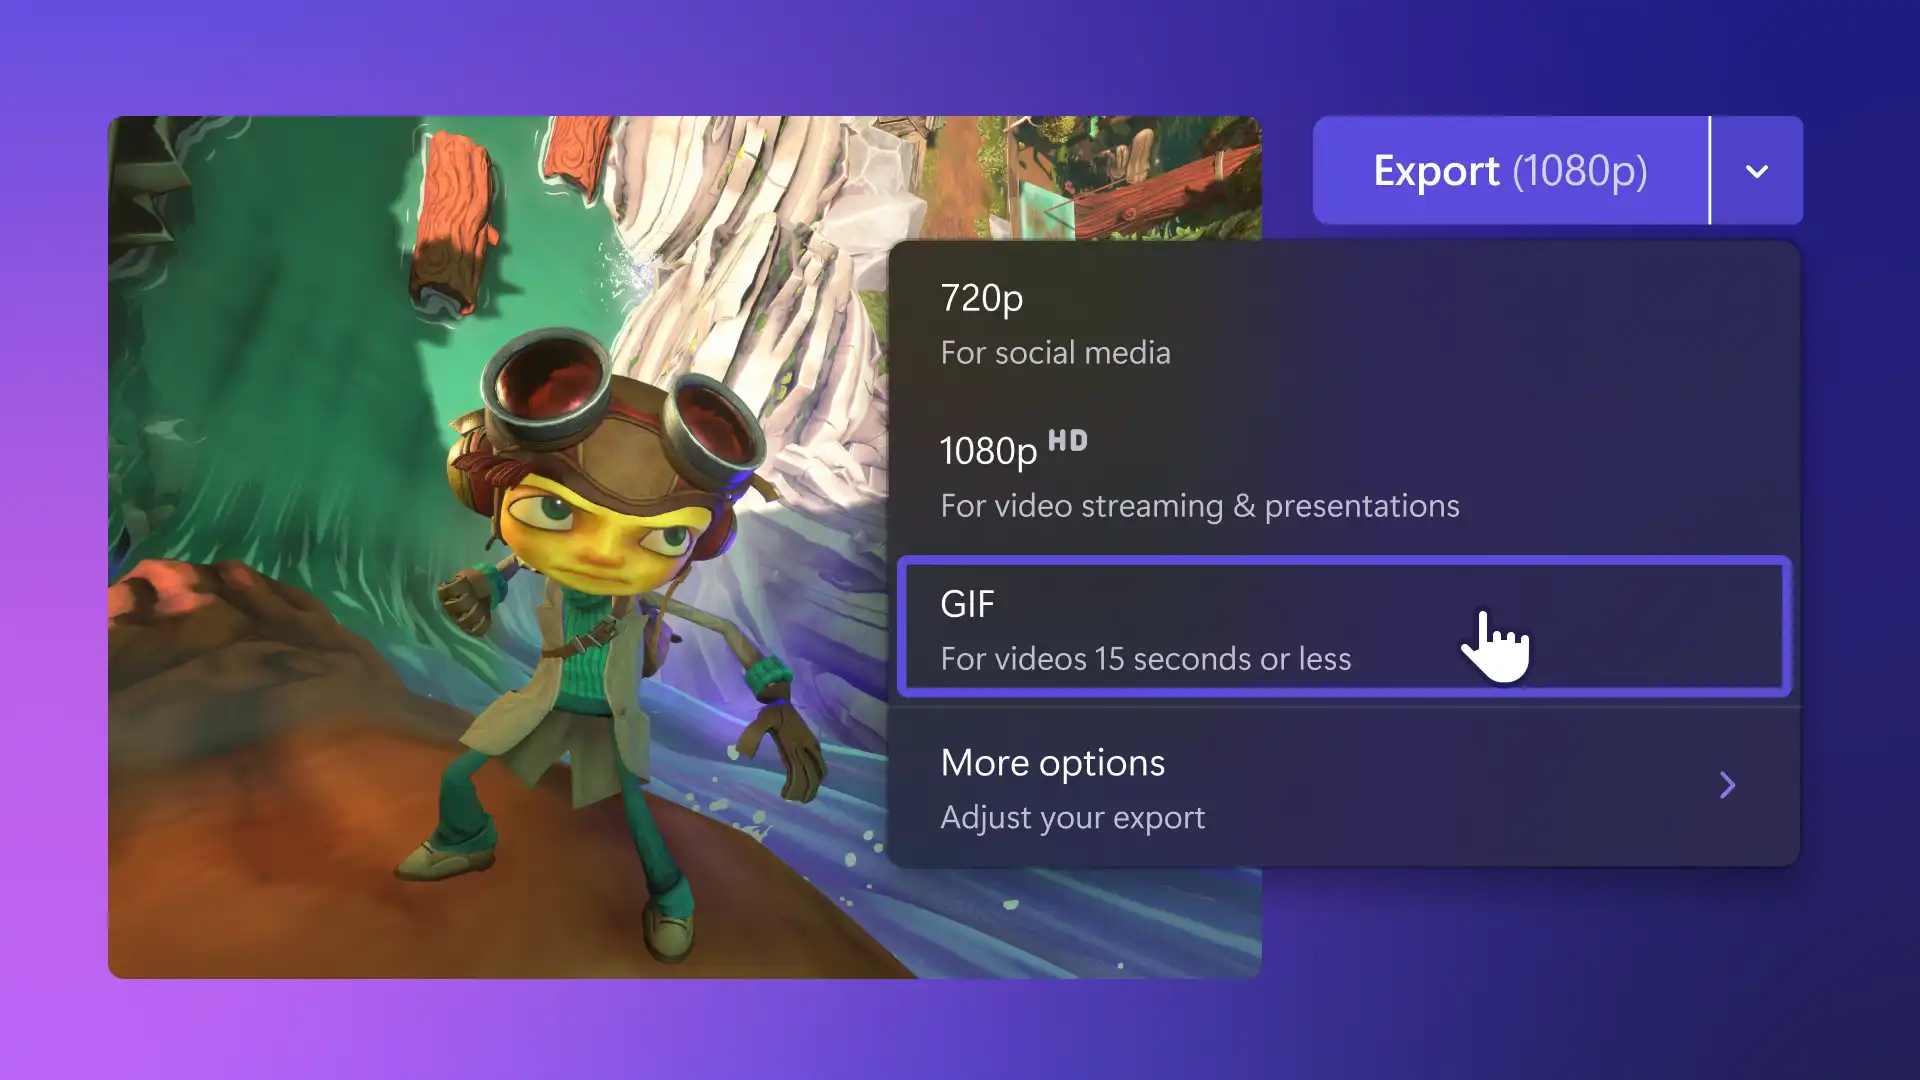
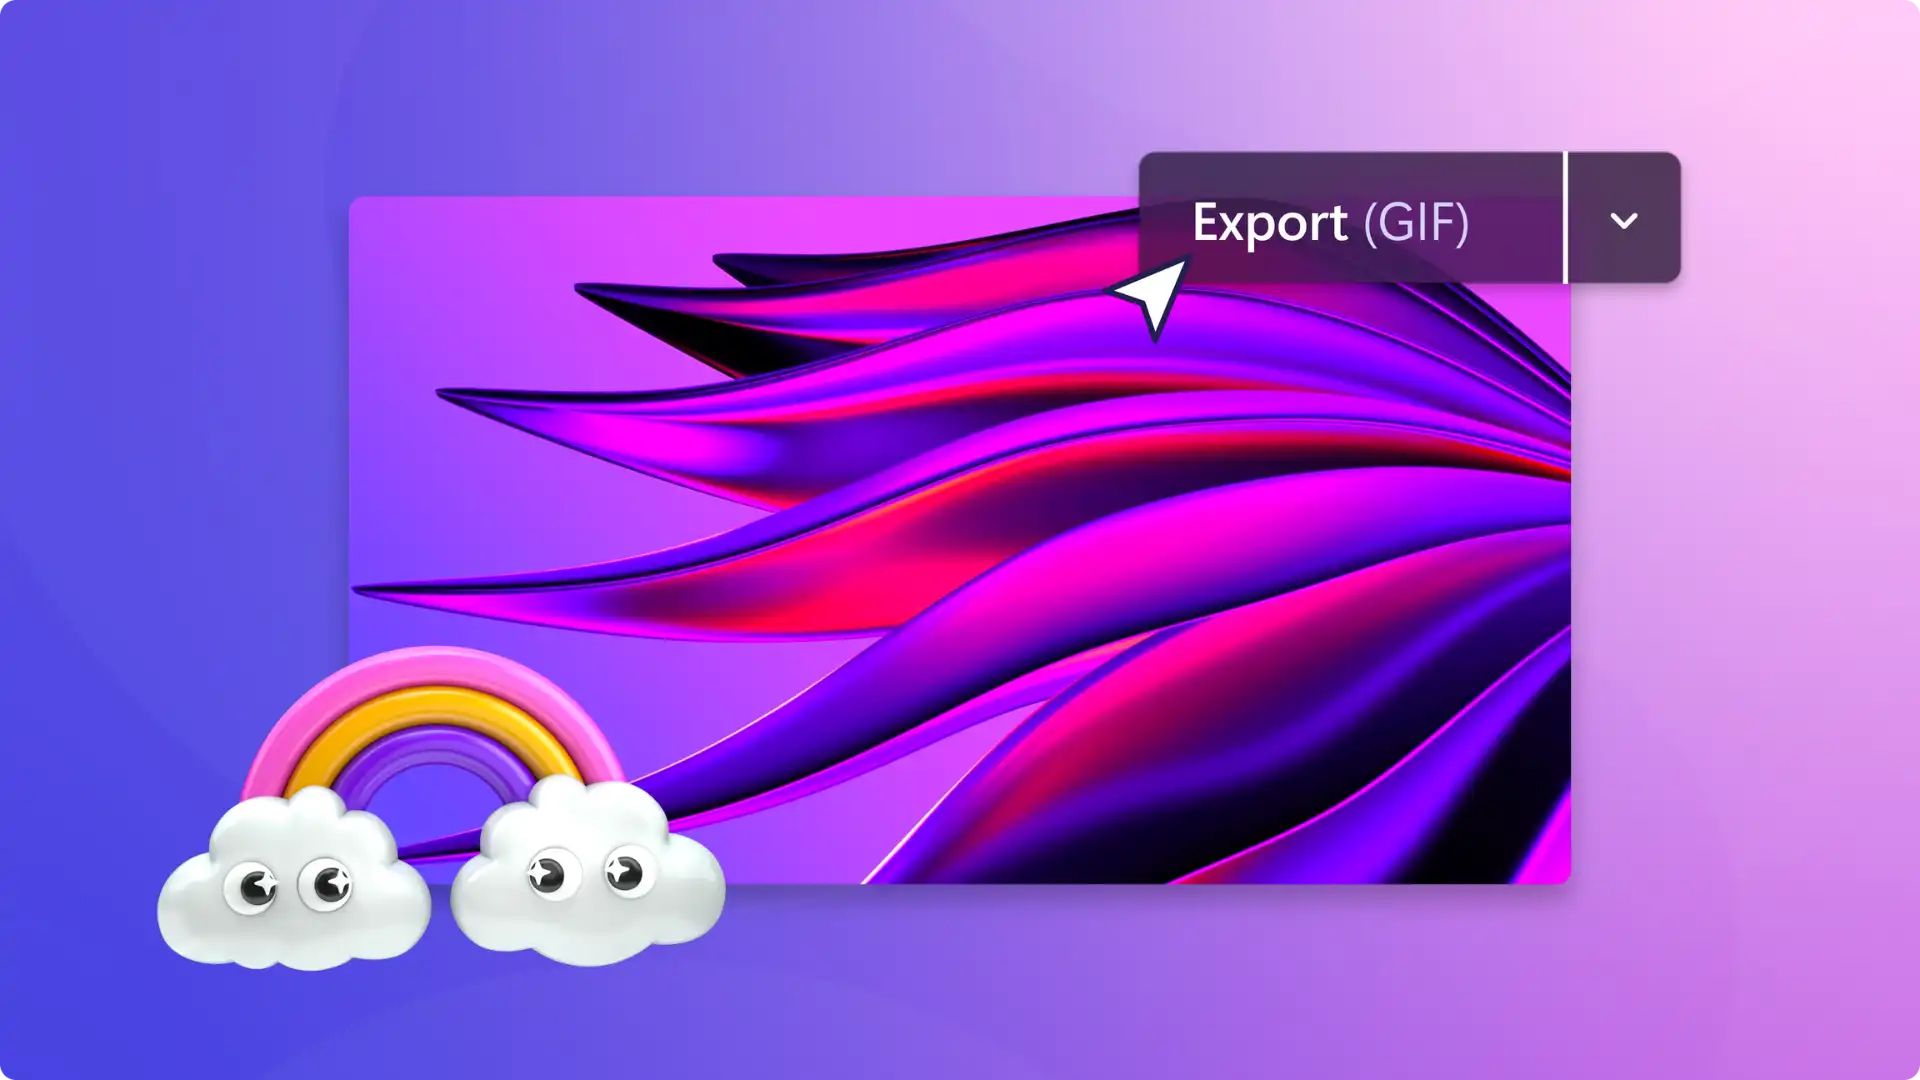
When you’re ready to save and share with the world, click on the export button and select a video resolution.
You can export directly to your OneDrive or upload straight from the editor to YouTube and other video platforms.

Watch how to embed GIF video tutorial
Add and resize a GIF overlay for the first time by following this step-by-step guide on YouTube.
Explore 6 popular and free GIFs to add to videos
Keanu Reeves thank you GI
Show some gratitude with a bit of humor in your slideshow presentation. The classic Keanu Reeves thank you GIF is perfect for sincere or playful gestures of appreciation.
Despicable Me hello GIF
Greet your demo video viewers with a warm welcome. This energetic GIF of Gru from Despicable Me waving both his arms is heartwarming and fun.
Pedro Pascal laughing then crying GIF
Bring some dramatic irony to epic fails and wipeouts in gaming highlights. This viral GIF of Pedro Pascal laughing out loud then suddenly crying is versatile and timeless.
Bad Bunny I love you GIF
Share the love in Instagram Stories on Valentine’s Day or any day. The popular Bad Bunny te amo (I love you) GIF is a warm and cuddly response for many occasions.
Happy Birthday GIF
Make your best friend’s birthday extra special by saying happy birthday with a GIF. Embed celebratory visuals in virtual birthday cards or social media posts.
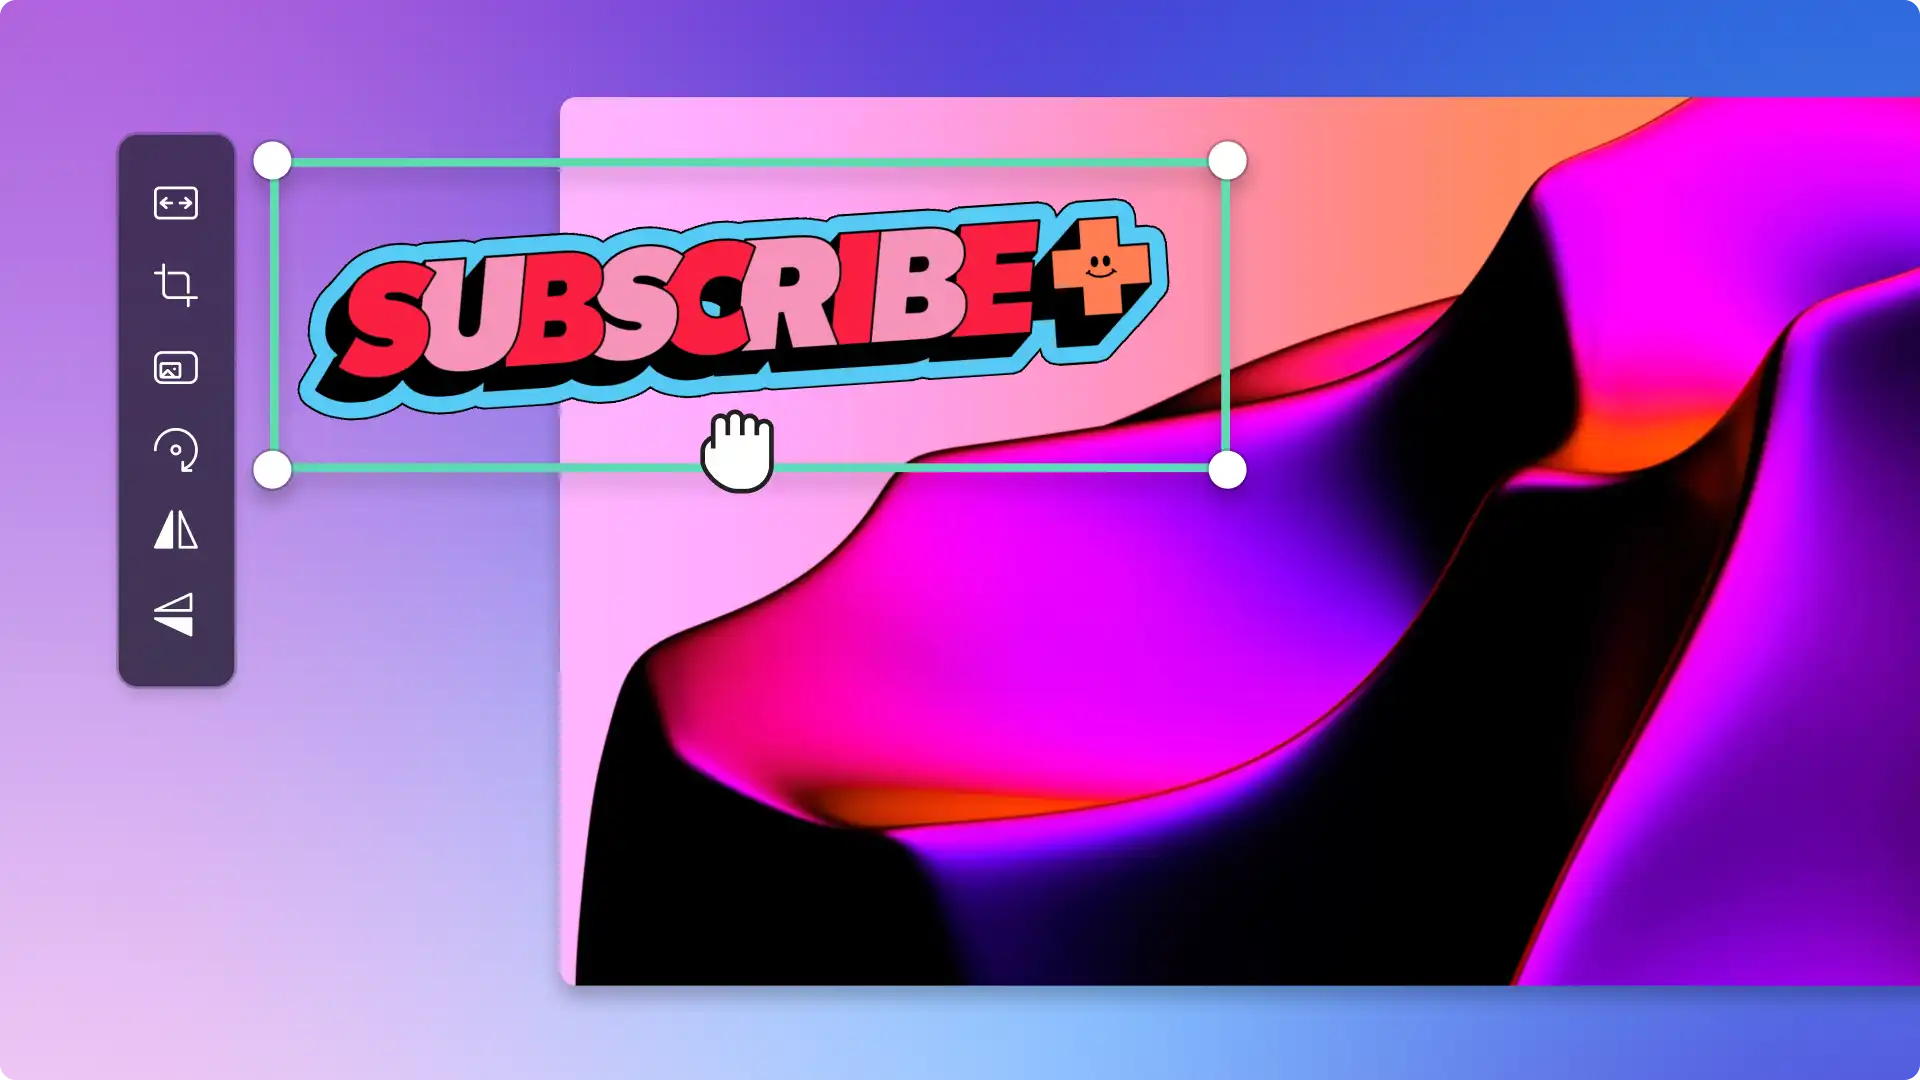
GIPHY stickers
For a short and animated GIF with a transparent background, add a GIPHY sticker to your video. Stickers are specifically made for video overlays to add personality and humor. Since they are smaller with a see-through background, they are more subtle and blend in with the content while still adding style to your video.
For more ways to add personality and humor to videos, learn how to make green screen memes and how to create video memes.
Start creating videos with GIFs today with Clipchamp for free or easily download the Microsoft Clipchamp Windows app.
Frequently asked questions
What is a GIF?
GIF stands for Graphics Interchange Format. It is an animated image file without sound that plays like a video for a short duration. Pronounced ‘jiff’ with a soft G, GIFs are a popular format to share muted and looping memes on social media, messaging apps, and as embedded overlays in videos.
How can I make my own GIF online?
Make your own GIF for free online using the GIF maker in Clipchamp video editor. Convert various video formats like MOV and MP4 into 15-second GIFs without watermarks, then resize for any social media platform with the aspect ratio changer.
How to add GIF to videos on Windows?
You can insert GIFs in your videos with Microsoft Clipchamp, the official Windows video editor on Windows 10 and Windows 11 devices.
Can I add text to GIFs in Clipchamp?
You can personalize all GIPHY GIFs and stickers for free by adding a text overlay in Clipchamp video editor.
Can I import other creators GIFs into my video?
You can download published GIFs from the internet and upload them into Clipchamp. You can also download from YouTube and convert video to GIF using the Clipchamp GIF maker. Just double check if there are any restrictions on the video or GIF you want to use. Alternatively, find copyright-free, popular GIFs inside Clipchamp using the GIPHY integration.
Heads up! The screenshots in this article are from Clipchamp for personal accounts. The same principles apply to Clipchamp for work and school accounts.