On this page
Want to combine two or more video clips, turn your images into a video slideshow or fix a video that has split? Clipchamp’s free online video editor can help, in just a few clicks. You don't need to download any software to start editing your video online.
Read on to understand how to combine video files online in your web browser.
How to combine videos with Clipchamp
Step 1. Upload your media or select stock footage
Upload your own videos, images, and audio files from your computer to the your media tab by clicking on the import media button.
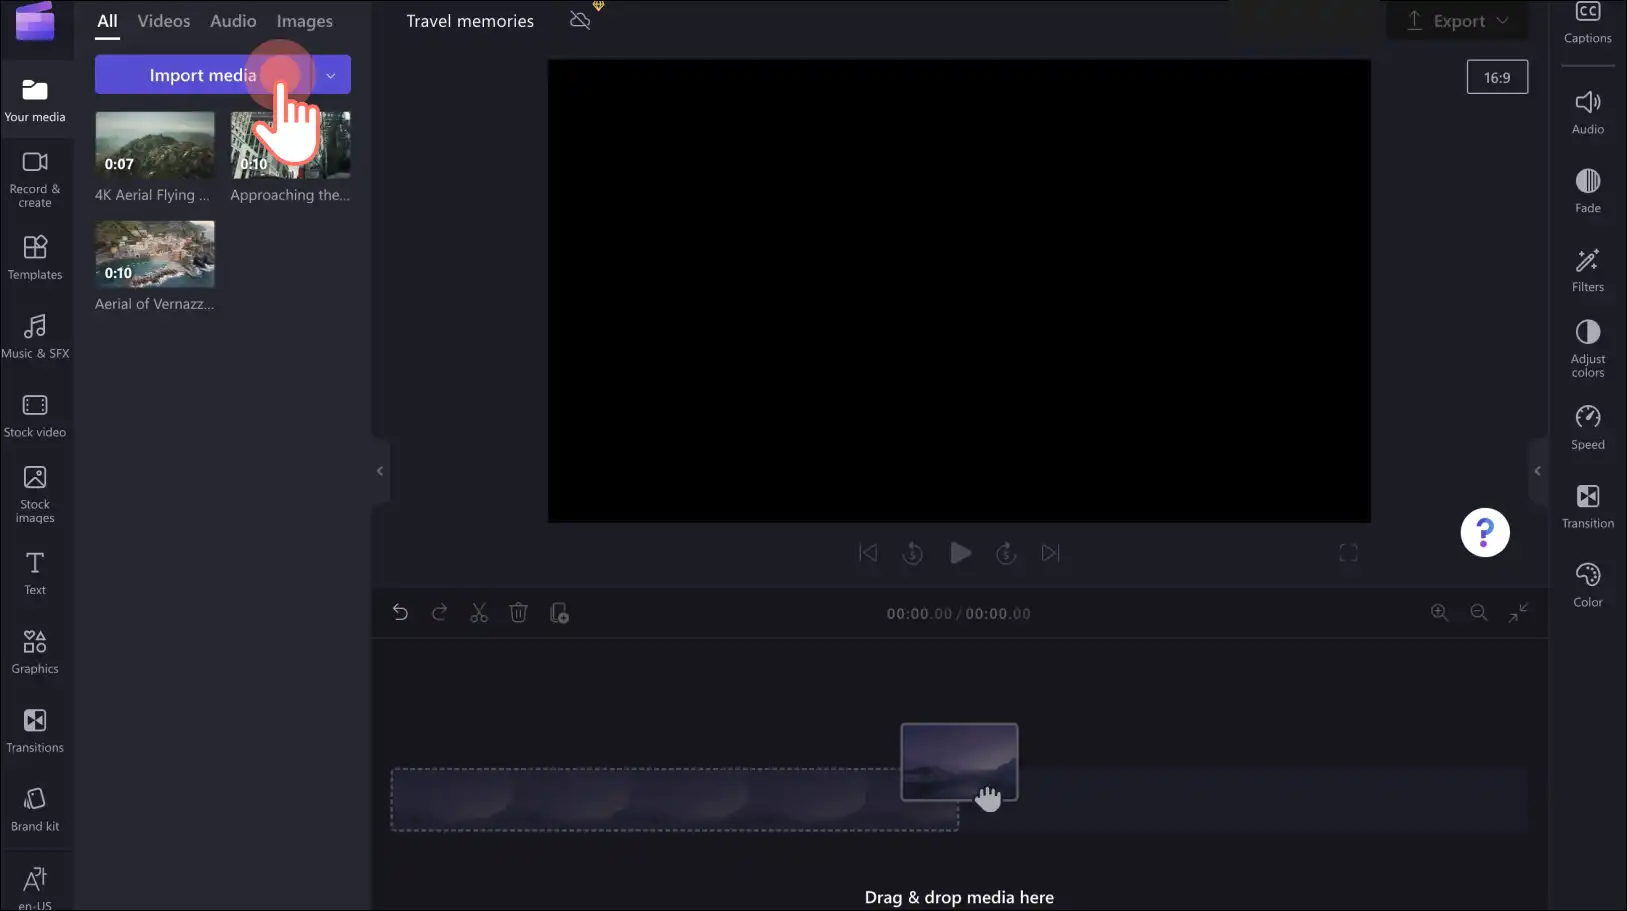
Or select free stock assets using the stock image or stock video tabs.
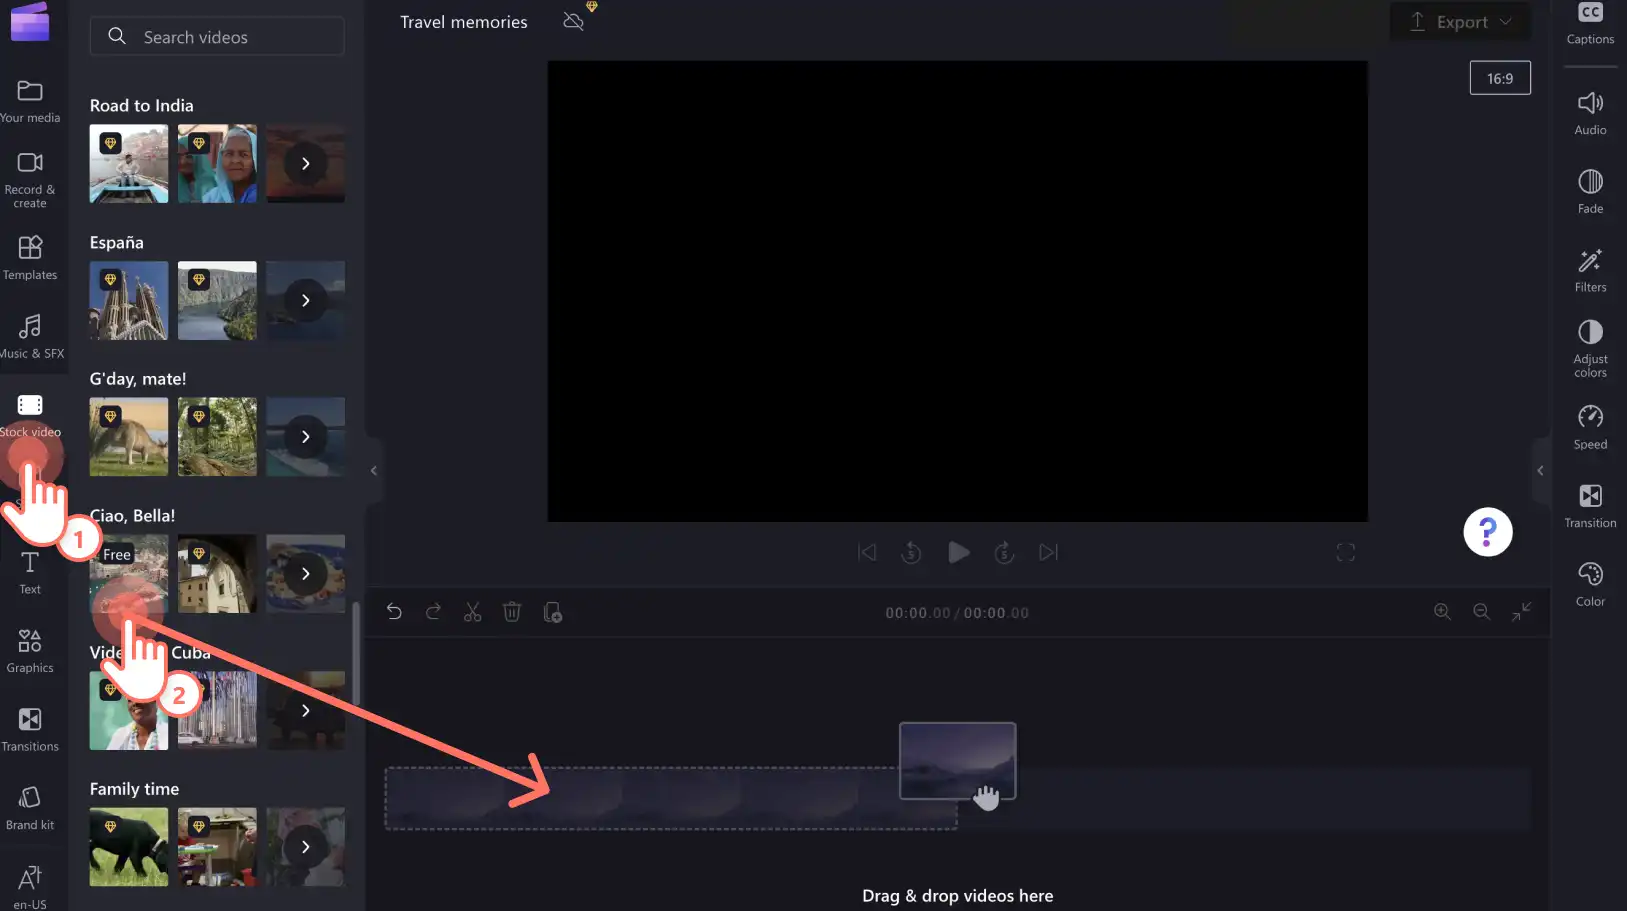
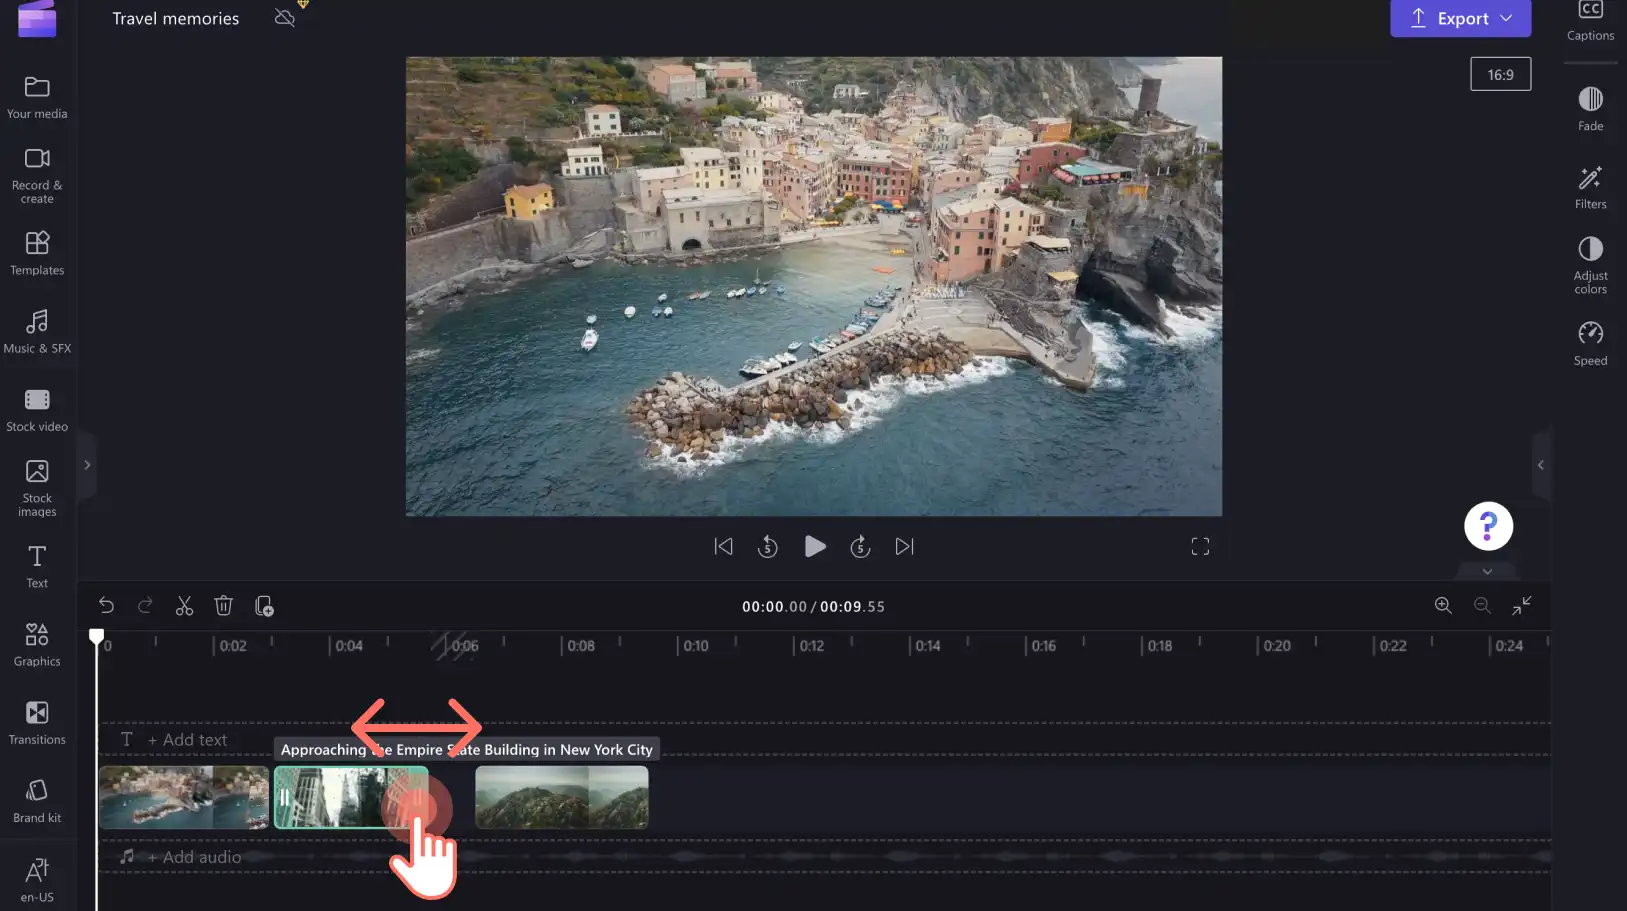
Step 2. Add your media to combine
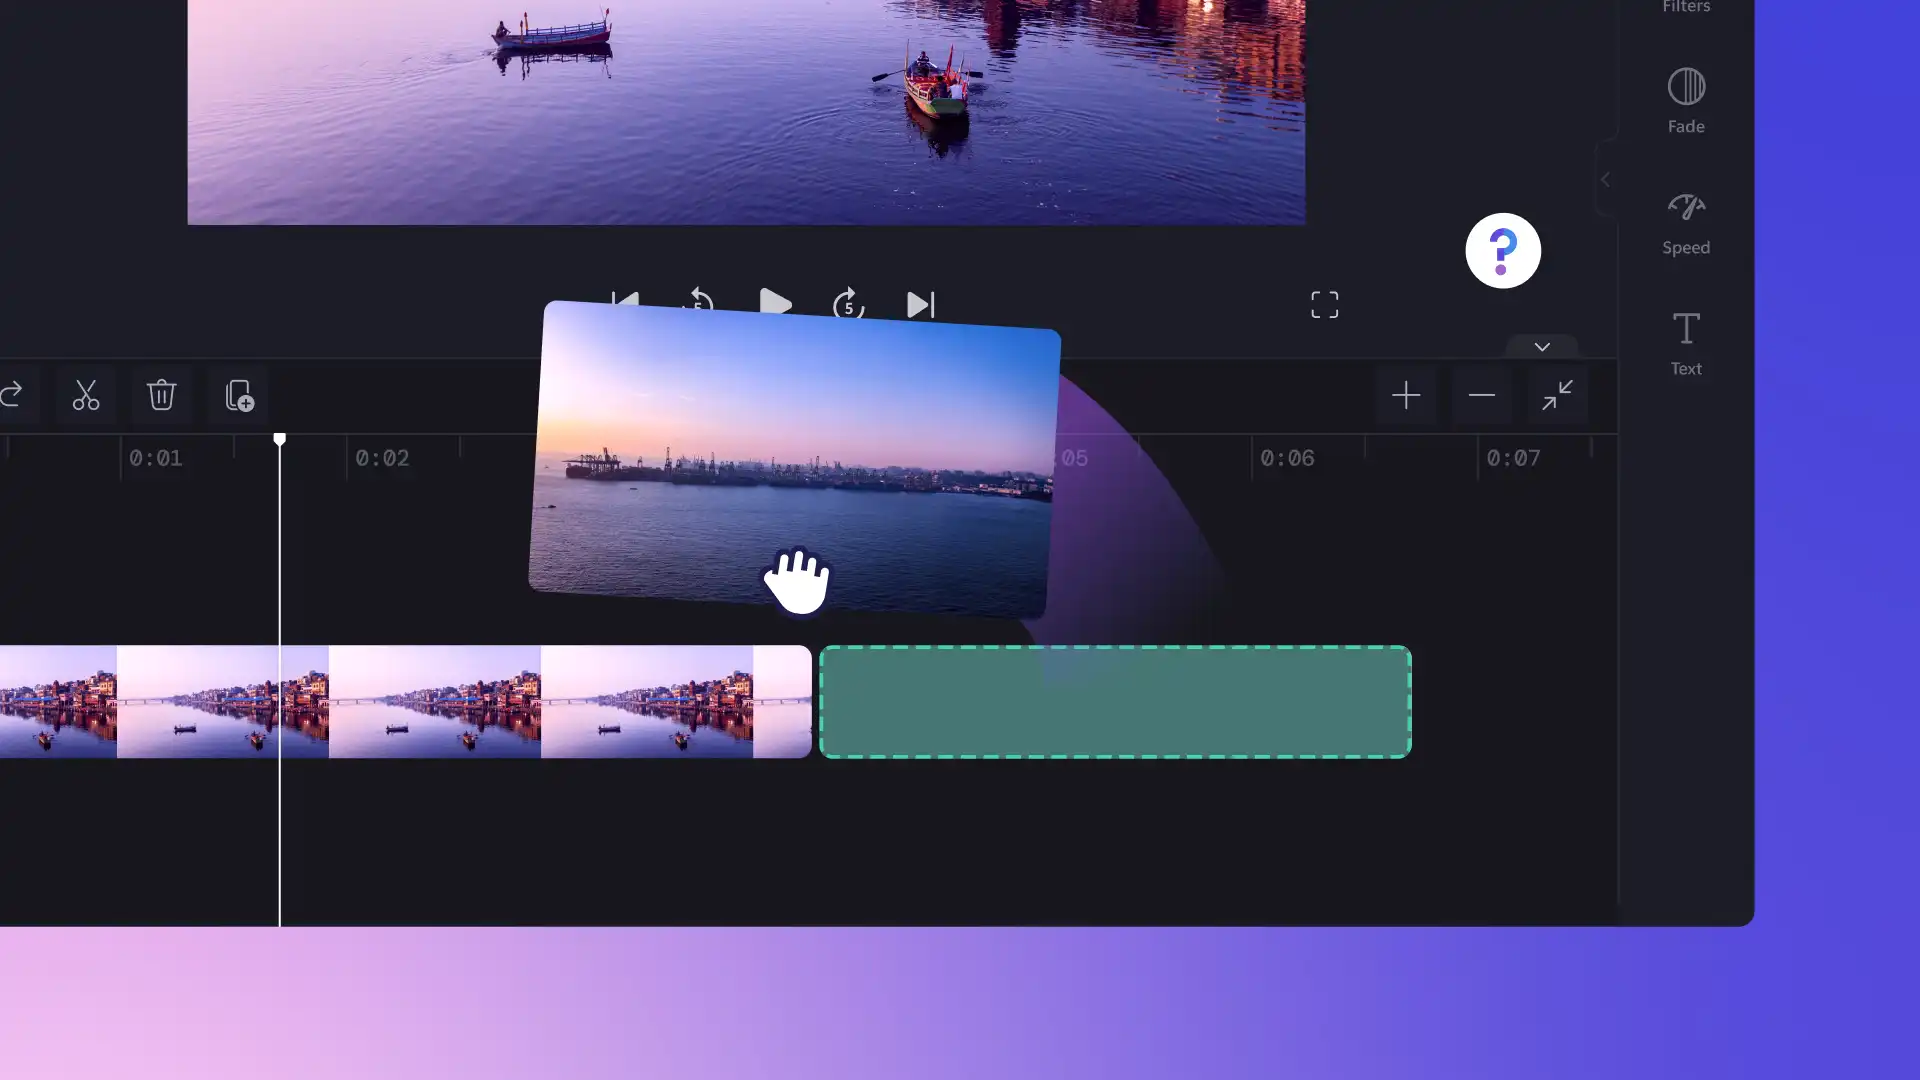
Drag and drop to place your media assets next to each other on the timeline. This will automatically combine the videos. You can preview your combined video in full-screen when you're ready.
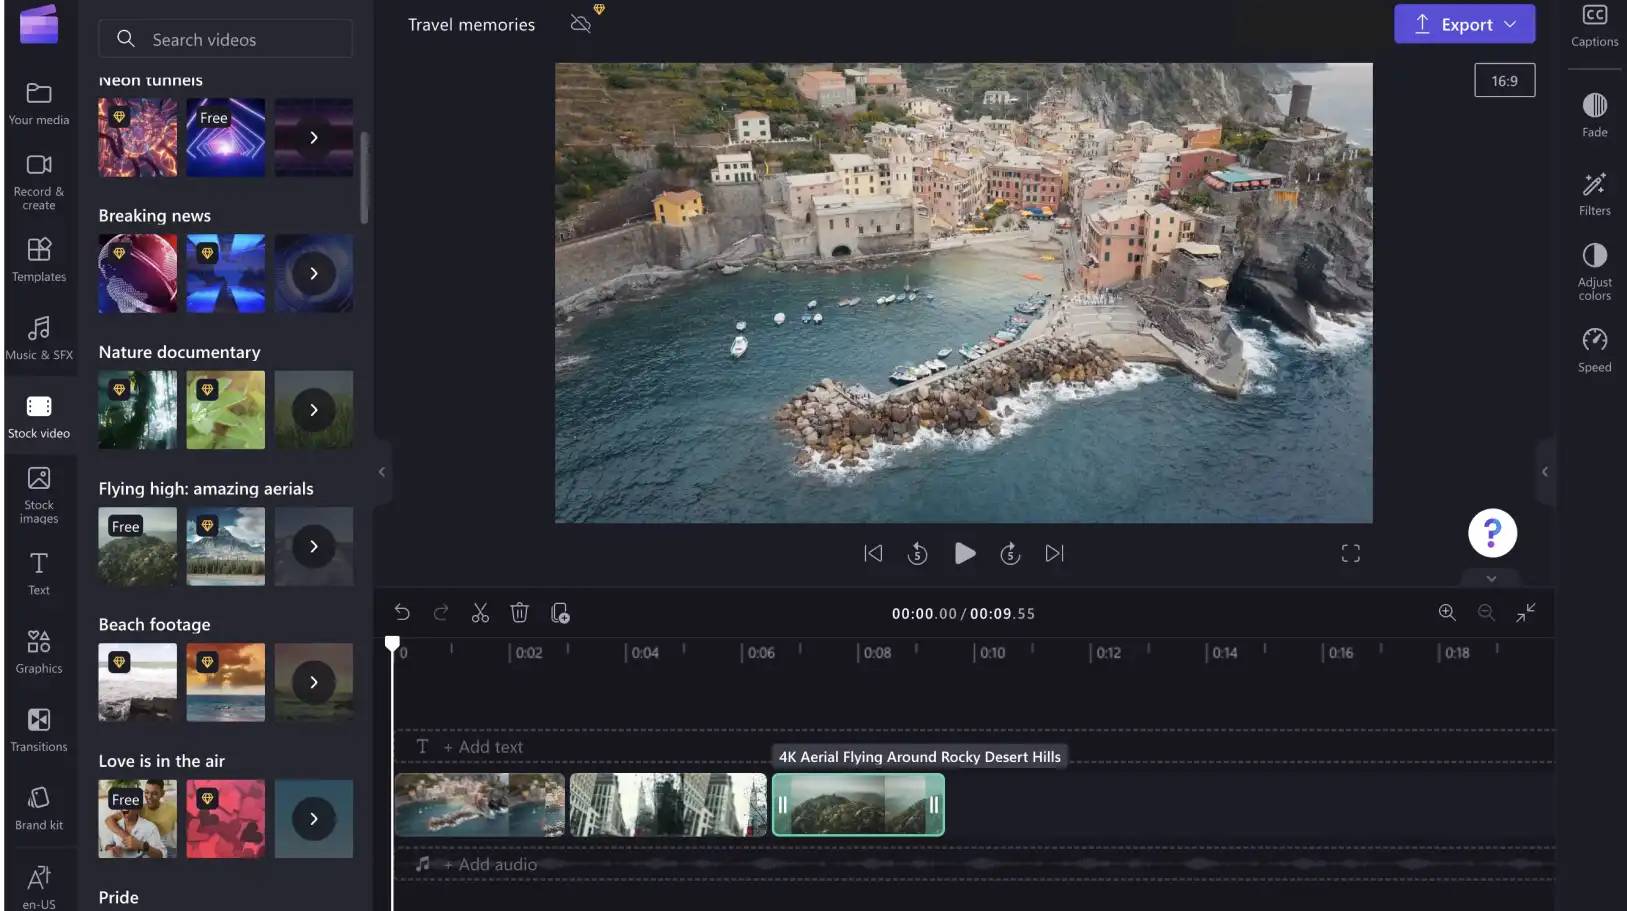
To rearrange the order of your video clips, select the video asset and drag to the ideal place in the timeline. You can swap the order of your timeline assets as many times as you like.
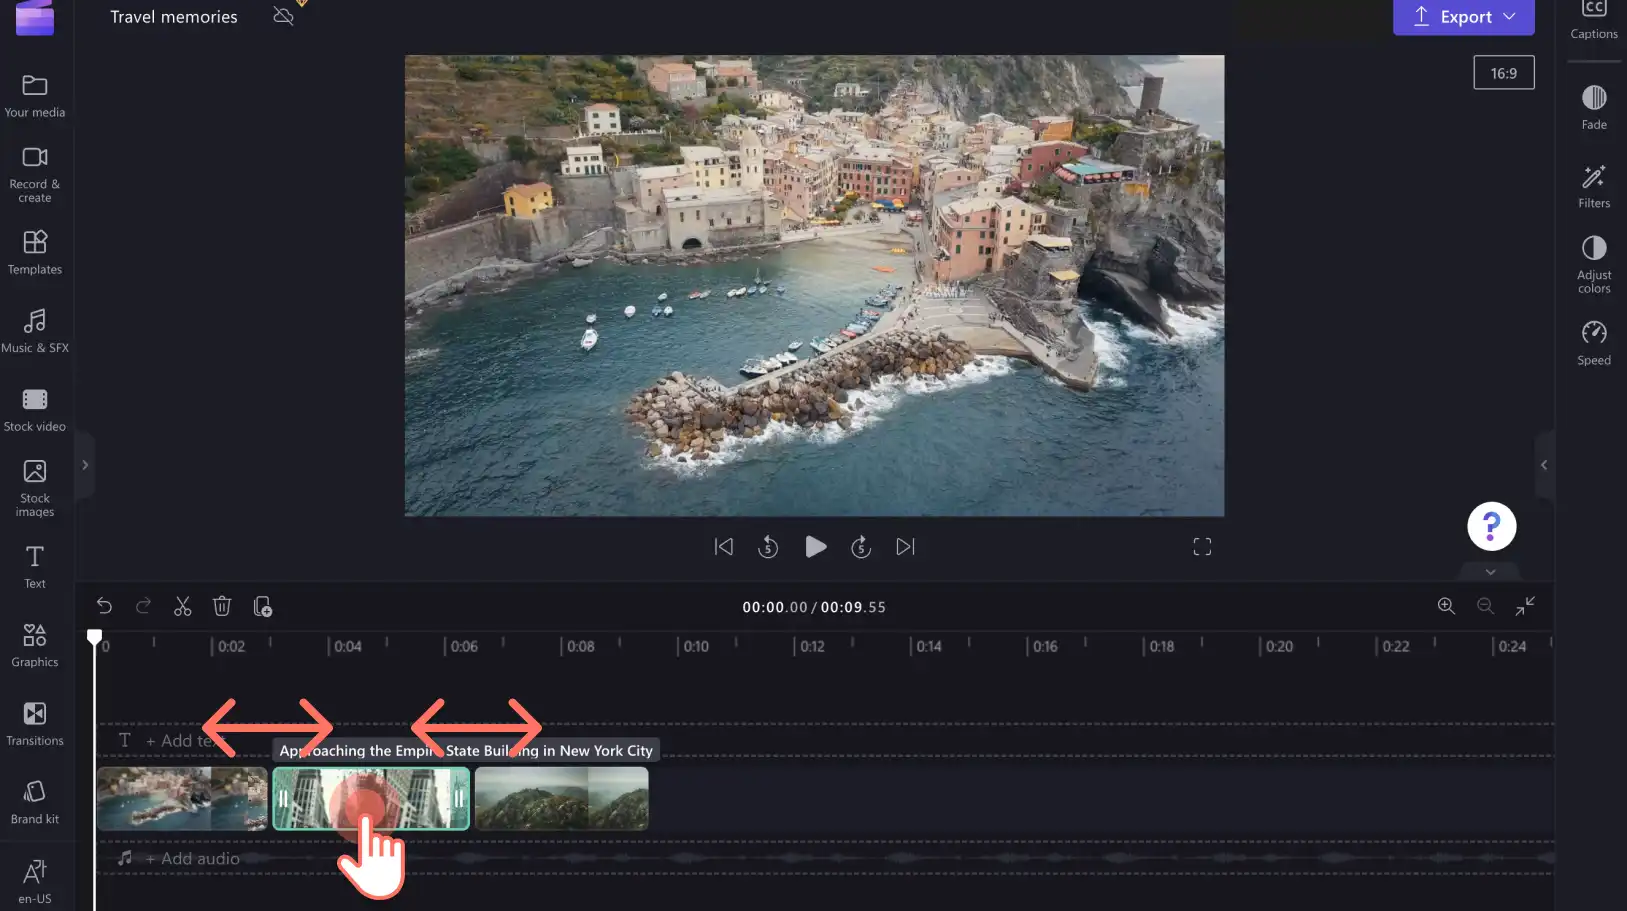
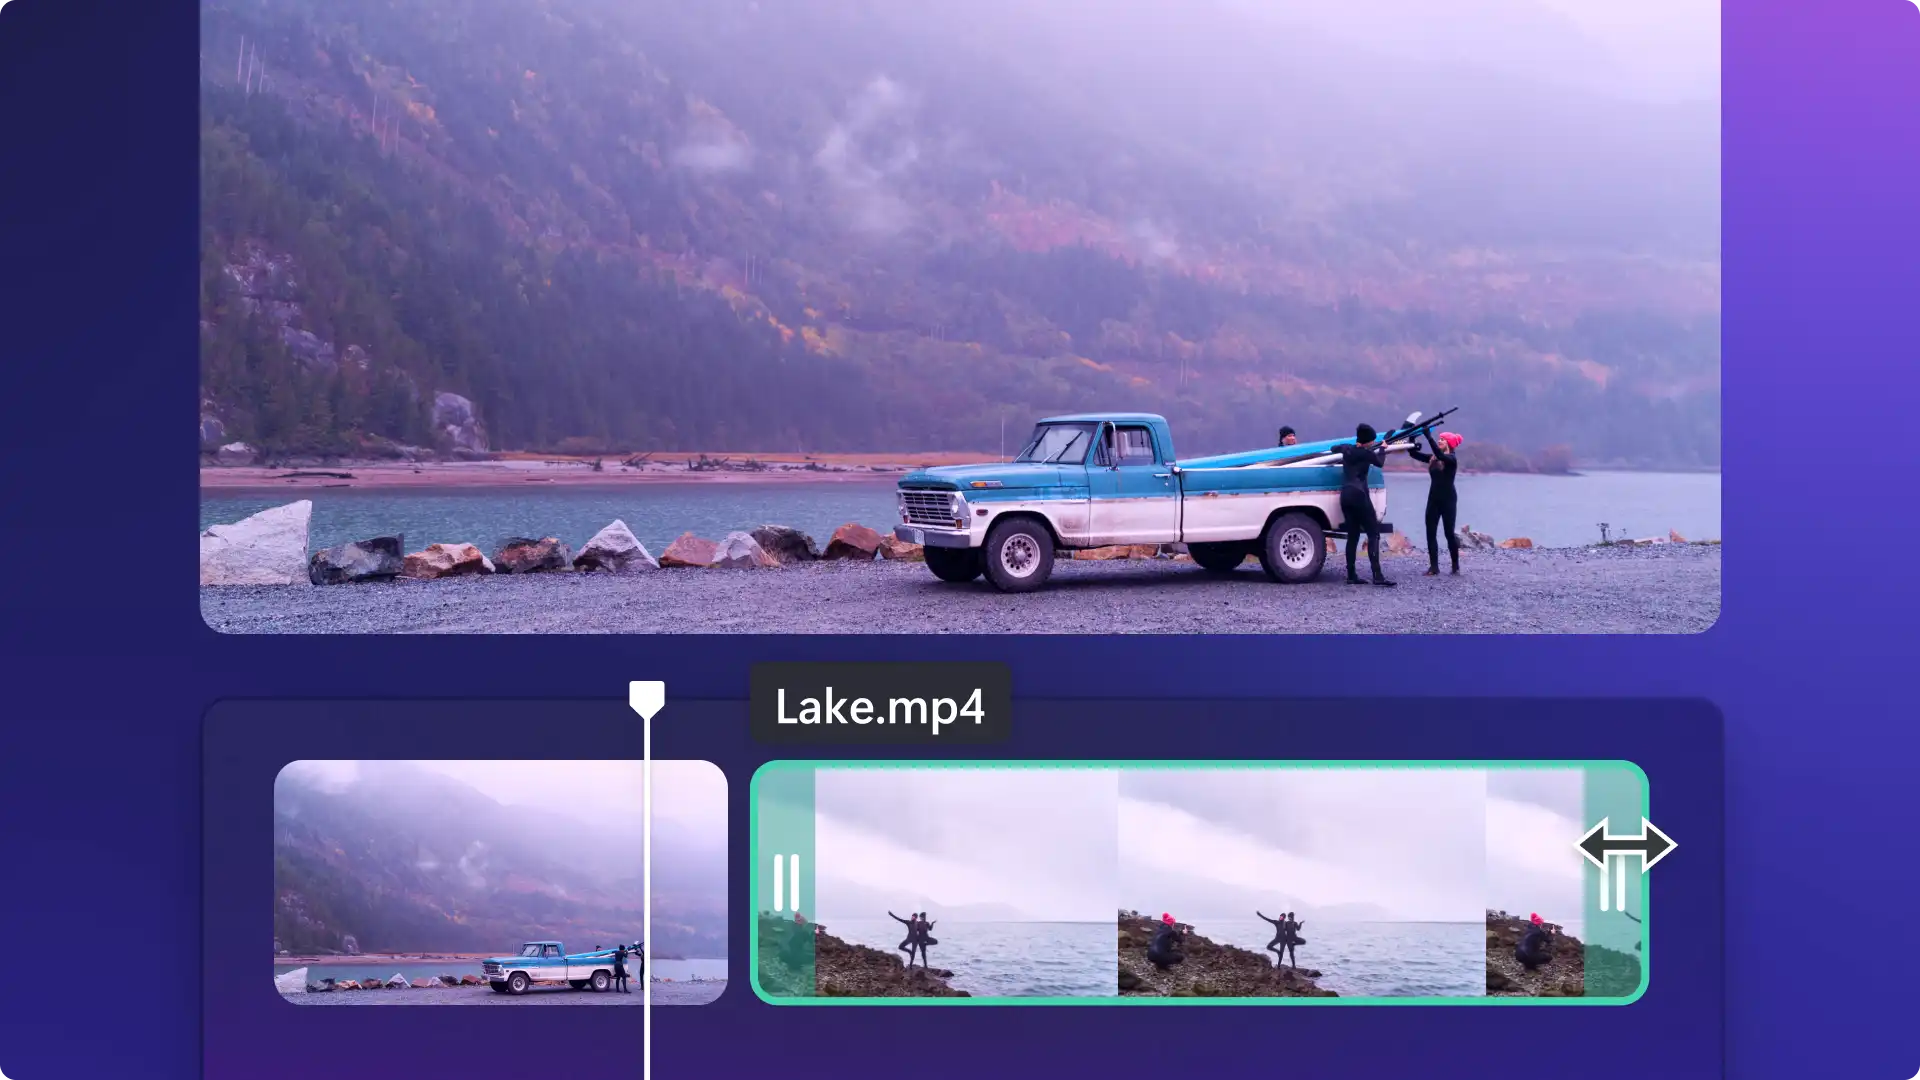
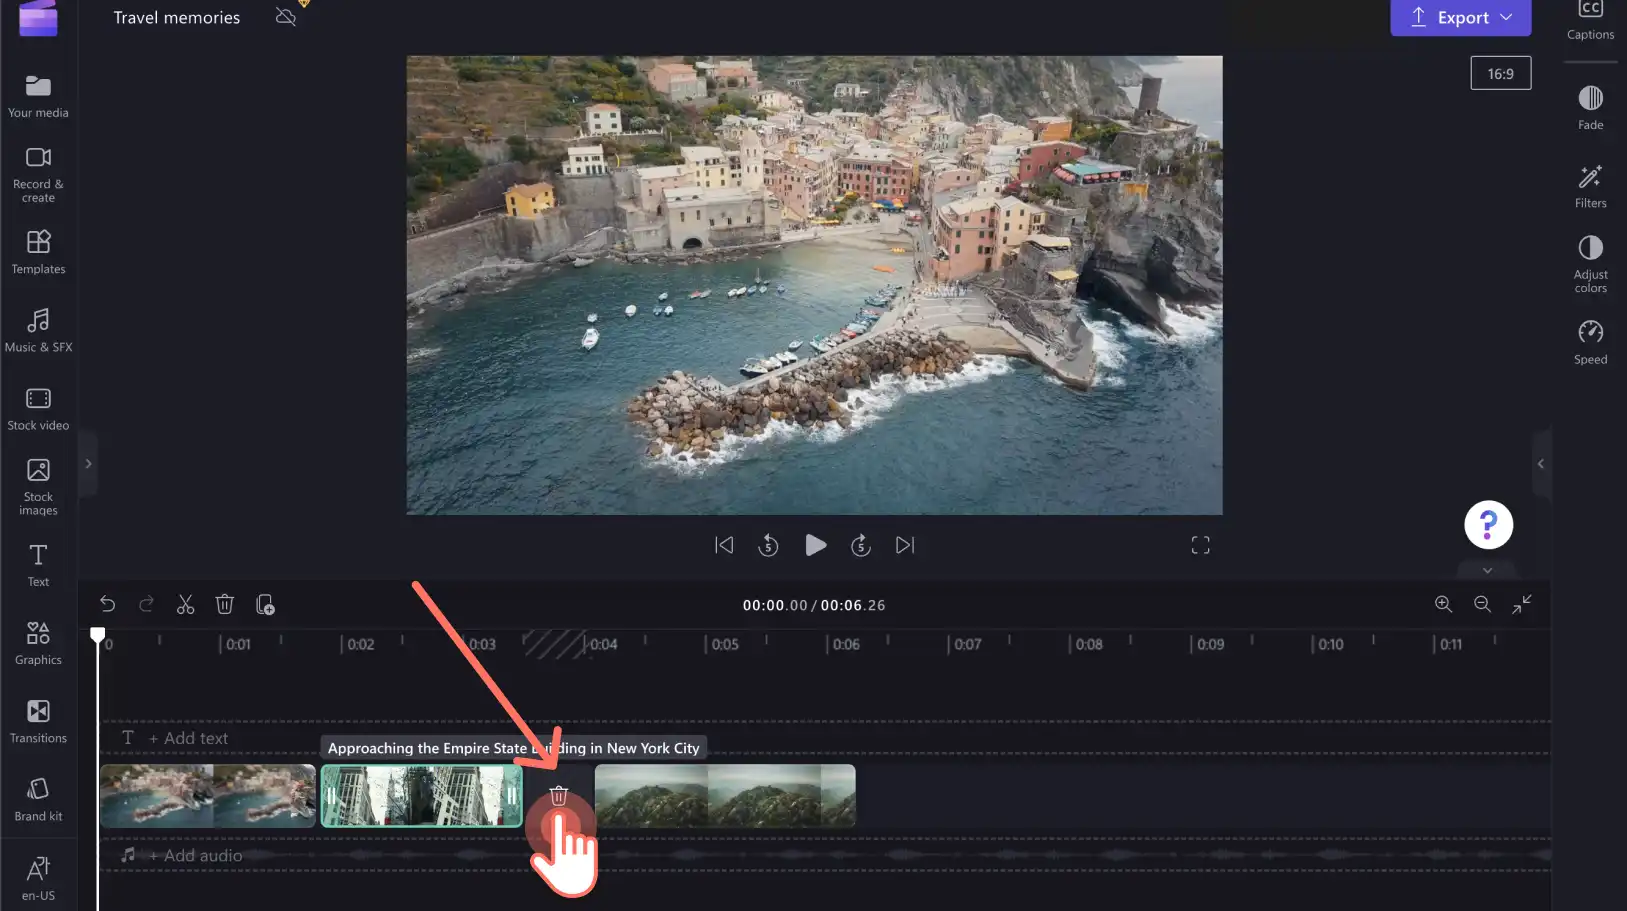
Step 3. Trim your video clips
Select the video asset you would like to trim. Drag the trimming handles to edit the length of your video asset.
If there are black spaces in between your video clips, you can use the intuitive gap removal feature. Simply click on the trash icon to delete the empty space and combine your video again.
If you’re happy with how the video clips are combined into one full video, you can export and save in 1080p HD from the top right corner of Clipchamp. But if you want to create a more polished video, add transitions to enhance it and make it engaging.
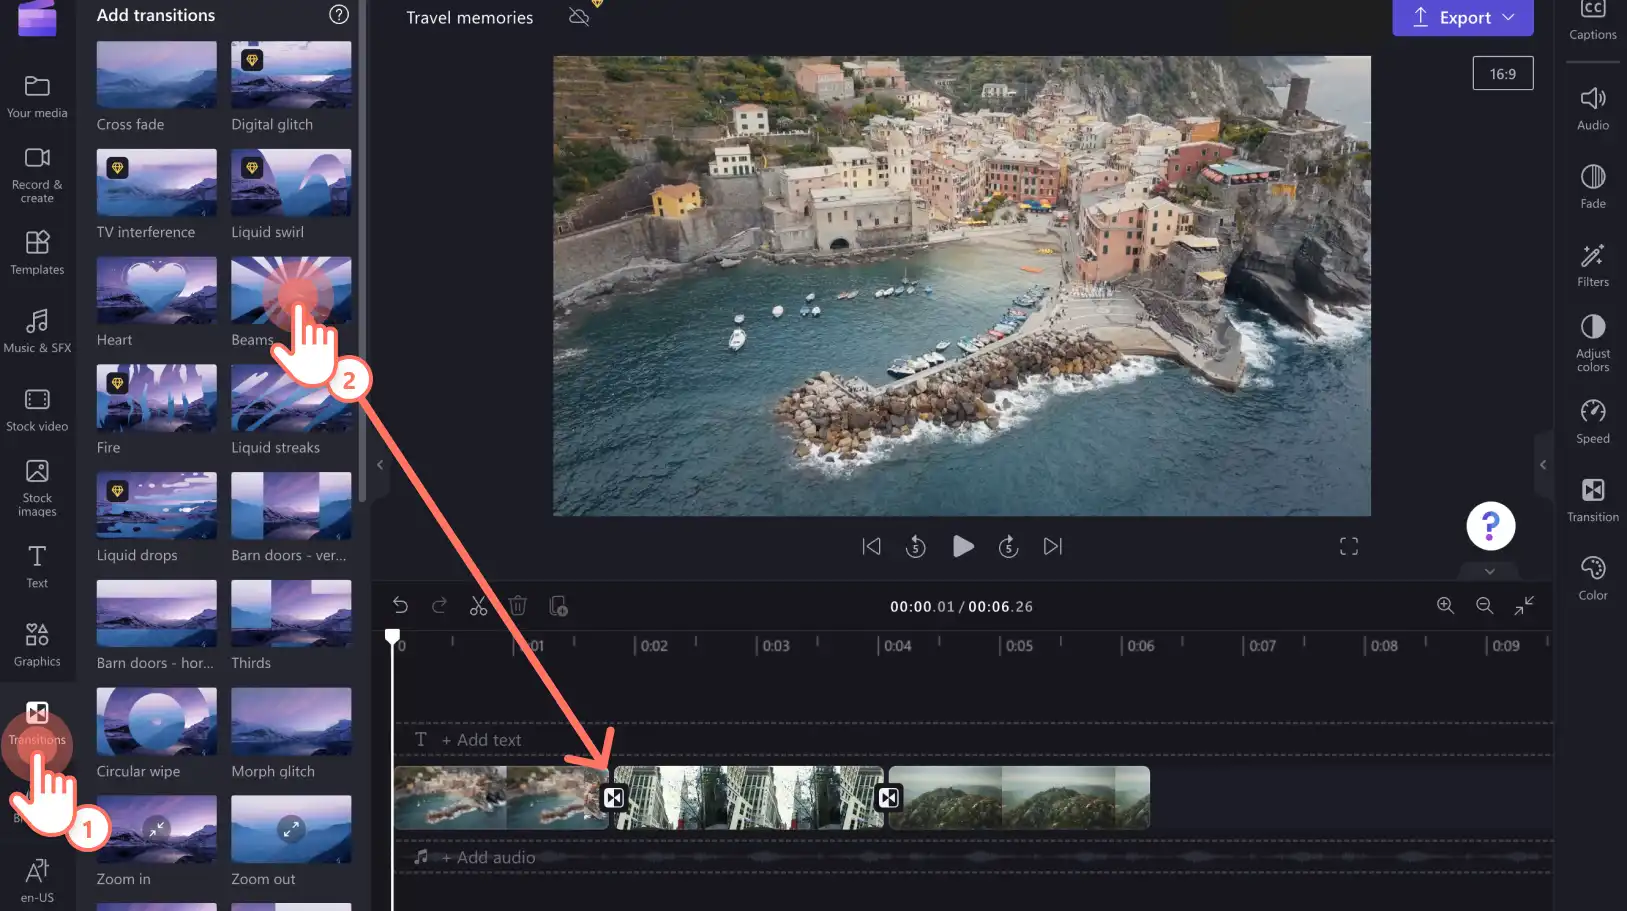
Step 4. Add transitions between your assets
You can add transitions between each video asset to make the video flow smoothly. Head over to the transitions tab located on the left sidebar, and then drag and drop a transition onto the timeline between two clips.
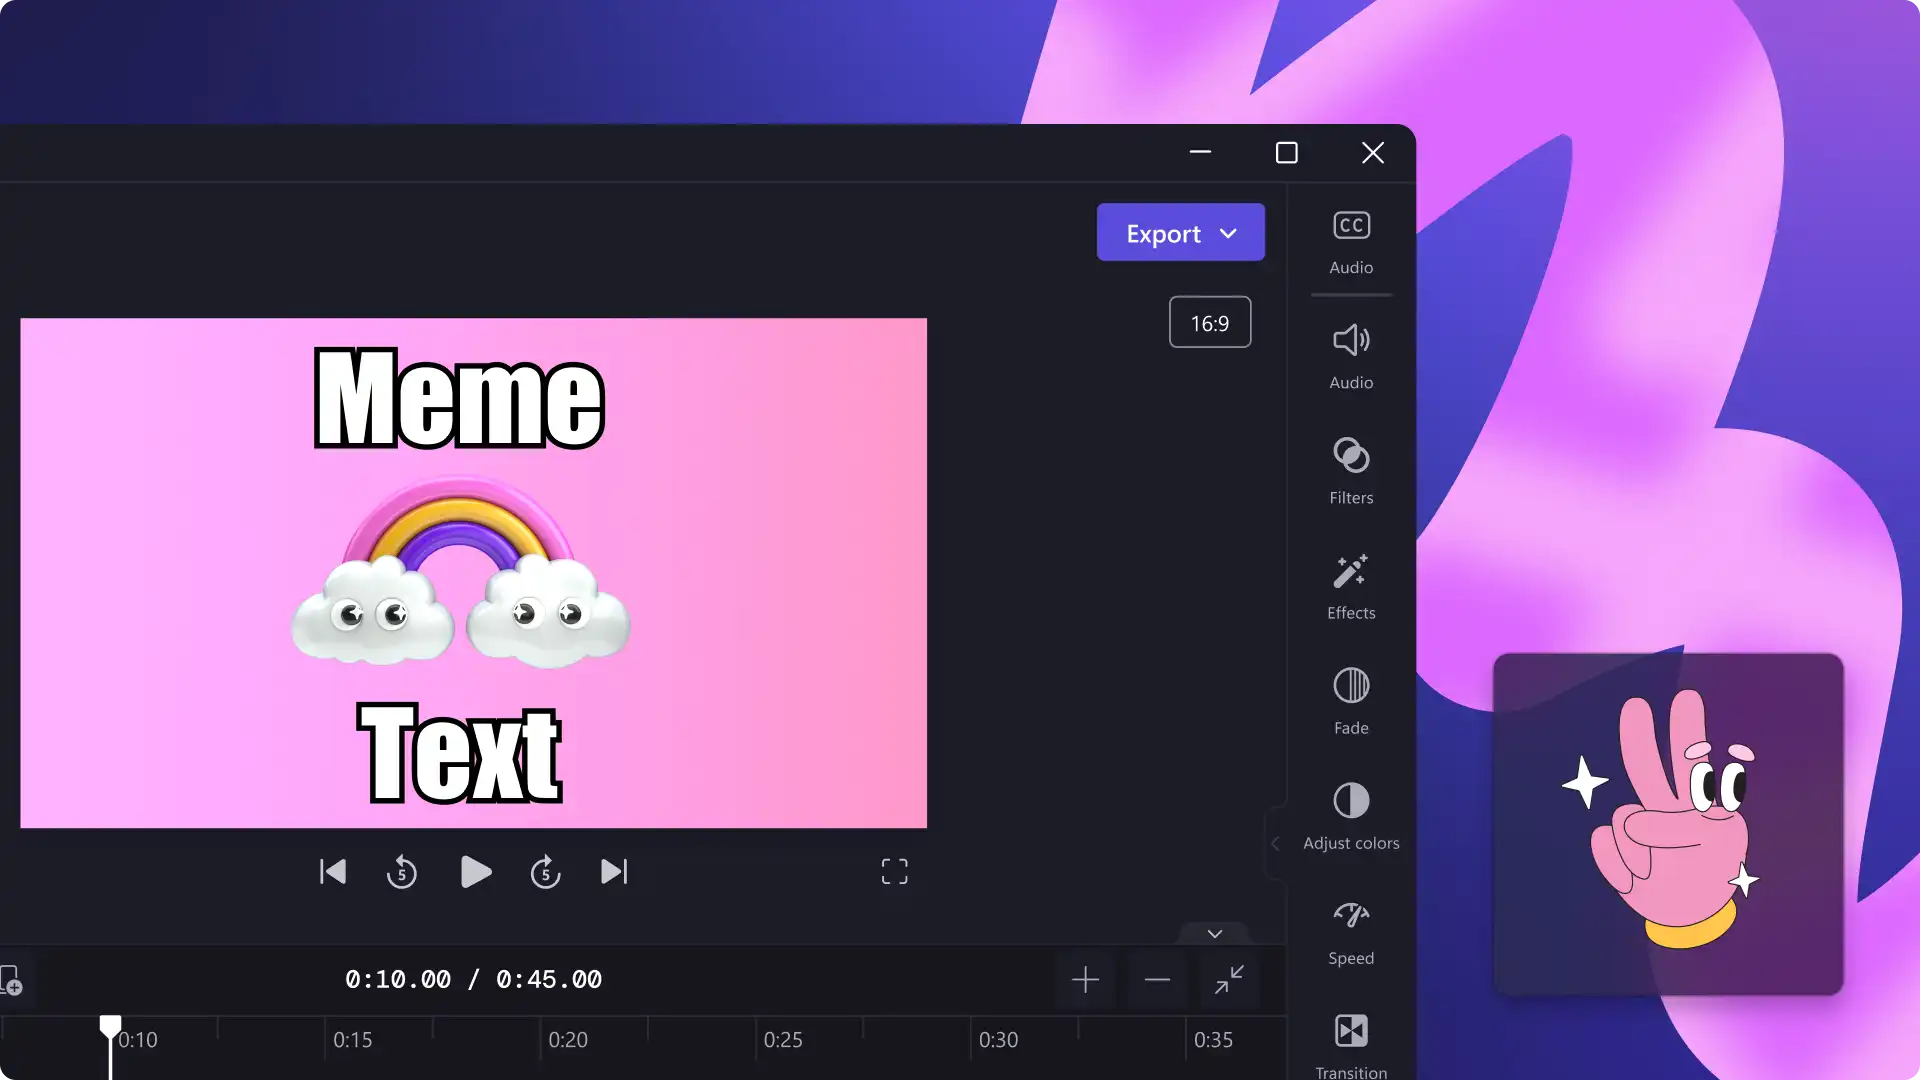
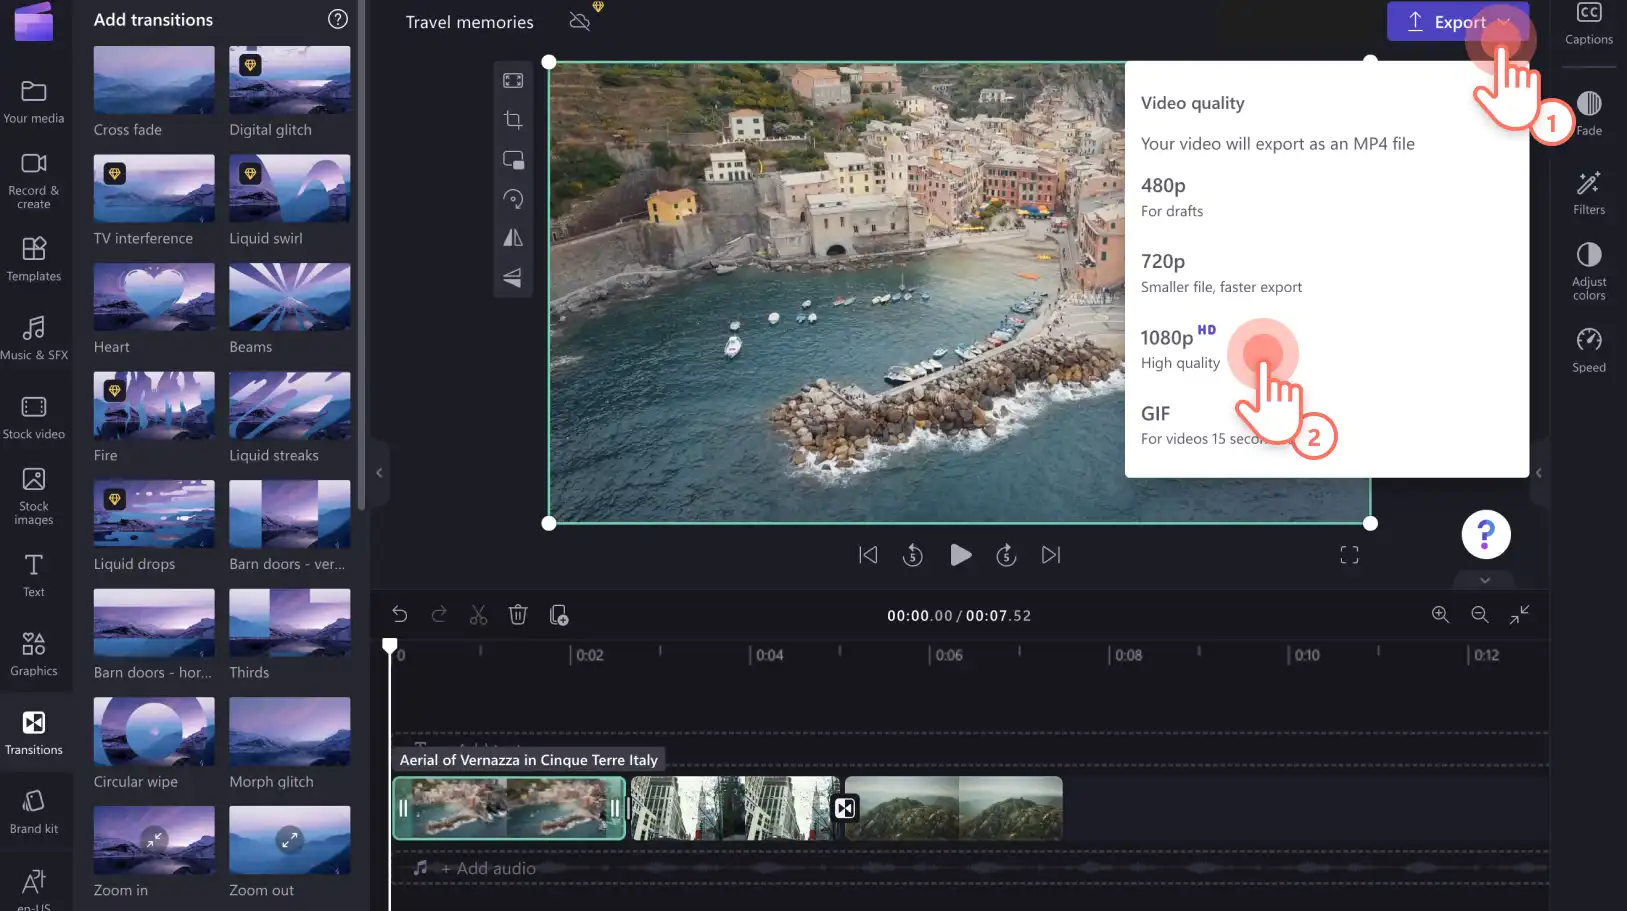
Step 5. Export and save your video
Click on the export button when you’re ready to save your video. Select a video quality to export. We recommend exporting in 1080p resolution for a high quality video you can post on social media.
Frequently asked questions
Is combining videos in Clipchamp free?
Yes. Combining videos online in Clipchamp is free. In case you'd like to add premium stock videos, images or audio to your combined video, consider upgrading the plan.
Can I combine videos and images together?
Yes. You can easily combine and edit videos, images, audio, GIFs, and stickers together on the timeline and create slideshow videos, promo videos, among other ideas.
How many videos can I combine?
There are no restrictions on the number of videos you can combine. You can merge as many videos as you need to create your final video.
How to edit and merge videos on Windows?
Clipchamp’s free online video editor works on all Windows 10 and Windows 11 (pre-loaded), with an internet connection. You can access Clipchamp via the Edge browser or by downloading the Windows app.
With our online video editor’s user-friendly timeline and versatile stock options, you'll be able to combine videos, images, audio, GIFs, and stickers to create a video that stands out. Start combining videos with Clipchamp.
If you'd like to create a video montage instead, consider adding transitions between your clips and background music that complements your video's theme.
Heads up! The screenshots in this article are from Clipchamp for personal accounts. The same principles apply to Clipchamp for work and school accounts.