On this page
A custom split screen layout can seamlessly showcase multiple clips, perspectives, or actions in the same video frame. Perfect for creators editing YouTube reaction videos and podcast videos, or online learning lessons with webcam recordings. Easily create a split screen video for free with Clipchamp video editor.
Read on to learn how to create a split screen video effect by placing two videos side by side, while also exploring other editing techniques like video-on-video overlay.
How to put two videos together (side by side)
Step 1. Import media or select stock footage
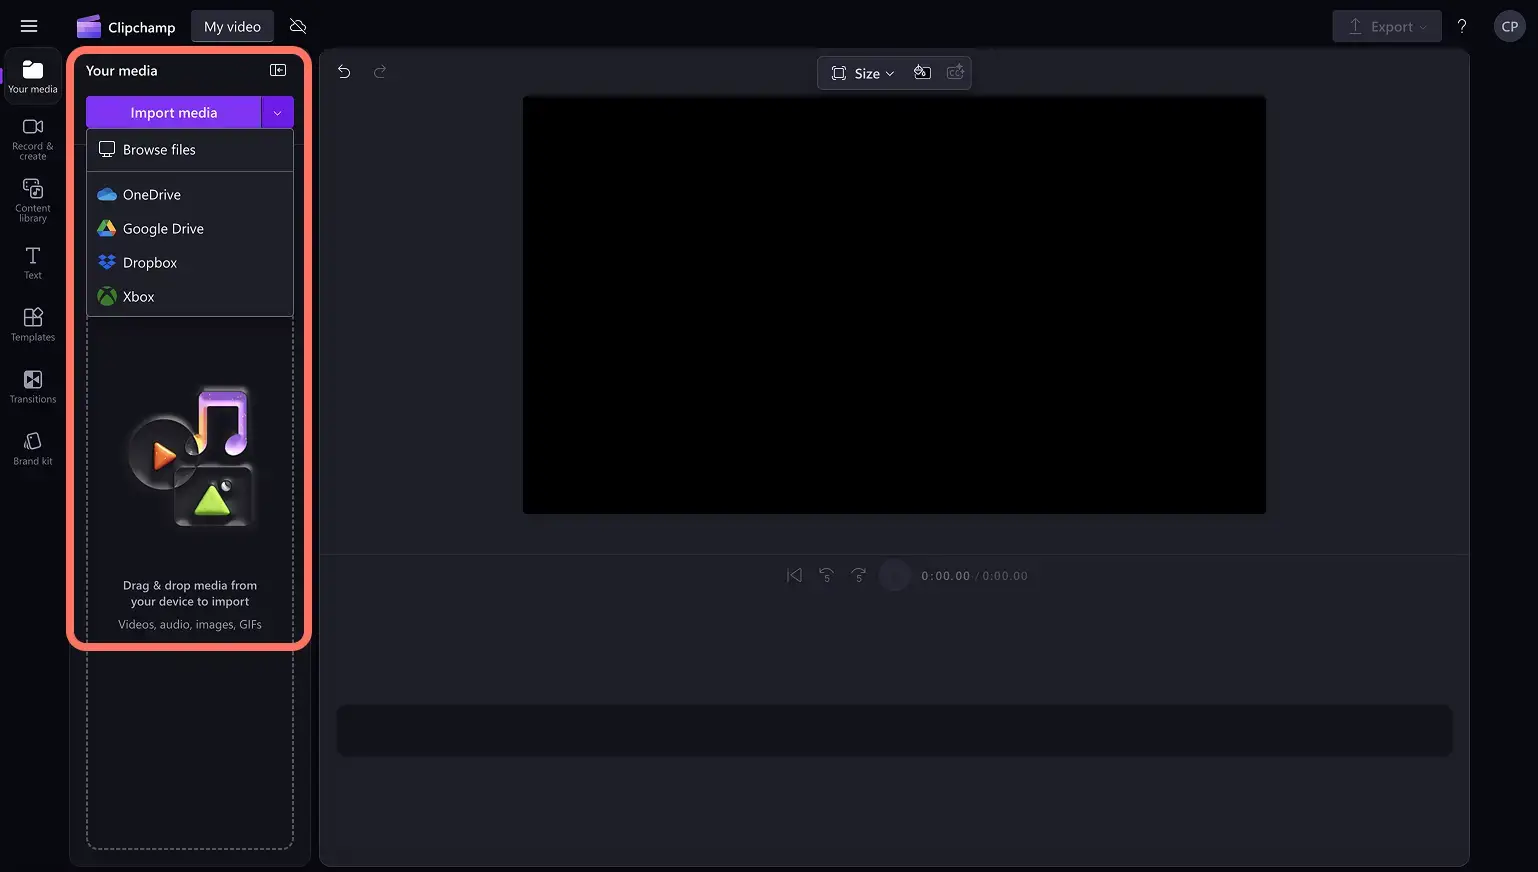
To upload your own videos, photos, audio, or other media, click on the import media button in the your media tab on the toolbar. Browse your computer files or connect your OneDrive.
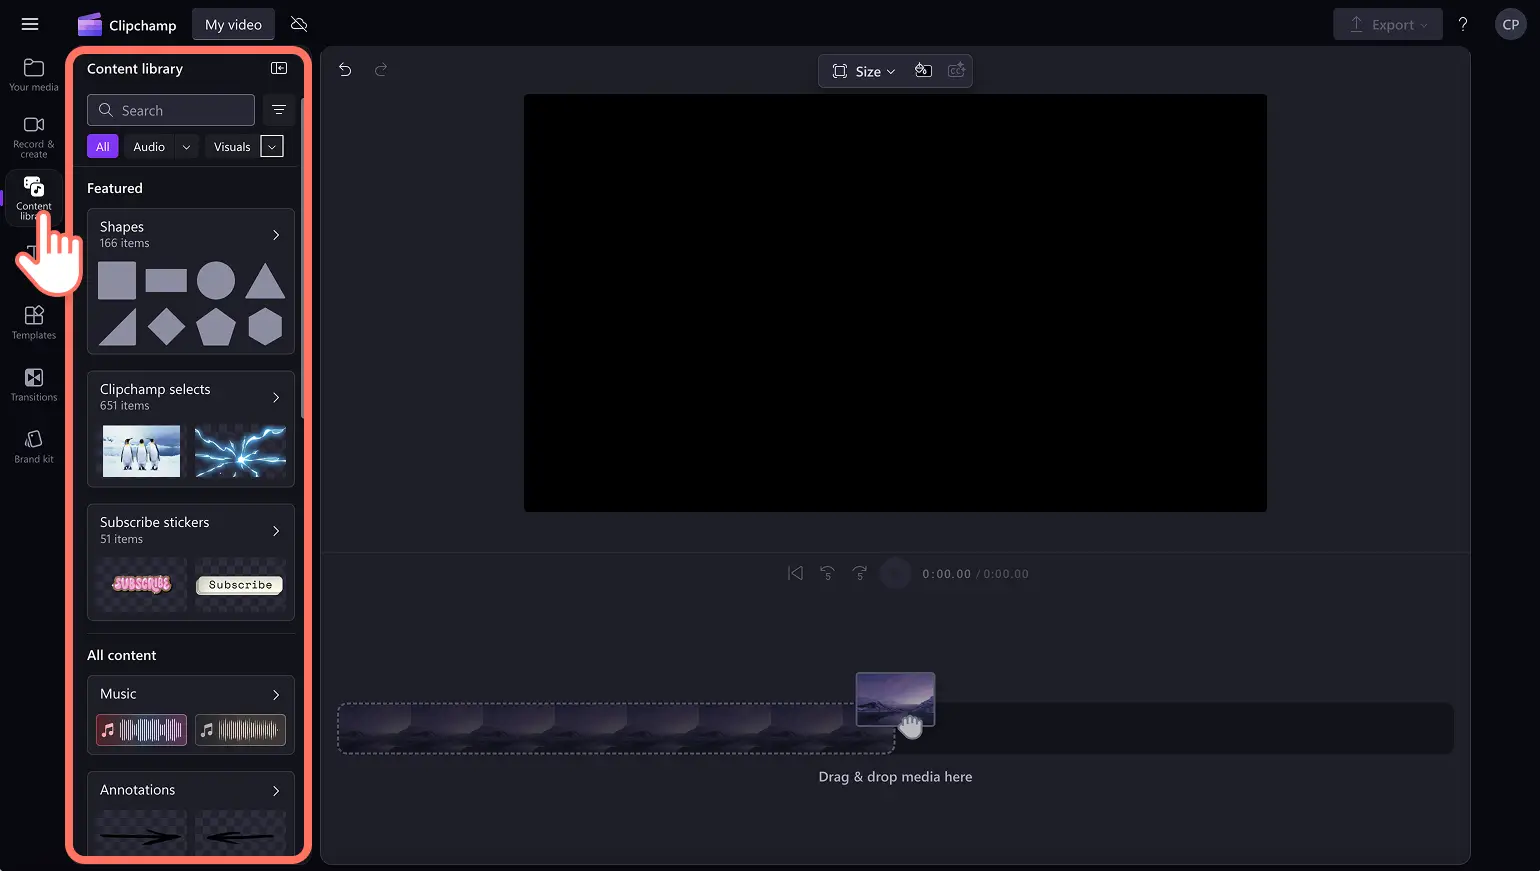
You can also use free stock media like video clips, video backgrounds, and original music for any genre. Click on the content library tab on the toolbar and click on the visuals drop down arrow, then select videos, photos, or backgrounds. You'll find stock media grouped by genre and theme, or you can use the search bar to browse by keyword.
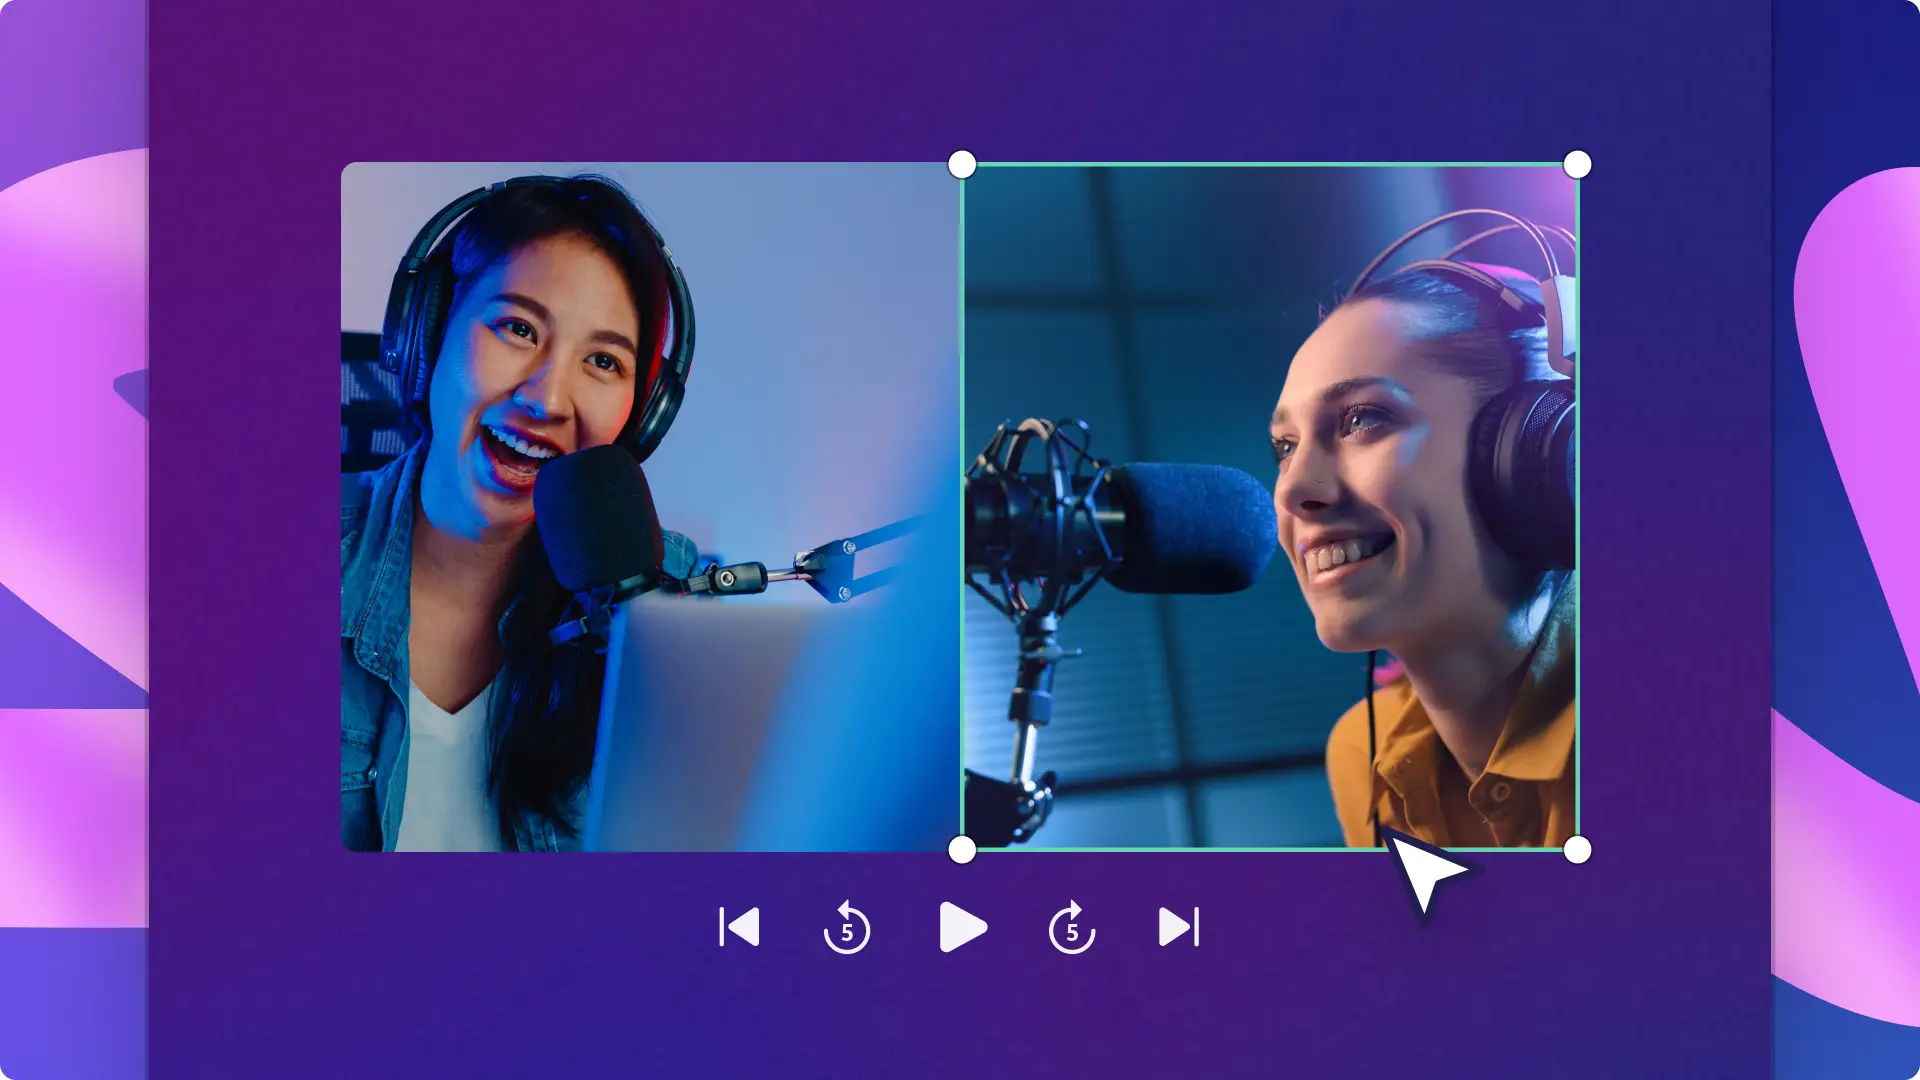
Step 2. Add video assets as separate layers on the timeline
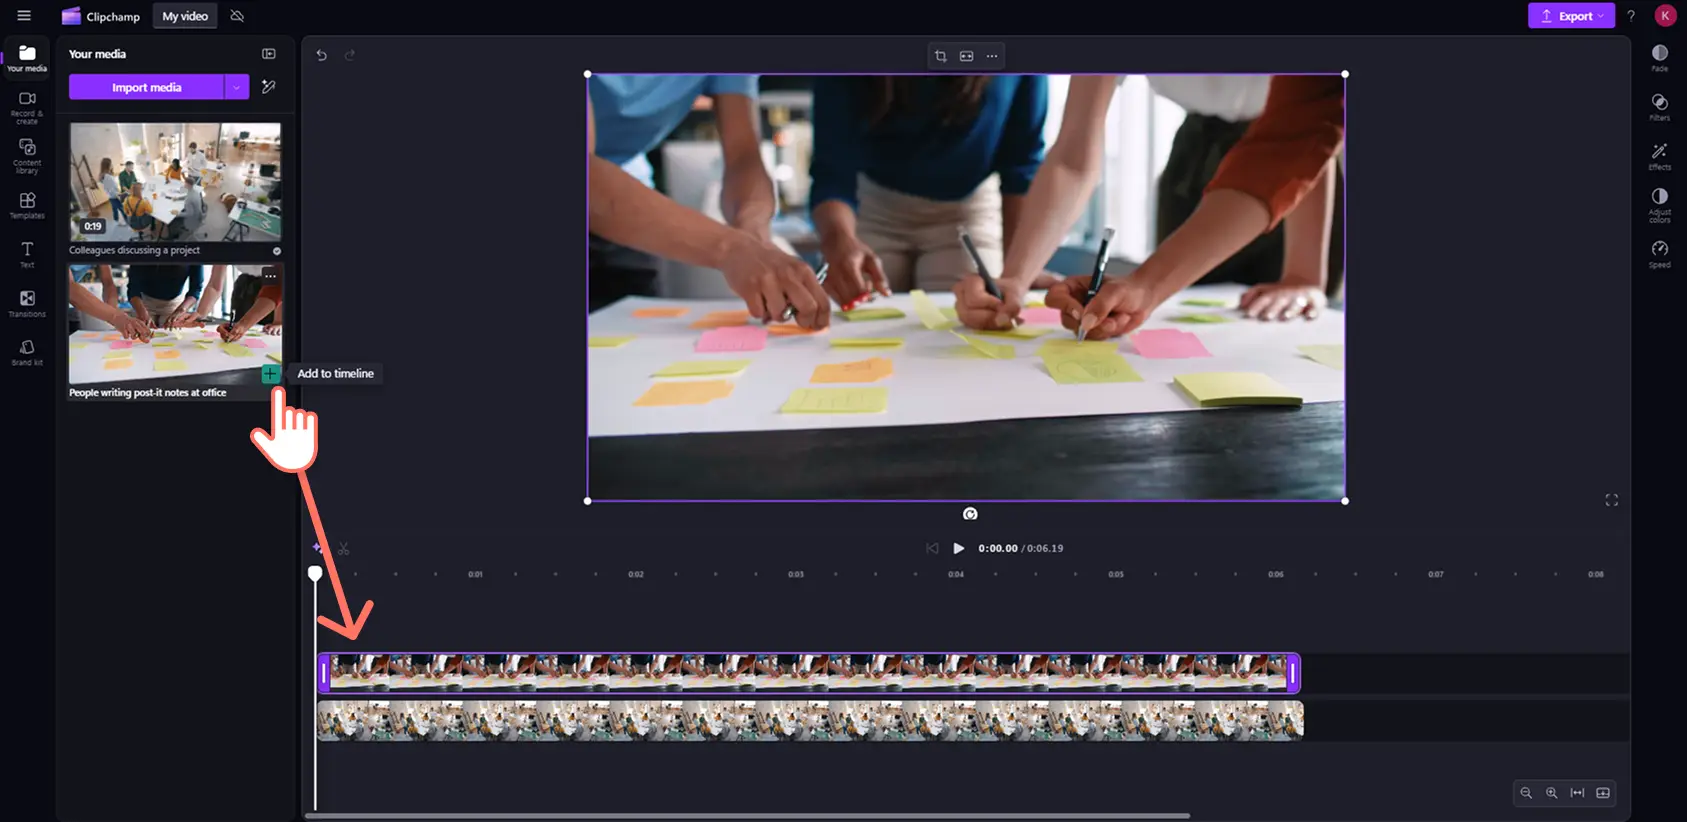
To put two videos together side by side, drag and drop your videos onto the timeline above one another as separate layers. Usually, you would place videos cohesively in a row, but the split screen video layout on the timeline is a little different. Place your videos vertically in a row on the timeline to ensure your video clips play at the same time.
Step 3. Edit the position of your split clips
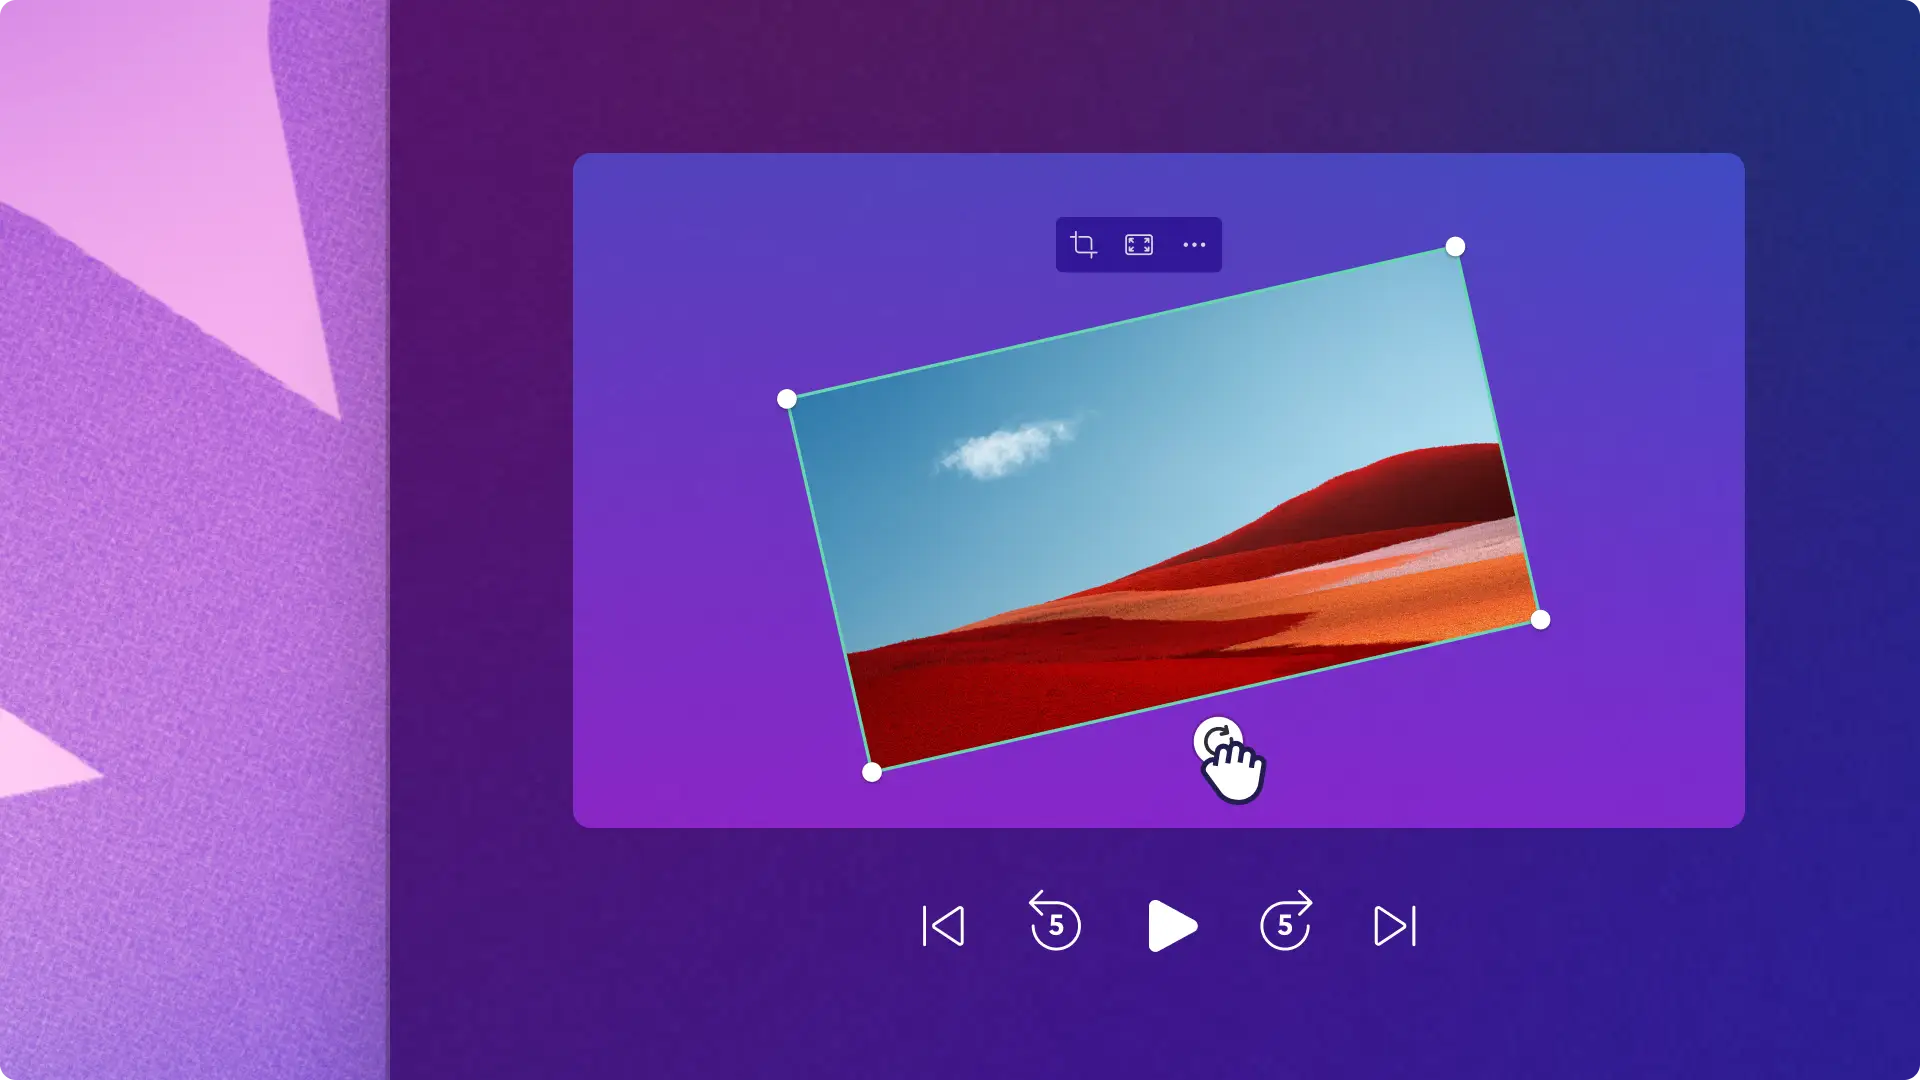
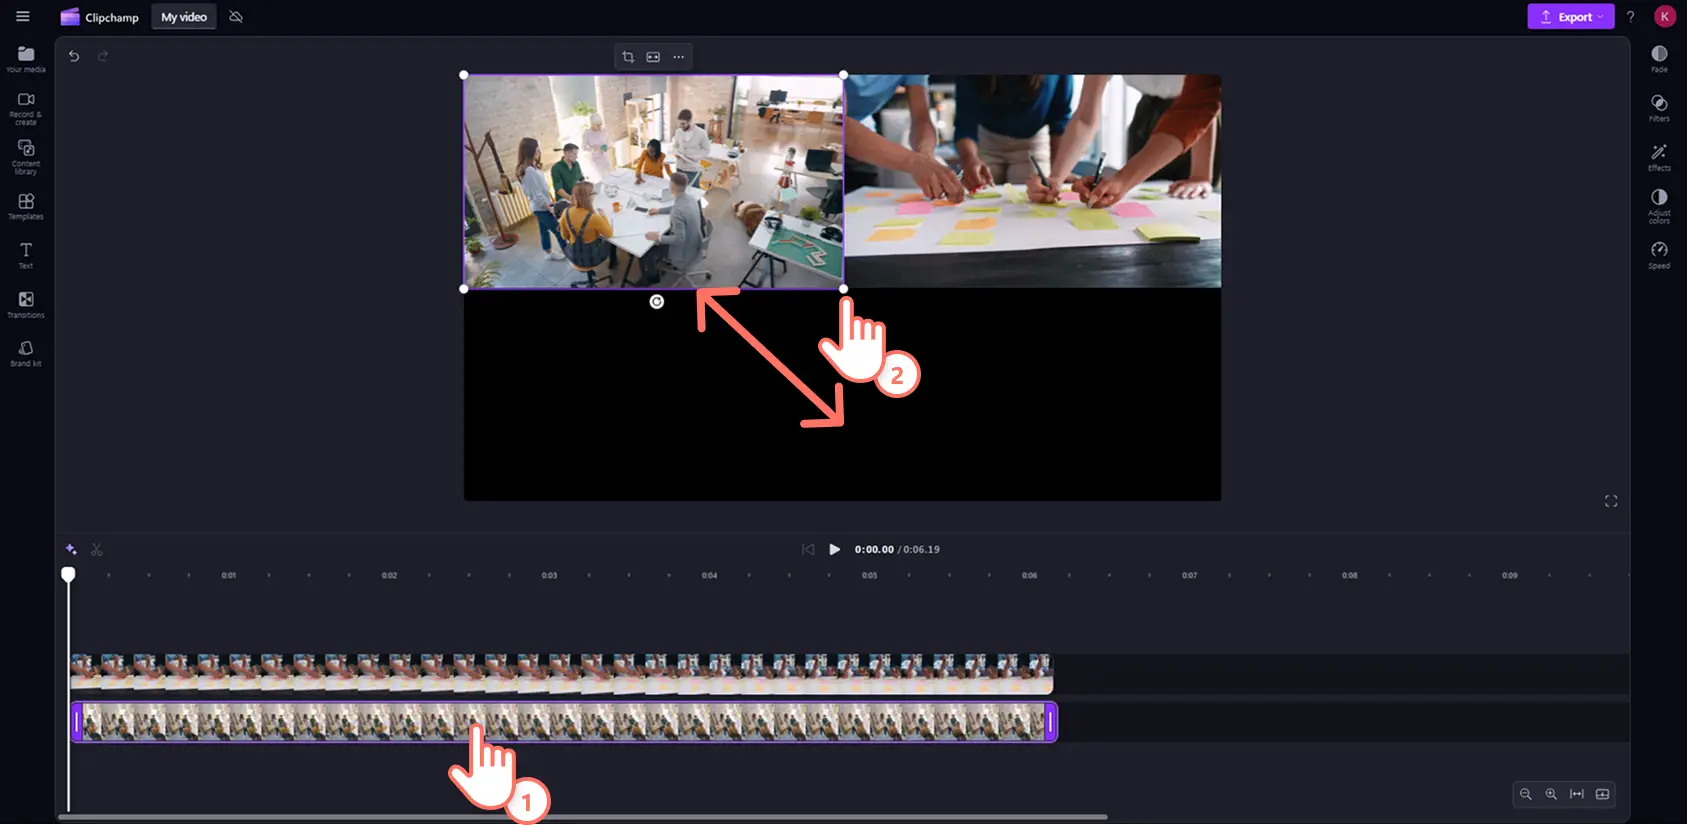
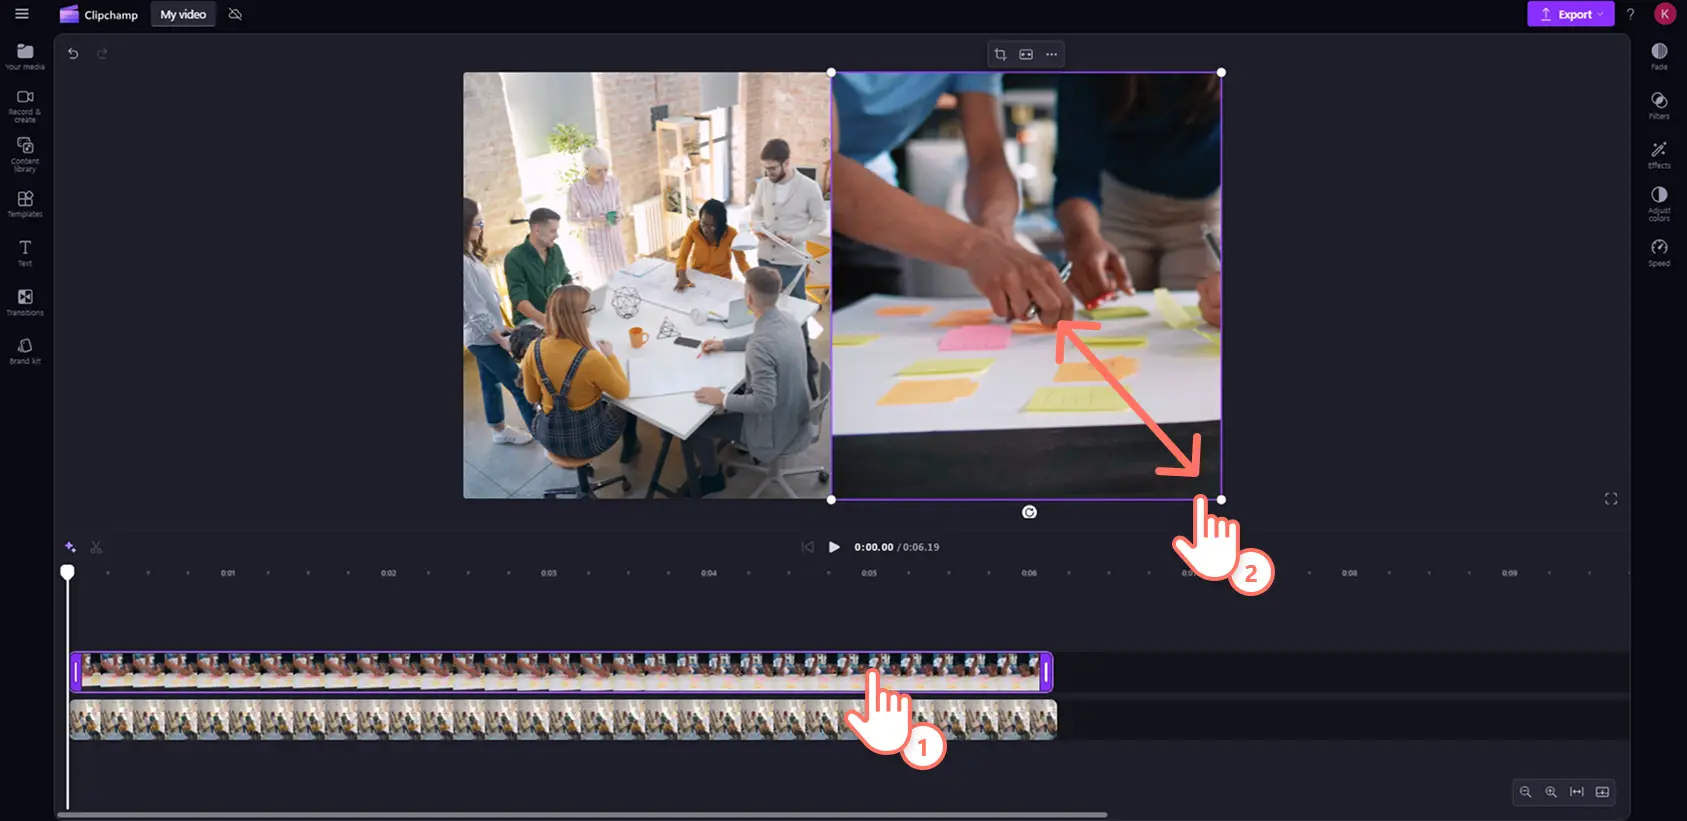
Click on the top layer video asset on the timeline so it’s highlighted. Next, using the resize tool, drag the corners in and out to edit the size of your overlayed video. For further help with cropping, check out this help article.
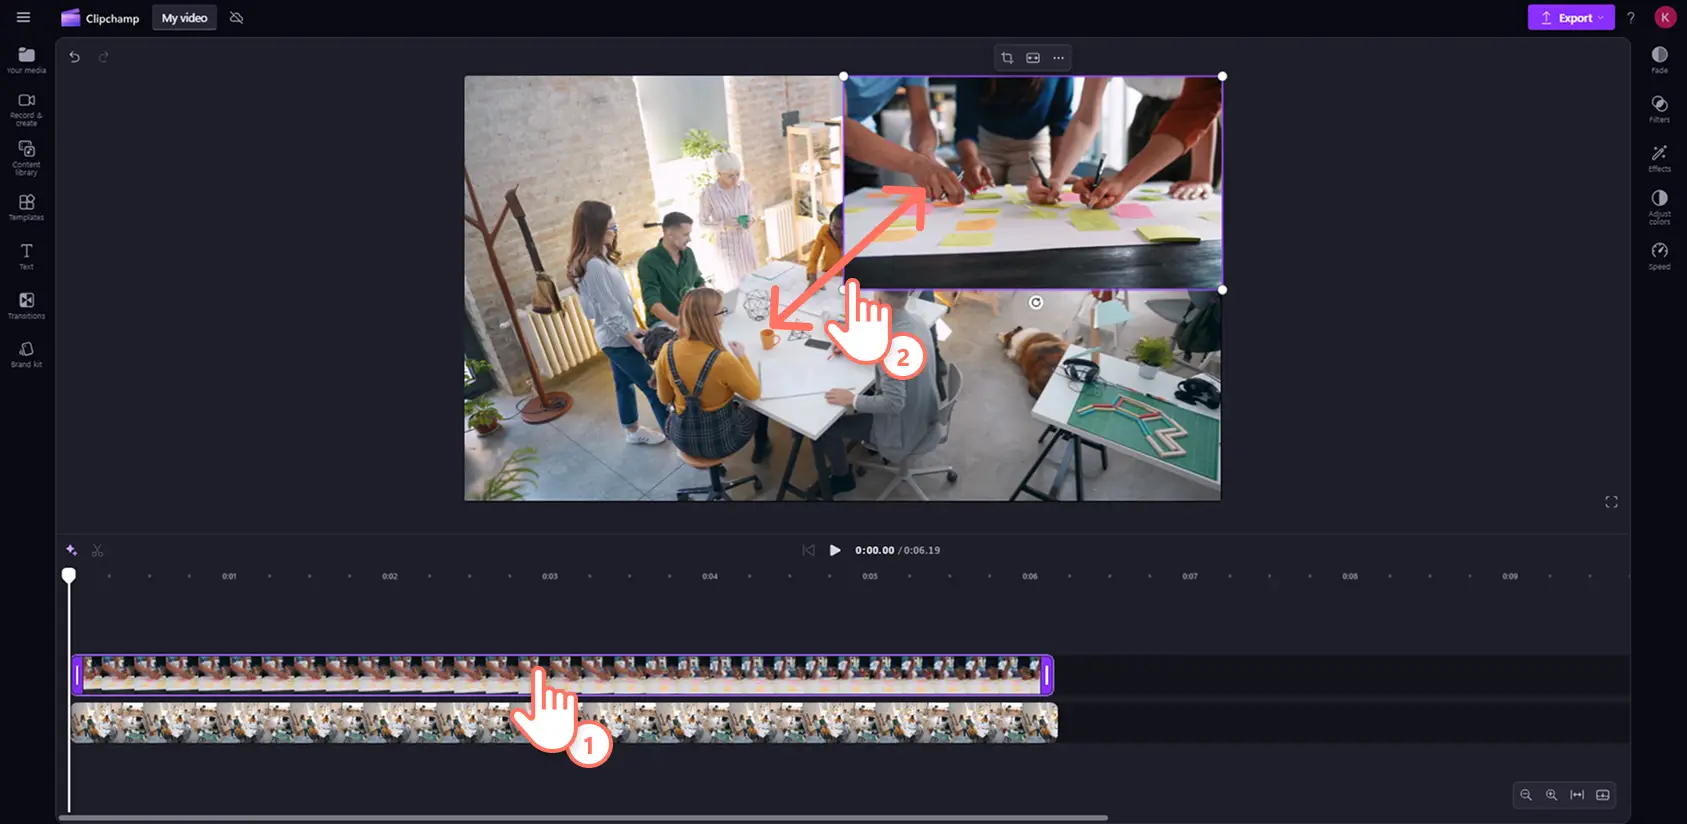
Repeat this step for the bottom layer video clip.
Move your clips around the stage to change their position. You can reposition your clips into any vertical or horizontal layout that suits your video genre using crop and other tools in the floating toolbar.
Step 4. Customize with royalty-free background music
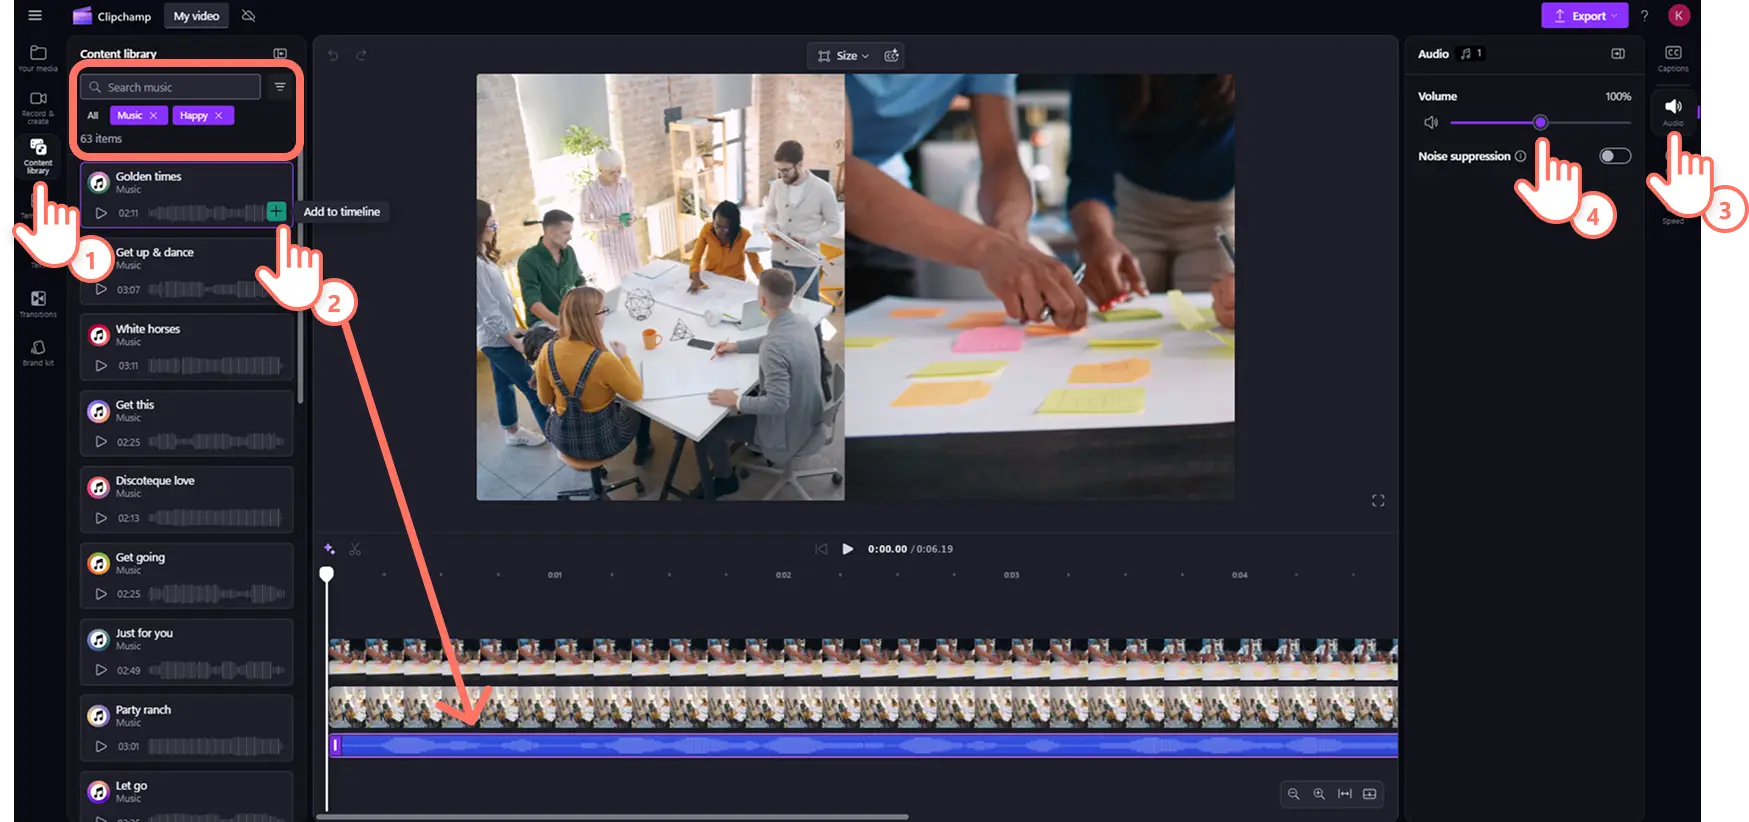
Create a mood for your split screen video by adding original music underneath your video's audio. Click on the content library tab on the toolbar then select music from the audio dropdown arrow. Here you'll see a large variety of original songs grouped by genre and theme. You can also explore by keyword using the search bar.
Once you've added your music, adjust the volume so it doesn't clash with your main audio track. Click on the audio asset on the timeline so it's highlighted then click on the audio tab on the property panel and drag the volume slider to a lower level.
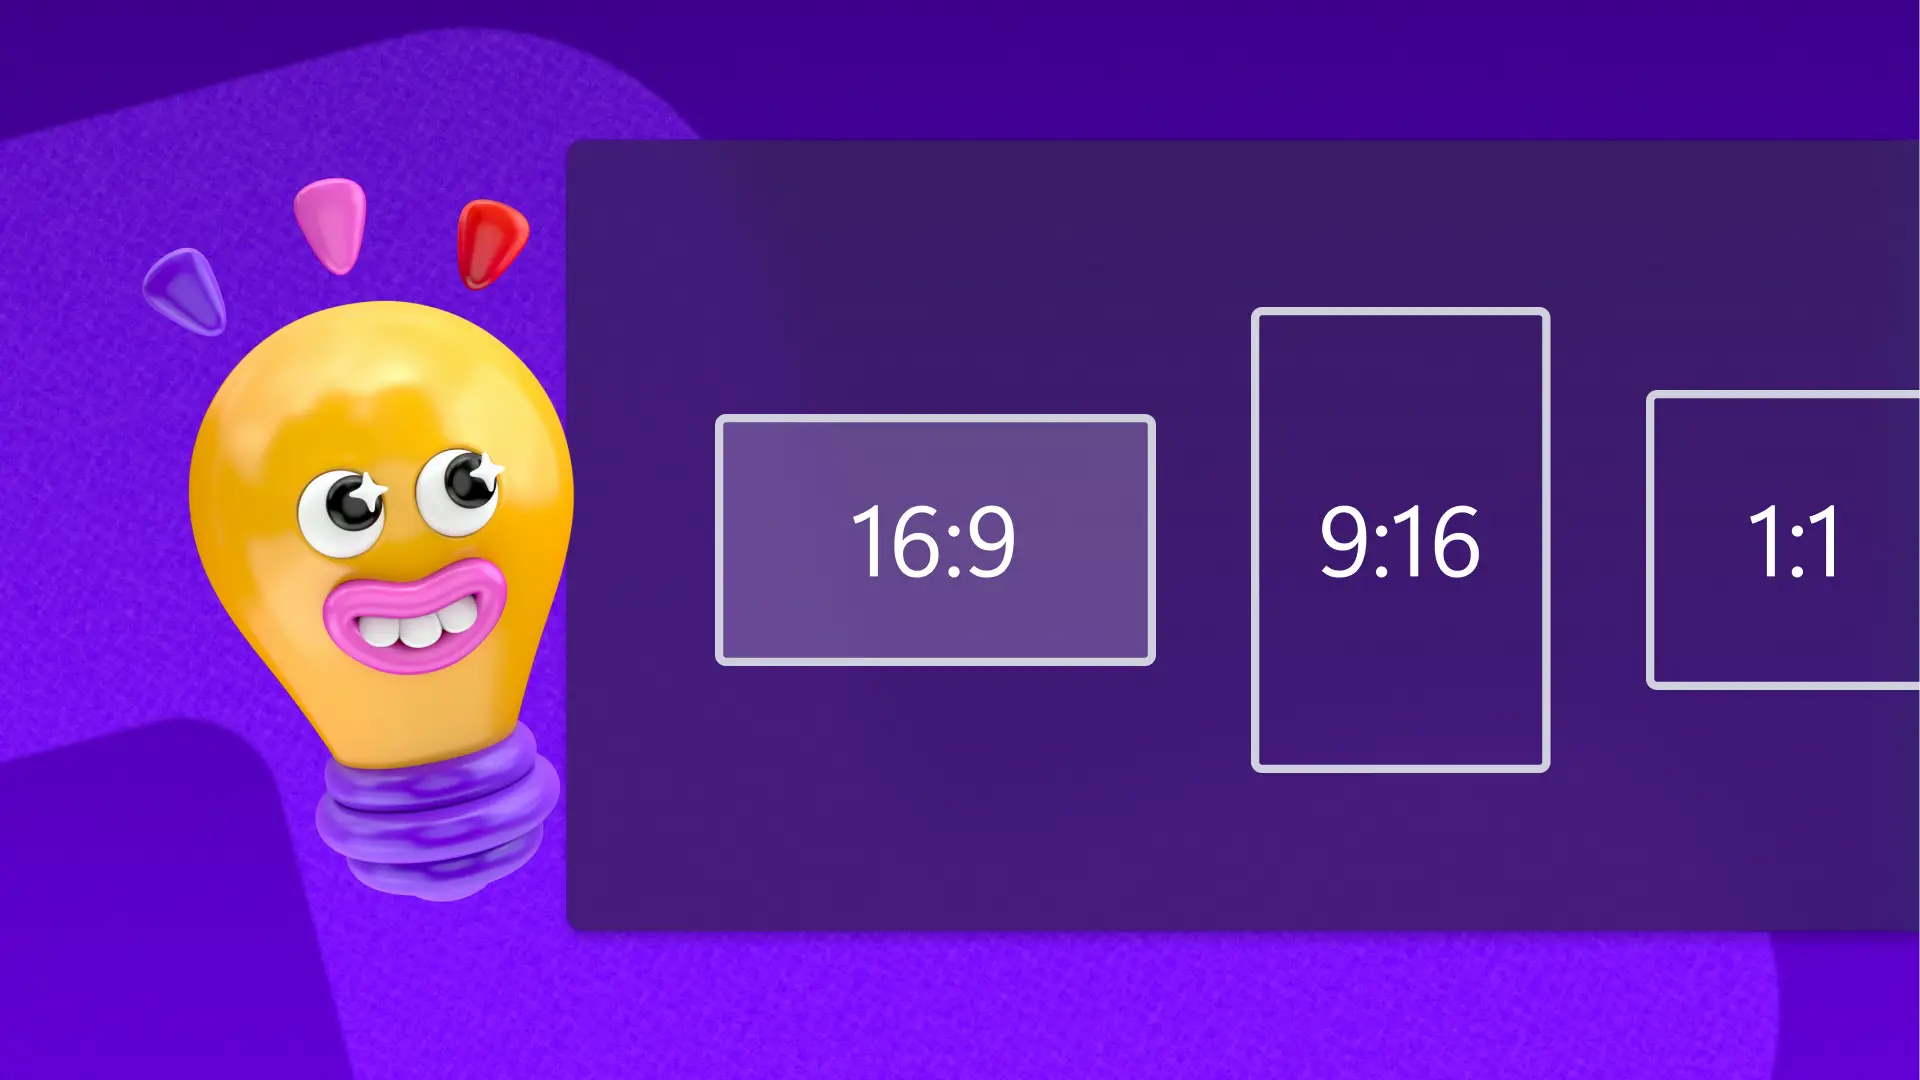
Step 5. Preview and save your MP4 video
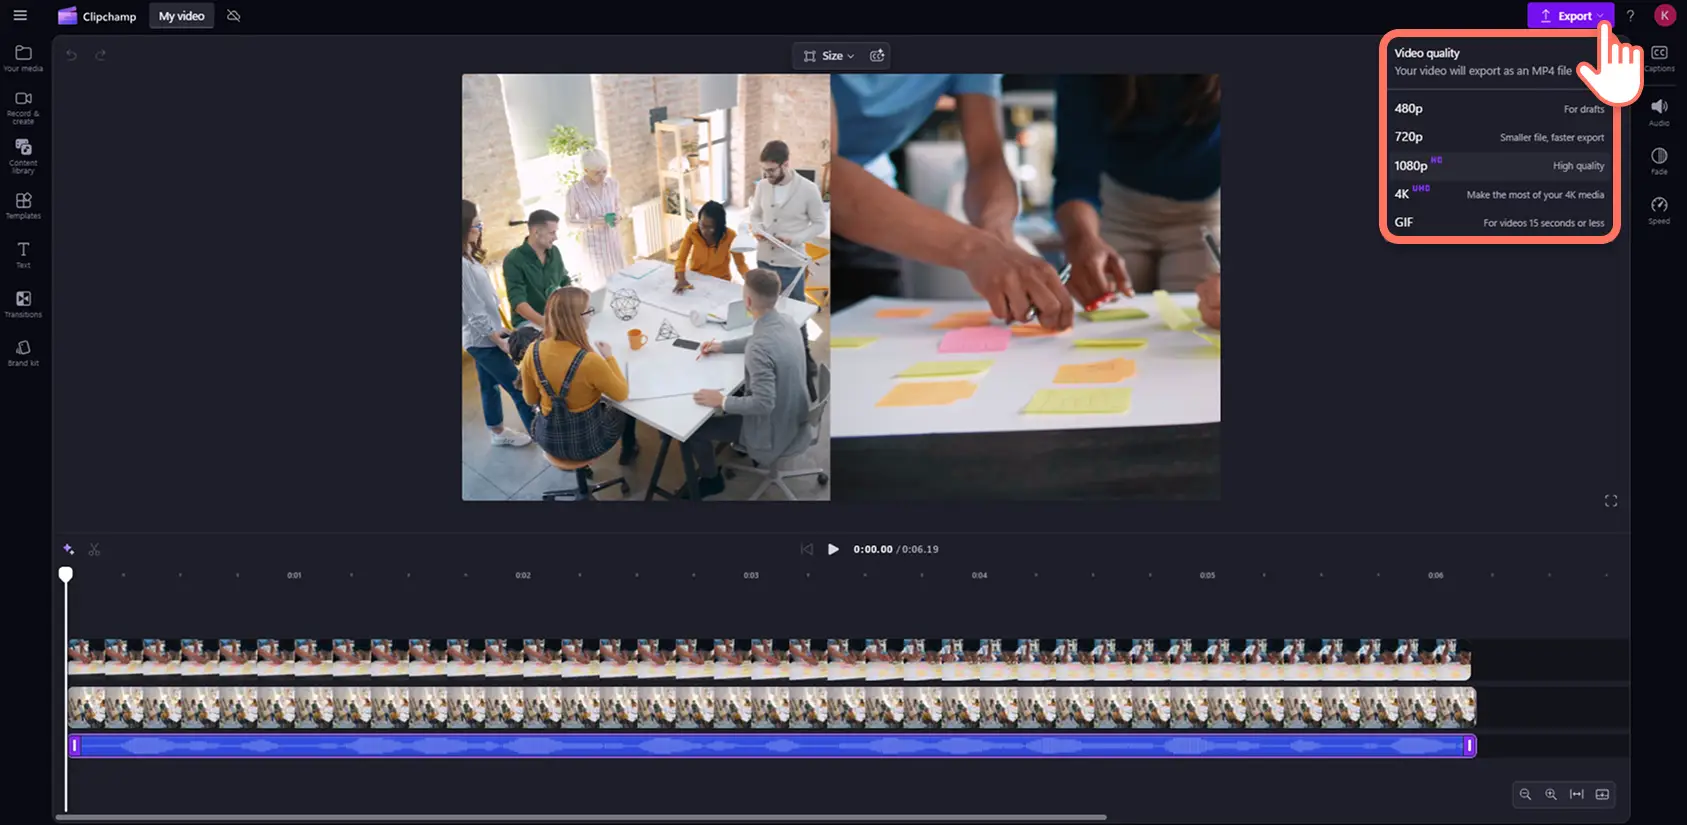
Before you download your finished video, check how it plays back. Click on the play button to preview the full video inside the stage. Once you're ready to save, click on the export button and select a video resolution. You can then download your video directly to your hard drive or connect to cloud storage.
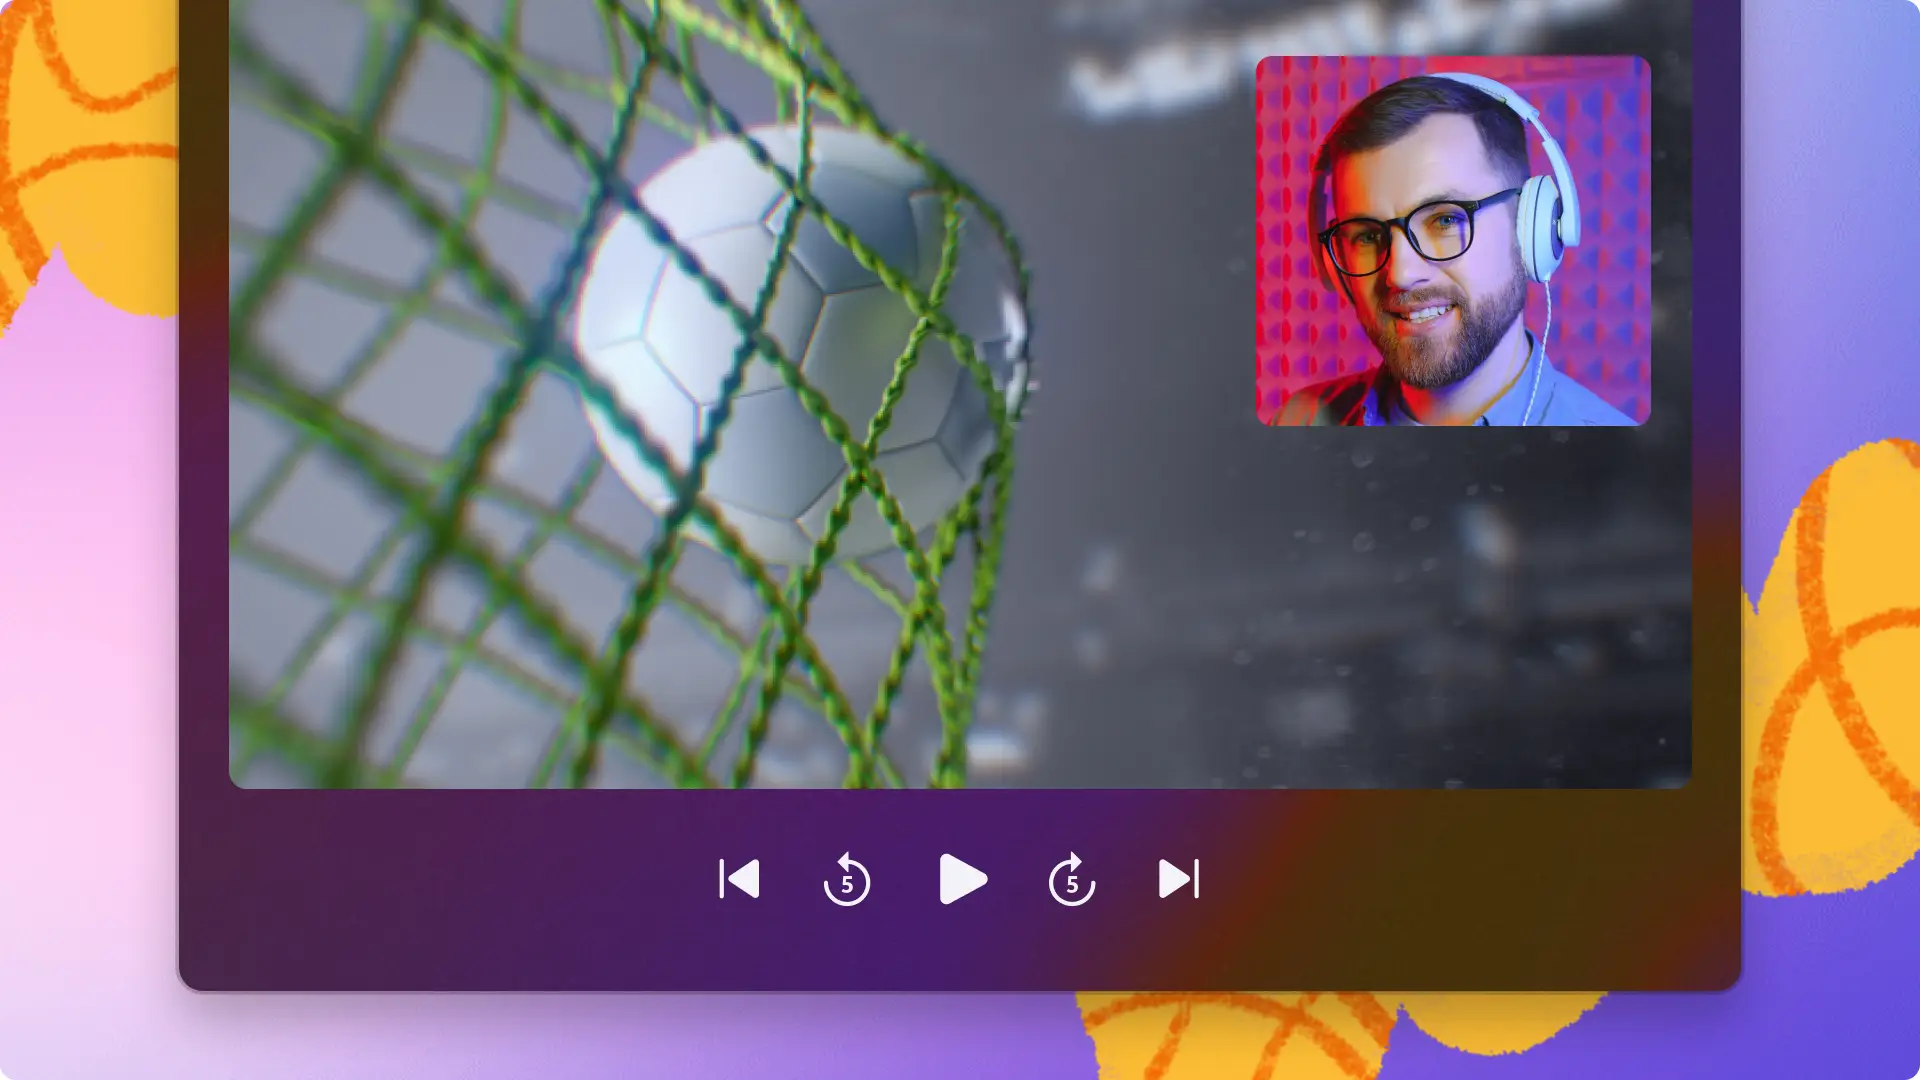
How to overlay video on video
If you would like to overlay two videos or images on top of each other, we recommend using a picture-in-picture layout. The picture-in-picture editing technique is slightly different from split screen, as the assets are overlays, rather than side-by-side. This style of video layout is perfect for users wanting to showcase different perspectives, or create reaction videos, gameplays, or podcast videos.
Drag and drop your videos onto the timeline above one another.
Click on the top video so it's highlighted in the timeline.
Inside the stage, click on the three dots inside the floating toolbar.
Click on the picture-in-picture button.
Choose your position by selecting top left, top right, bottom left, or bottom right.
Use the video corners to resize your video and freehand move your video position around the stage.
How to make split screen videos on Windows
You can seamlessly create split screen videos using Microsoft Clipchamp, the official video editor for Windows. You can download the Microsoft Clipchamp Windows app onto Windows 11 and Windows 10 devices. There is also a web-browser based version of Clipchamp that you can use in Microsoft Edge or Google Chrome.
Drag and drop your video assets onto the timeline as separate layers on top of each other.
Click on the top layer video clip so it's highlighted in the timeline.
Use the resize corners inside the stage to manually drag the corners in and out to change the size of the overlayed video.
Repeat the above step for the bottom layer video clip.
Move your video assets around the stage to your desired position.
Use the crop button and other editing tools in the floating toolbar to further reposition your video frames.
Check out this tutorial for more help on how to edit videos in Windows 11.
Watch the split screen video YouTube tutorial
Looking for inspiration to put split screen video editing into practice? Check out how to make gaming highlights and YouTube reaction videos.
Create split screen videos effortlessly and for free with Clipchamp video editor or download the Microsoft Clipchamp Windows app.
Heads up! The screenshots in this article are from Clipchamp for personal accounts. The same principles apply to Clipchamp for work and school accounts.