Heads up! The screenshots in this article are from Clipchamp for personal accounts. The same principles apply to Clipchamp for work and school accounts.
On this page
From family photo slideshows and event invitations to gaming highlights and YouTube intros, video frames can enhance a video’s style in just a few clicks. Browse a huge range of free video overlays that will match any video aesthetic, like bright neon gaming borders, decorative vintage frames, 3D overlays, and more.
Learn how to add and resize frames and borders on videos with Clipchamp video editor.
How to add a frame overlay to video
Step 1. Import videos or select stock footage
To import videos, photos, and audio, click on the import media button in the your media tab on the toolbar to browse computer files, or connect OneDrive.
You can also use free stock media like video clips, video backgrounds, and royalty-free music. Click on the content library tab on the toolbar and click on the visuals drop down arrow, then videos, images, or backgrounds. Enter keywords into the search bar to search by topic or theme.
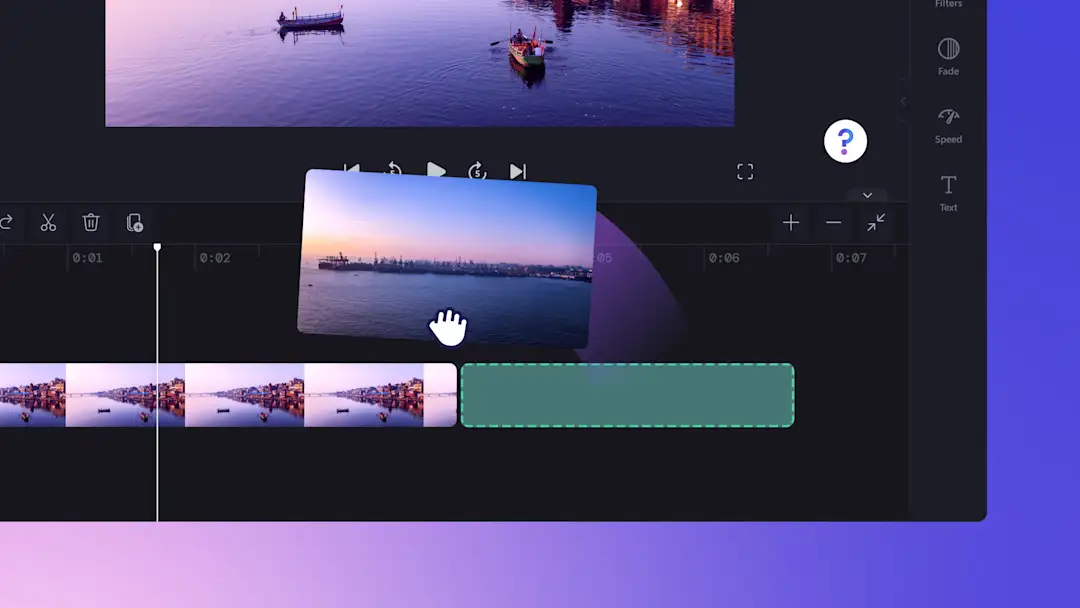
Drag and drop videos onto the timeline to start editing.
Step 2. Add a video frame to video
Click on the content library tab on the toolbar. Next, click on the visuals drop down arrow, then click on the frames and borders option.
Here you will find a wide range of frame categories like vintage and media, 3D, gaming and presentations, and so much more. Click on the frame and border category to open and browse.
Select a frame that suits the video style and aspect ratio, then drag and drop the frame onto the timeline above video footage.
Step 3. Customize the frame overlay
If the video frame requires changes, find a variety of customization options in the floating toolbar. Click on the frame or border asset on the timeline to view the floating toolbar.
Default editing options will appear like crop and fit or click on the three dots option to open more rotation, flip, or picture-in-picture tools.
If the frame doesn't suit the video's exact dimensions, just resize the video using the corners. Click on the media asset on the timeline, then click on the asset inside the video preview. Increase or decrease the size of your video by dragging the handles inwards or outwards.
Step 4. Preview and save video with frame
Preview the video frame before saving by clicking on the play button. When ready to save, click on the export button and select a video resolution.
How to add animated overlays and borders to videos
Click on the content library tab on the toolbar then click on the visuals drop down arrow. Select frames and borders.
Search the categories for an animated overlay and hover your cursor above an option to preview.
To add an animated border overlay to the video, click on the add to timeline button or drag and drop the asset onto the timeline above your video.
Watch how to add borders and frames onto videos
Learn how to add borders and frames to videos in this beginner-friendly video tutorial.
Explore popular video frames and overlays
Rounded bold gradient frame
Add personality and vibrance to product demo videos with the simple neon line video frame. This frame gives corporate videos a modern feel that can engage professional audiences.
Vintage film frame
Bring a nostalgic feeling to travel highlight videos with the vintage film frame. The grainy texture and retro borders recreate a classic cinema for storytelling.
Bold and blue PIP gaming frame
Level up gaming highlight videos with this bold and blue picture-in-picture frame, designed for gamers. Keep overlayed reaction footage and gameplay action side-by-side in a captivating, high-contrast layout.
Aquatic pink frame
Enhance videos with the aquatic pink frame, ideal for beauty and lifestyle content. The soft gradient and fluid design can add a dreamy tone to ‘get ready with me (GRWM)’ videos.
Rainbow neon frame
Make online learning videos more engaging with the rainbow neon frame. The glowing multicolor border electrifies educational content to keep viewers hooked for longer.
Explore more video overlay techniques in how to make split screen videos or enhance video overlays with video effects.
Add dynamic overlays to videos for free in Clipchamp or download the Microsoft Clipchamp Windows app.


