Heads up! The screenshots in this article are from Clipchamp for personal accounts. The same principles apply to Clipchamp for work and school accounts.
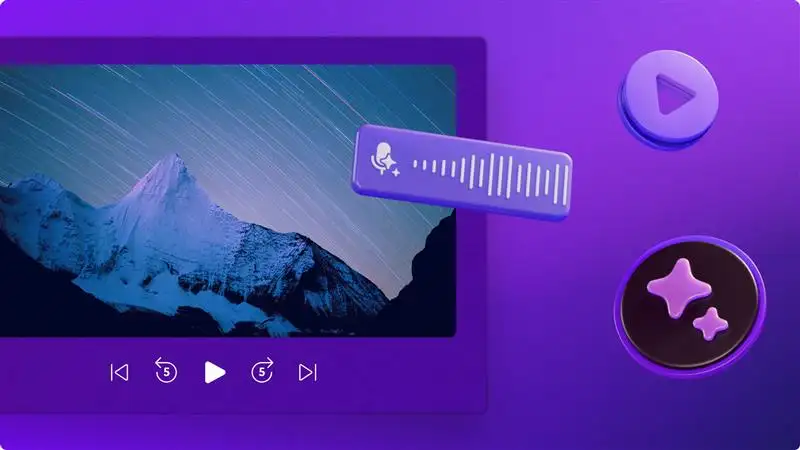
Say hello to the best video editing time saver—multi-item editing tool. Easily apply video effects, filters, or adjust colors on multiple videos or images at once to make video creation faster. You can even seamlessly speed up and slow down multiple video clips and audio, or adjust the volume at the same time.
Read on to learn how to use the intuitive multi-item editing tool in Clipchamp video editor.
Step 1. Import videos or select stock footage
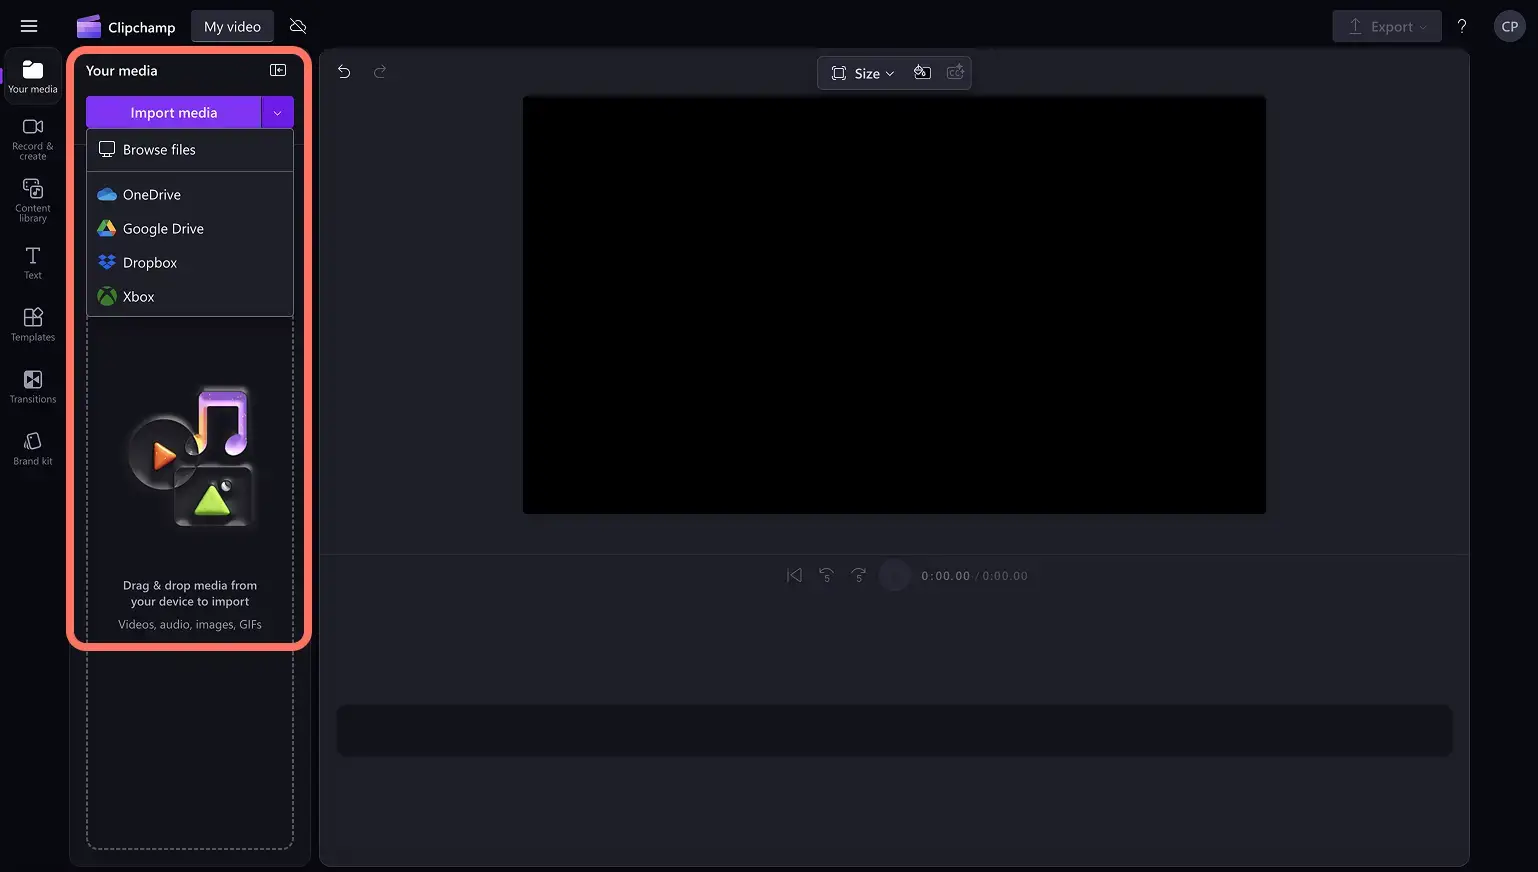
To import your own videos, photos, and audio, click on the import media button in the your media tab on the toolbar to browse your computer files, or connect your OneDrive.
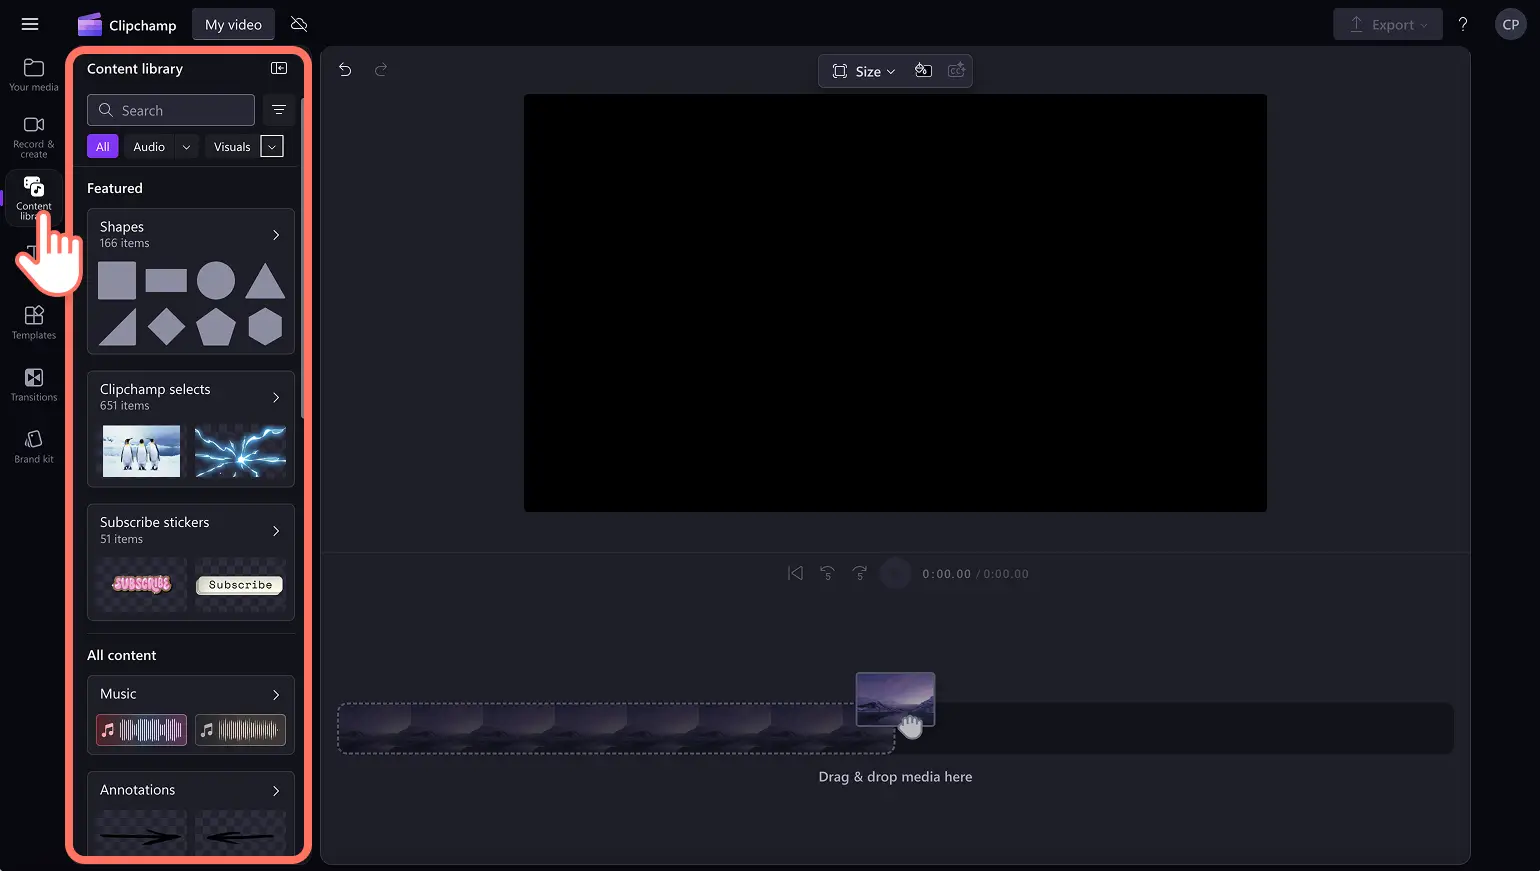
You can also use free stock media like video clips, video backgrounds, and stock music. Click on the content library tab on the toolbar and click on the visuals drop down arrow, then videos, photos, or backgrounds. Search through the different stock categories using the search bar as well. Drag and drop your video onto the timeline to get started.
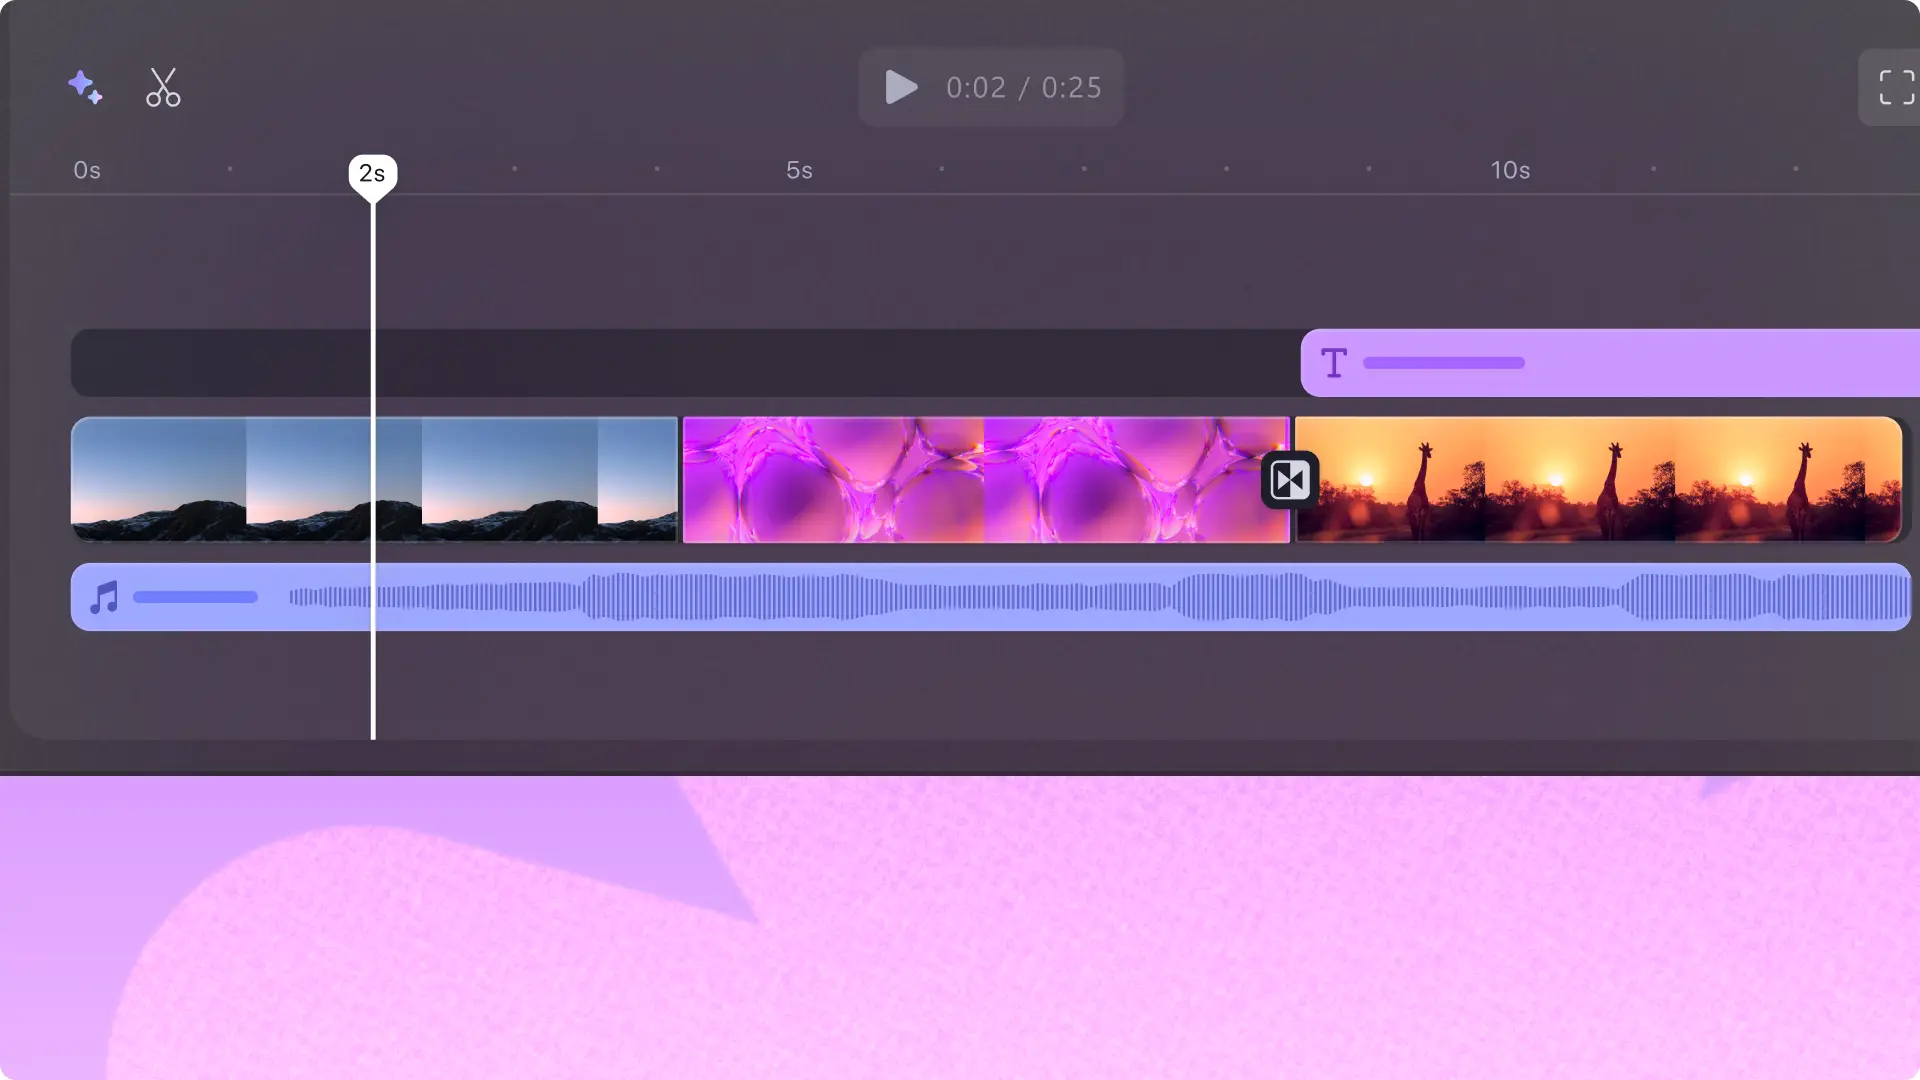
Drag and drop your videos onto the timeline to start editing.

Step 2. Add filters and effects to multiple videos at once
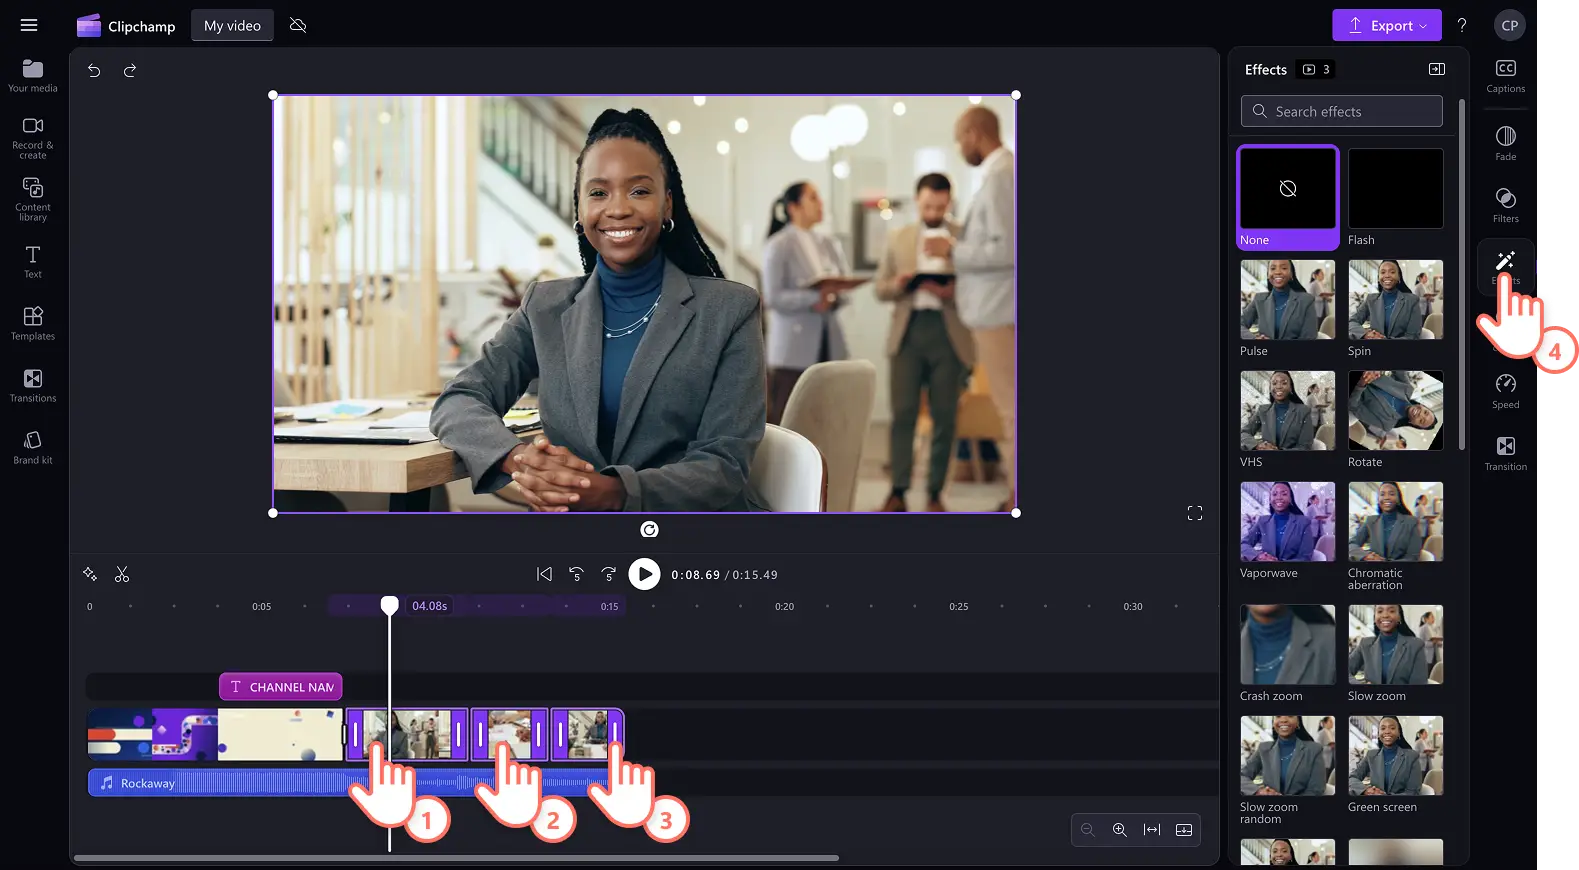
Add effects like VHS, glitch, slow zoom, and blur to multiple video clips at once using the multi-item feature. Hold down the shift key on your keyboard, then click on the assets on your timeline that you would like to edit at once. Next, click on the effects tab on the property panel, then click on an effect to apply to all videos.
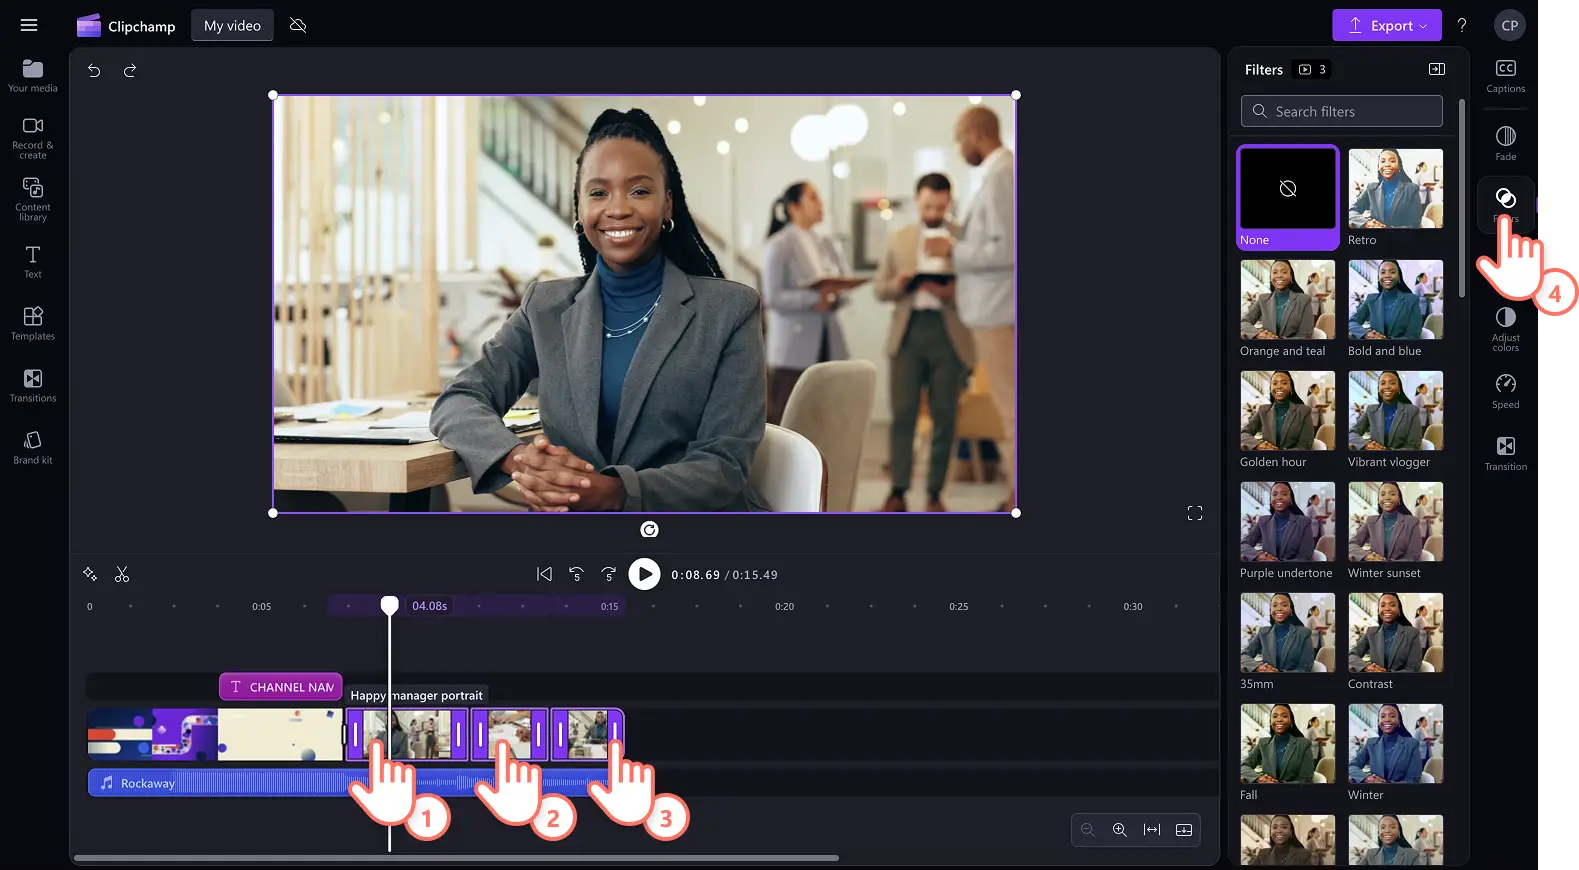
To add filters like contrast, retro, black and white and color overlays, hold down the shift key on your keyboard, then click on the assets on your timeline that you would like to edit at once. Next, click on the filters tab on the property panel, then click on a filter to apply to all videos.
Step 3. Edit multiple audio tracks at once
To edit multiple audio tracks or music at once, hold down the shift key on your keyboard, then click on the audio assets on your timeline. On the property panel, you can edit the volume using audio tab, add fades using the fade tab, or adjust the speed using the speed tab.

Step 4. Save and share your video
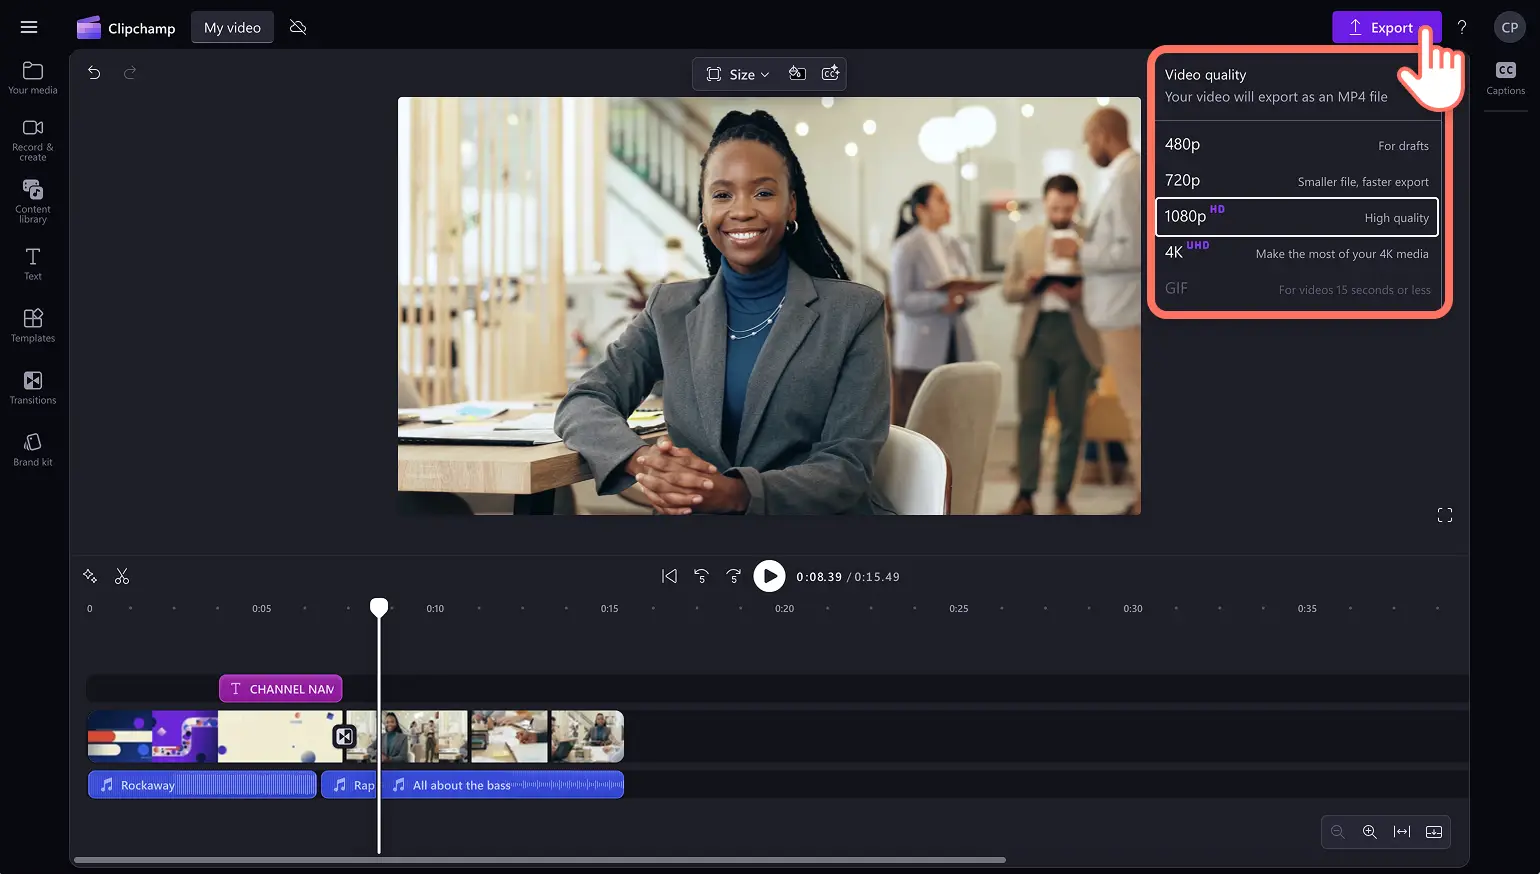
Once you’re finished editing, save your video by clicking on the export button and selecting a video resolution.
Find more ways to save time creating videos, take a look at our new and improved video editing features. Start editing videos today with Clipchamp or download the Clipchamp Windows app for free.