Heads up! The screenshots in this article are from Clipchamp for personal accounts. The same principles apply to Clipchamp for work and school accounts.
On this page
You only get one chance to make a first impression or, when it comes to video, one chance to choose the right thumbnail. Yes, these tiny images can have a big impact on your content’s performance. Choose well and your videos will get clicks, choose wrong and viewers might just scroll on by. Thankfully, we’re here to help with a blog post that covers all you need to know, including:
What are thumbnails?
How to make a thumbnail
Video thumbnail specs
How to change your video thumbnail
What are thumbnails?
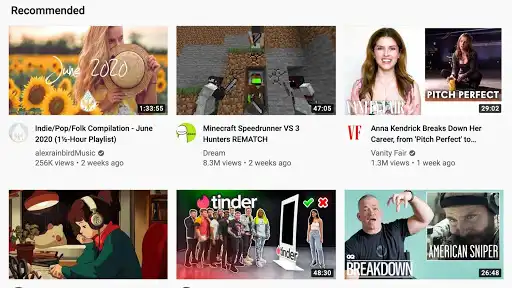
Thumbnails, appropriately named for their small size, are images that give a preview of content like videos. These images appear to users as they browse discover or explore pages on YouTube, Facebook and Instagram. Thumbnails make it easy for users to browse content efficiently and make informed decisions about what they watch.
Custom thumbnails
While most platforms will give you the option to use an automatic thumbnail (a random still from your video), a custom thumbnail is always the better option. According to YouTube, 90% of their best performing videos have a custom thumbnail. A custom thumbnail can be made using programs like Photoshop, Creatopy and Canva or any free alternatives and include text and graphics that entice viewers to watch your video.
How to make a thumbnail
Thankfully, creating a thumbnail is fairly simple. To begin, you’ll need to take a screenshot of your video – pause the video on the scene you’d like to use to get started. If you’re using a PC, use the Windows Snipping Tool, if you’re on a Mac, simply hit Ctrl + Shift +4 and select the area of the screen you want to capture. Discover more details below:
Video thumbnail best practices
Customise it. Like we mentioned earlier, thumbnails perform well when they’re given a personal touch. Head to Photoshop or Canva to get started. Like we mentioned earlier, thumbnails perform well when they’re given a personal touch. Head to Photoshop, Canva, or Picmaker to get started.
Choose a compelling scene. Make sure the scene you choose for your screen shot is a strong one. YouTube recommends looking for something emotive like a person who looks happy or surprised.
Clarity is key. When you add text to your thumbnail, it’s essential to keep it clear and simple. Try to communicate with as few words as possible so you don’t clutter the thumbnail. When formatting, choose clean, bold fonts and stick to a simple black or white that contrasts with the background.
Remember resolution. Ensure your thumbnail is of high quality (we’ve included ideal specs later on in this blog). A good quality thumbnail signals that a good quality video lies just beyond that click.
Avoid Clickbait. While it can be tempting, it's important you don’t mislead viewers with your thumbnail. Steer clear of over-the-top language and false claims. Research shows that clickbait can disappoint your audience and attract the wrong types of new viewers.
Video thumbnail specs
YouTube video thumbnail specs
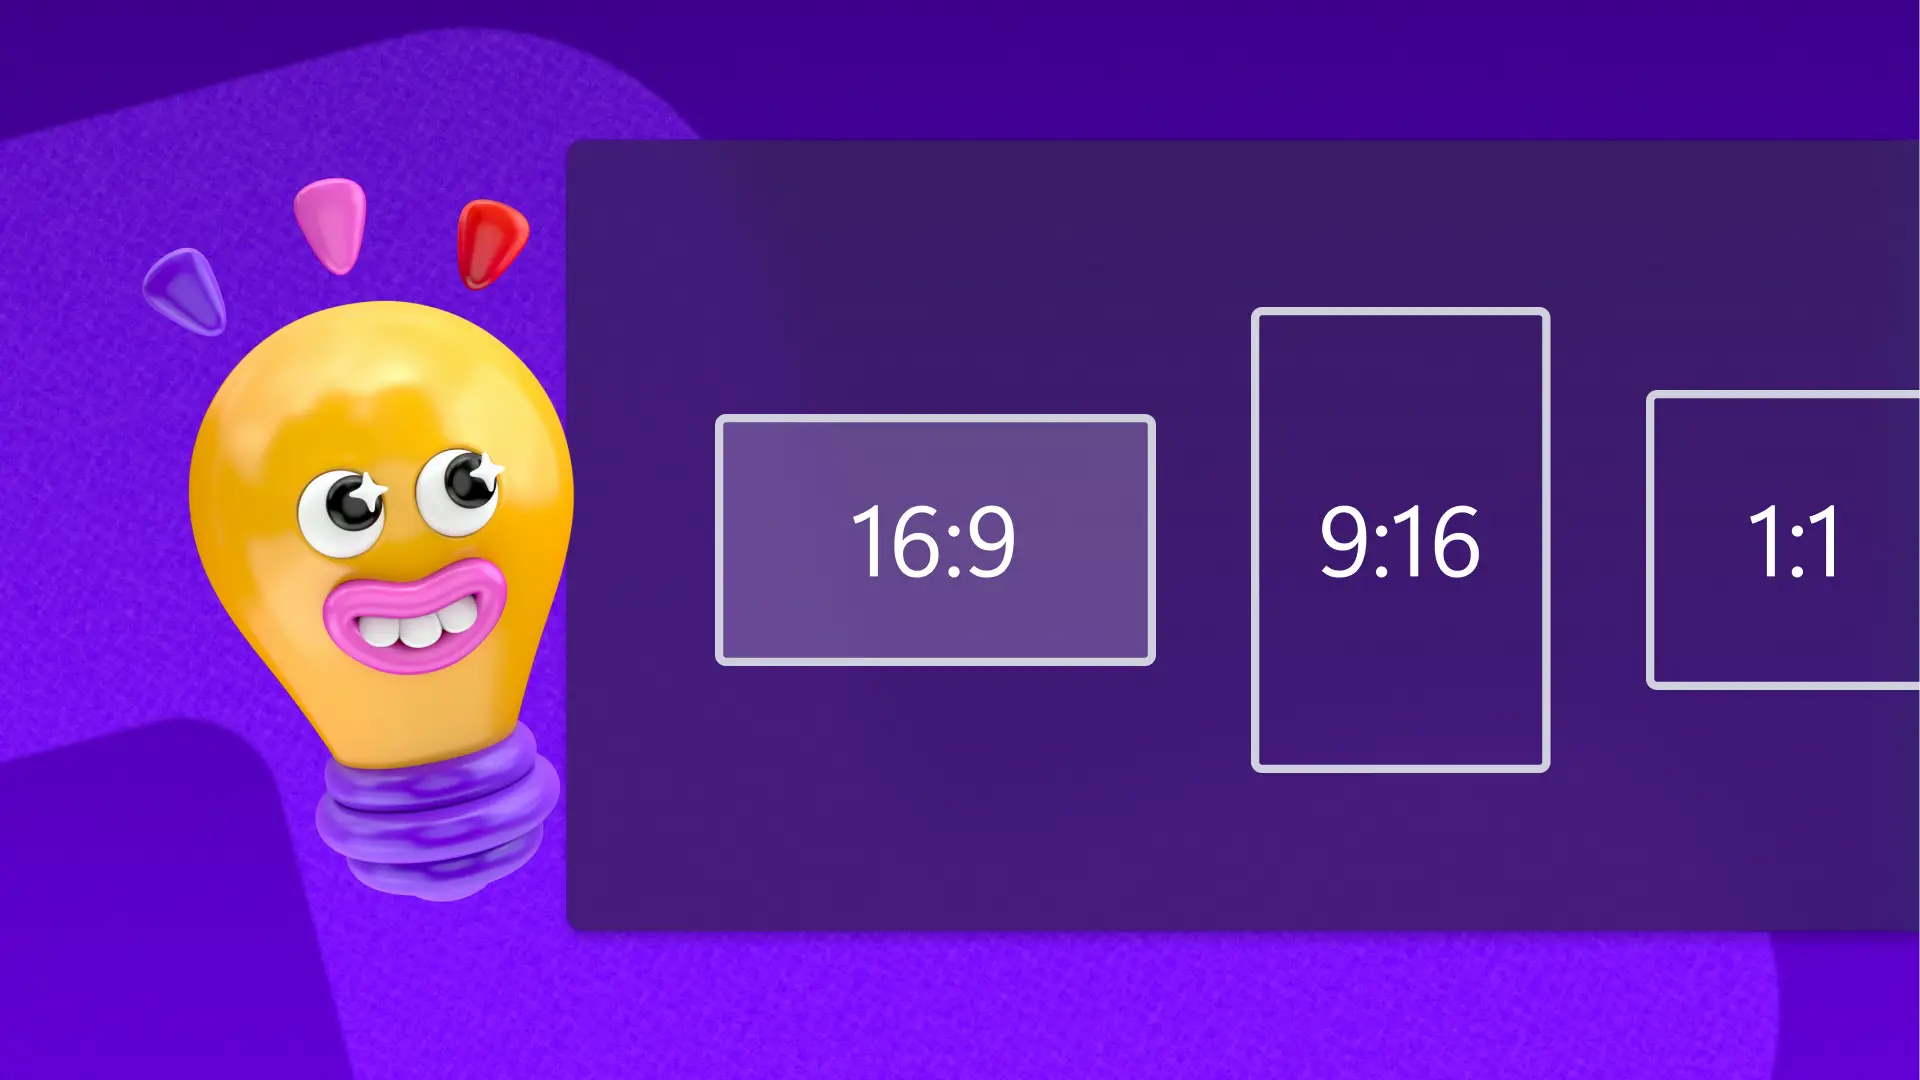
Aspect ratio: 16:9
Resolution: 1280 x 720 pixels
Format: JPG, .GIF, .BMP or .PNG
Facebook video thumbnail specs
Aspect ratio: 16:9 or 1:1 or 16:9 (whatever aspect ratio matches your video)
Resolution: 1280 x 720 pixels or 720 x 720 pixels or 720 x 1280 pixels
Format: JPG or PNG
Instagram video thumbnail specs
Aspect ratio: 1:1 or 9:16 or 16:9 (whatever aspect ratio matches your video)
Resolution: 1280 x 720 pixels or 720 x 720 pixels or 720 x 1280 pixels
Format: JPG or PNG
How to change your video thumbnail
How to change your YouTube video thumbnail
Follow these instructions if your video is hosted on YouTube.
Log in to your YouTube account.
Click your channel icon in the top right corner and select YouTube Studio from the drop down menu.
Select Videos from the list on the left hand side, then search for your video. Once you’ve found it, hover your mouse until a Details pen icon appears, click this.
Scroll down until you reach the thumbnail section and click Upload thumbnail.
Select your thumbnail, open it and Save. You should create your Youtube thumbnail with appropriate size.
How to change your Facebook video thumbnail
Follow these instructions if your video is published on Facebook.
Log in to your Facebook account.
Head to your Business profile.
Select Videos from the left hand list and select your video.
When your video opens, select the three dot icon below the right corner of your video and select Edit video from the list that appears.
When the edit box appears click Thumbnail, then Custom Image and upload your thumbnail.
Hit Save before you exit.
How to change your Instagram video thumbnail
Adding a thumbnail to your Instagram videos is a little more complex than it is on YouTube and Facebook. You don’t actually have the option to upload a separate thumbnail image. Our solution? Add an image to the beginning of your video using our online video editor. Here’s how.
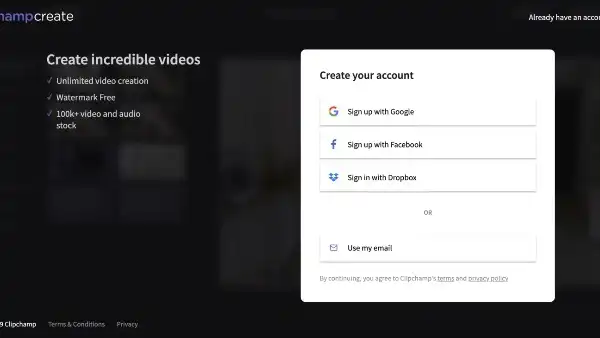
Step 1. Log into Clipchamp Create or create account
Log into your Clipchamp Create account or sign up for free.
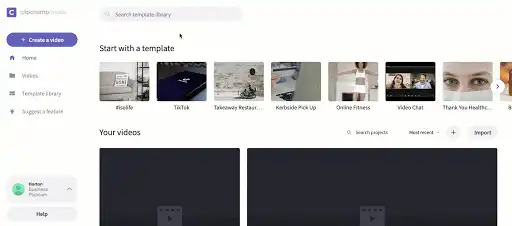
Step 2. Create a new project
Select the Create a video button on the left side bar. For Instagram video ads, you are able to choose from three of our five format options. Widescreen, Square and Vertical. We recommend using the square 1:1 ratio for Instagram feed posts.
Step 3. Edit your video
Edit your video using Clipchamp Create's features and tools. If you've never used them before or need a refresher, check out the tutorial video below.
Step 4. Upload your thumbnail to your project
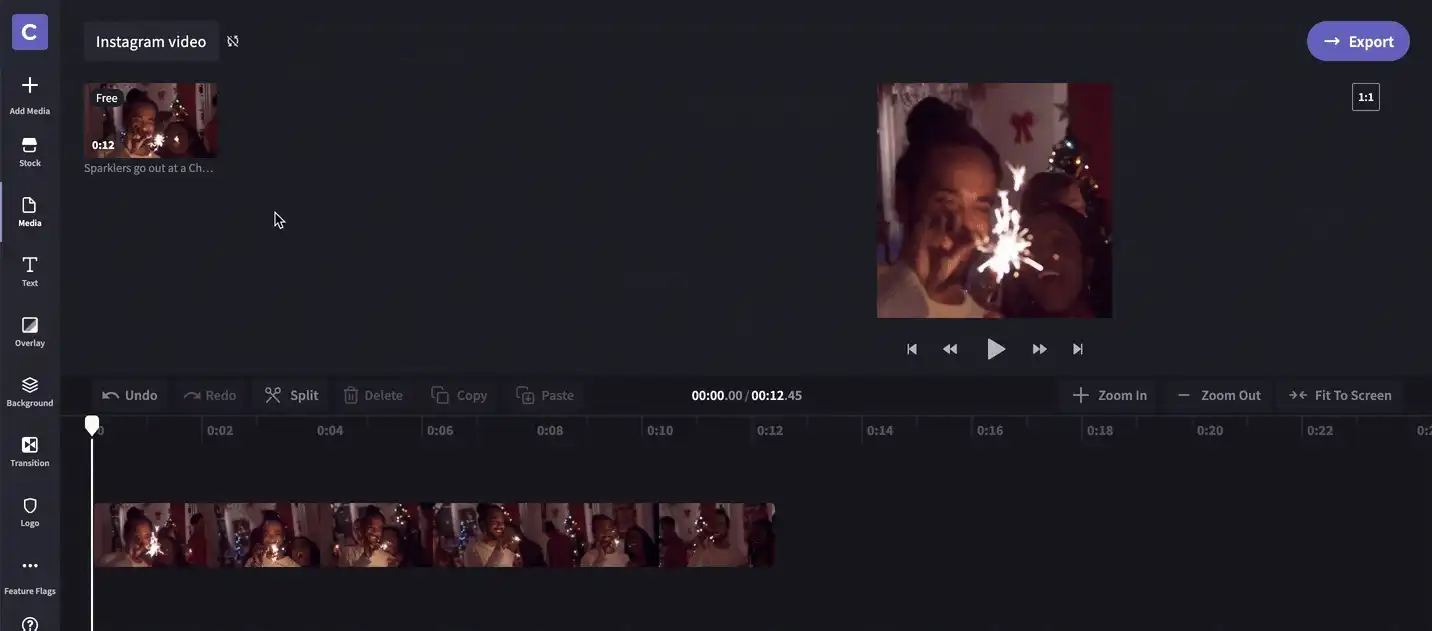
Select Add Media in the left side column, then select Browse by Files. Once you've found your thumbnail image, select it and click Open, it will then appear in your Media Library.
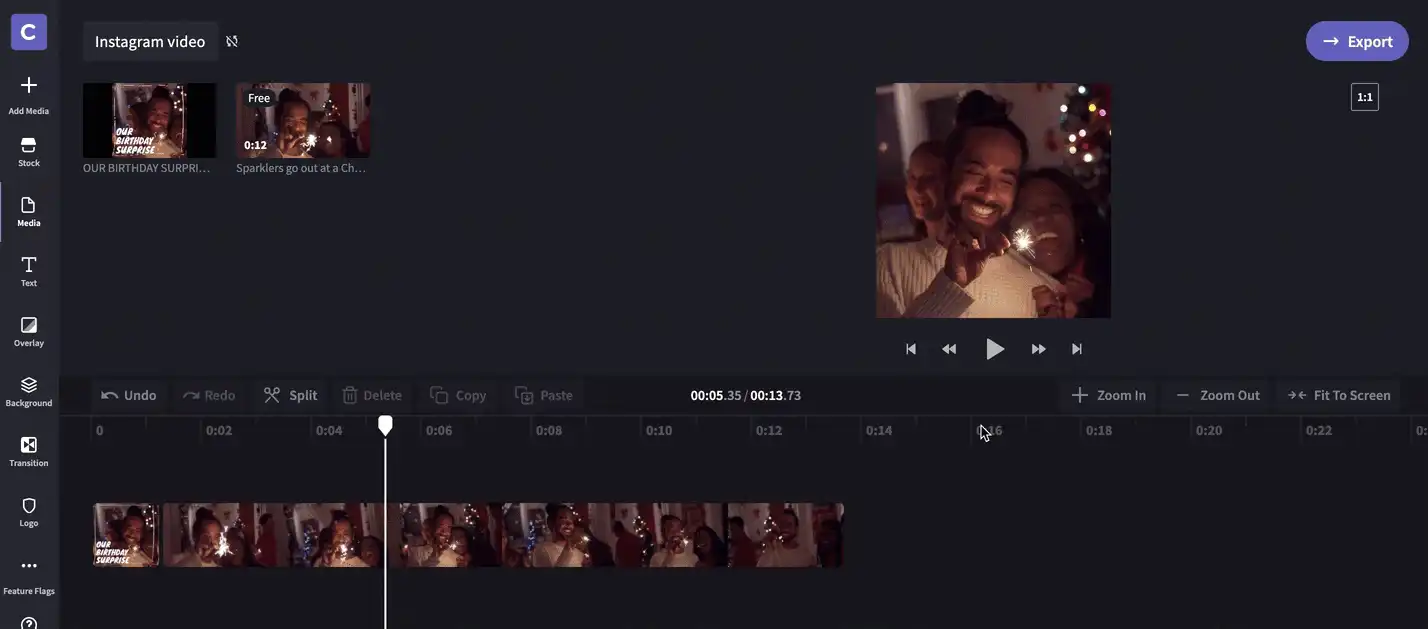
Step 5. Combine your thumbnail with your video
Drag and drop your thumbnail image to the Timeline in front of your video. Then trim your thumbnail so it only plays for a short amount of time at the beginning of your video. You can do this by selecting the thumbnail on the timeline and pulling in the right side of the clip in to shorten it.
Step 6. Export your finished video
Once you're happy with your video, click the Export button in the top right corner of the editor. For an Instagram video, 720p is the best resolution. When the export is finished, download your video.
Step 7. Post your video and set your thumbnail
Send your downloaded video to your Smartphone to start this next step.
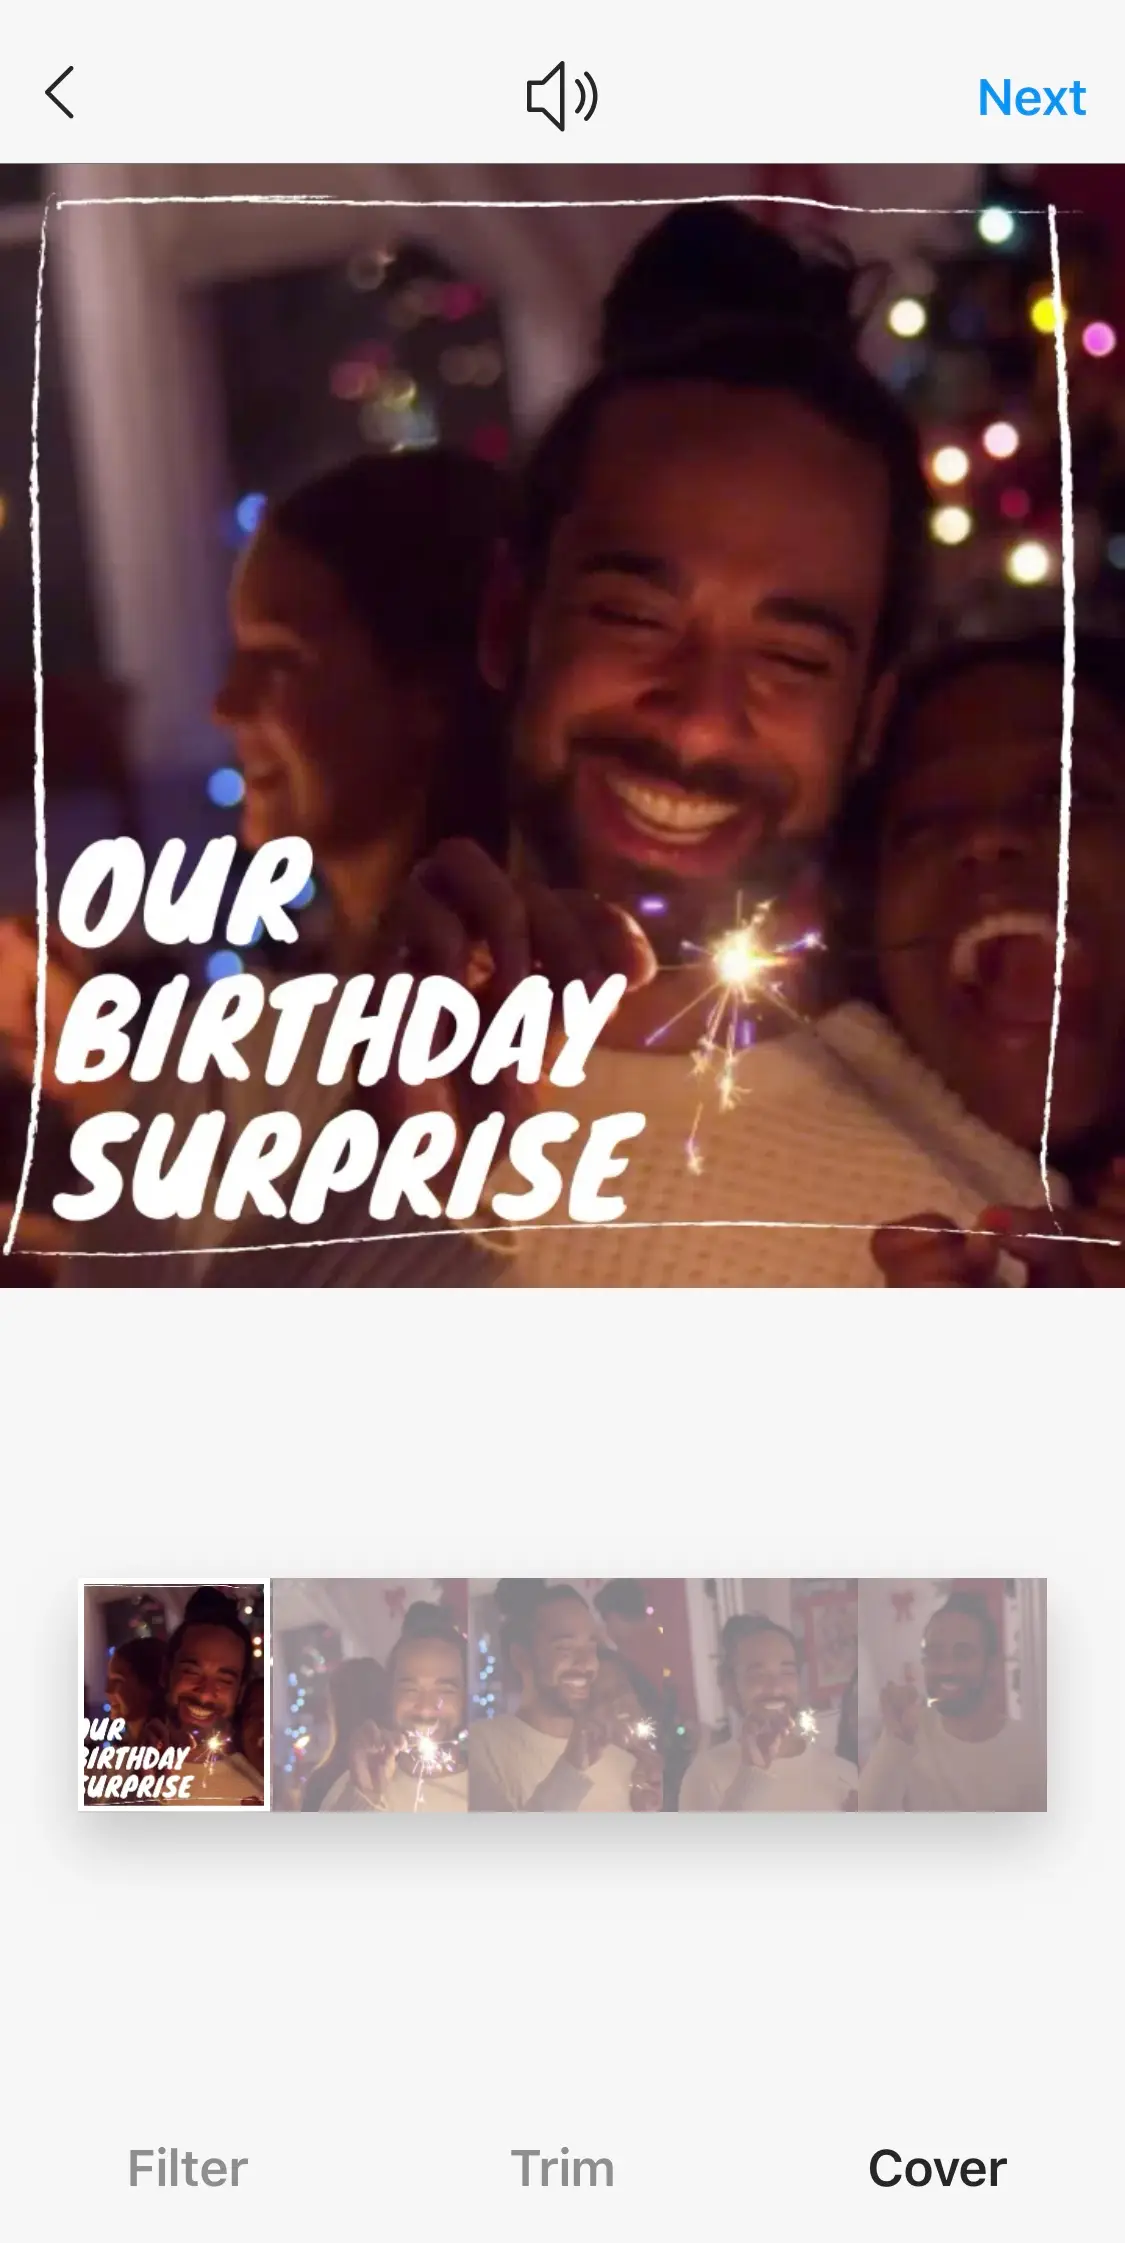
Start the video posting process as you normally would on Instagram. When the below screen appears, ensure you set your Cover image as your thumbnail – this is the image that will appear on your timeline and the Explore page. Once this is done, post!
You're good to go!
Now you've read this blog post, you have the thumbs up from us to get started creating your own video thumbnails. Good luck!

