Heads up! The screenshots in this article are from Clipchamp for personal accounts. The same principles apply to Clipchamp for work and school accounts.
On this page
It’s never been faster and easier to edit your Dropbox videos online with Clipchamp. Add videos, images and audio assets into Clipchamp to create, edit then save directly to Dropbox.
Import any product video from Dropbox and turn them into eye-catching YouTube shorts with our easy integration. Exporting from Clipchamp to Dropbox is just as easy, so you can trim, edit, and share your lectures or webinars with your class in no time.
The Dropbox integration lets you keep all your assets and saved videos in one place for easier video editing in Clipchamp.
How to use the Dropbox integration
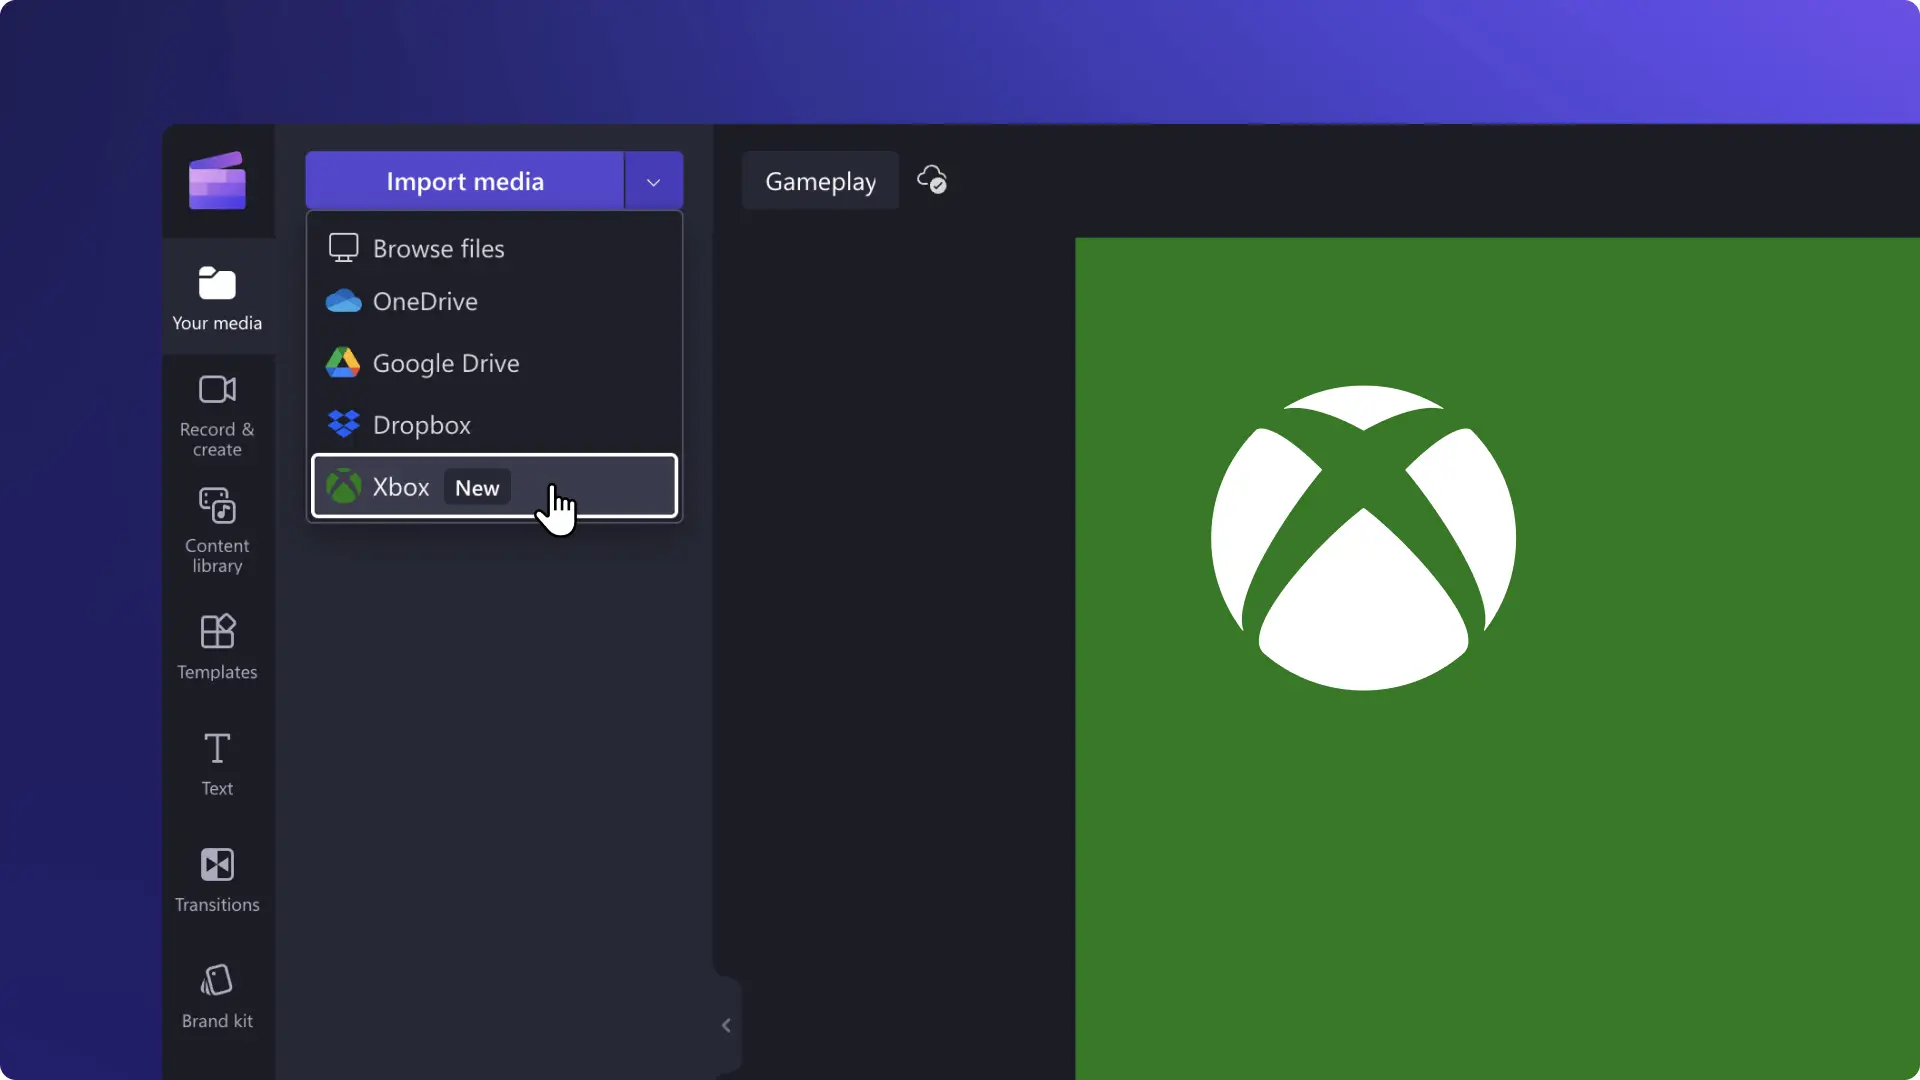
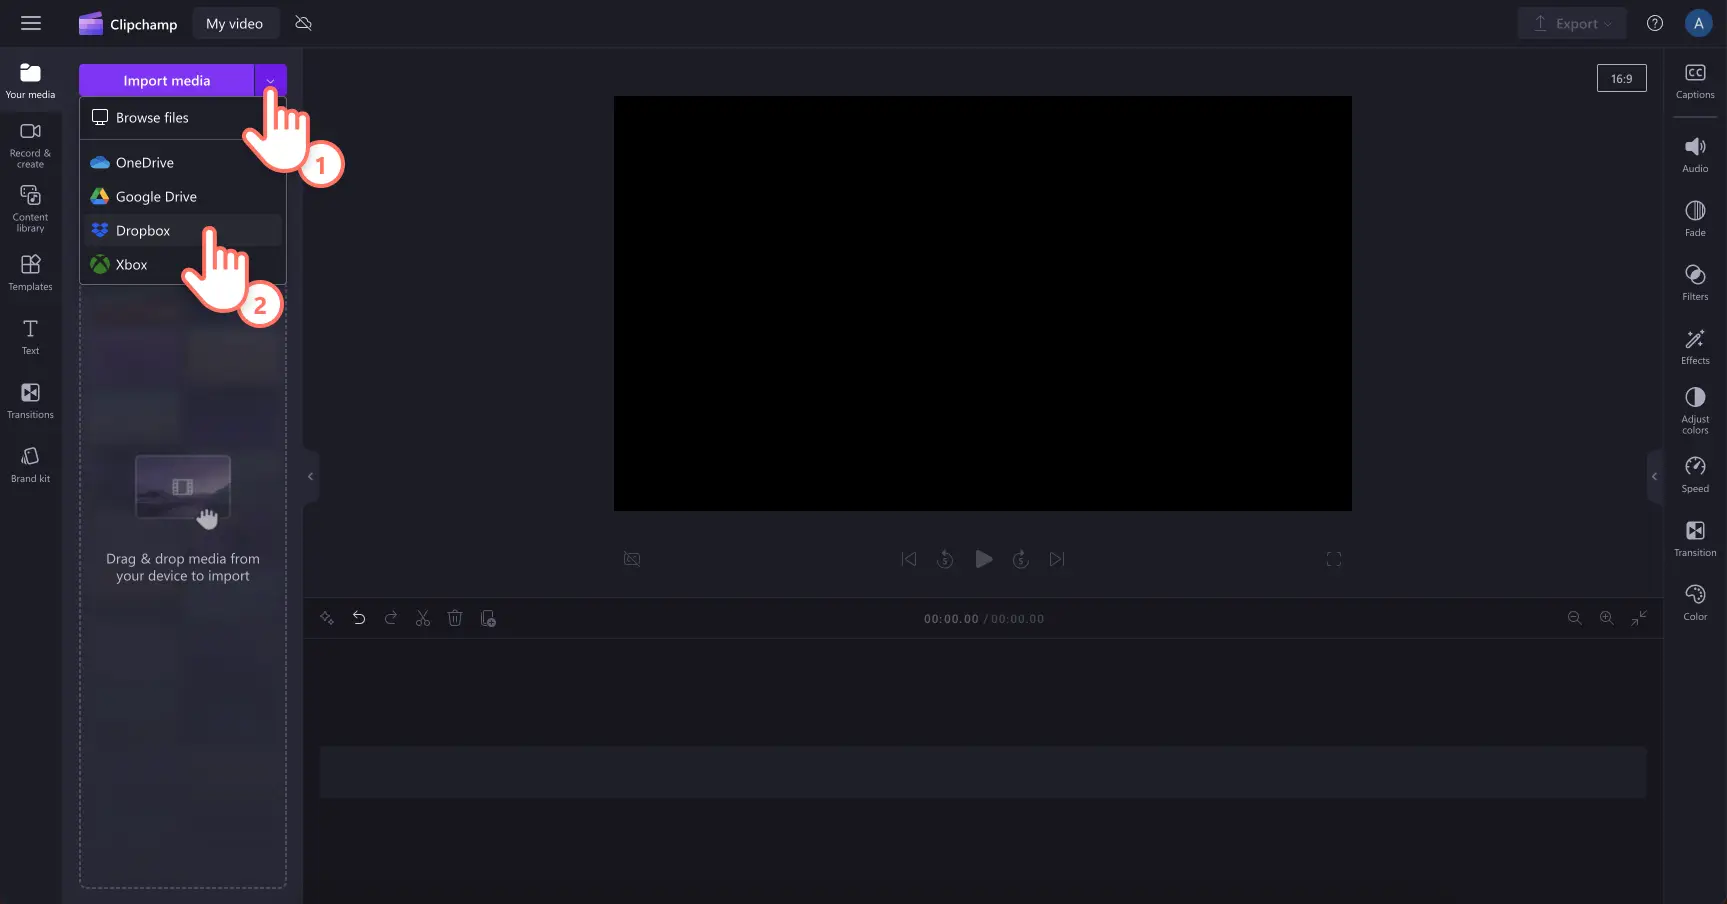
Step 1. Select the import media button
Click on the import media button dropdown arrow to see different ways to upload videos, images, and audio assets to Clipchamp. Then, click on the Dropbox button.
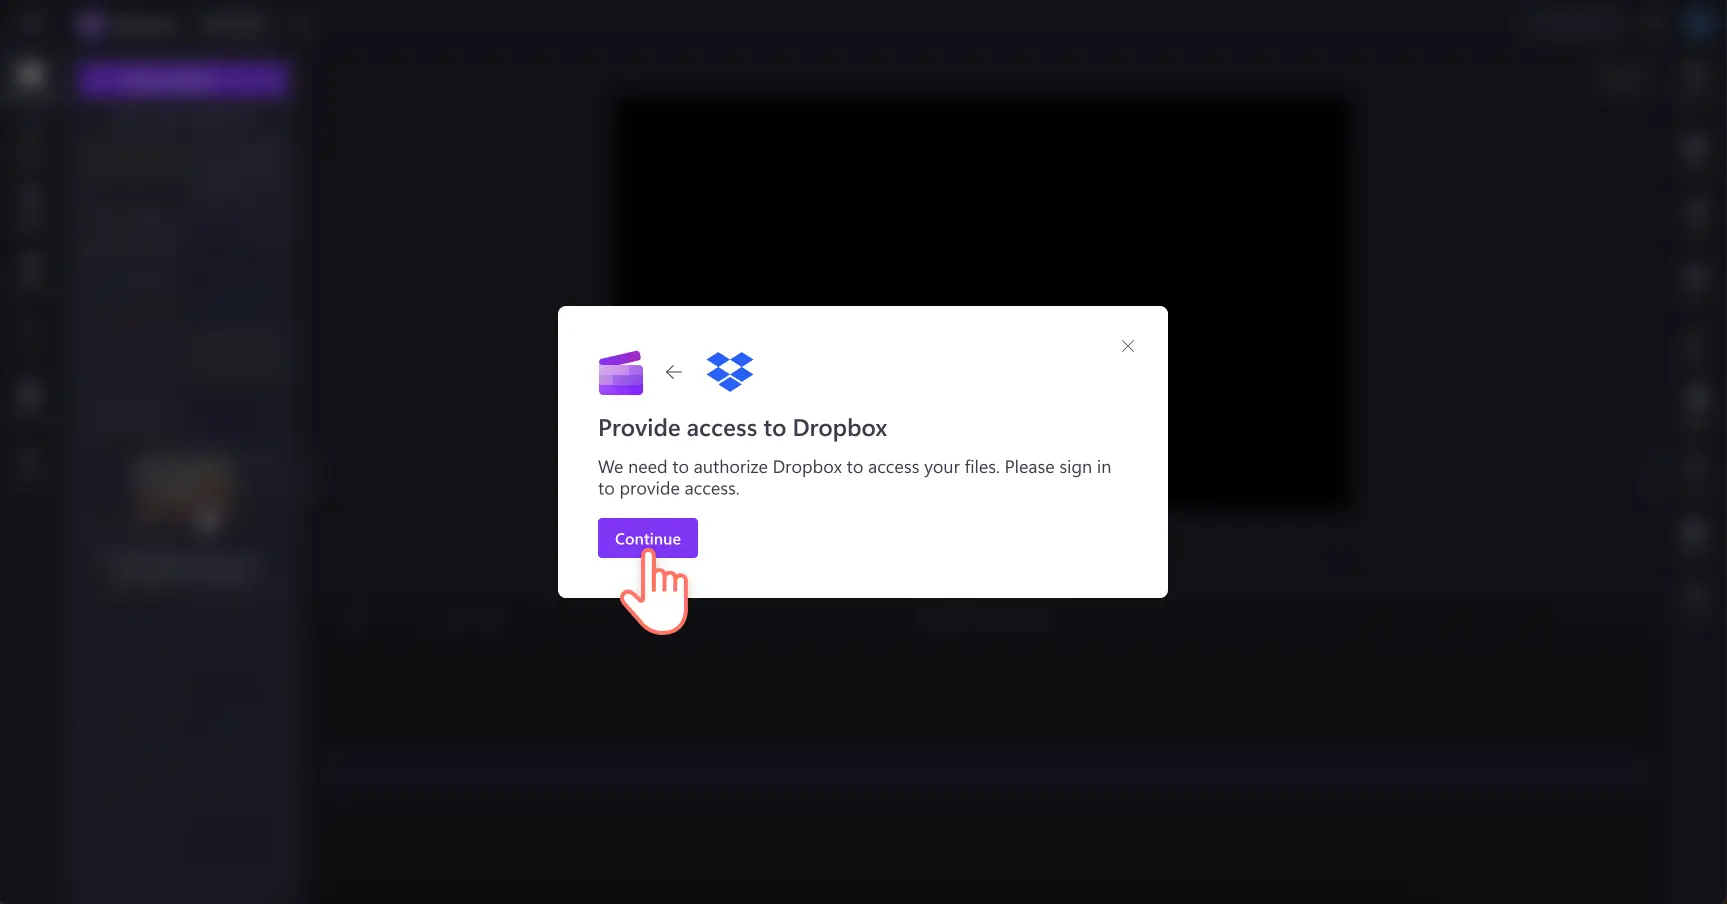
Step 2. Enable access and sign in to Dropbox
A popup window will appear asking you to provide Clipchamp access to your Dropbox files. Click on the continue button to proceed.
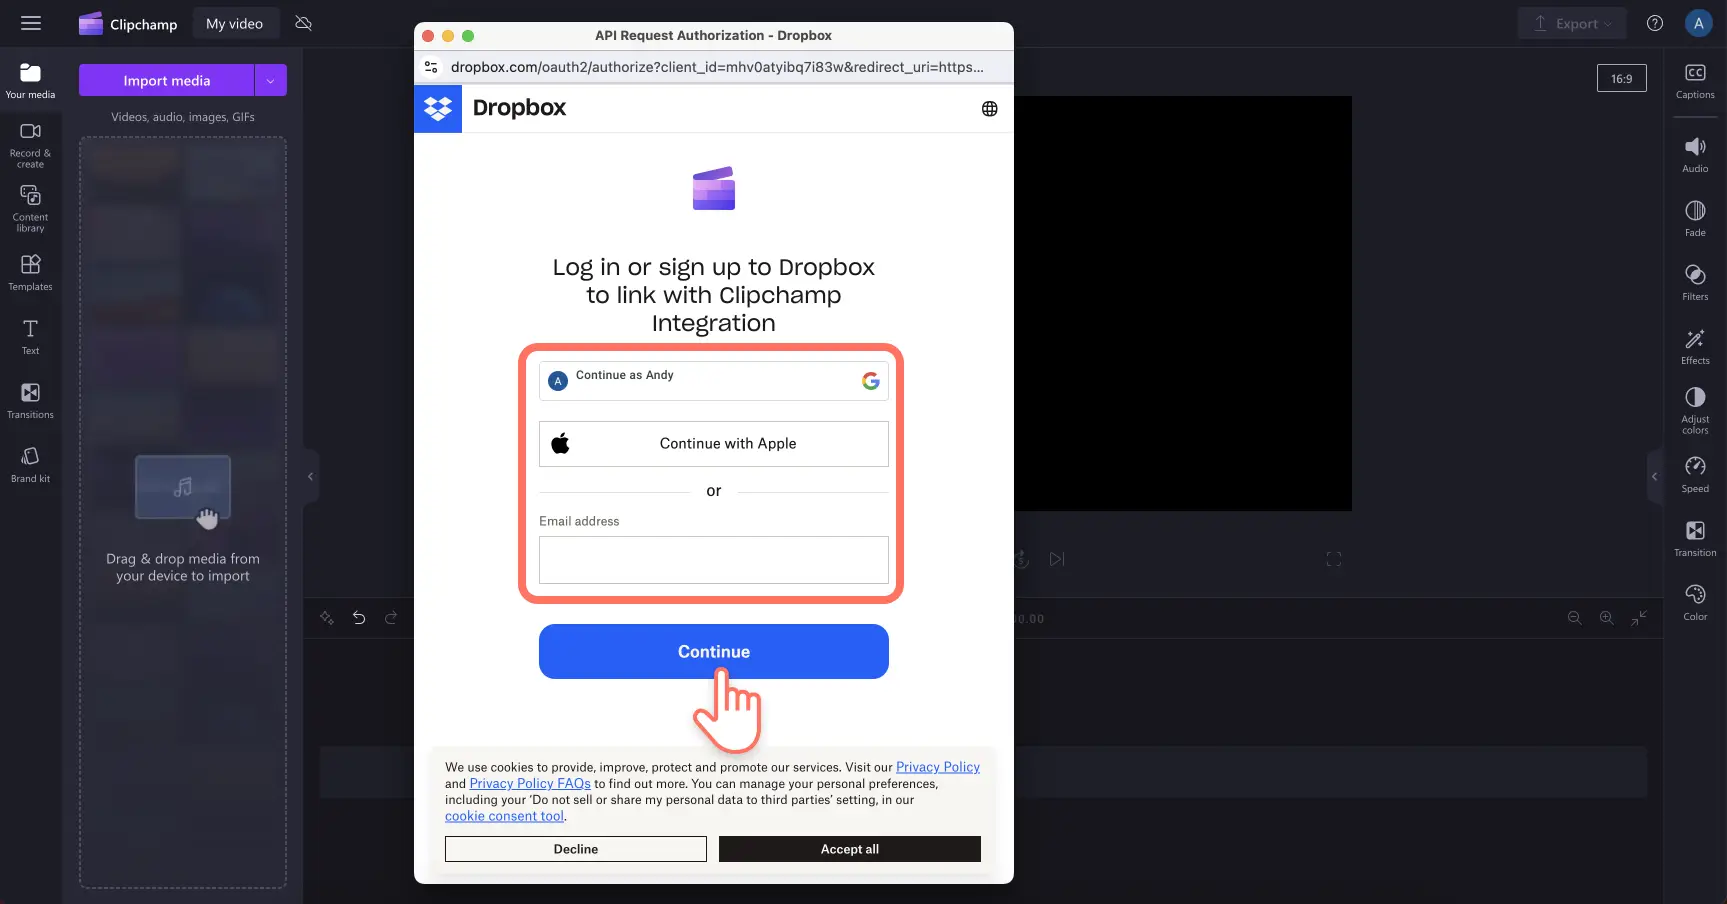
Next, sign in to your Dropbox account then click on the continue button.
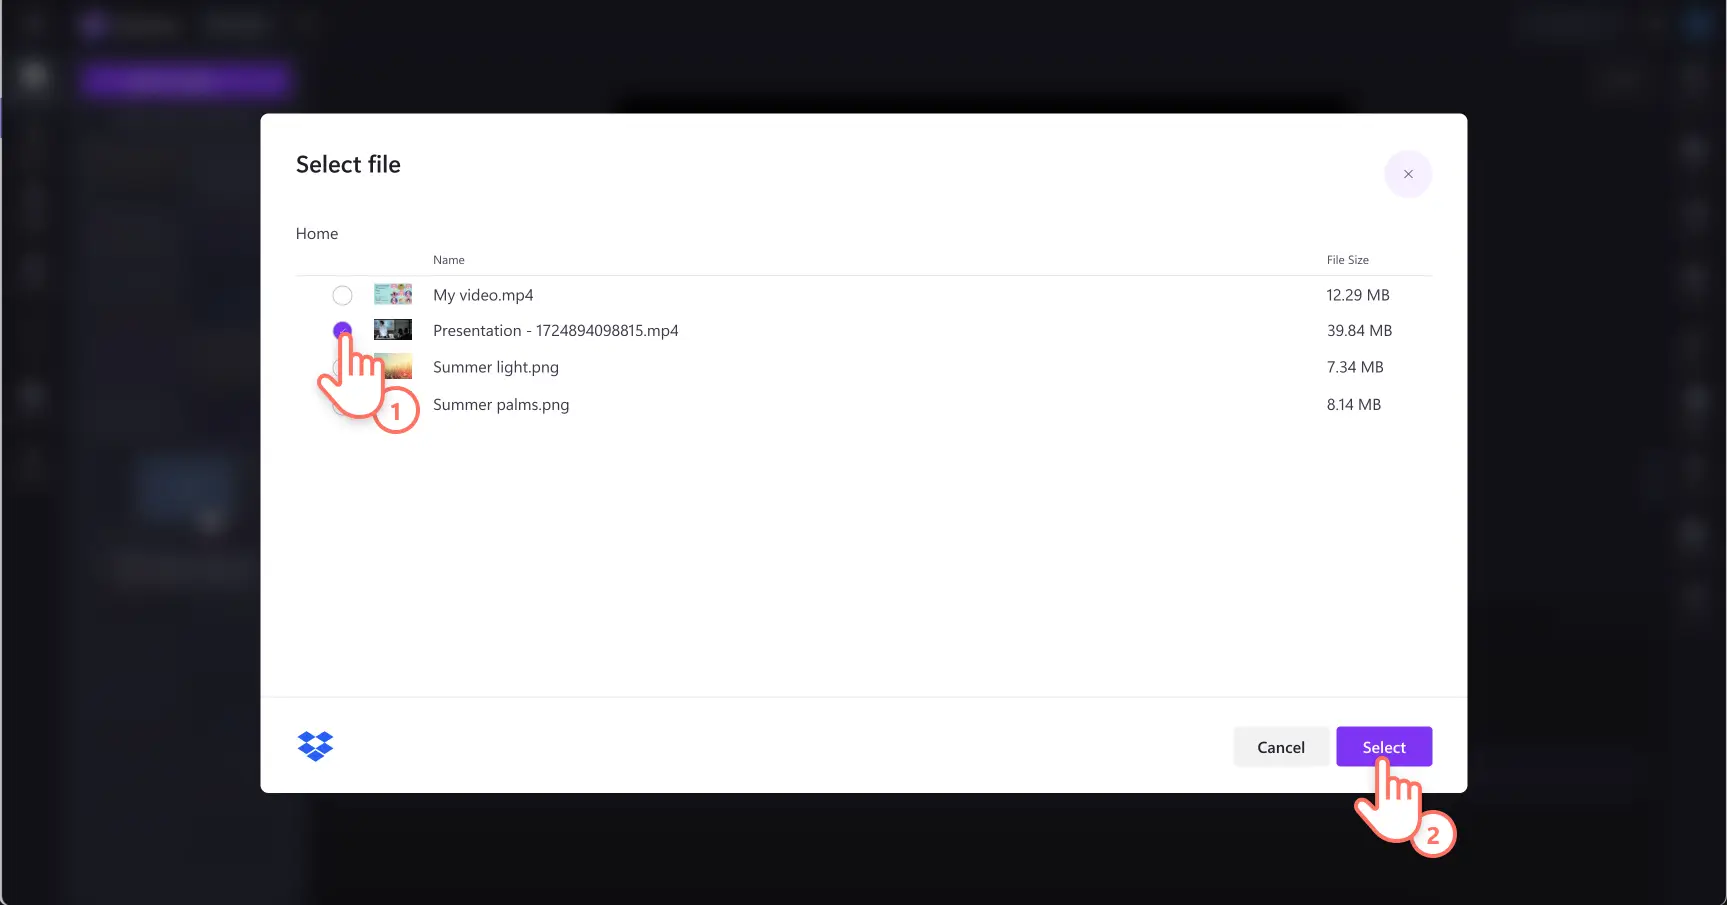
Step 3. Select photos and videos from Dropbox
Find your videos, images, or audio files you want to import into Clipchamp then click on the checkbox to select each asset. Next, click on the select button. Your assets will automatically import into the your media tab on the toolbar inside the editor.
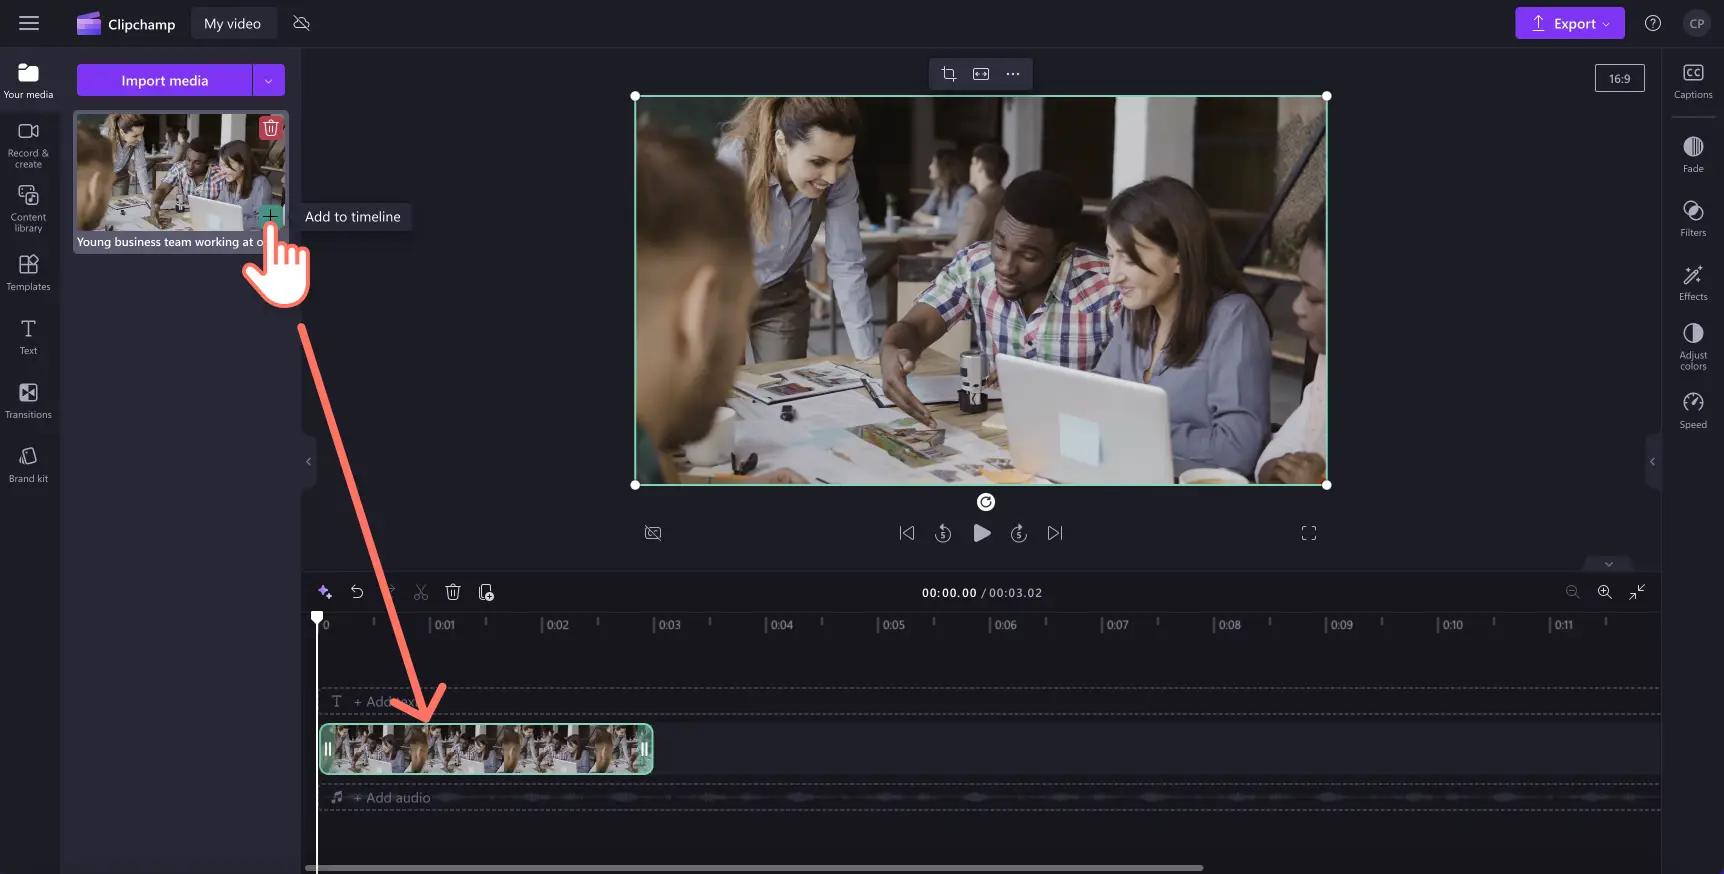
Step 4. Edit and export video
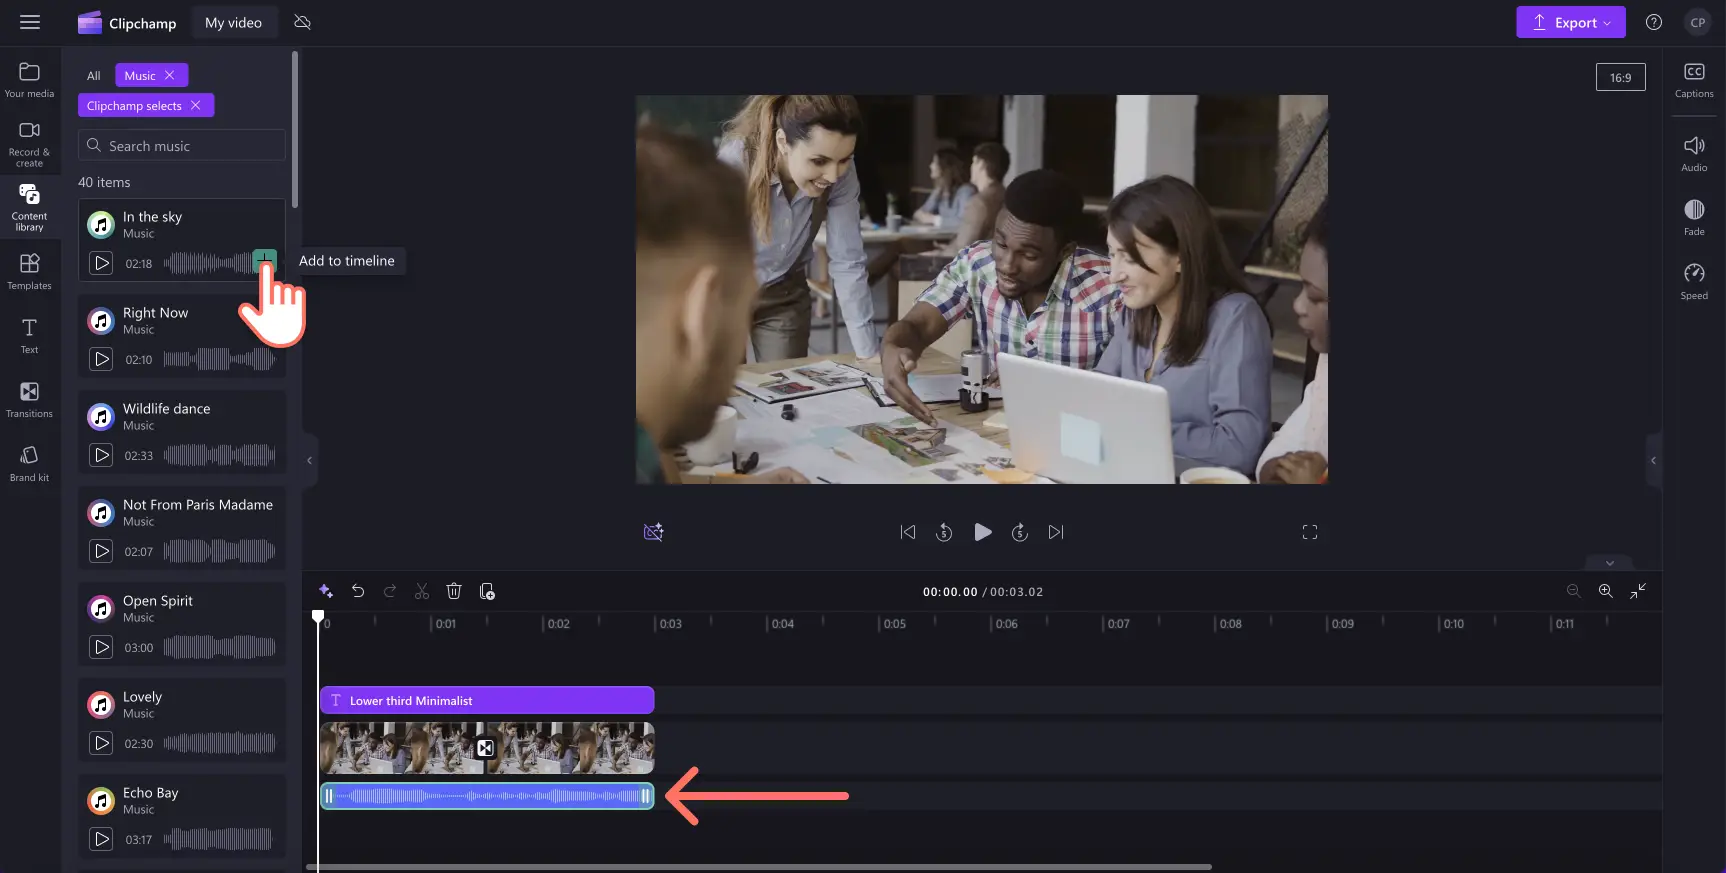
To start editing, click to add your video from the your media tab to the timeline.
Level up your videos with pro editing features like adding text, transitions, and soft background music.
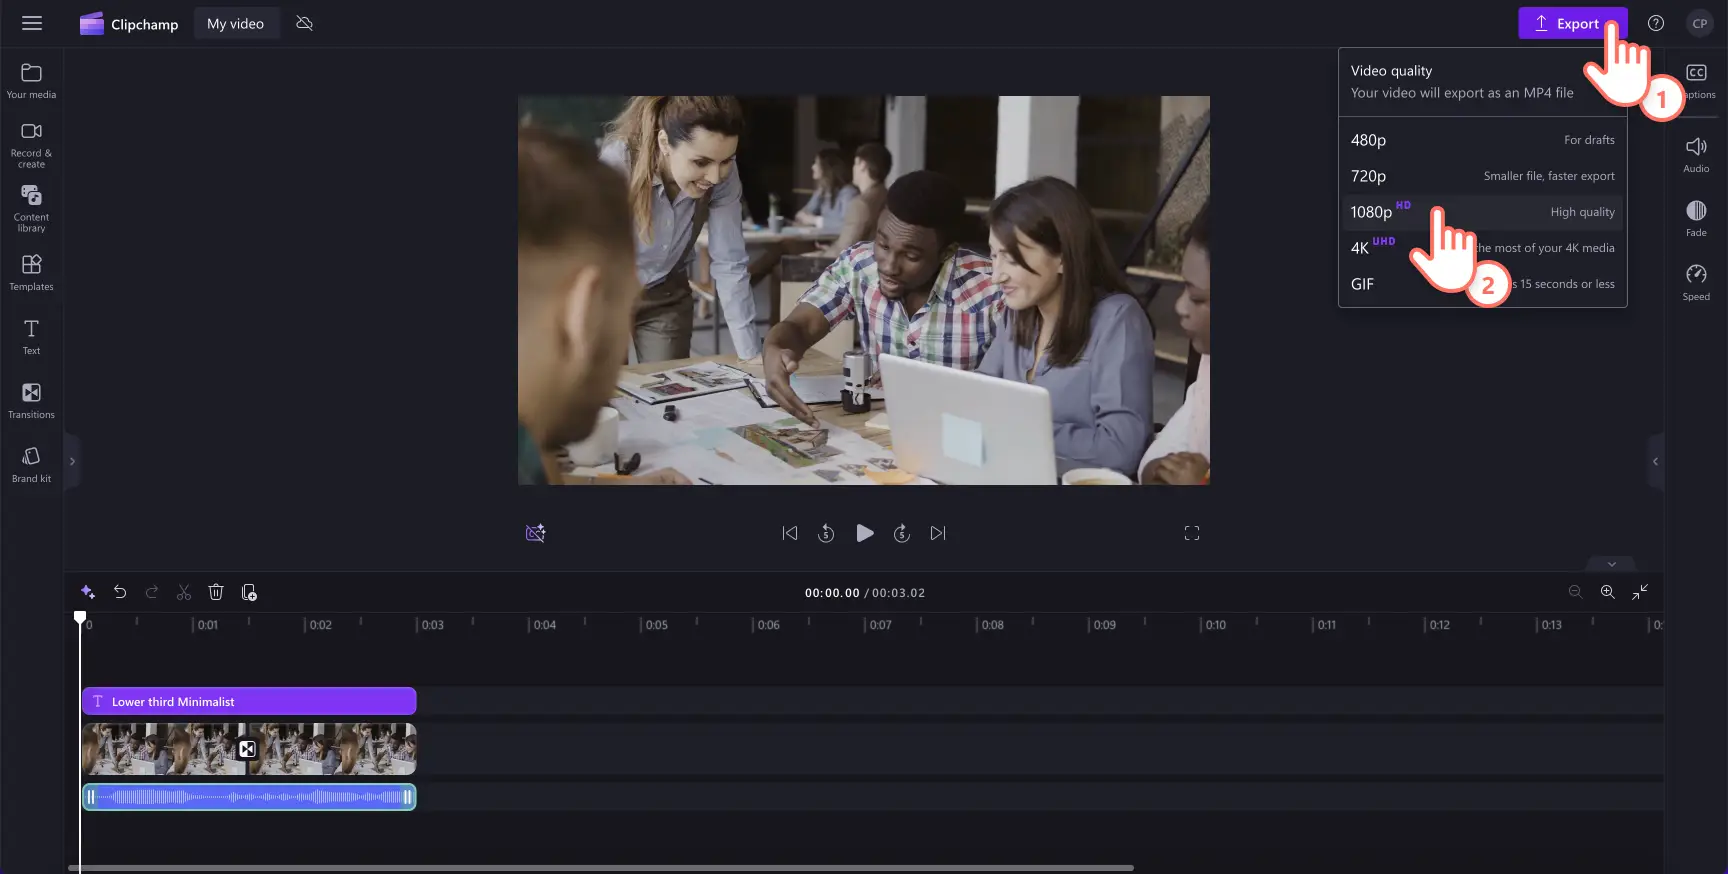
When you're ready to save your video, click the export button, then choose your video quality to continue.
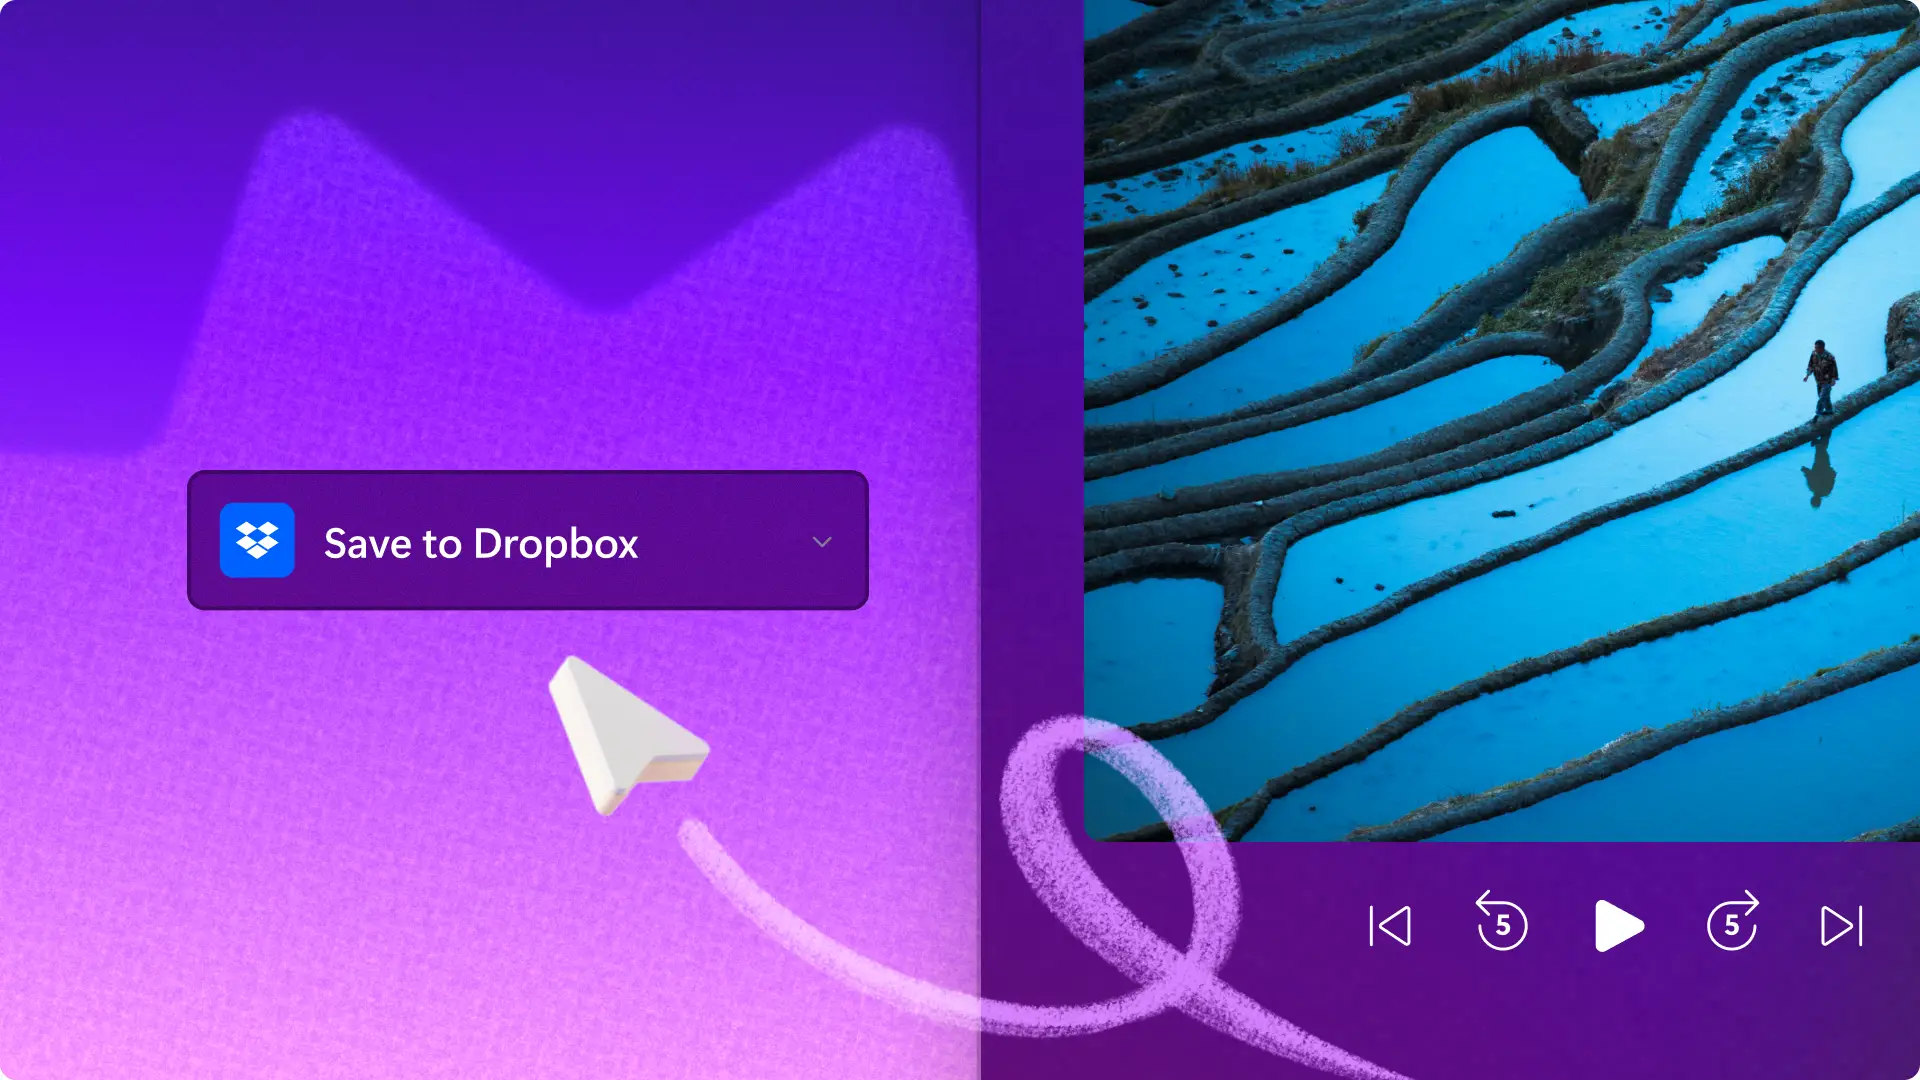
Step 5. Save to Dropbox
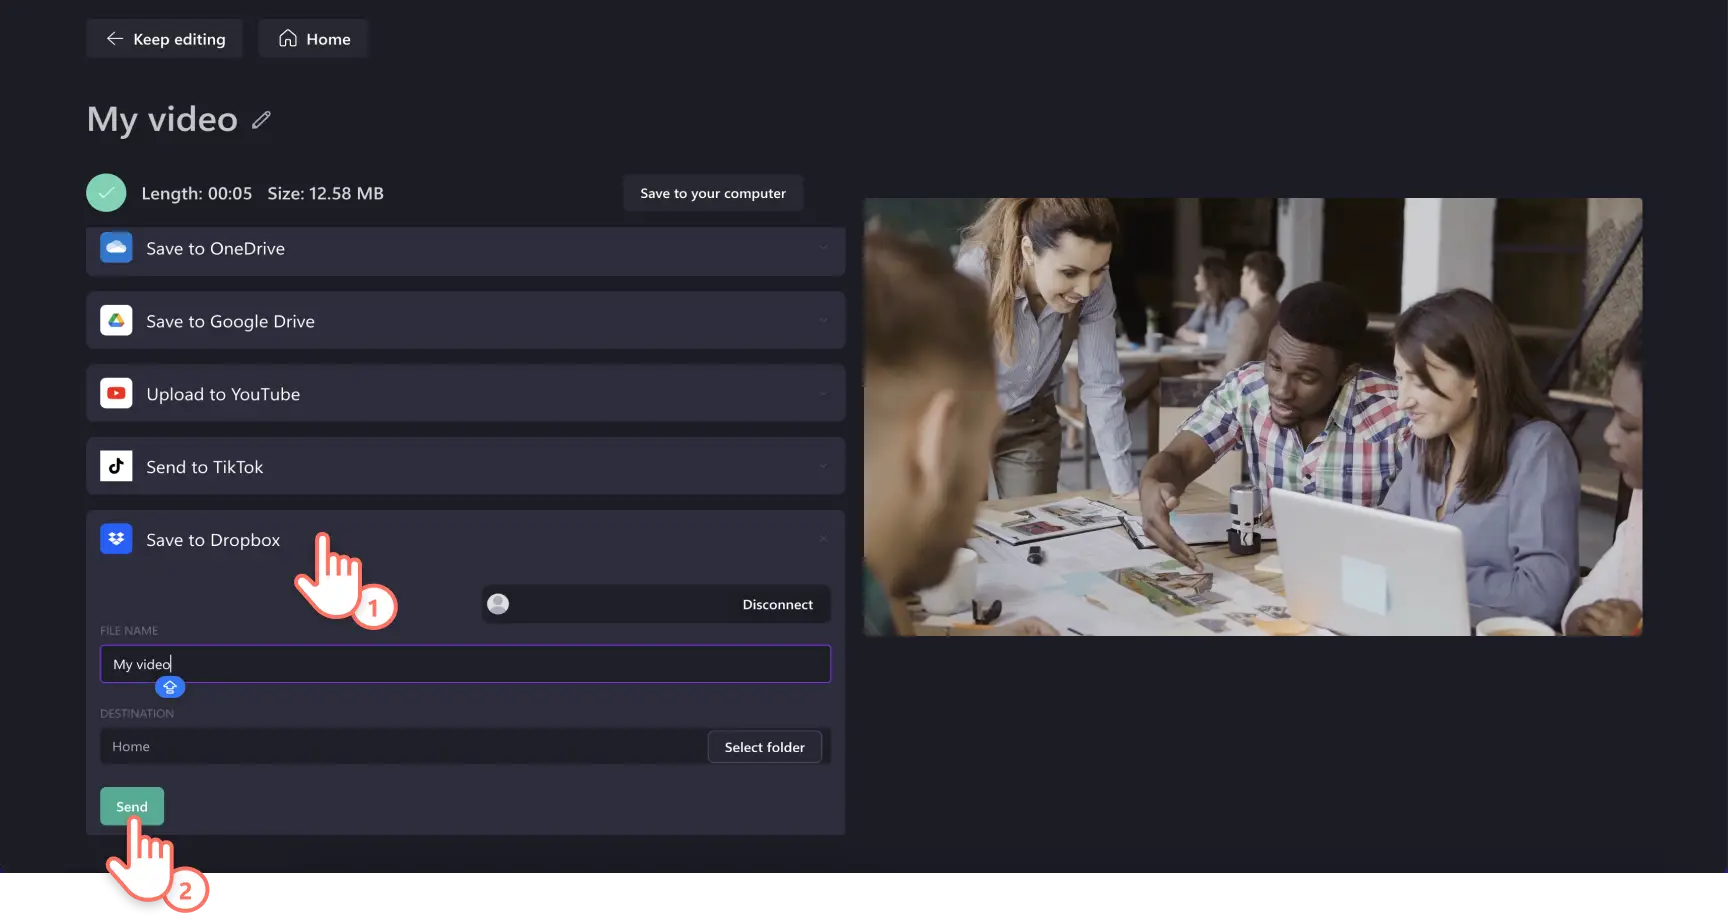
Next, you’ll be sent to the exporting page. Here, your video will automatically export and download to your device. To save a copy of your video to Dropbox, click on the save to Dropbox button. Next, update the file name and select a Dropbox saving destination. When you’re ready to save, click on the send button.
Frequently asked questions
Can you use Dropbox for videos?
Yes! Easily import and export videos from your Dropbox account into Clipchamp for free. Just link your Dropbox account following the tutorial above to import and export with ease. All users can use our Dropbox integration.
How long can a video be on Dropbox?
There’s no limit to how long a video can be when saving to Dropbox from Clipchamp. If you’re experiencing exporting issues, make sure to check your Dropbox storage limit. If you’re short on storage, effortlessly trim videos using the video trimmer then upload to Dropbox from Clipchamp.
Can you import images and videos from Dropbox?
Yes. You can import videos, images, and audio assets for free with the Dropbox integration. You can color correct your videos and create a slideshow with your images then save them to Dropbox quickly and securely.
How to download a video from Dropbox?
If you don’t want to use the Dropbox integration in Clipchamp, just download your video first. To do this, go to your Dropbox account, then locate the video asset. Click on the vertical three dots button then click on the save as button. Select a video format to download. Import your video into the video editor using the import media button within the your media tab on the toolbar.
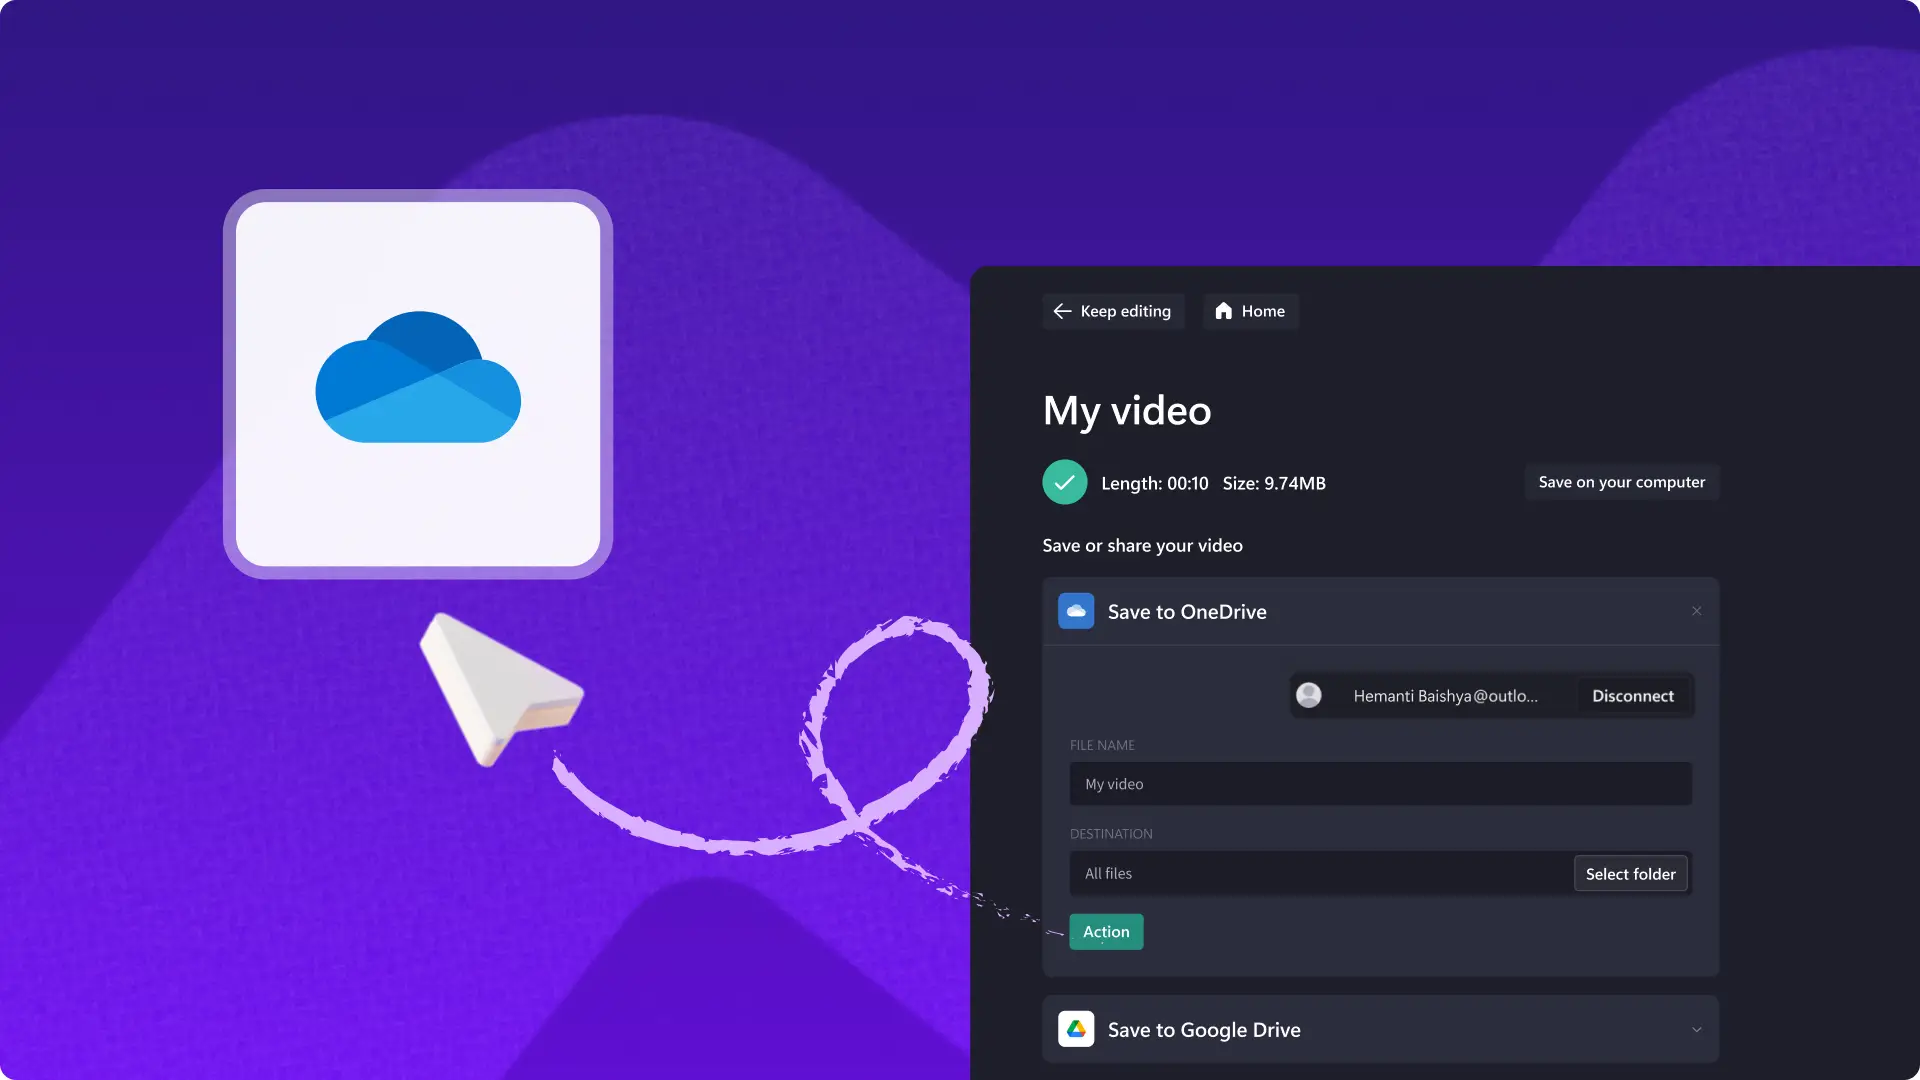
Discover other ways to import videos, images and audio assets into Clipchamp and export videos with OneDrive and Google Drive.
Get started editing videos today with the Clipchamp video editor or the Microsoft Clipchamp Windows app.