Heads up! The screenshots in this article are from Clipchamp for personal accounts. The same principles apply to Clipchamp for work and school accounts.
On this page
Not sure how to speed up or slow down your video? Easily take control over your video's pace with the beginner-friendly video speed controller.
Whether you’re creating a slow-mo epic fail or fast timelapse-style video, adjusting the speed of your clips can enhance your video's mood and tone. Try sounding like a chipmunk by speeding up your clip, then add quick scene transitions and animated text to create entertaining videos for social media.
Read on to learn how to speed up or slow down video and audio in Clipchamp video editor.
How to use the video speed controller
Step 1. Import videos or select stock footage
To import your own videos, photos, and audio, click on the import media button in the your media tab on the toolbar to browse your computer files, or connect your OneDrive.
You can also use free stock media like video clips, video backgrounds, and stock music. Click on the content library tab on the toolbar and click on the visuals drop down arrow, then videos. You can browse the different stock categories using the search bar as well.
Drag and drop your media from the your media tab onto the timeline.
Step 2. Edit the speed of a video
If you would like to change the speed of one video clip, click on the video on the timeline so it's highlighted. You can also edit the speed of multiple clips on your timeline using the multi-item editing tool. Next, click on the speed tab on the property panel.
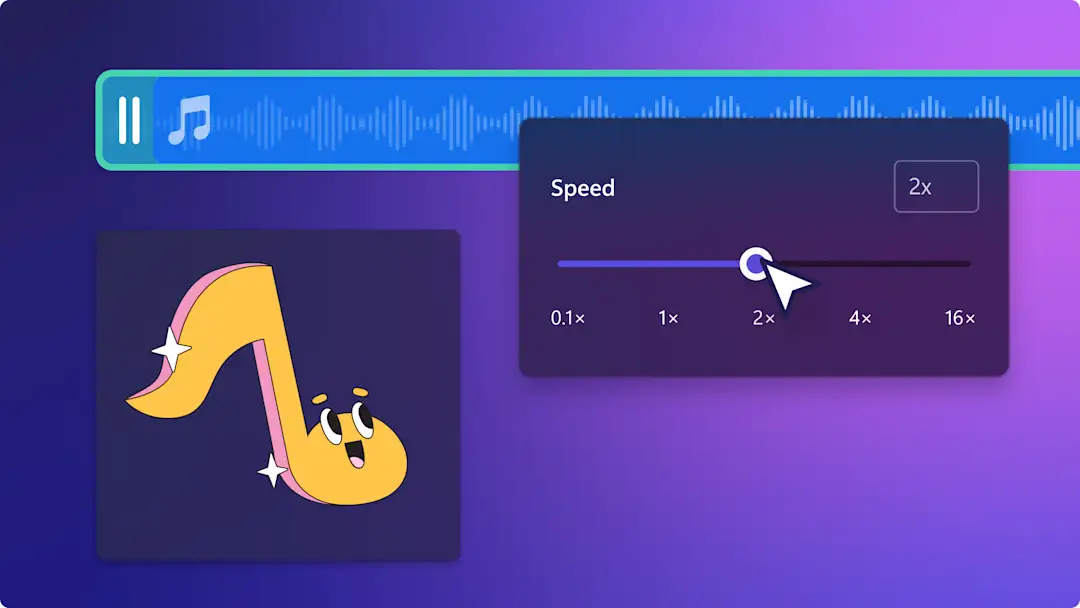
Using the speed selector, drag the slider to the left to slow down your clip, or to the right to speed up your clip. Choose from 0.1x to up to 16x speed options or input a specific value.
Note: editing the speed of your clip will also edit the length of the asset on your timeline. The faster the speed, the shorter the video clip, and the slower the speed, the longer the video clip.
Step 3. Remove gaps on the timeline
If you have sped up your video clips, there will be some gaps on your timeline. To remove these timeline gaps, click on the gap removal button. The clips on your timeline will automatically line up next to each other side by side without creating extra gaps.
Step 4. Preview and save your video
Before saving your new video, make sure to preview by clicking on the play button. When you’re ready to save, click on the export button and select a video resolution.
How to undo video speed changes
You can undo any speed changes using buttons within the video editor or keyboard shortcuts.
Click on the undo button to undo a change. You can also use command + Z (Mac) or control + Z (Windows) on your keyboard.
Click on the redo button to redo a change. You can also use command + Y (Mac) or control + Y (Windows) on your keyboard.
Alternatively, click on your media on the timeline and press the delete key on your keyboard then re-add the asset to the editing timeline.
How to speed up and slow down video audio
If you only want to speed up your audio and keep your video the same speed, you can separate then speed up and slow down audio as an individual asset. The speed controller works on all audio files including imported MP3s.
Click on your video asset on the timeline so it’s highlighted.
Right-click then hover over the audio button and select the detach option.
Click on the audio asset on the timeline so it’s highlighted.
Click on the speed tab on the property panel.
Adjust the speed controller or enter a numeric value.
Note: editing the speed of your video will also edit the length on your timeline. The faster the speed, the shorter the audio, and the slower the speed, the longer the audio.
Watch how to use the speed controller on YouTube
Check out the beginner-friendly video tutorial to learn how to edit the speed of videos.
Frequently asked questions
Is the video speed controller free?
The speed controller is free for all Clipchamp video editor users. Check out the pricing page for more information on the different subscription options.
Can I slow down my video and not slow down the attached audio?
You can change the speed of your audio as a separate media asset to your video clip by detaching the audio track. Changes to speed will only apply to assets when they are selected and highlighted on the timeline.
Can I edit the speed of a GIFs in Clipchamp video editor?
The video speed controller can edit any moving asset in the editor, like videos, audio, SFX sounds, GIFs, stickers, and more. The speed controller will not work on images or text.
Effortlessly edit the speed of your video and assets with the speed selector. If you're looking for more video editing tips, check out how to split videos, or explore how to add audio to videos like music and sound effects.
Edit your video today with Clipchamp for free or download the Clipchamp Windows app.


