Heads up! The screenshots in this article are from Clipchamp for personal accounts. The same principles apply to Clipchamp for work and school accounts.
On this page
Do you want to share landscape videos on Instagram but don’t like the look of those awkward black borders? Instagram doesn’t have a rotating video feature, but there’s no need to re-record your video if it’s in the wrong orientation. Say goodbye to problematic cropping and inconvenient black lines with the rotate video feature.
Keep reading to explore how to rotate videos for Instagram, trim away unwanted video, and add special effects like auto-captions, stickers, and royalty-free music.
How to rotate a video in Clipchamp
Instagram prefers 1:1 aspect ratio for image posts and 4:5 or 9:16 aspect ratios for Reels, Stories, and posts in MP4 or MOV file format.
Step 1. Upload your video or image to the editor
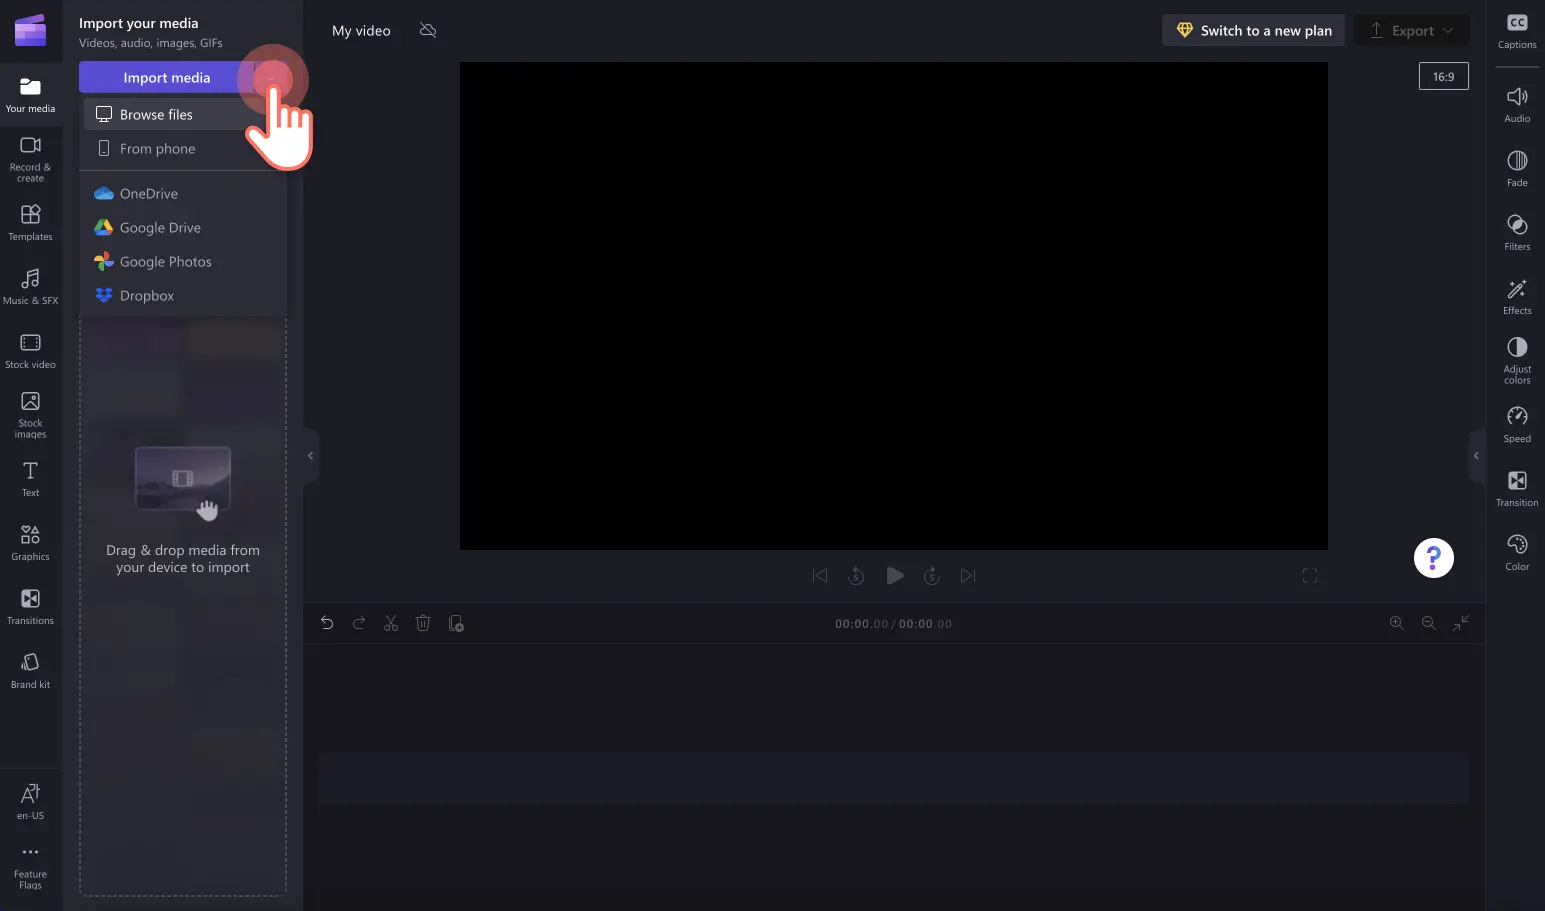
To upload your own media, click on the import media button on the toolbar, drag and drop media from your files, or upload using our integrations.
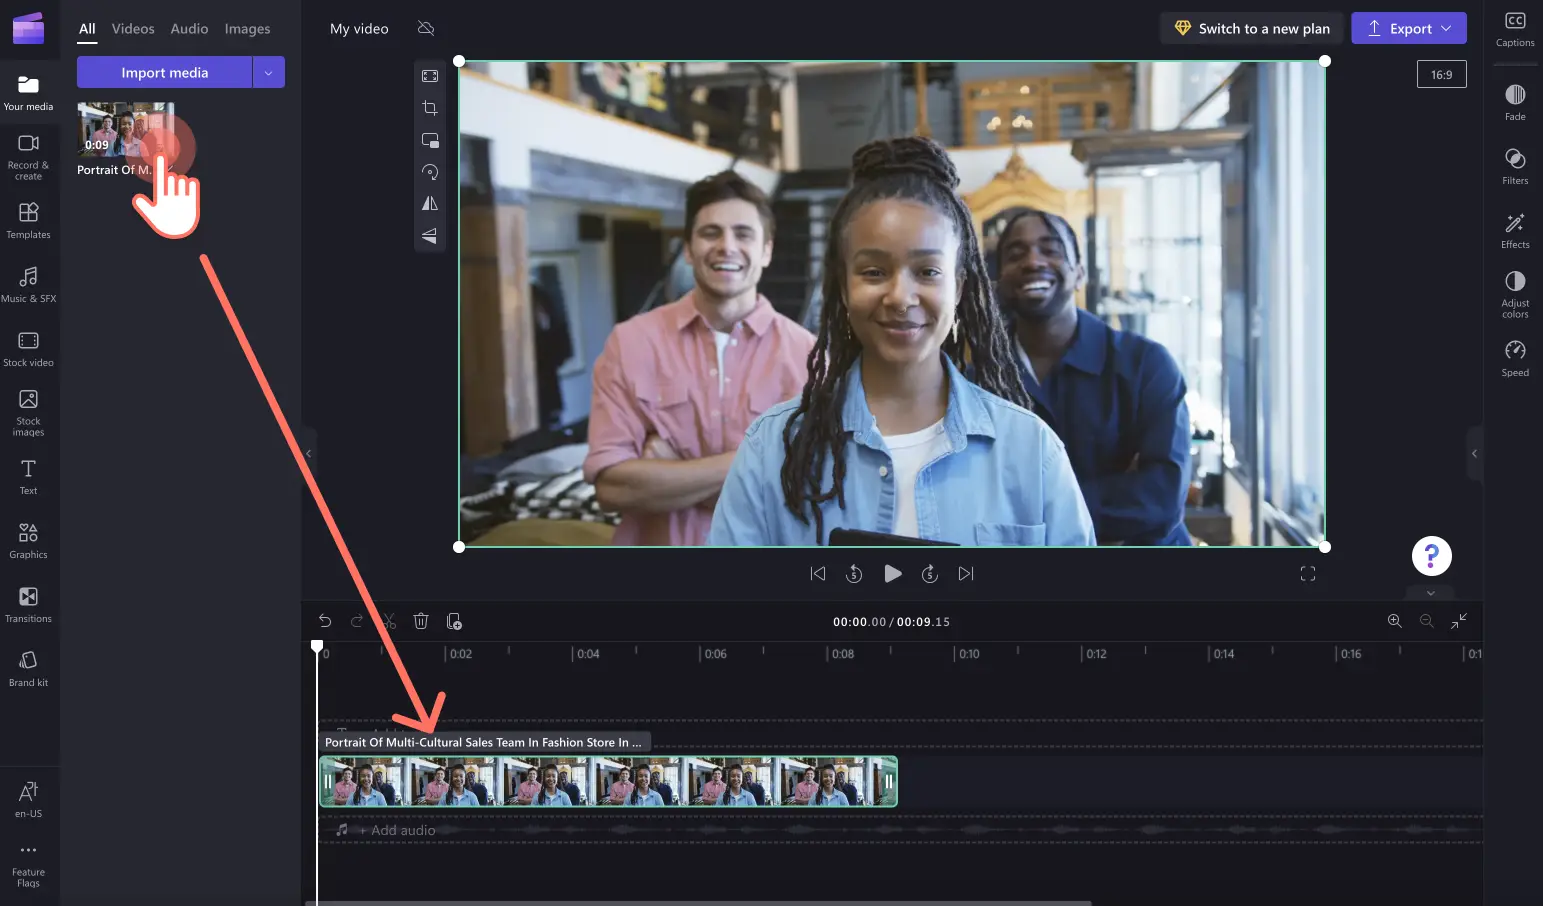
Drag and drop your media onto the timeline.
Step 2. Select an aspect ratio preset
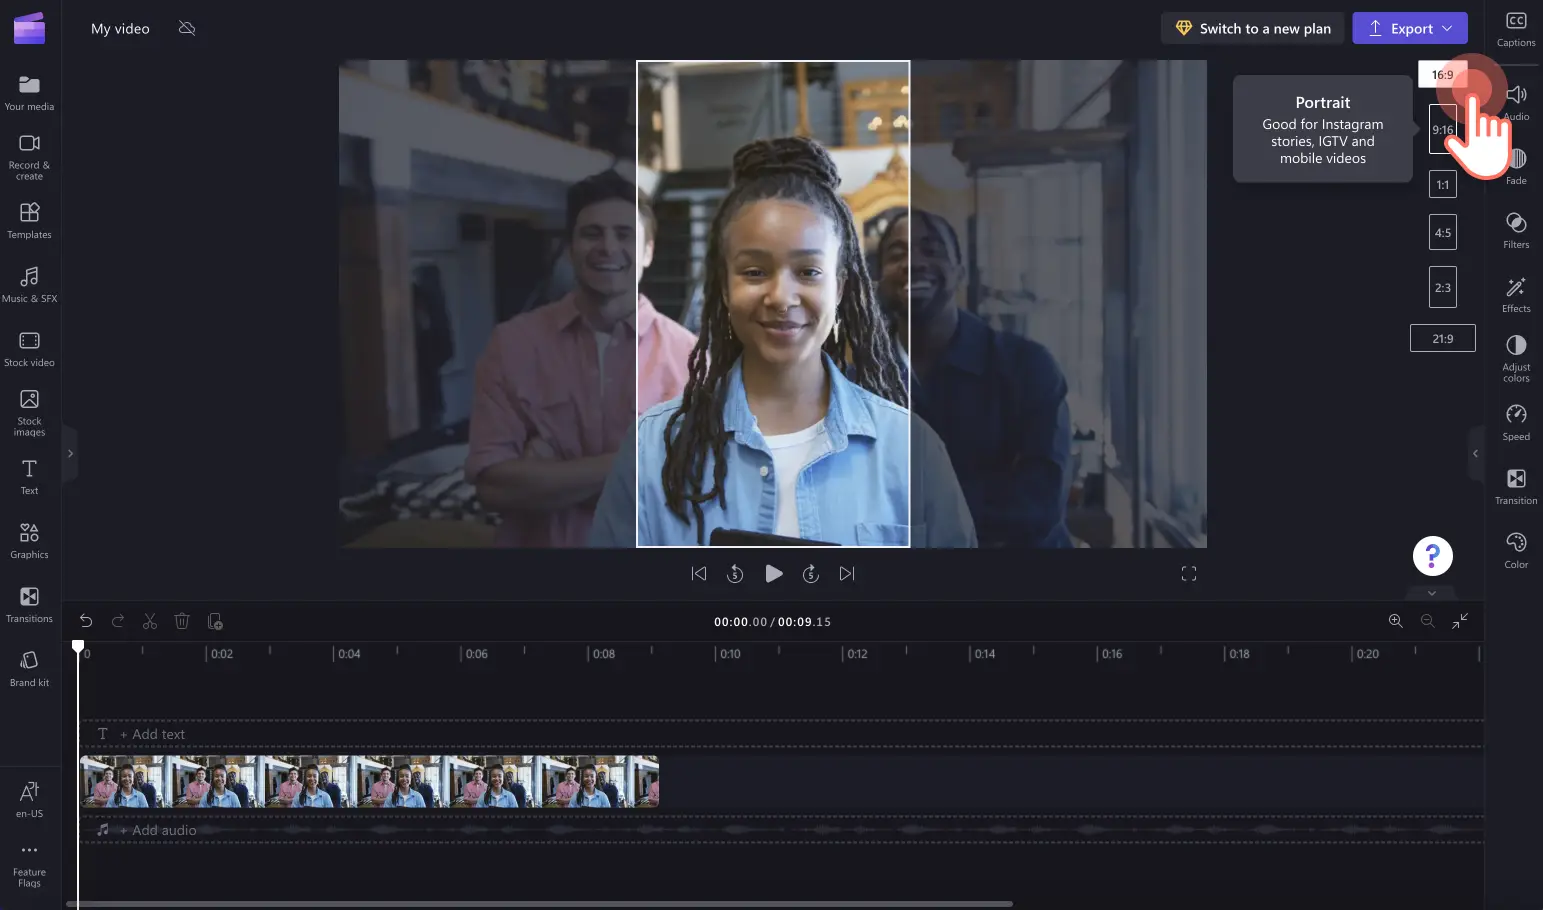
Before you start rotating your video, select an aspect ratio preset that is suitable for Instagram. We recommend selecting the portrait 9:16 aspect ratio. Click on the 16:9 aspect ratio button next to the property panel, then select a preset.
Step 3. Rotate your video or image with the floating toolbar
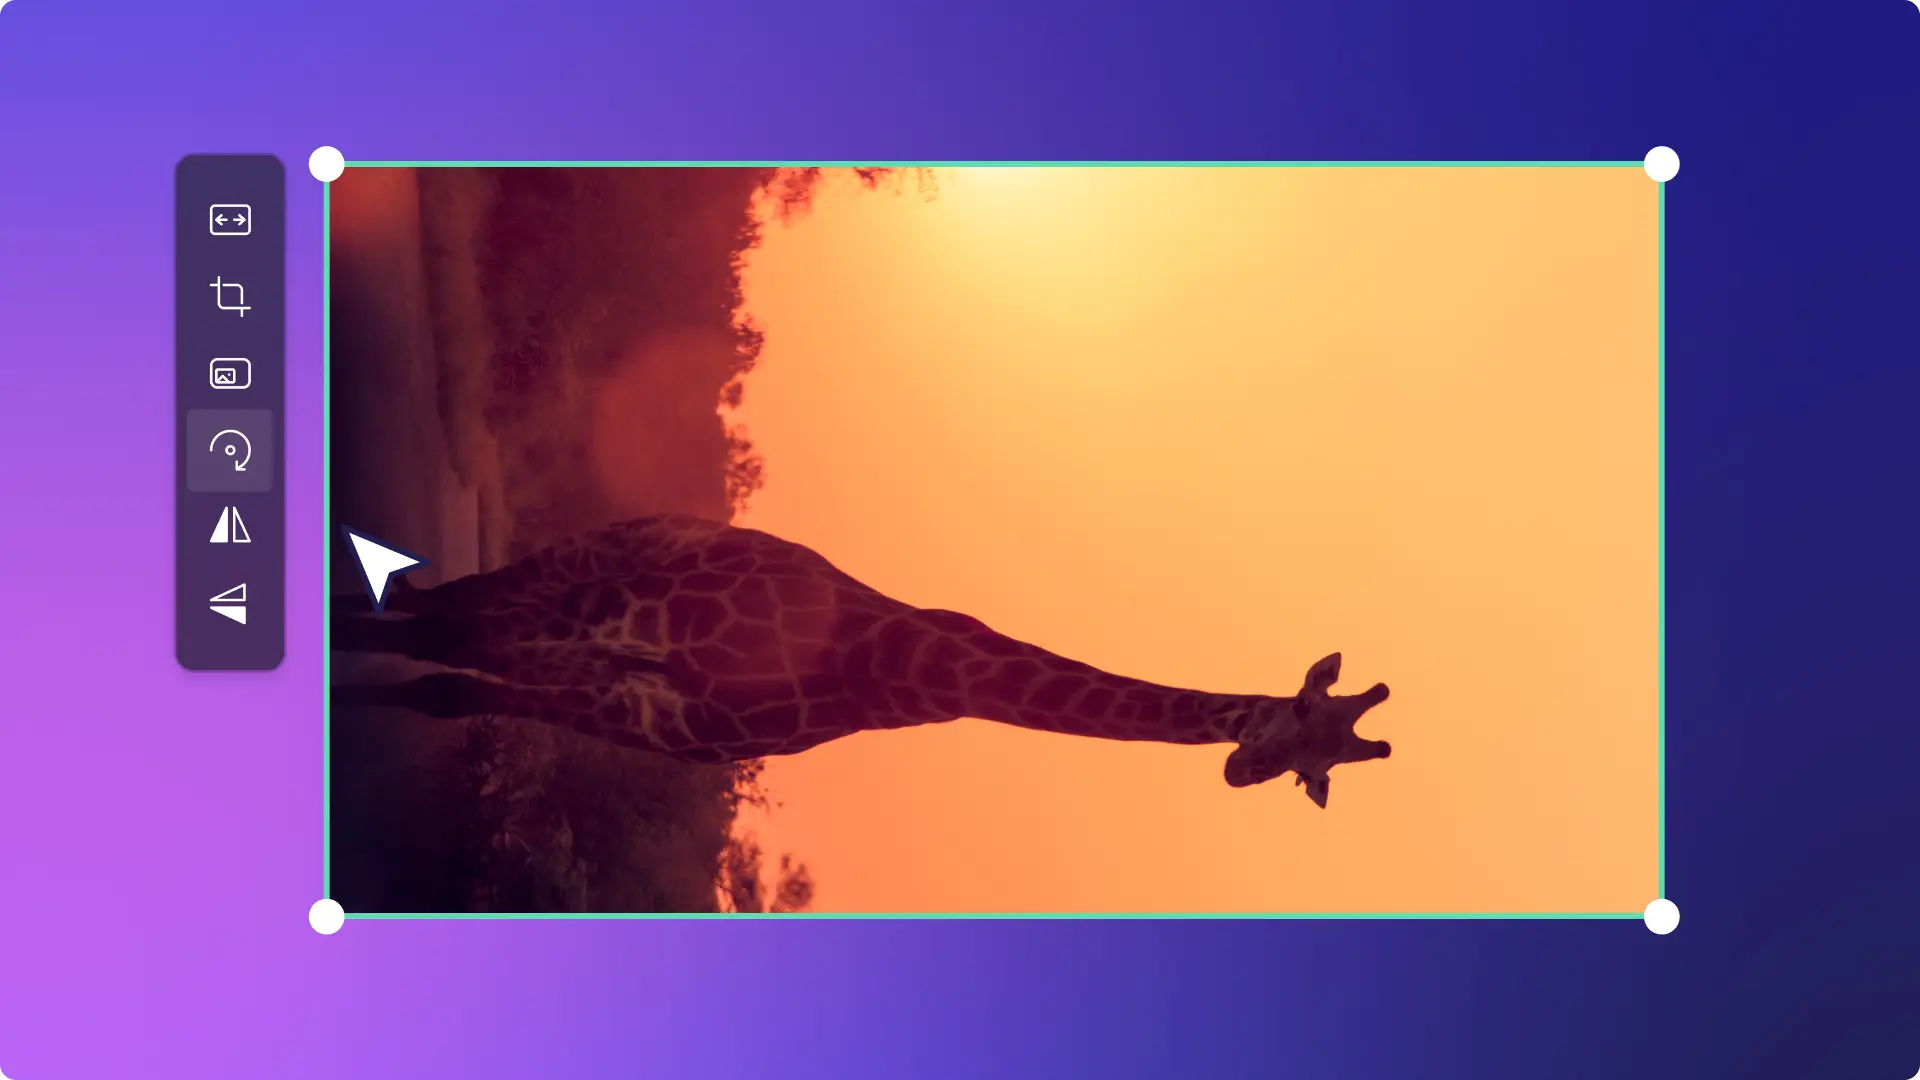
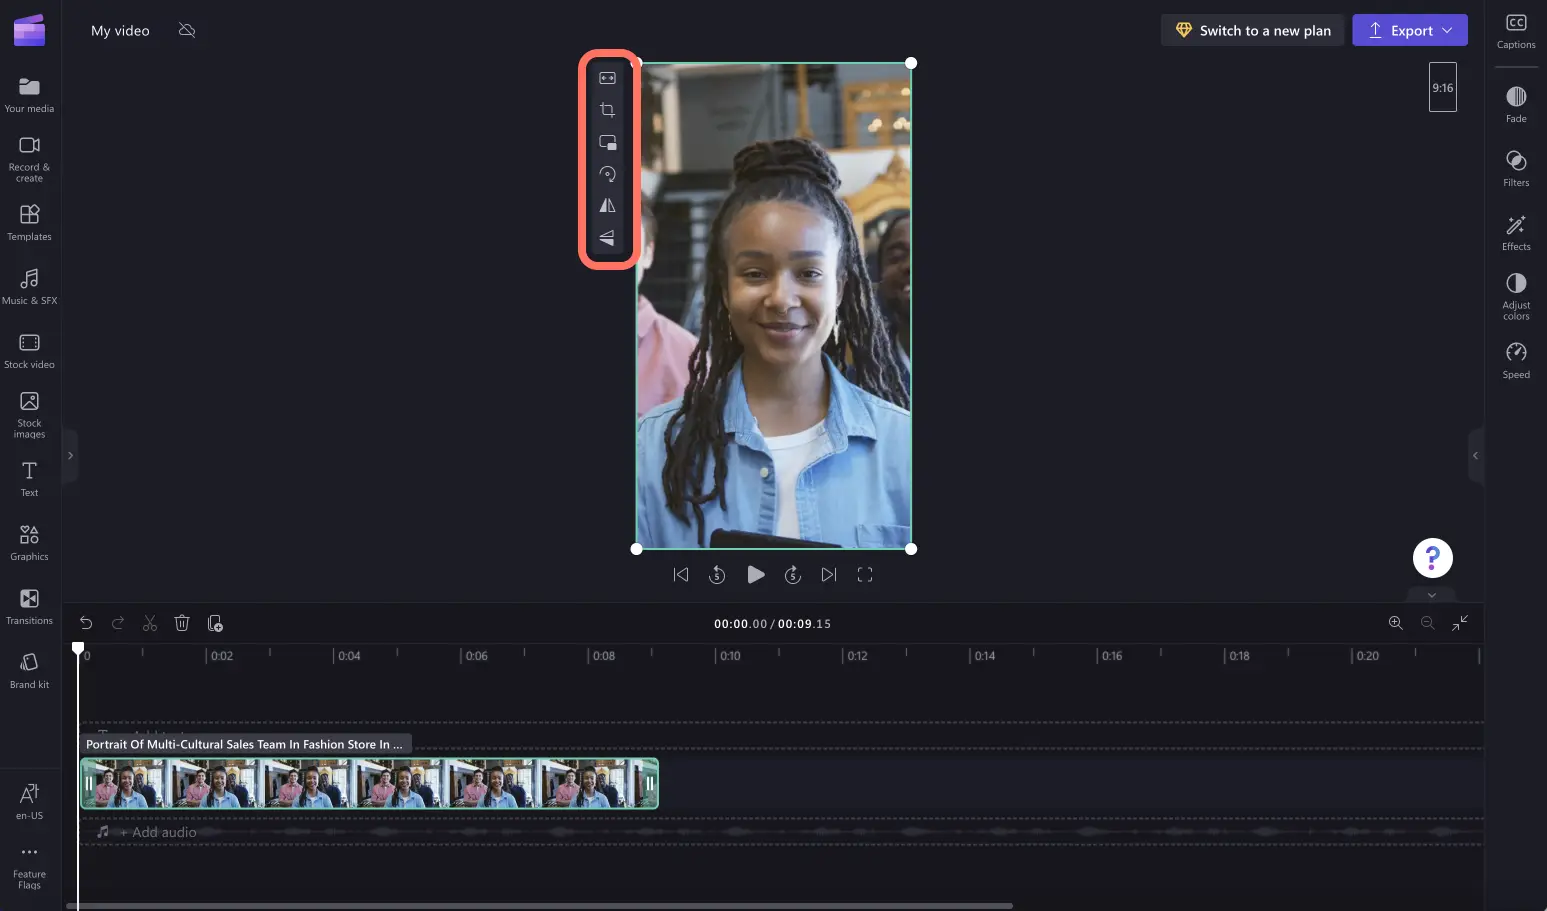
Click on the video on your timeline so it’s highlighted. The floating toolbar will appear next to the video preview.
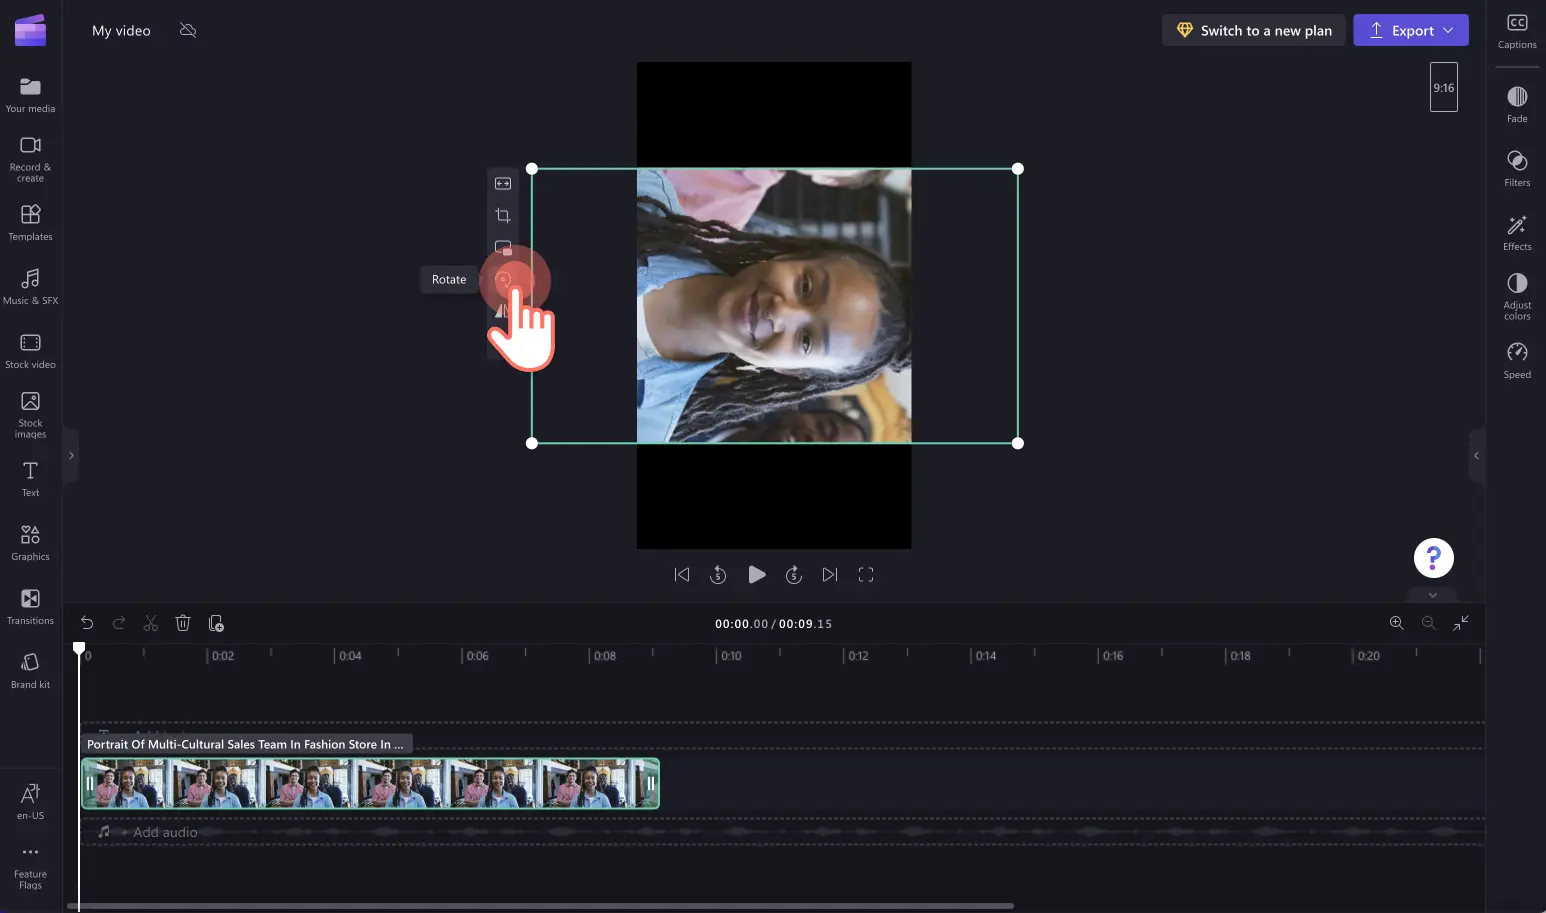
Click on the rotate button on the floating toolbar. One click will rotate your video 90 degrees, a second click will rotate your video 180 degrees, and so on.
Step 4. Edit your video
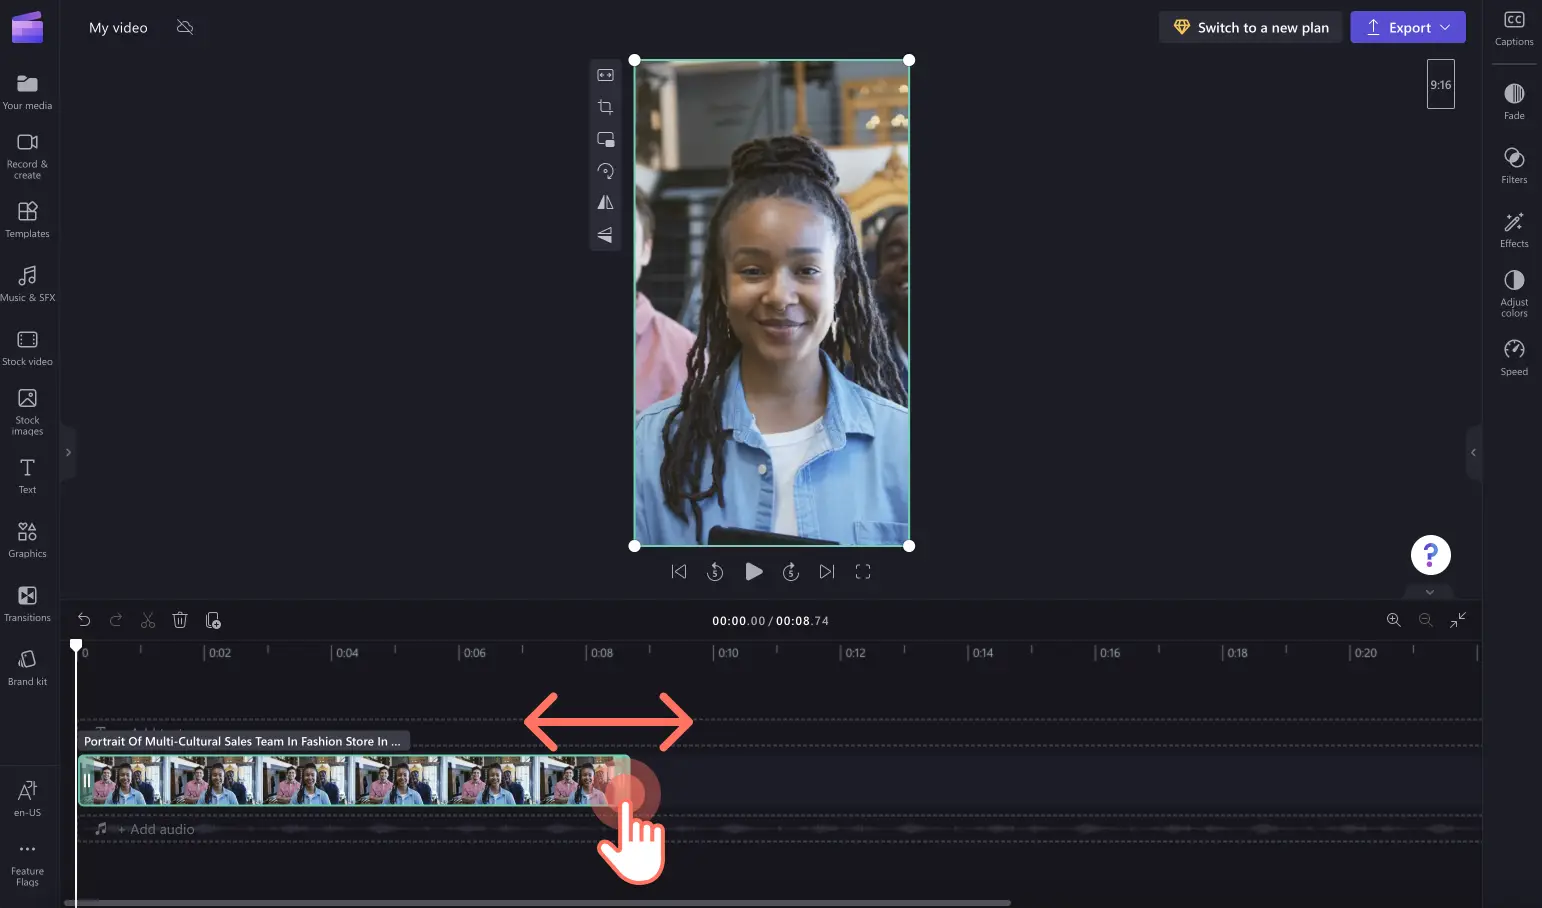
Easily edit mistakes and remove extra footage by trimming your video using the trim tool. Click on your video clip on the timeline so it’s highlighted. Drag the handles in to trim.
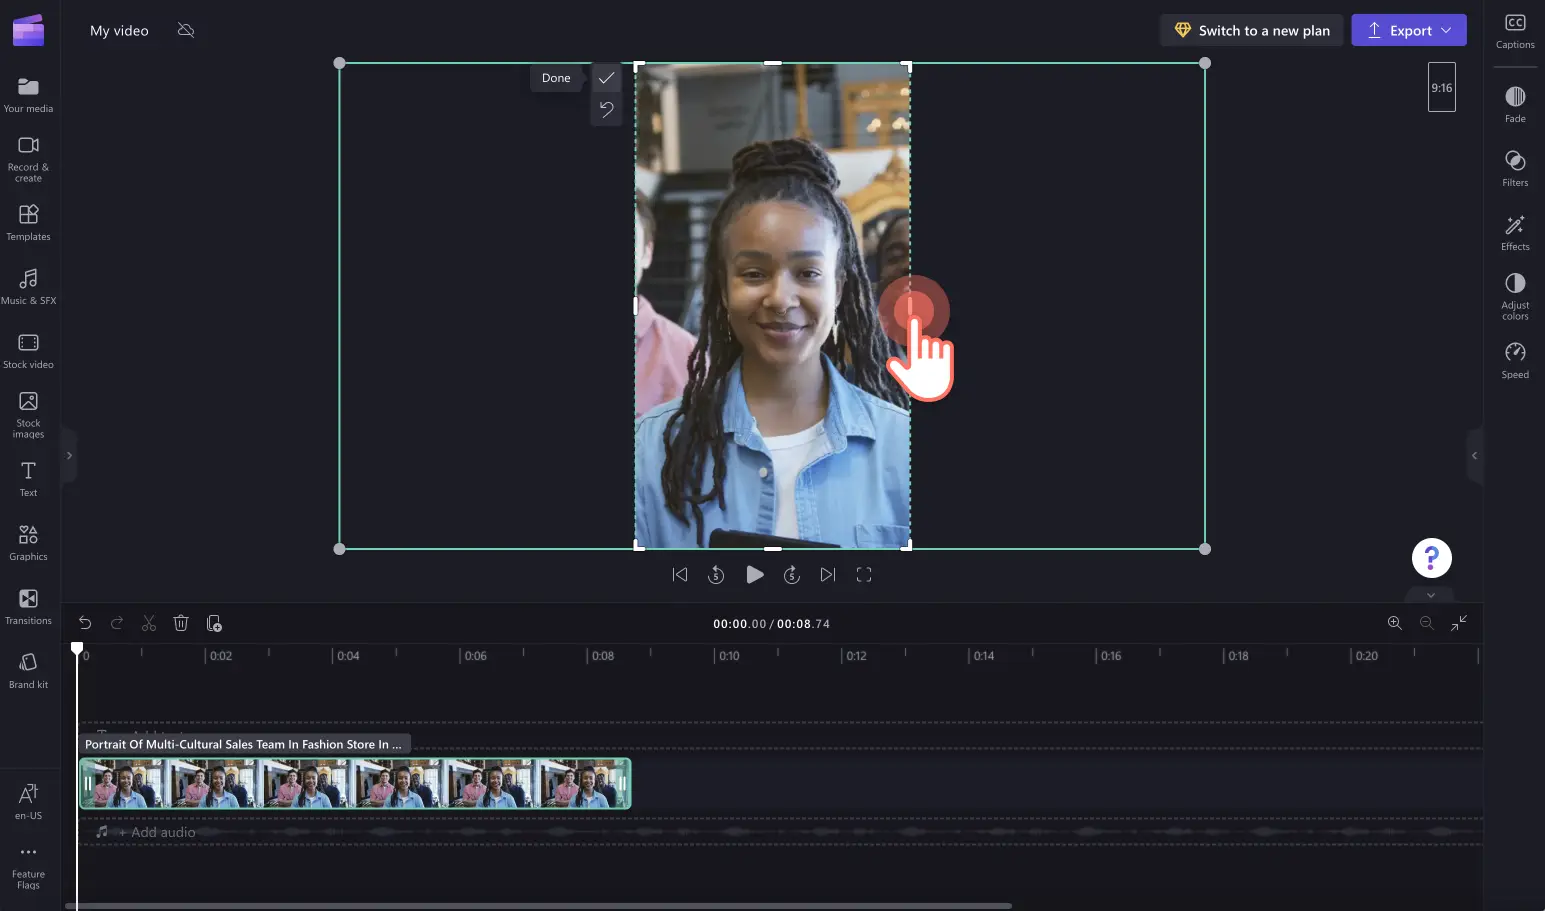
Crop away unwanted footage, borders, and edges with the crop tool if your video doesn’t fit perfectly in the Instagram aspect ratio. Click on the video in your timeline so it's highlighted. Next, click on the crop button inside the floating toolbar, then drag the cropping handles in and out.
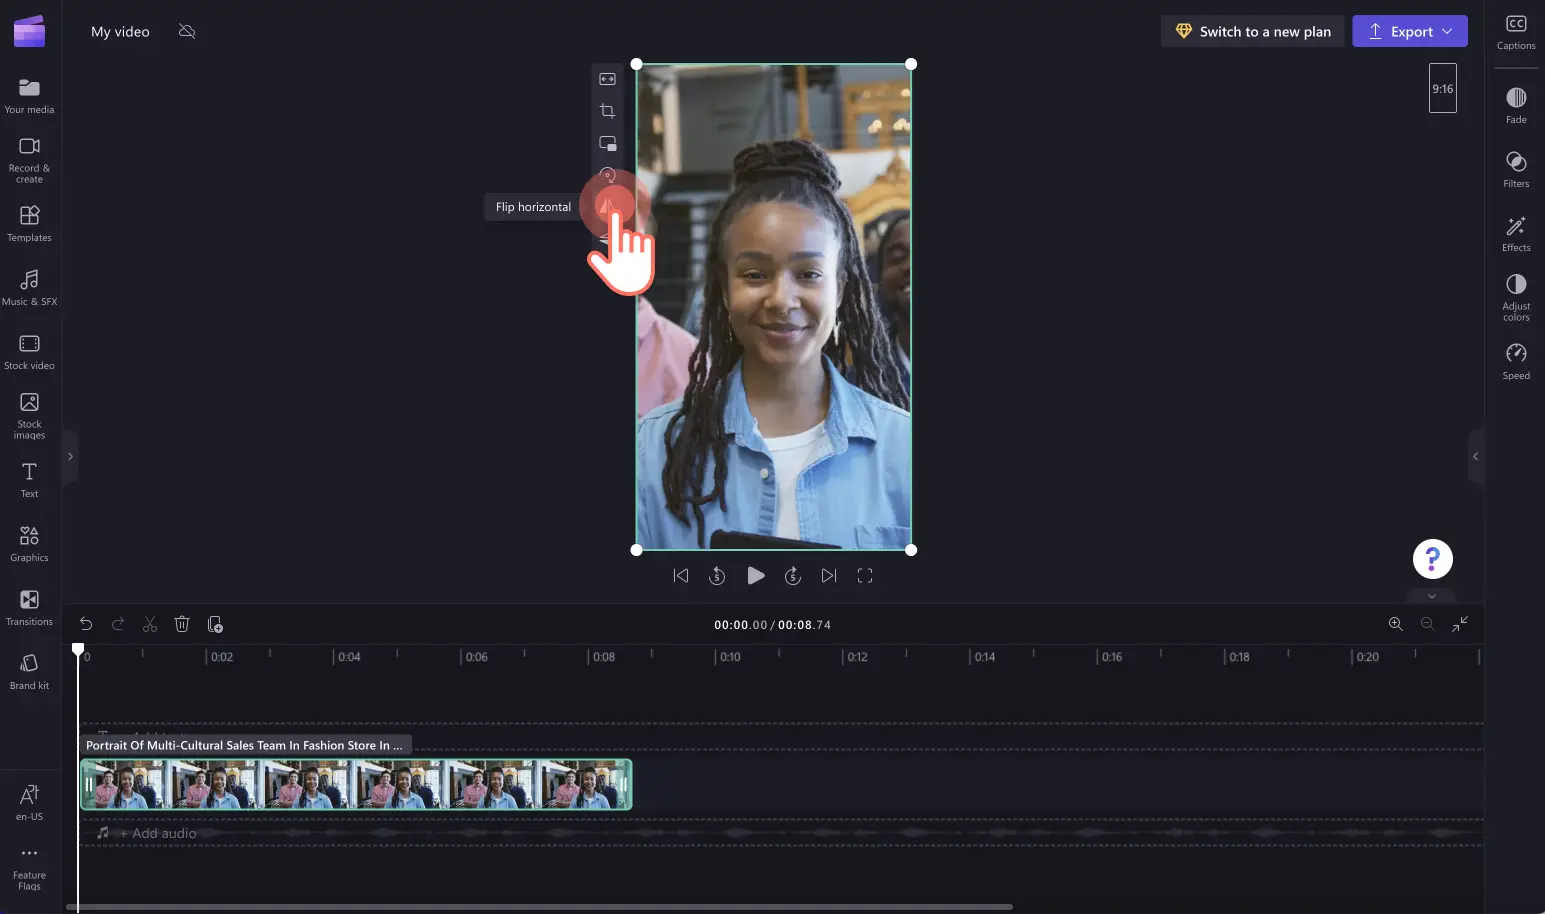
If your video is upside down or mirrored, just use the flip vertical or flip horizontal tool. Click on your video in the timeline so it’s highlighted. Click on the flip horizontal button on the floating toolbar or flip vertical.
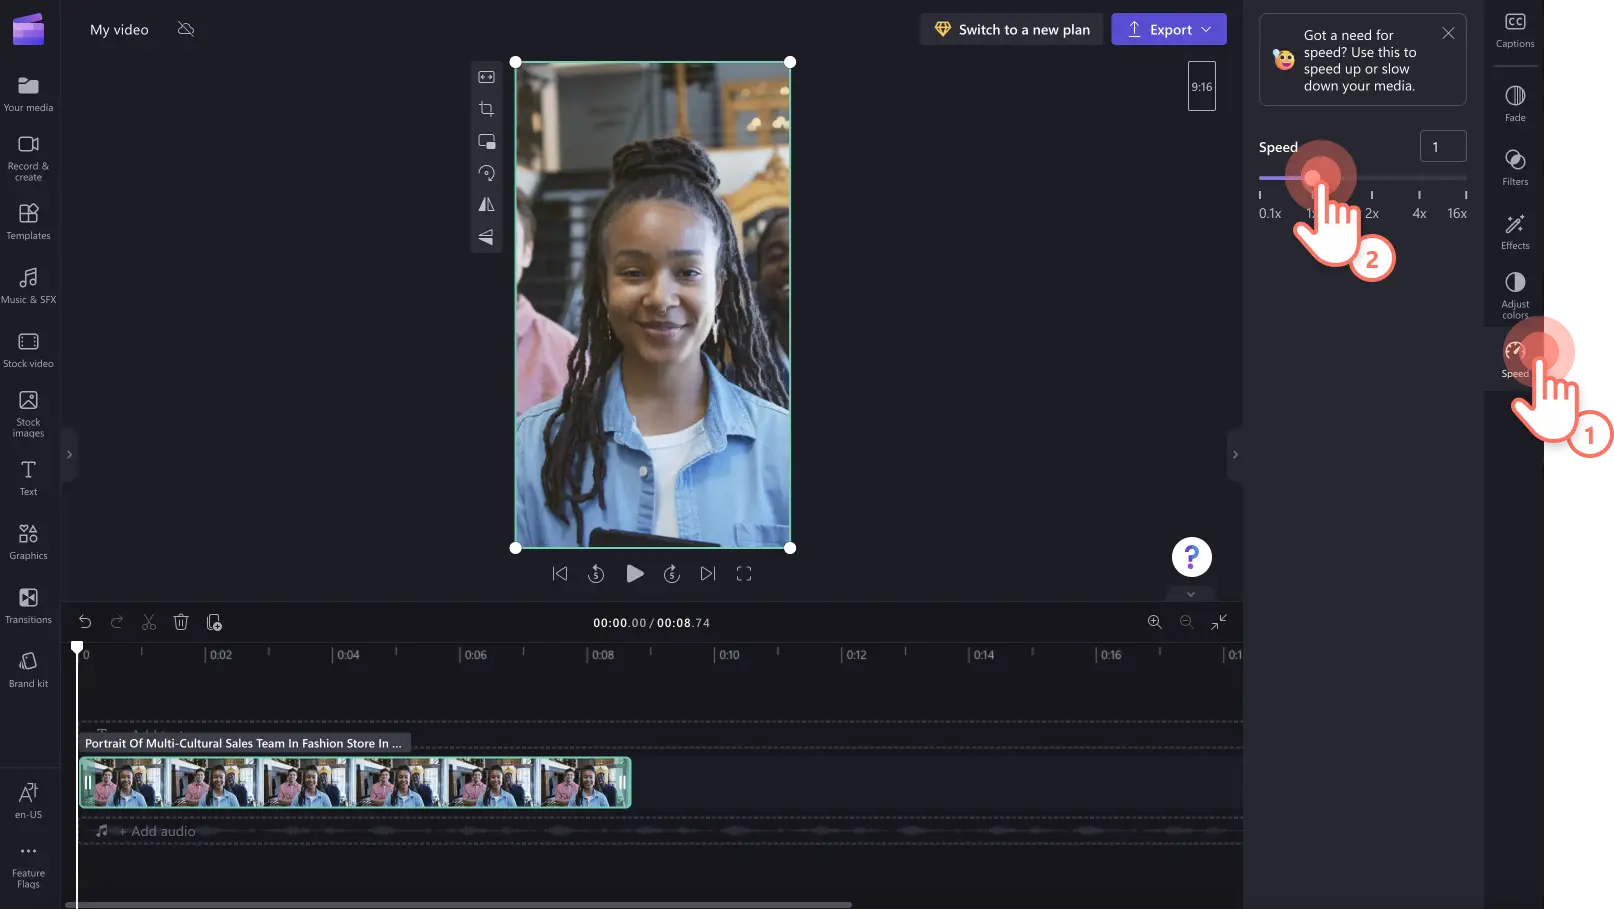
Easily adjust the speed with the speed slider if your video is too long for Instagram. Click on your video in the timeline so it's highlighted. On the property panel, click on the speed button. Choose from 0.1x to up to 16x speed options or input a specific value.
Step 5. Add special effects
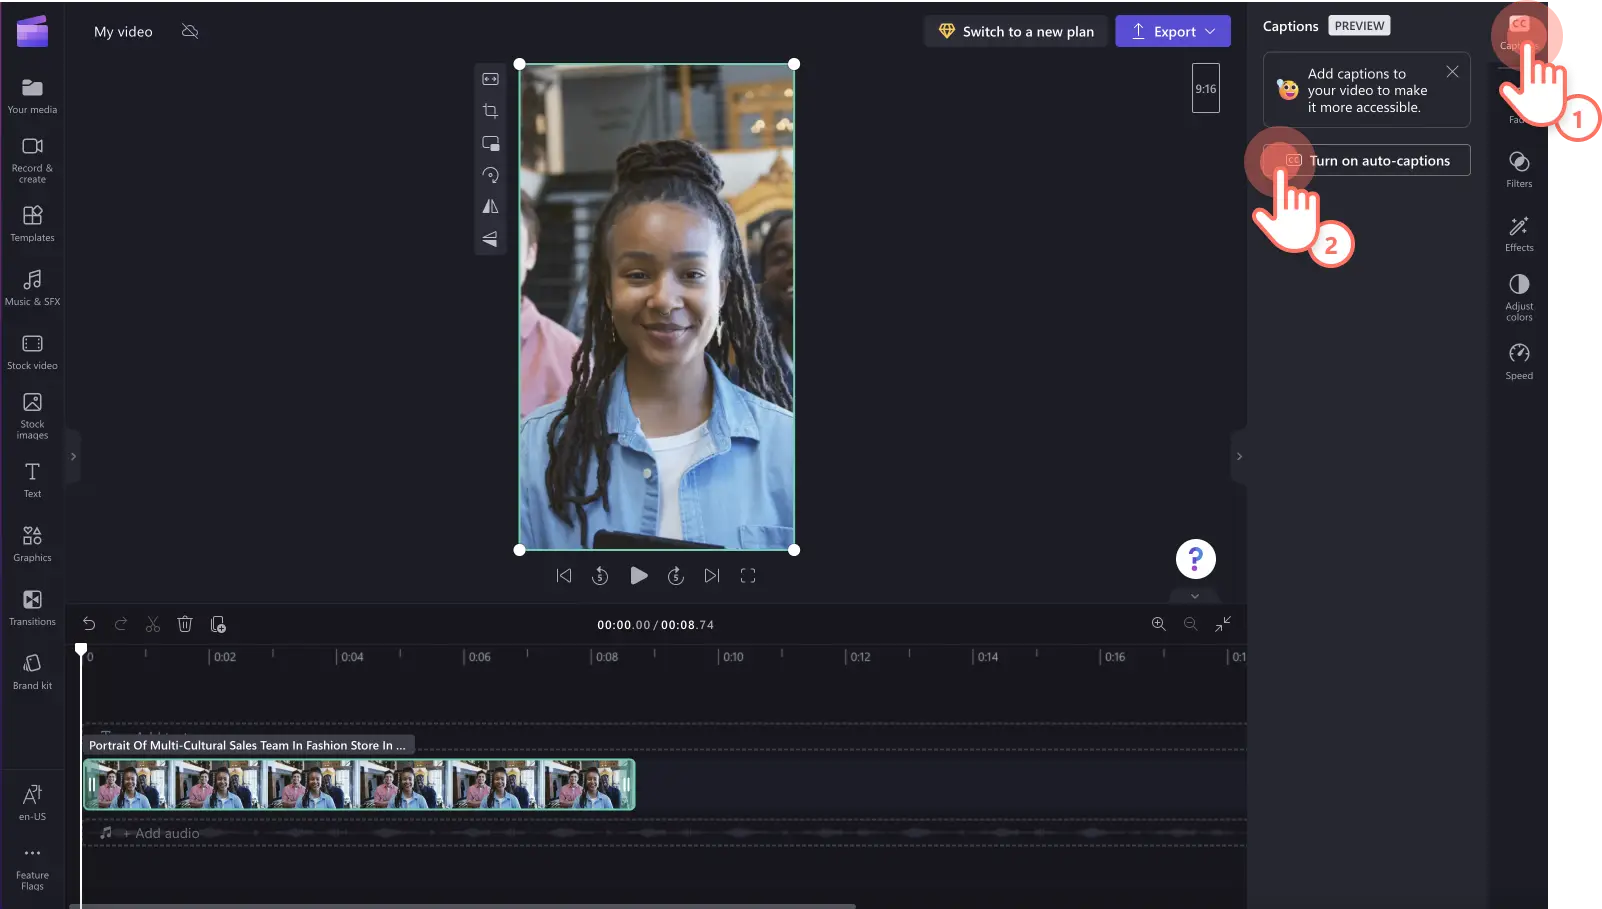
Make your Instagram video more accessible and easier to follow when on mute with the help of auto-captions. Click on the captions tab on the property panel, then click turn on auto-captions. Select a language to automatically generate video captions and a transcript.
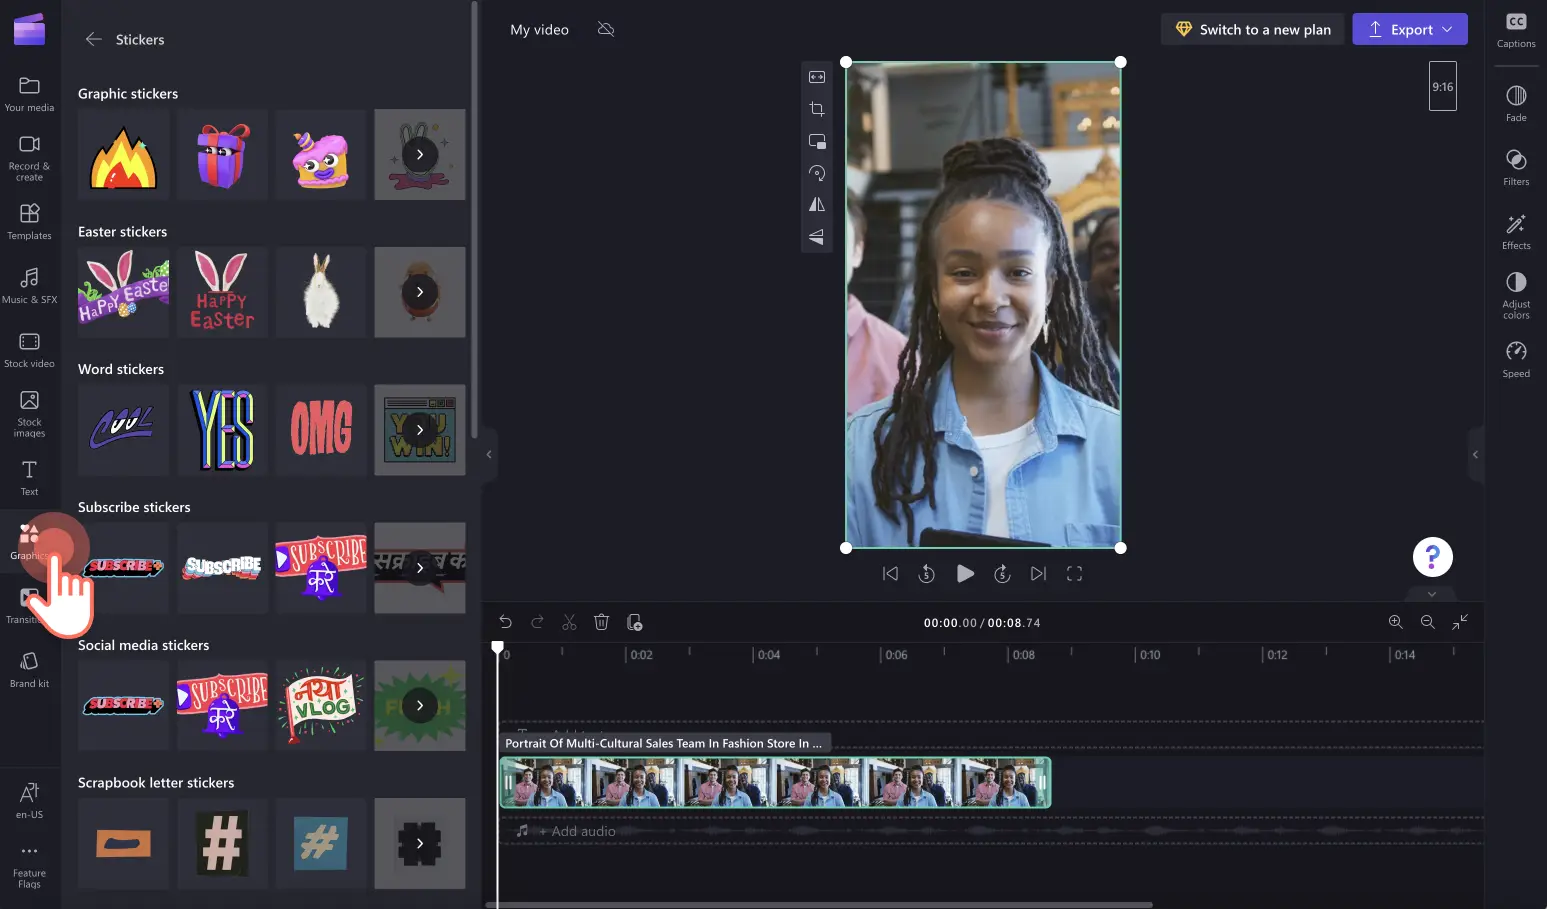
Add fun and unique sticker overlays to your video. Choose from frames, borders, emoji’s, seasonal themes, letters, reactions and more. Click on the graphics tab on the toolbar, then click on stickers. Drag and drop a sticker onto the timeline above your video clip.
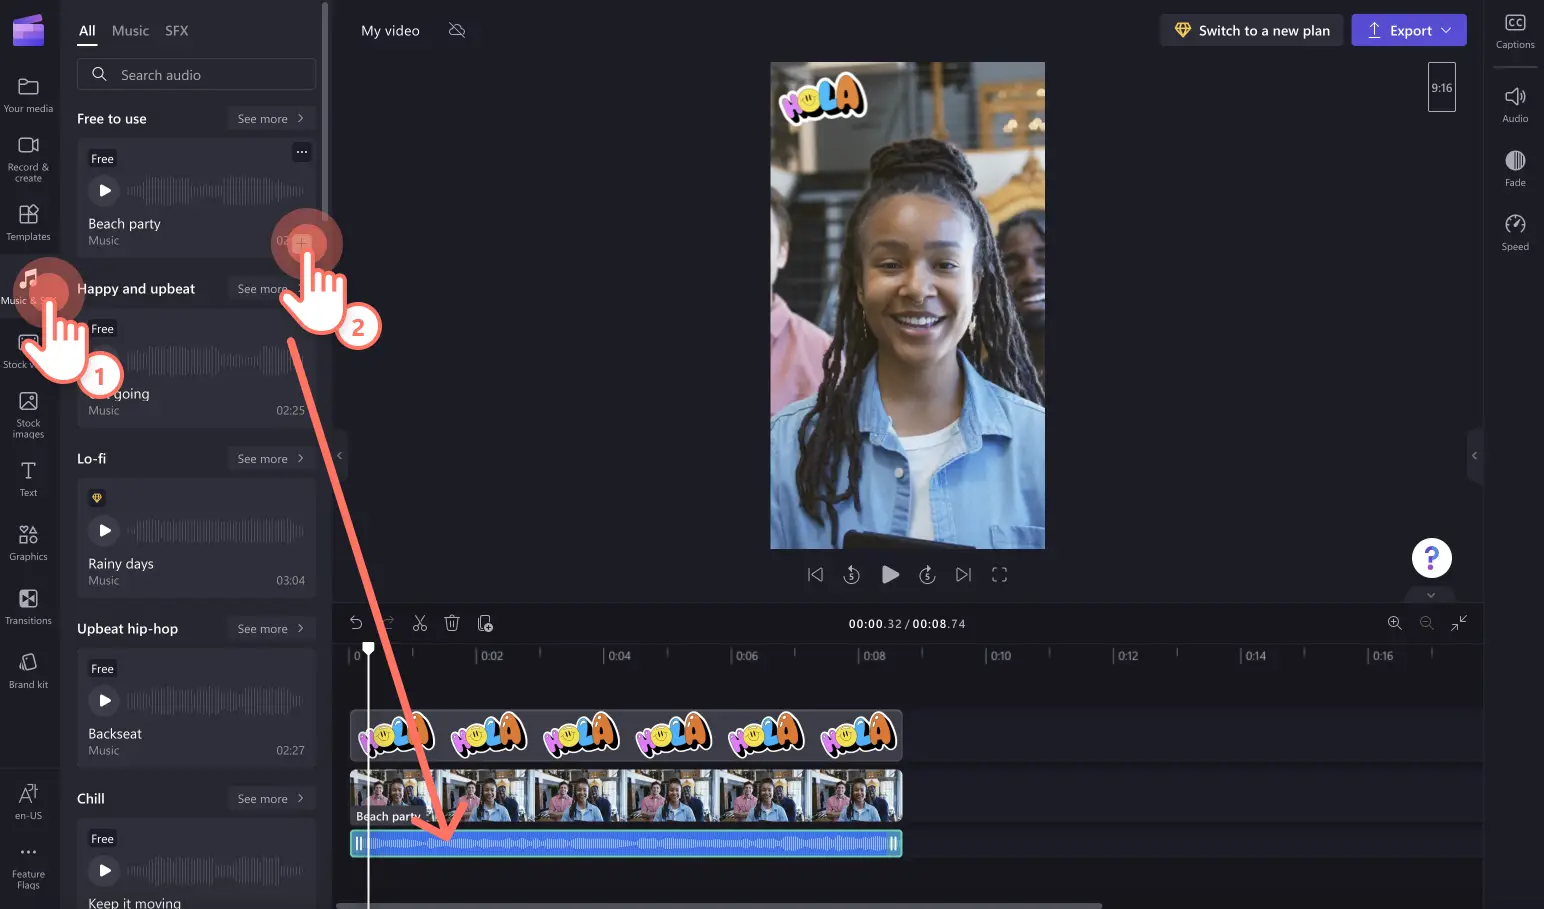
Set the mood and tone of your Instagram video using royalty-free background music. Click on the music &SFX tab on the toolbar to search through the endless stock music library. When you've chosen your audio track, drag and drop the media file onto the timeline below your video clip.
Step 6. Export your video
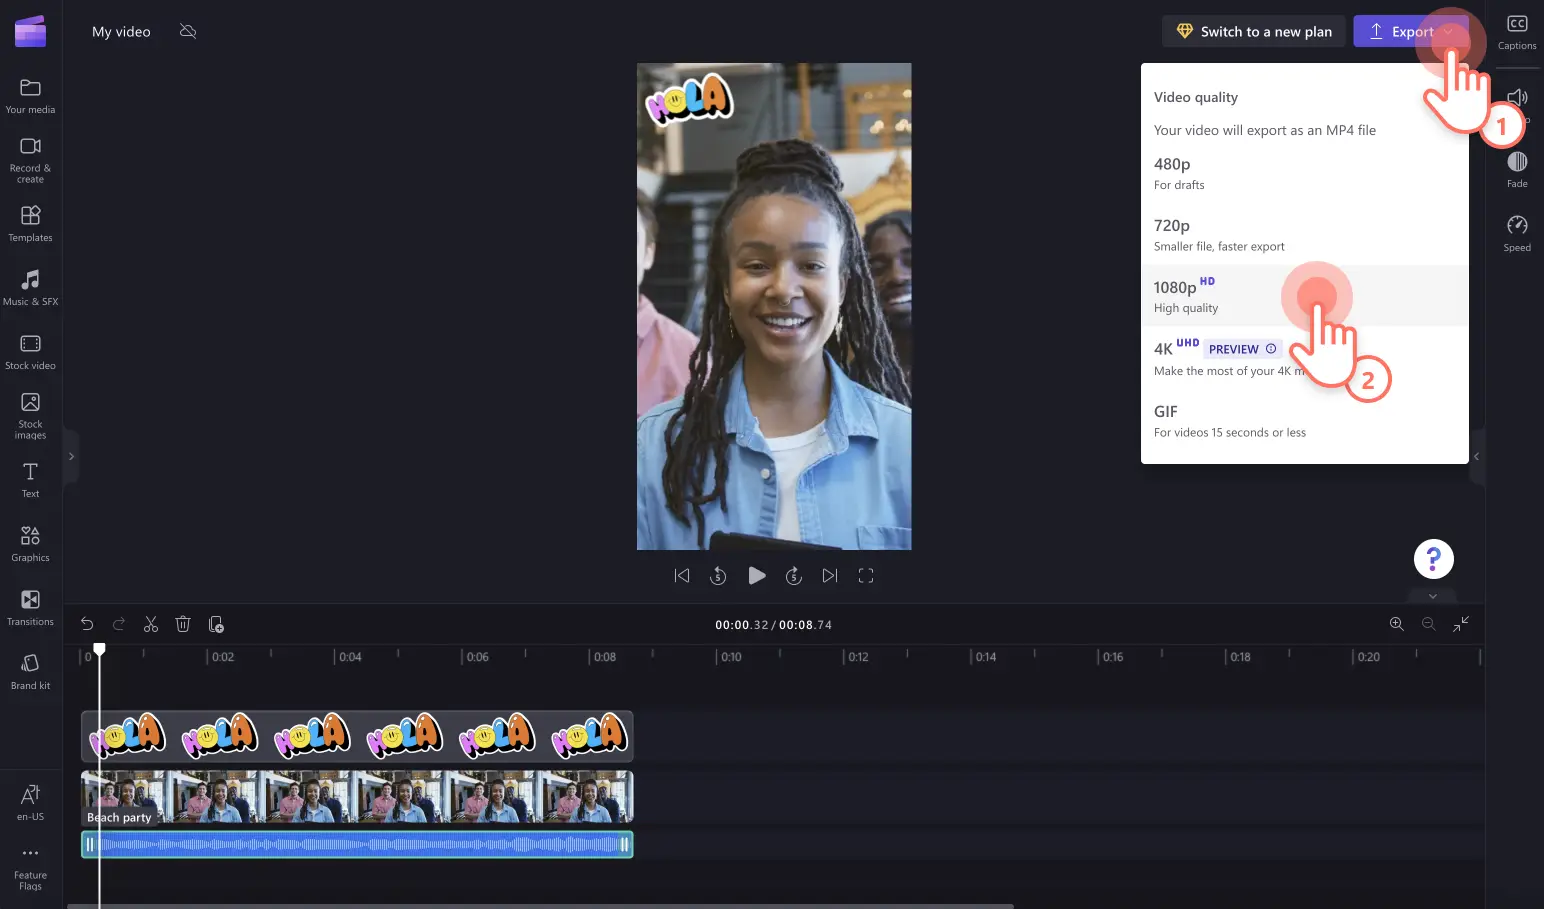
Click on the export button to save your video. Select a video resolution to continue. We recommend saving your video in 1080p for the best quality on social media.
Frequently asked questions
Why are my Instagram videos upside down?
Sometimes Instagram automatically rotates your videos and images if the app thinks they aren’t in the correct orientation. To avoid this, edit your video in Clipchamp using the rotate feature then share your video post to Instagram.
How do I rotate videos in Windows?
Rotate any video using the Clipchamp Windows app. Follow the steps above to rotate a video for free.
Can I rotate videos on my iPhone?
Yes. Simply rotate videos on your iPhone using the Clipchamp iOS app. You can also record clips, set video durations, automate captions, and personalize videos with colors, fonts, filters, and logos.
Can I rotate multiple videos at once?
Not yet. Clipchamp allows you to rotate one video at a time.
Rotate videos for Instagram and amplify your creation with Clipchamp’s online video editor. Further improve your videos with the help of our professional transitions to add between clips.
