On this page

Fades are a powerful video editing effect that can change the mood of a video. Adding fades to the beginning or end of a scene is a creative way to improve the flow of the content. They are impactful when applied to audio as well as video. Some video editors use fading in a sound or video to create suspense and use fading out to shift focus from one character's narrative to another.
Read on to learn how to fade in and out music and videos, while exploring creative ideas for applying fade transitions to social media content with Clipchamp video editor.
How to fade in and out of music in videos
Step 1. Import videos or select stock footage
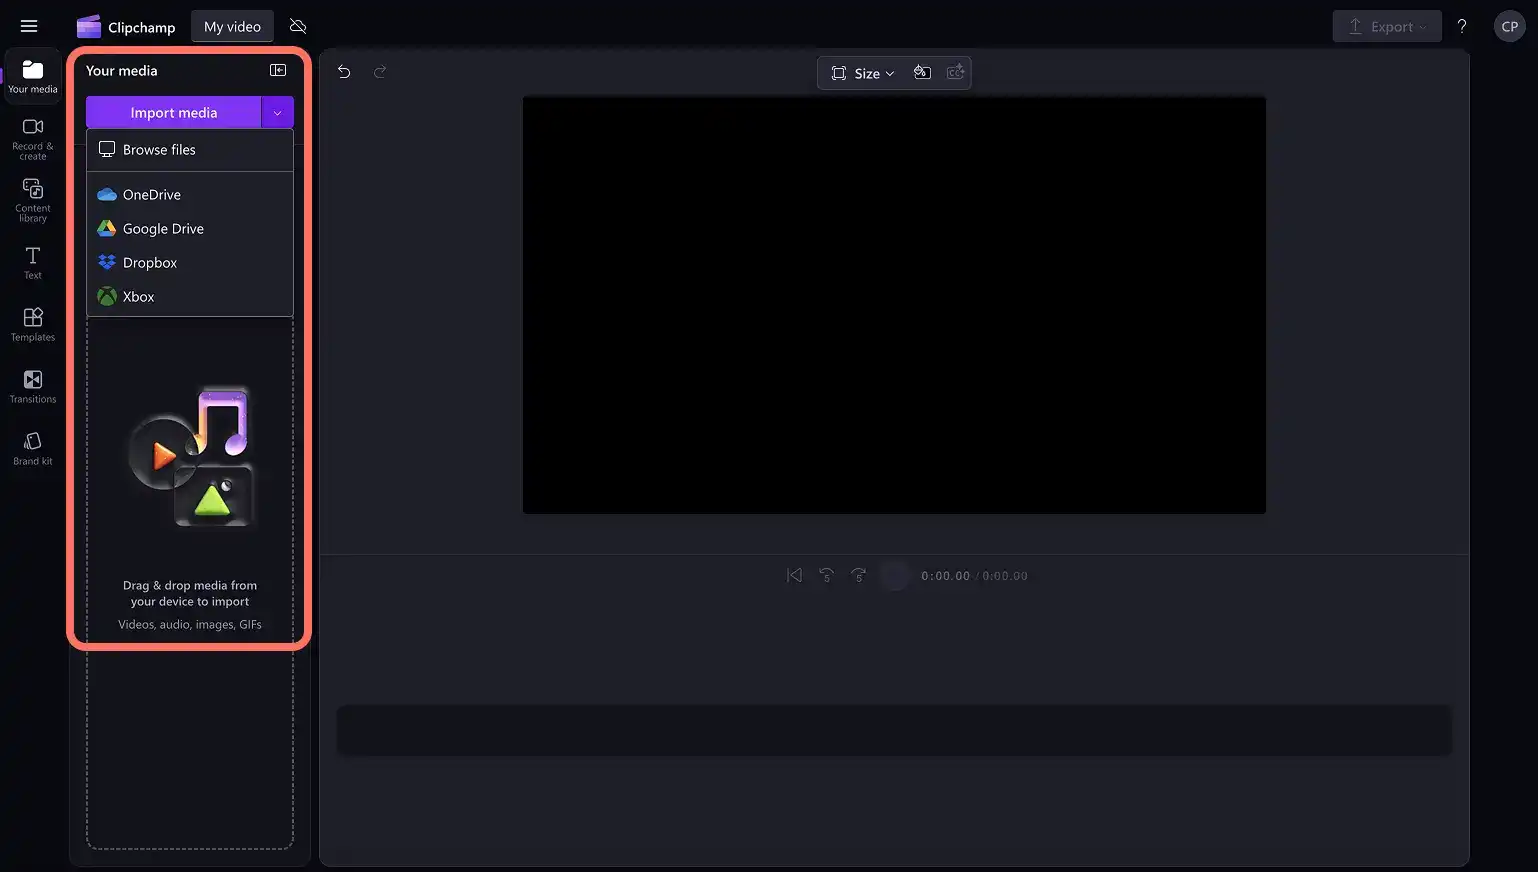
To import videos, photos, and audio, click on the import media button in the your media tab on the toolbar to browse computer files, or connect OneDrive.
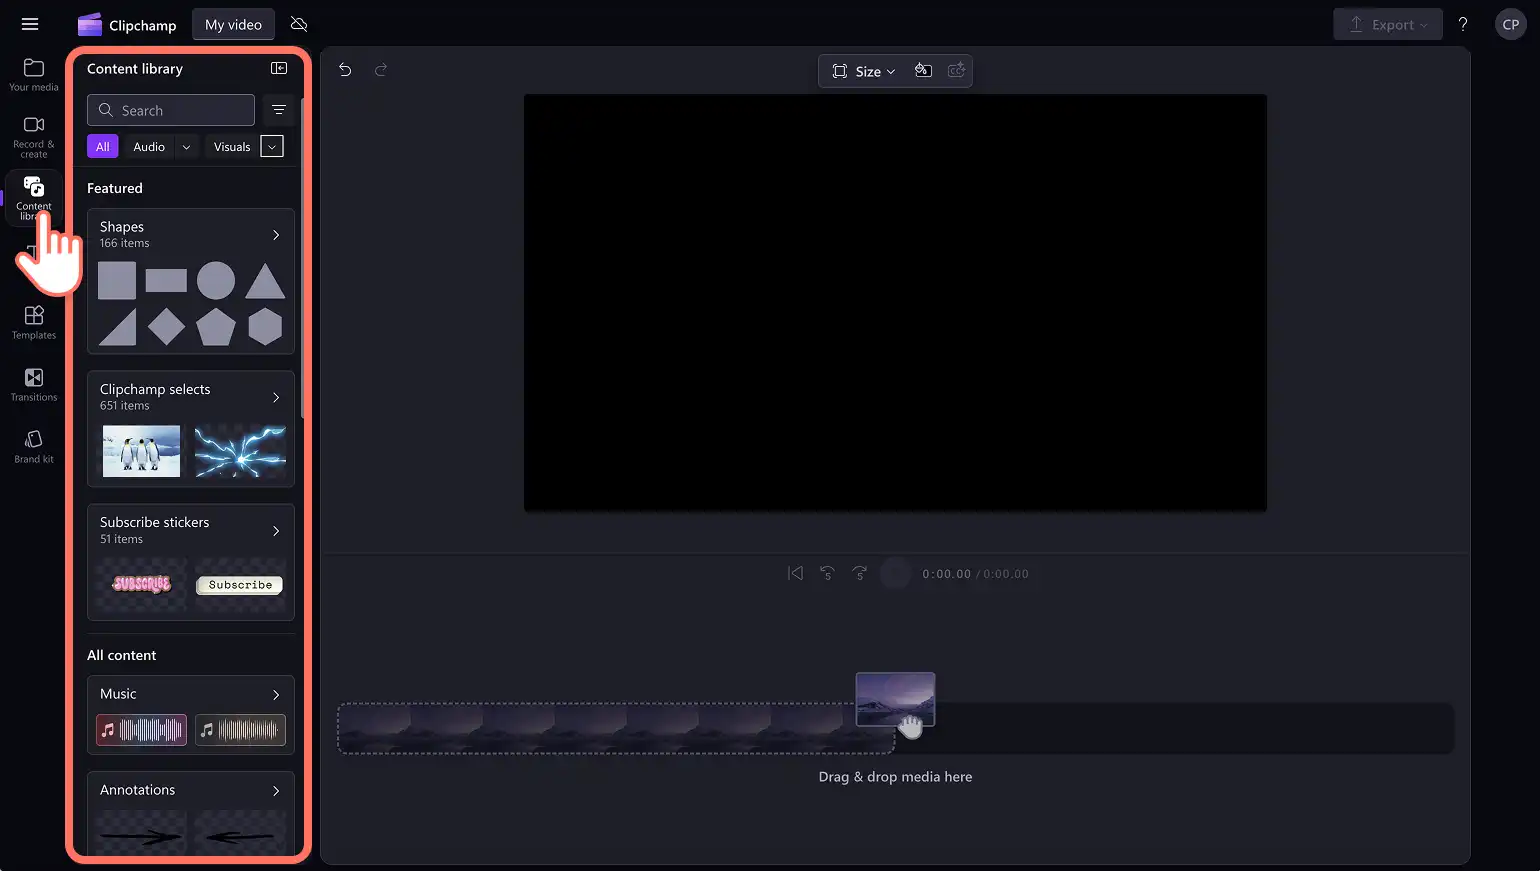
Free stock media like video clips, video backgrounds, and stock music can also be found. Click on the content library tab on the toolbar and click on the visuals drop down arrow, then select videos, photos, or backgrounds. Users searching for stock music can click on the audio drop down arrow, then click music. Next, search through the different stock categories using the search bar as well.
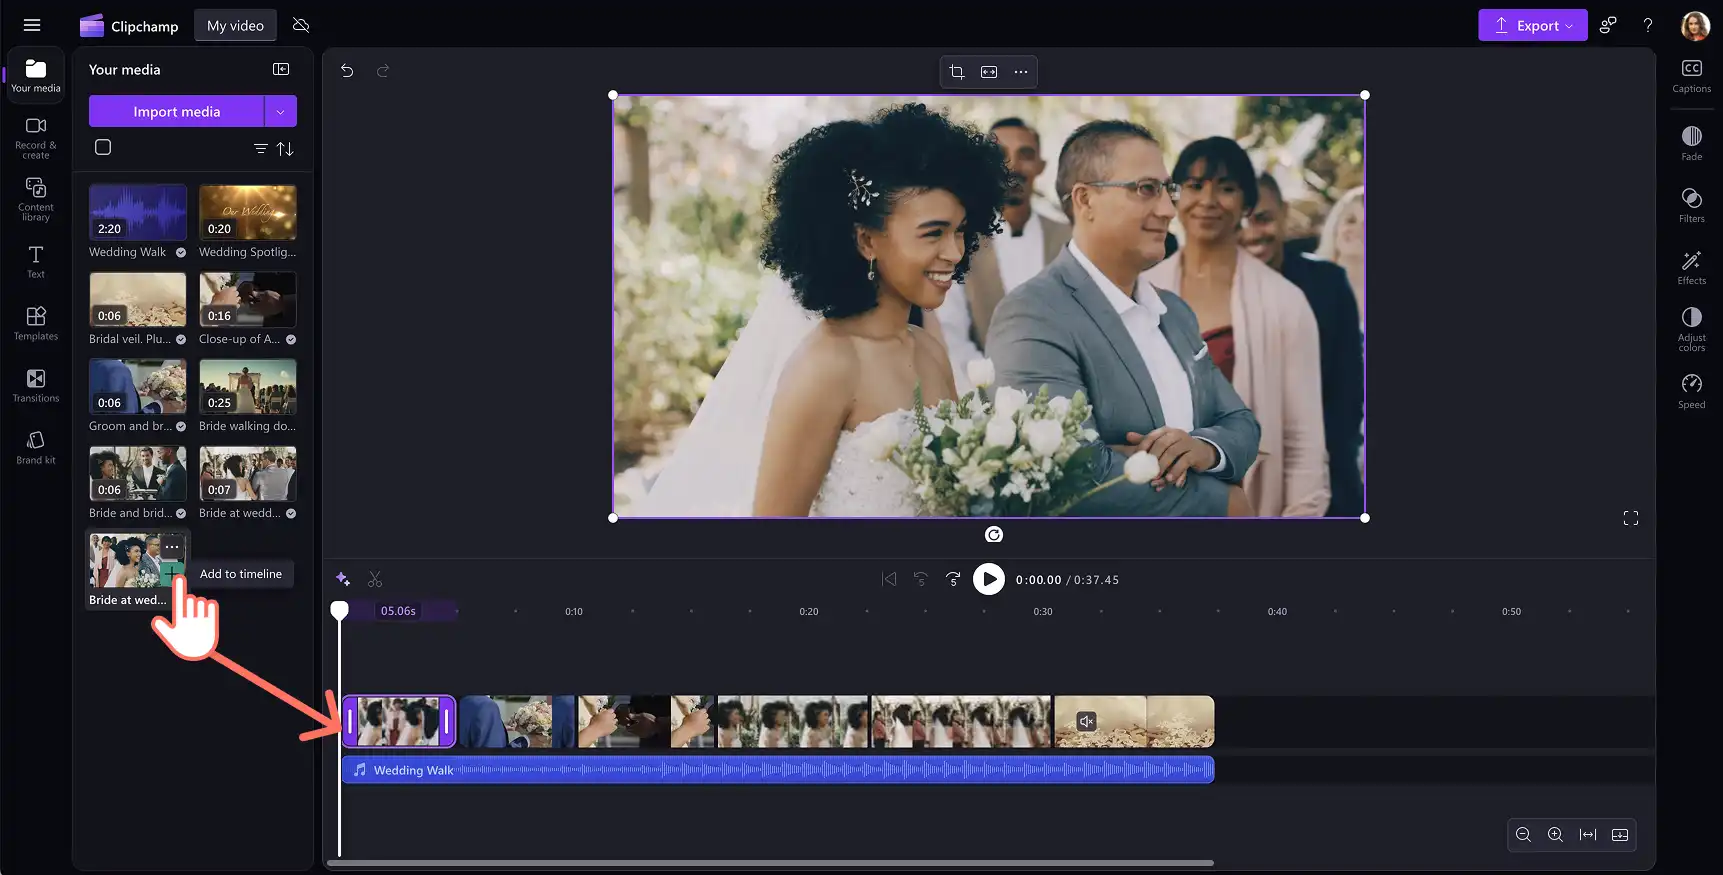
Drag and drop the audio file and video onto the timeline or click on the + button. The audio will appear under the video if there are other assets already on the timeline.
Step 2. Trim audio and add fades
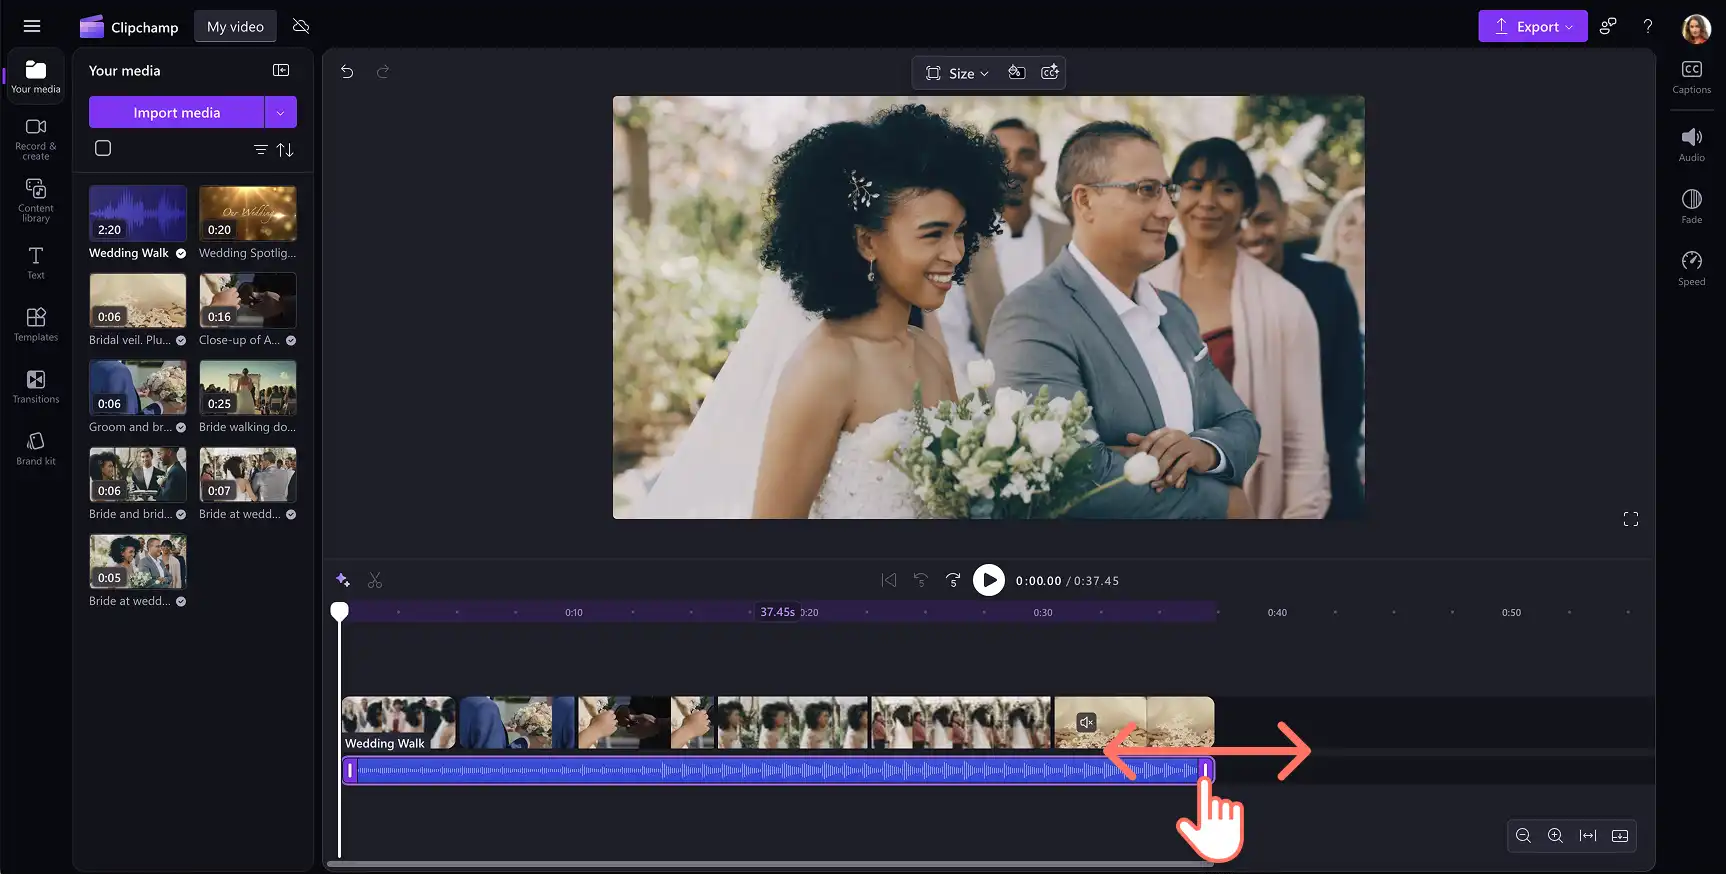
If the audio file is too long for the video, simply trim the duration. Click on the audio file on the timeline so it’s highlighted, then move the handles to the left of the timeline to trim the audio length. This will reduce the length of the music asset. If the music is too short, drag the handles to the right to make the audio file longer.
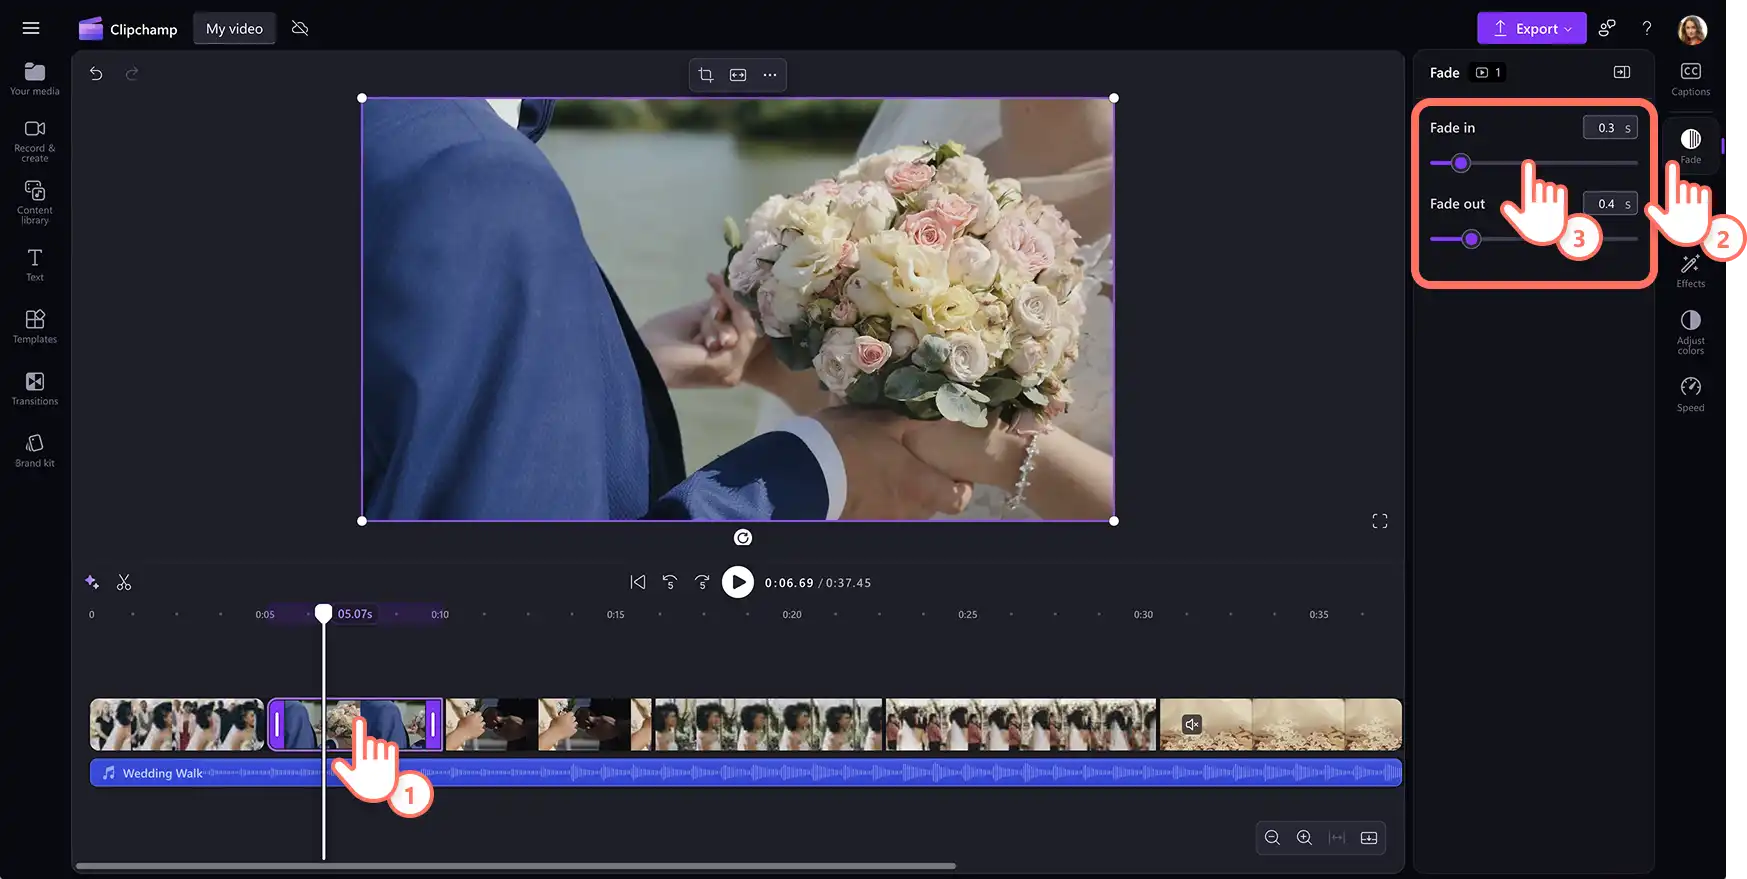
To fade in and out audio, click on the fade tab on the property panel. To add a fade in to the music, drag the fade in slider to the right. To add a fade out of the audio, drag the fade out slider to the right.

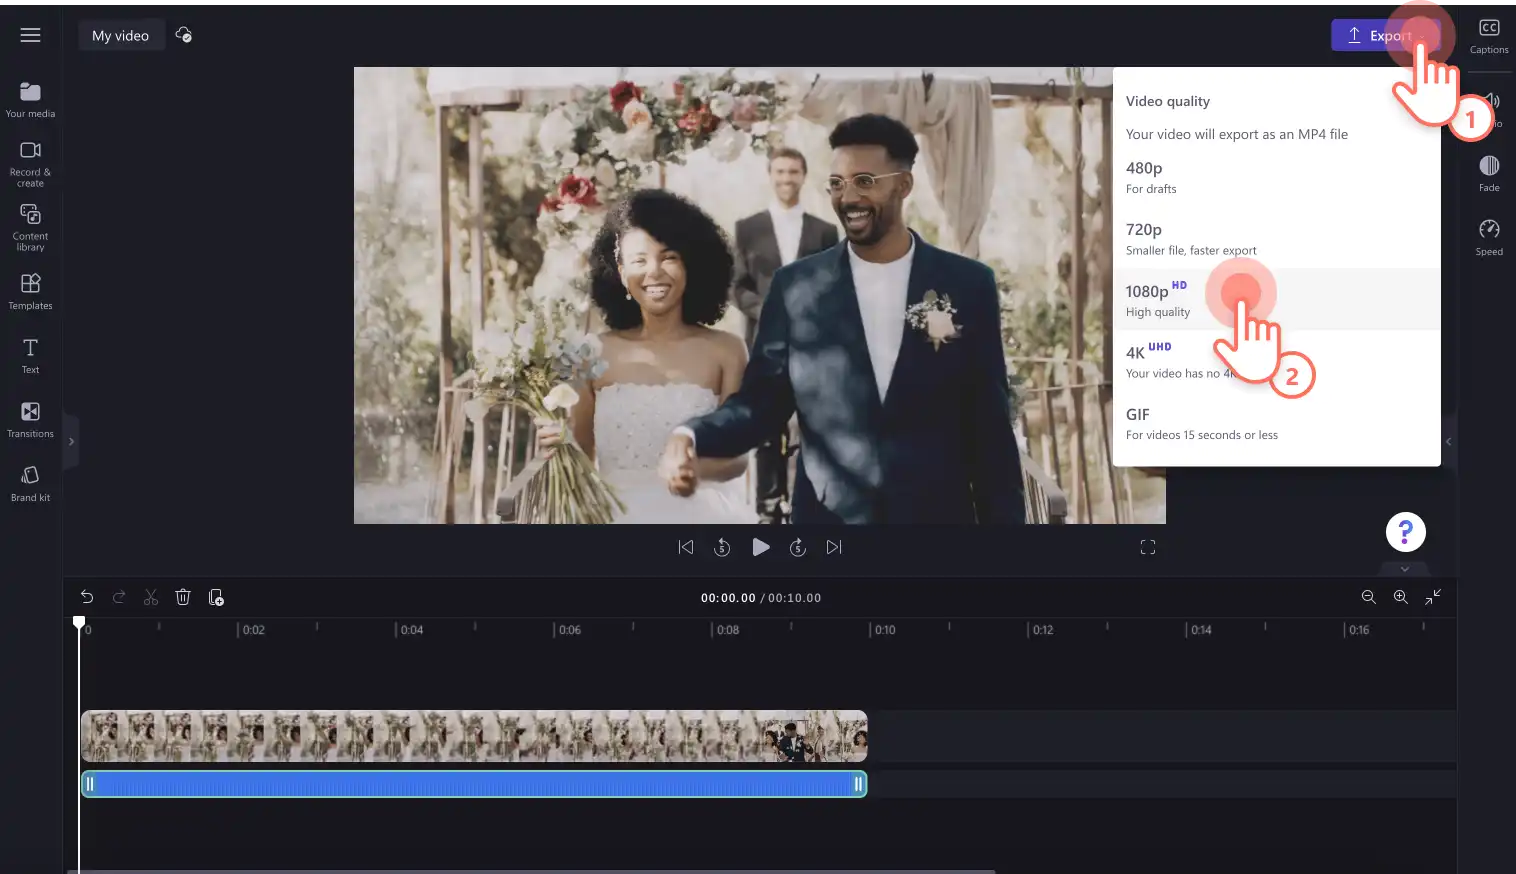
Step 3. Preview and save the video
Before saving the video, make sure to preview by clicking on the play button. When it's ready to save, click on the export button and select a video resolution.
How to fade in and out of videos
Import own videos or add stock media to the timeline.
Select the video clip and click on the fade tab on the property panel.
Drag the fade in slider and fade out slider to adjust the length of the video effect.
Note: add fade ins and fade outs to every clip on the timeline to suit the video’s needs. We recommend fading in the first clip and fading out the last clip of the video for a smooth viewing experience.
For more help, take a look at this YouTube tutorial on how to fade in and out video.
Ten ideas to apply fades and transitions to videos
Create mystery in a vlog: build intrigue and suspense in lifestyle vlogs by using fade out transitions between scenes. This technique works particularly well when revealing a surprise or teasing upcoming content. Teams using Clipchamp for work can apply this same approach to product launch teasers or internal announcement videos to build anticipation.
Build suspense in short films with opening fade-ins: set the tone for cinematic storytelling by applying a fade-in effect to the opening clip of short films and narrative content. This gradual reveal draws viewers into the story world and creates a professional, theatrical quality. Marketing teams can use opening fade-ins to establish mood in brand storytelling videos or customer testimonial compilations.
Transition between gaming highlights with black fades: showcase multiple gaming clips like epic fails, or clutch moments by transitioning into a dramatic black fade. This creates clear separation between highlights and maintains viewer engagement throughout compilation videos. Content creators can also use this technique for tutorial sections or before-and-after gameplay comparisons.
Differentiate presentation topics with fade transitions: help audiences follow along in training videos, webinars, and tutorials by using fade-in and out transitions to mark topic changes. This visual cue signals a shift in subject matter and gives viewers a moment to process the information before proceeding. Corporate teams can apply this approach to employee onboarding videos, sales presentations, and educational content.
Establish narrative focus with fade-out effects: guide storytelling in interviews and mission videos by using fade-out transitions to shift focus from one speaker or topic to another. This technique creates natural breaks in longer content and helps maintain viewer attention through complex narratives. Documentary-style content particularly benefits from strategic fade transitions between interview subjects.
Signal the end of scenes with fading out: communicate the conclusion of a day, event, or narrative sequence by fading out the final clip of each section. This provides visual closure and prepares viewers for the next segment or the end of the video. Businesses can use this technique in day-in-the-life content, event recaps, or multi-chapter explainer videos.
Emphasize emotional moments with strategic fade-ins: draw attention to powerful moments in interviews, testimonials, and documentary content by fading in just before a subject delivers key dialogue. This subtle emphasis creates space for emotional impact without interrupting the natural flow of conversation. Marketing teams can use this technique to highlight customer success stories or employee testimonials.
Create dream sequences with soft fades to white: transport viewers into flashbacks, memories, or fantasy sequences in cinematic, creative content by using soft fades to white rather than traditional black fades. This ethereal transition signals a shift in time, reality, or perspective. Content creators can apply this technique in storytelling videos, music videos, or creative brand content.
Introduce products with opening fade-ins: capture attention at the start of marketing and promo videos by fading in a product image or company logo. This professional opening creates anticipation and establishes brand presence from the first frame. Users of Clipchamp for work can combine fade-ins with the brand kit tool to ensure consistent branded openings across all company video content.
Slow the pace in travel content with scenic fades: create a contemplative, relaxing atmosphere in travel videos by adding gentle fades between landscape shots and scenic moments. This pacing allows viewers to appreciate each location before moving to the next, creating an immersive viewing experience. Travel vloggers and tourism marketers can use this technique to showcase destinations with professional polish.
Now that you can add fades to music and videos, try adding fade transitions between video clips next. For more control over sound quality, explore audio editing tools like the Clipchamp audio enhancer to improve clarity.
Create videos today with Clipchamp video editor or download the Clipchamp Windows app for easy desktop editing.
Heads up! The screenshots in this article are from Clipchamp for personal accounts. The same principles apply to Clipchamp for work and school accounts.