On this page
Gaming reaction videos are one of the most watched videos on YouTube. Anyone can start making reaction videos to showcase their wins, epic fails or react to trending gaming clips to entertain viewers online.
Learn how to create polished gaming YouTube videos using our video editing tips and snappy gaming video templates with Clipchamp.
Elements of a gaming reaction video
Gaming creators have a unique fast paced video editing style. No matter what the game is, these videos usually have bold text and sound effects to emphasize the high and low points in the game.
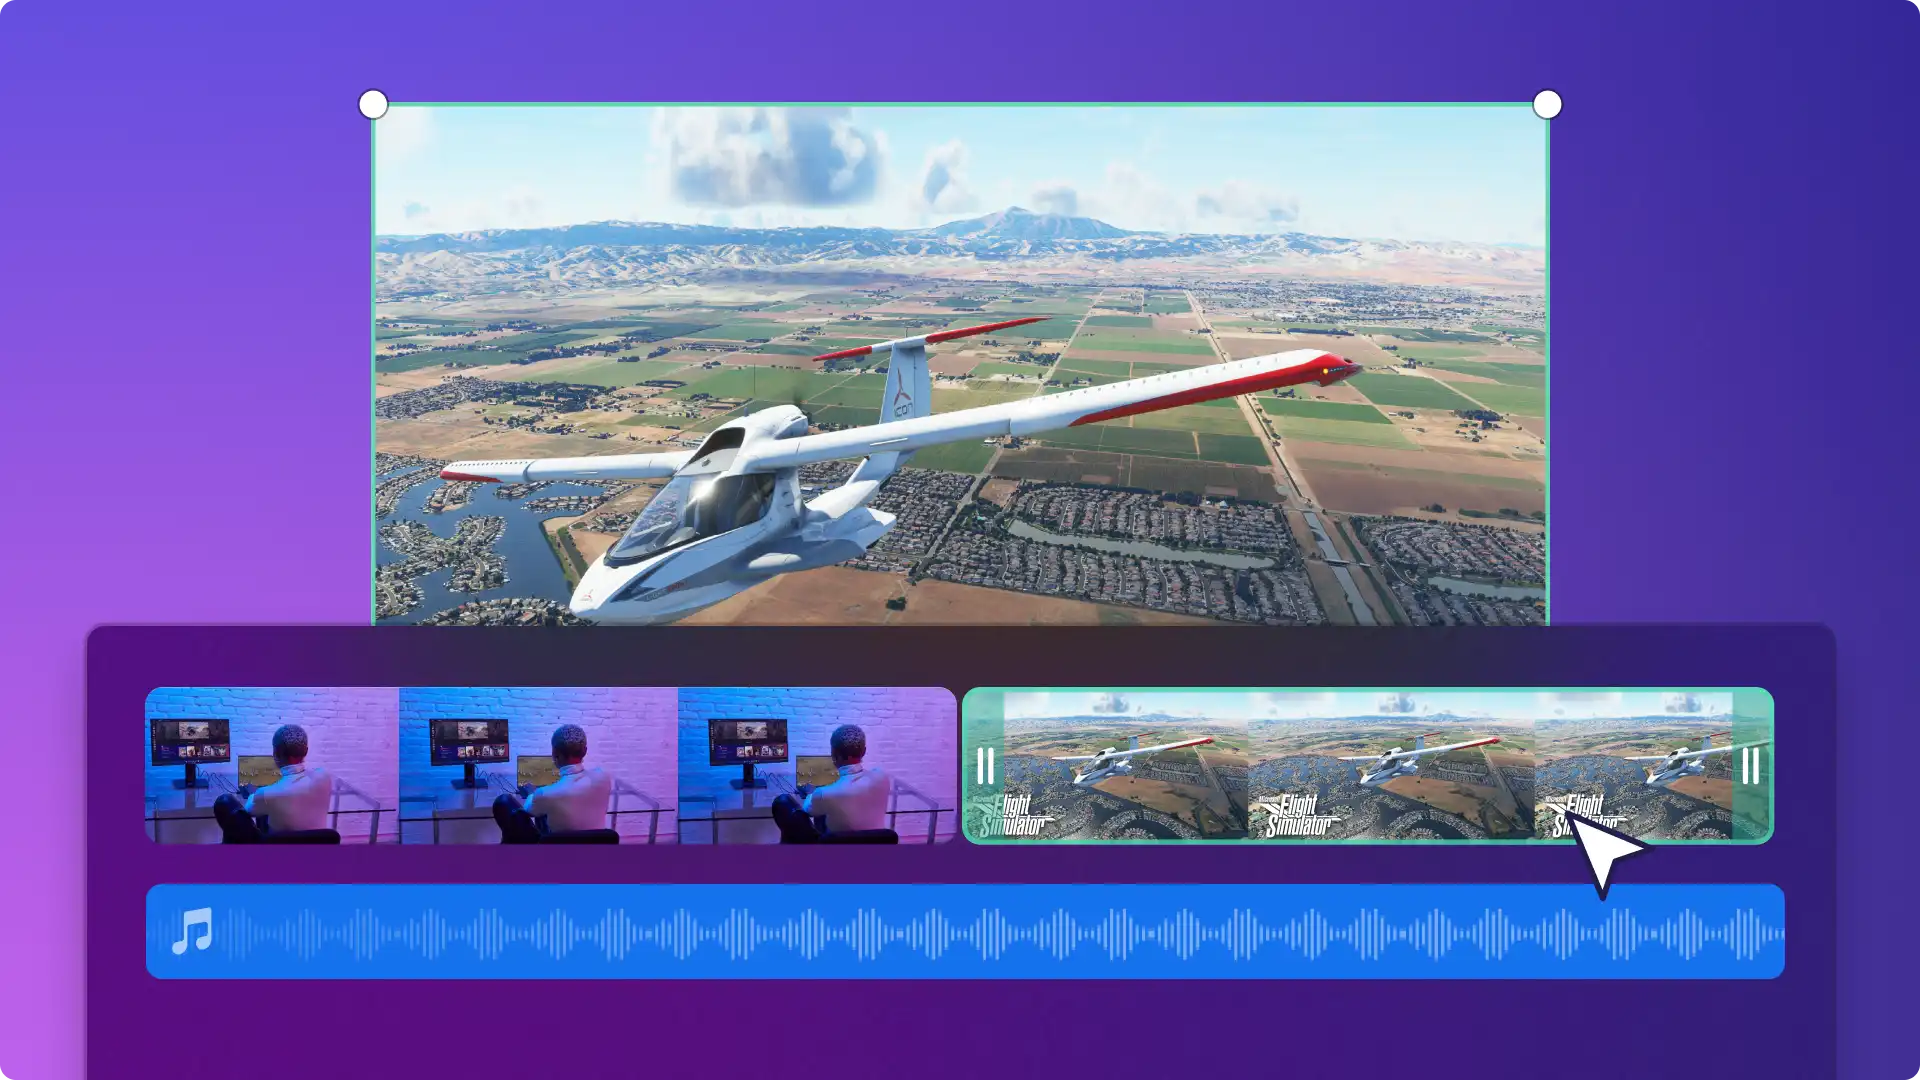
To create a simple gaming reaction video, start with high-quality screen recording of your game, add a facecam overlay, and include sound effects for humor.
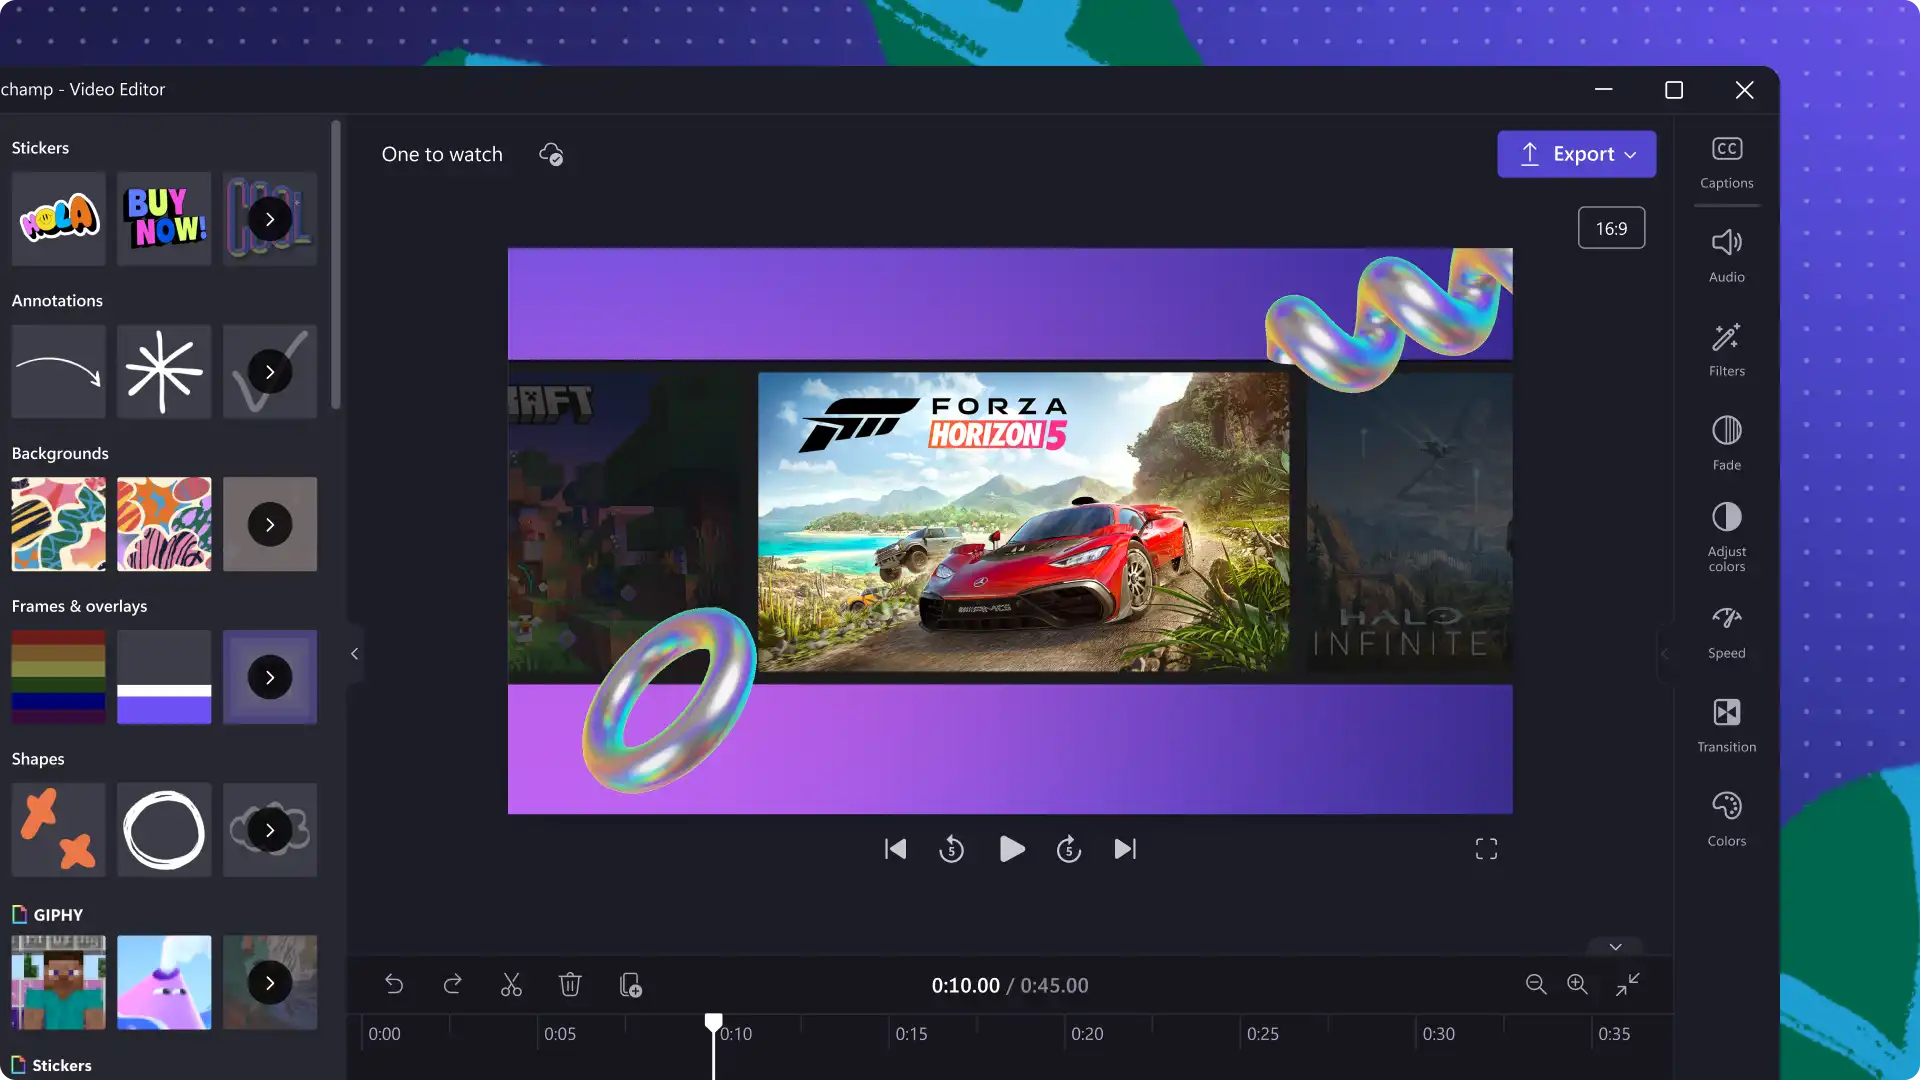
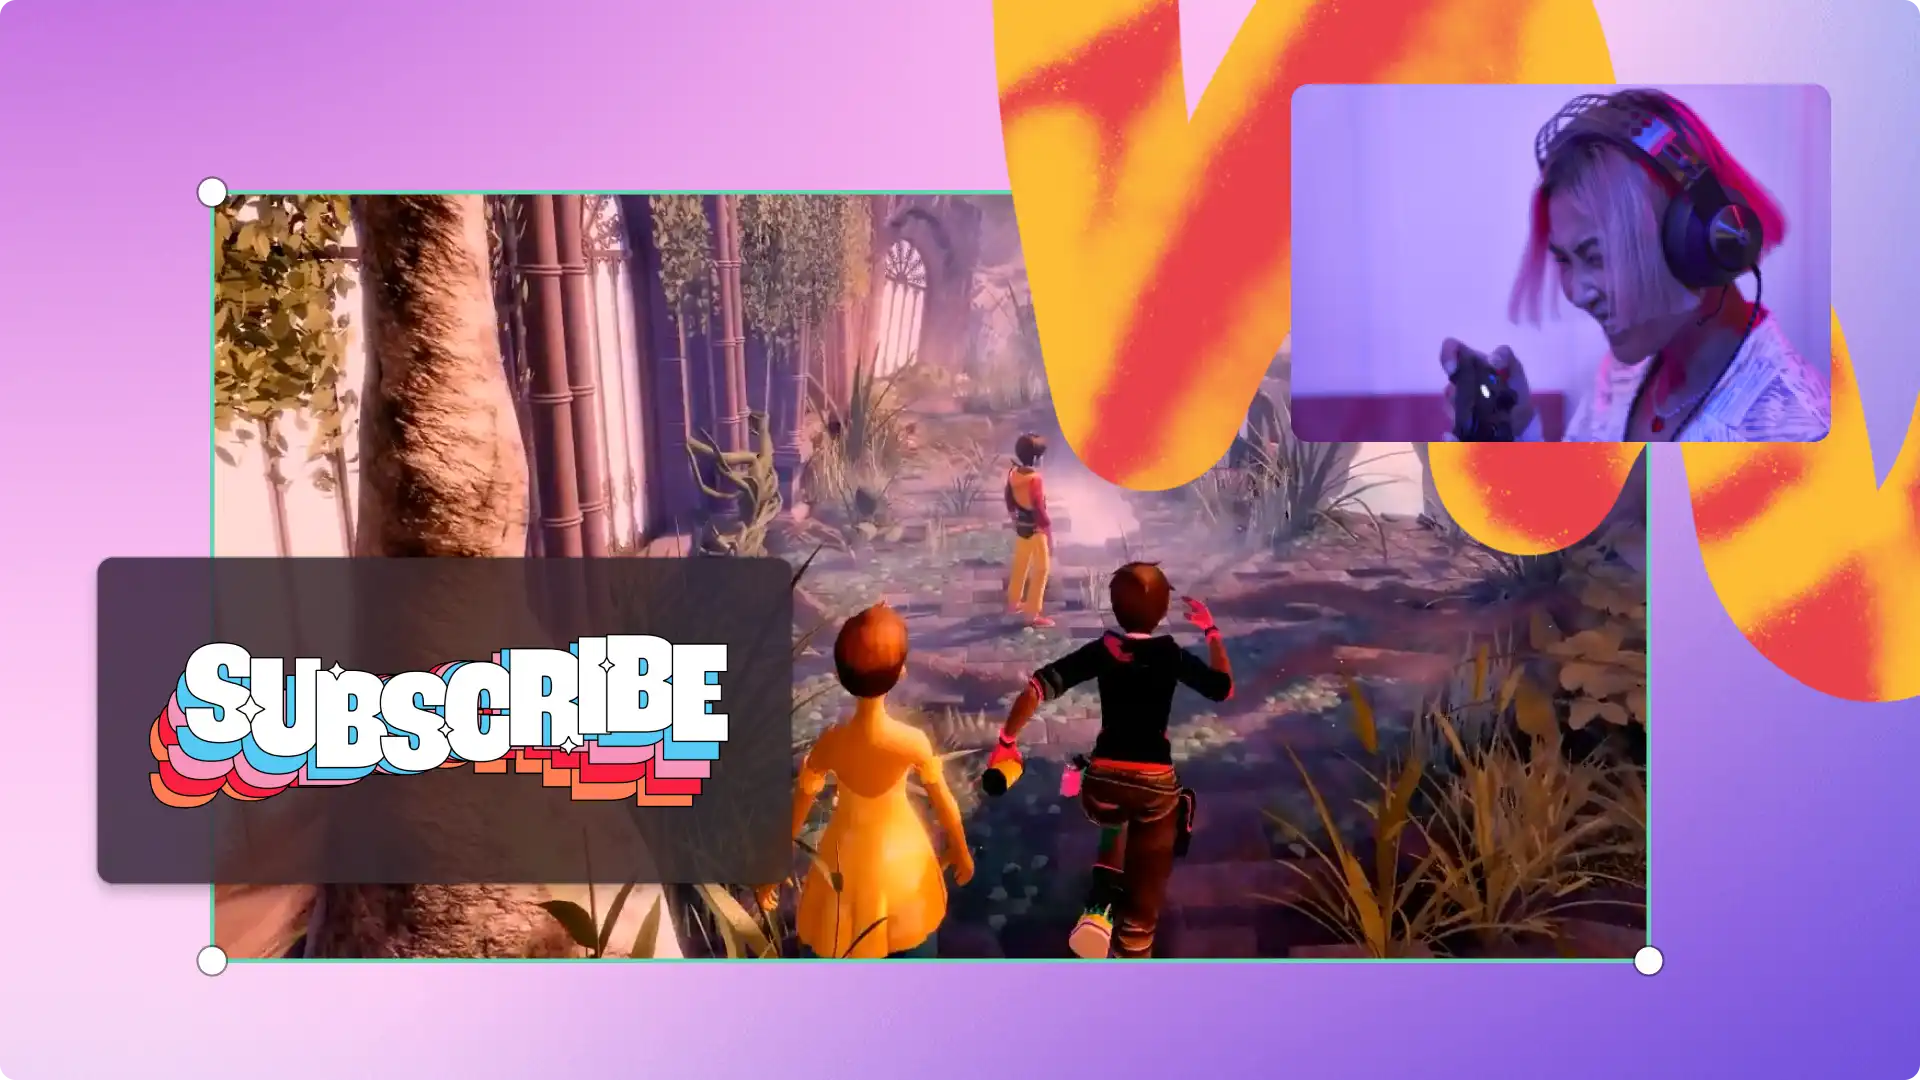
To create a pro-looking gaming reaction video, also include animated text, swipe transitions, social media graphics with your channel name, and subscribe buttons.
It's also good to credit the original poster when using their footage to avoid copyright claims. Remember to be authentic and check your tone and humor so it respectful to other creators.
Specs and tips for gaming reaction videos
There are two popular reaction video sizes: widescreen for YouTube, Discord and gaming community pages and vertical video for TikTok, Shorts and other mobile-first viewing.
To help pick a game or find popular gaming genres, check out this gaming video guide.
Gaming reaction videos for YouTube and Discord
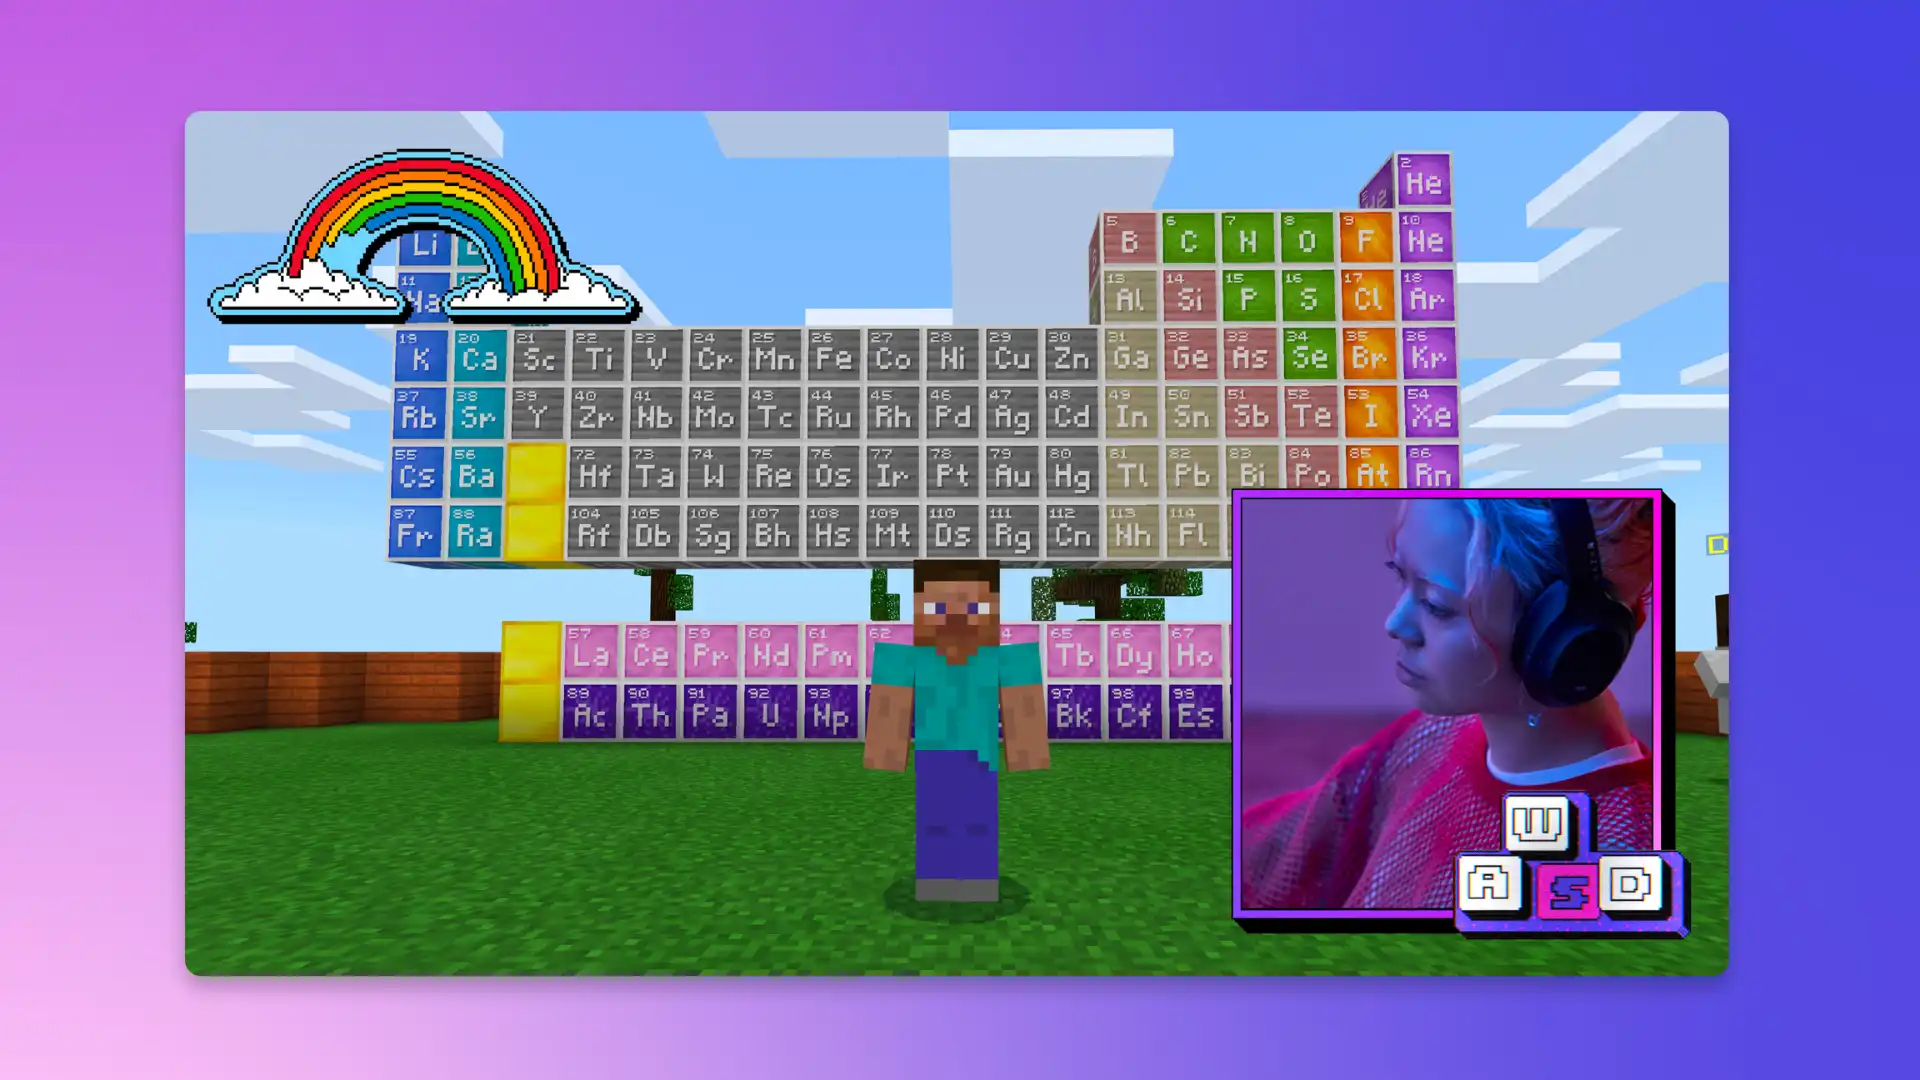
The most common style of gaming reaction videos is long-from videos in landscape aspect ratio. This style of gaming reaction video includes the following specifications and features:
Video aspect ratio: 16:9 aspect ratio.
Video resolution: 1080p or 4K video quality.
Video length: Between 1 minute and 15 minutes, or over 15 minutes for verified YouTube accounts.
Visuals: Creator logo, picture in picture overlay, lower thirds and stickers.
Audio: Background music, voiceover or webcam recording audio and sound effects.
Sharing platforms: YouTube, Discord and Vimeo.
Subtitles: Widescreen gaming reaction videos can include captions.
Call to actions: gaming username, channel name, and end cards.
Gaming reaction video for social media
Gaming reaction videos can also be shared as short-form content in vertical aspect ratio. These gaming reaction videos include the following specifications and features:
Video aspect ratio: 9:16 aspect ratio.
Video resolution: 720p or 1080p video quality.
Video length: Up to 60 seconds on YouTube Shorts, 90 seconds for Reels and 60 minutes for Instagram in-feed videos.
Visuals: Creator branding, facecam overlay, funny word stickers.
Audio: Background music, voiceover and transition sound effects.
Sharing platforms: YouTube Shorts, Instagram, and TikTok.
Subtitles: Vertical gaming videos can include captions but usually these aren't displayed on the video by default.
Call to actions: Gaming username, channel name, and social media handles.
What to avoid in gaming reaction videos
Now that you know all about gaming reaction videos, let’s look at what to avoid when creating them.
Don’t add copyrighted video footage to your gaming reaction video. Always get permission from fellow creators and original posters.
Don’t use copyrighted background music. YouTube can mute, demonetize, or remove your video if it includes copyrighted audio.
Don’t use profanity or inappropriate language. Your gaming reaction video can be removed or muted if it breaches platform regulations.
Don’t bully or be negative towards other creators and gamers. Stay respectful.
How to make a gaming reaction video
Either start with a gaming video template or create a video from scratch. You can upload your gaming MP4 videos or use the screen recorder to record gaming videos online.
For this tutorial, we will create a video using a gaming video template.
Step 1. Select a gaming reaction video template
Click on the templates tab on the toolbar, then click on the gaming category.
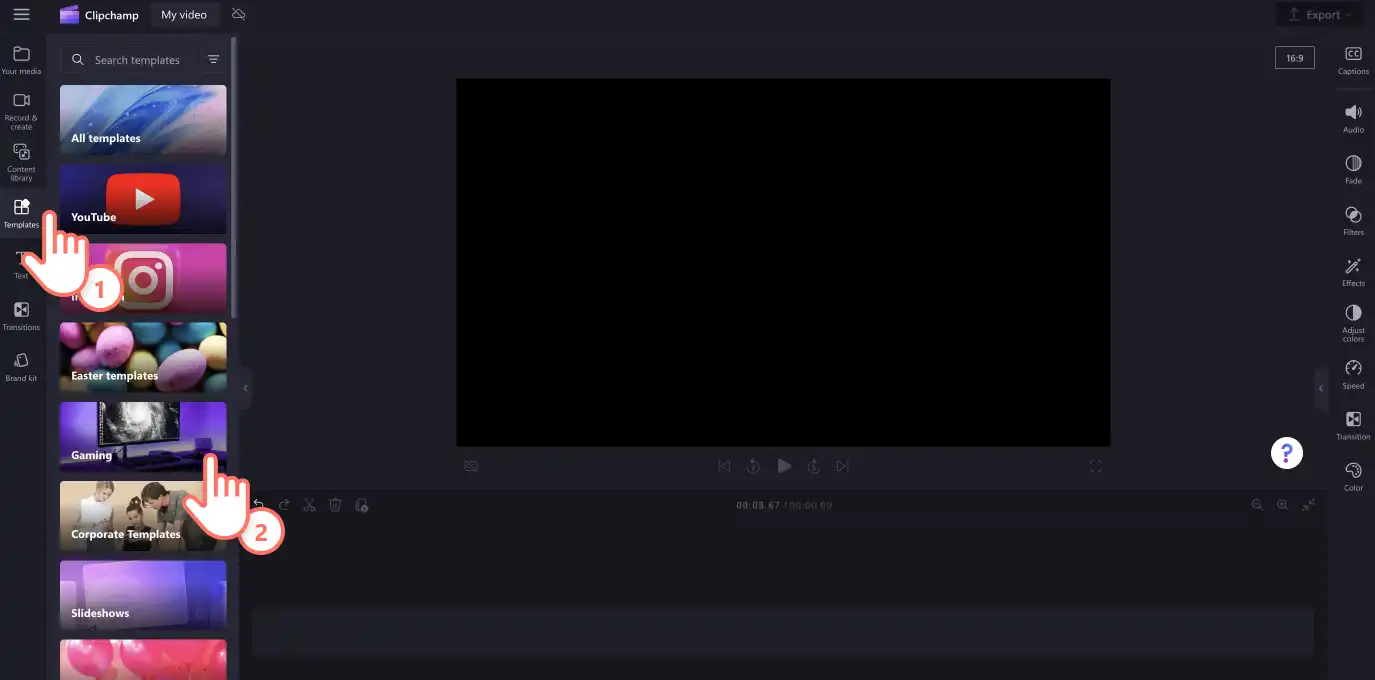
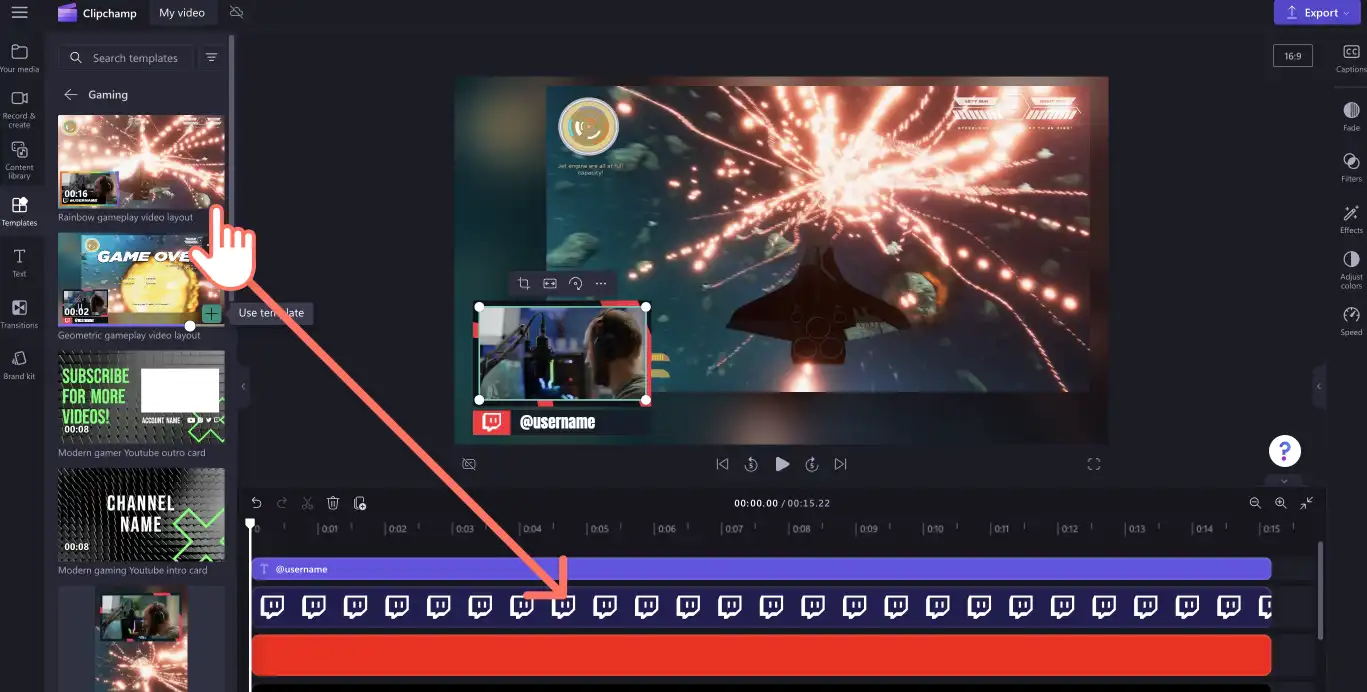
When you have found your desired gaming reaction video template, click on the + button to add the template to your timeline.
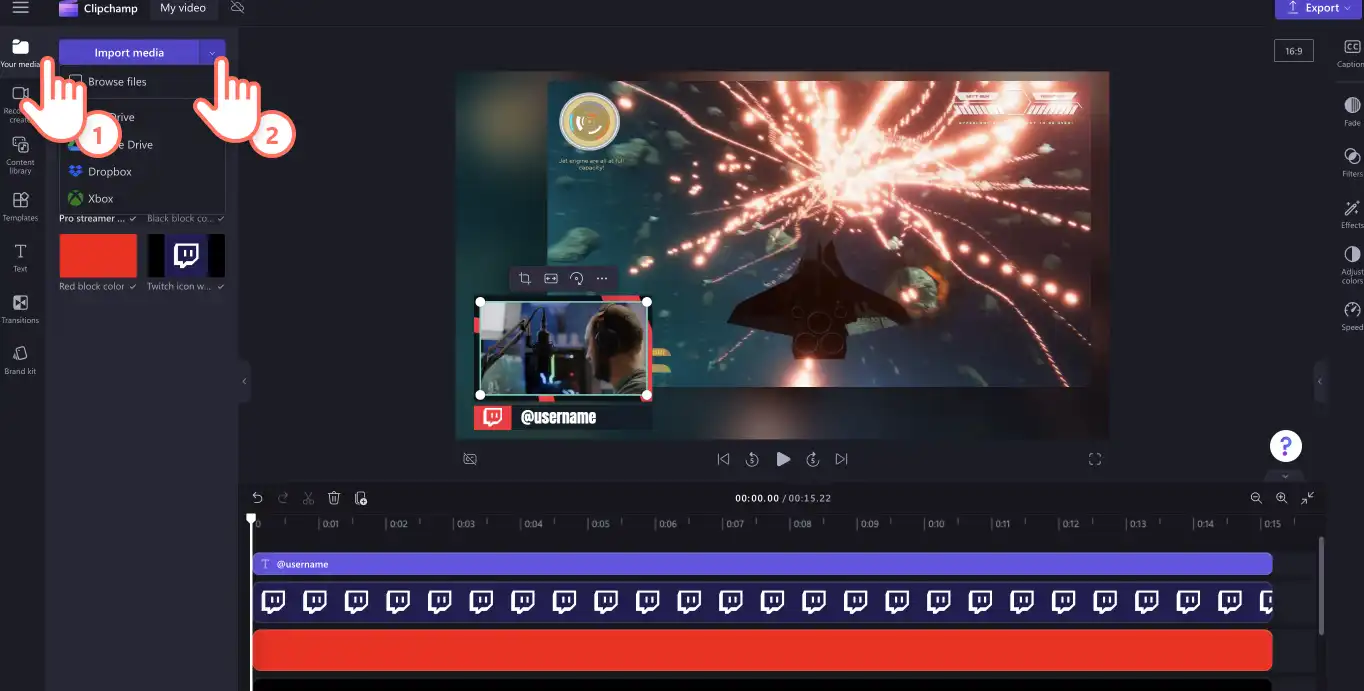
Step 2. Upload and add your personal media
Click on the your media tab, then click on the import media button. Upload your video files to the editor and your files will appear in the tab.
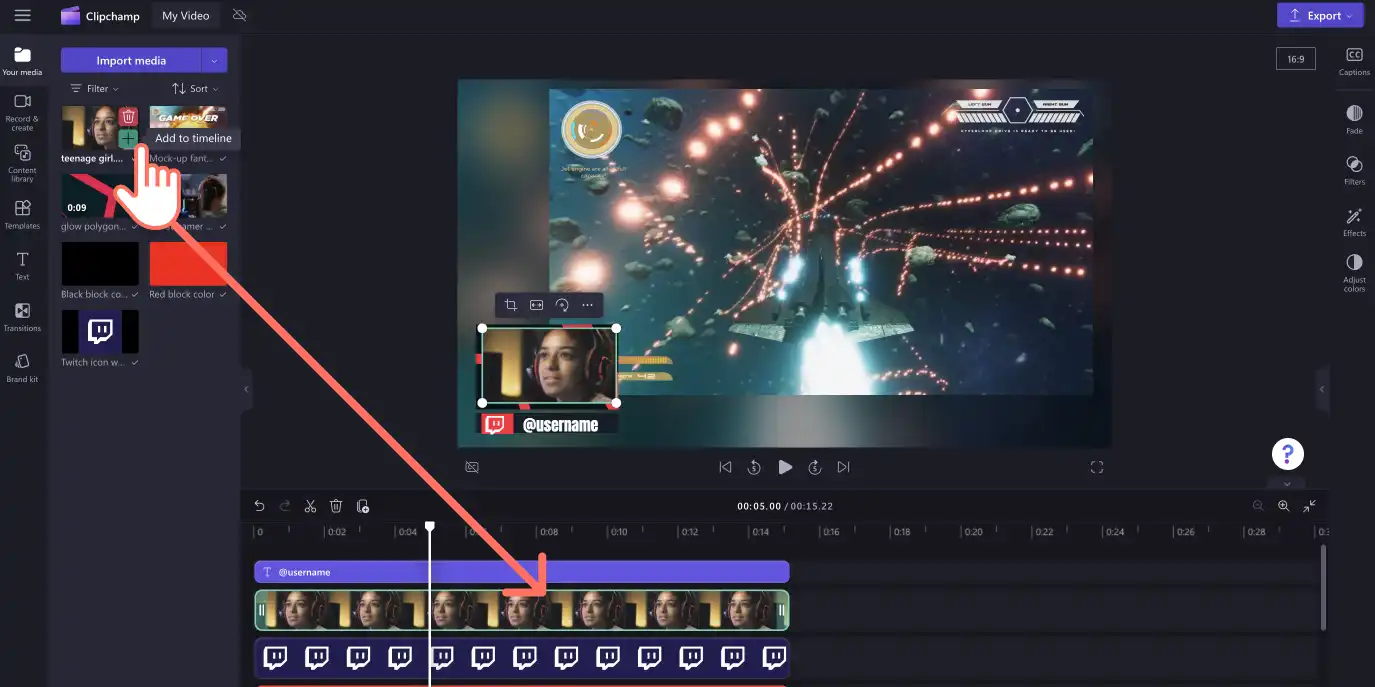
Drag and drop your media onto the timeline to replace the stock footage. The video will automatically snap into place when hovering over it.
Step 3. Record your facecam reaction (optional)
If you don’t have a prerecorded video of your reaction to the gameplay videos, use the webcam recorder or screen and camera recorder to record your video. You can record your gameplay video and reaction at the same time.
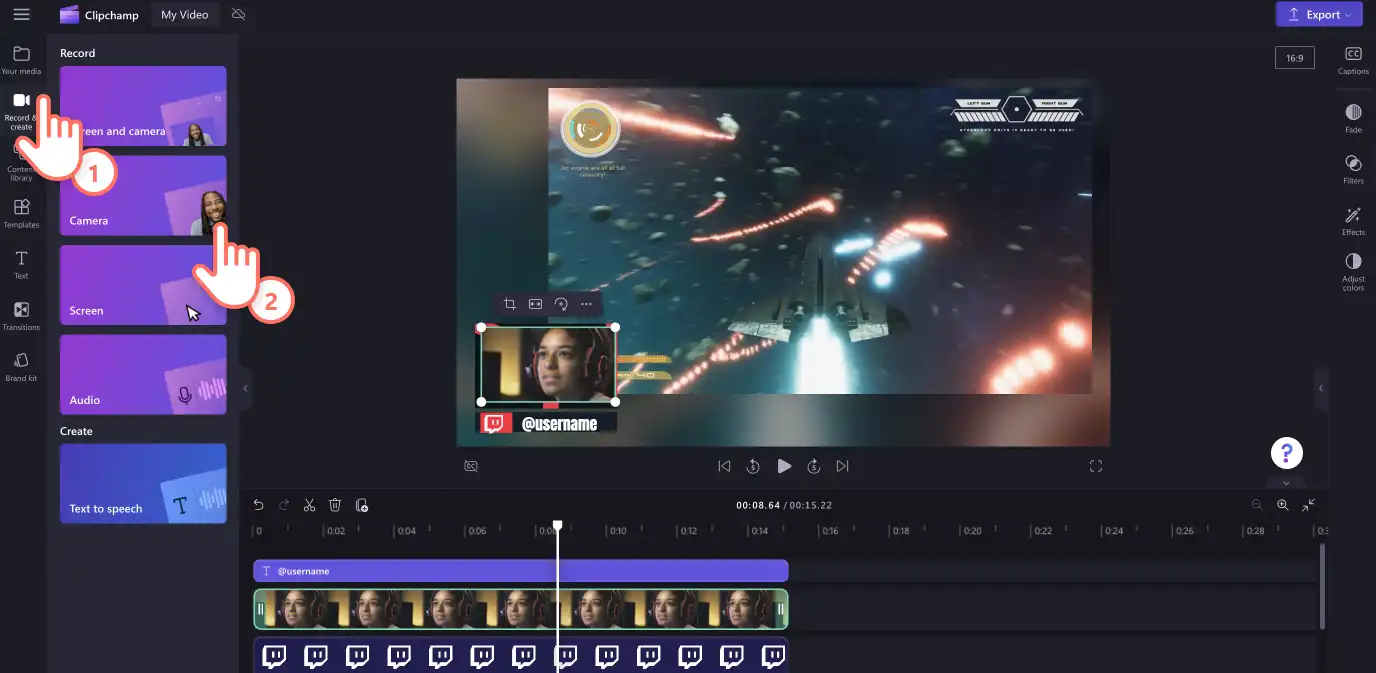
We will be using the webcam recorder for this tutorial. Click on the record & create tab on the property panel, then click camera.
Follow the on-screen prompts to set up your webcam recorder. Make sure your camera and microphone settings are correct. To start recording, click on the red record button. To stop recording, click on the same button.
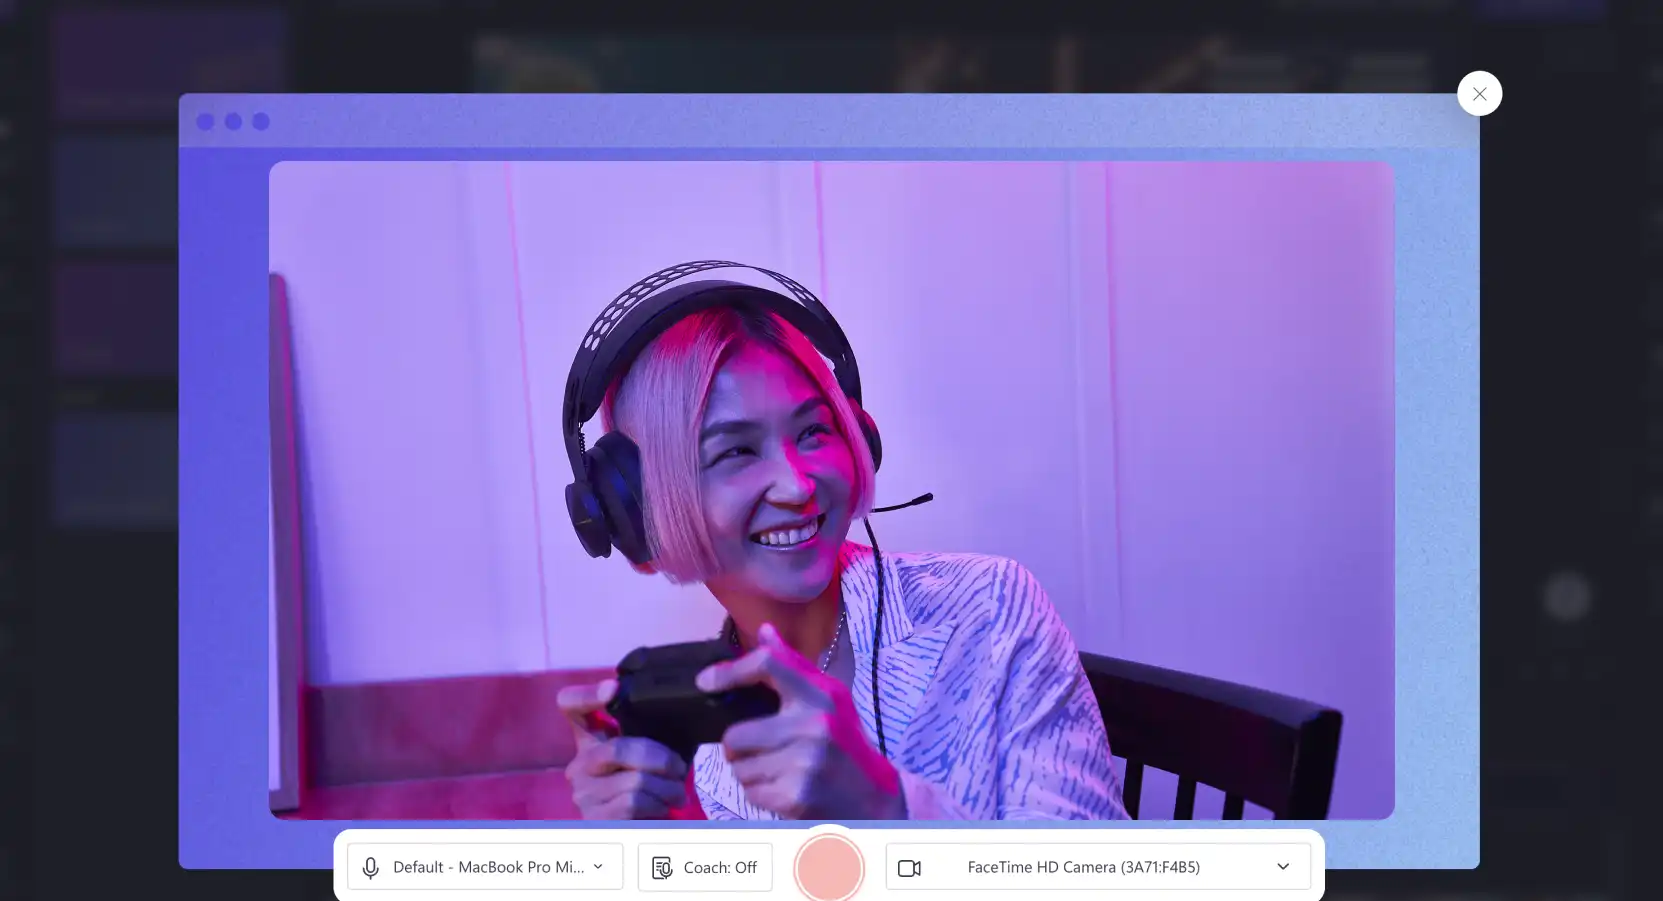
Save your webcam recording or retake if necessary. Your video will automatically be added to the timeline, download to your computer, and appear in the your media tab.
Step 4. Personalize the text in your gaming reaction video
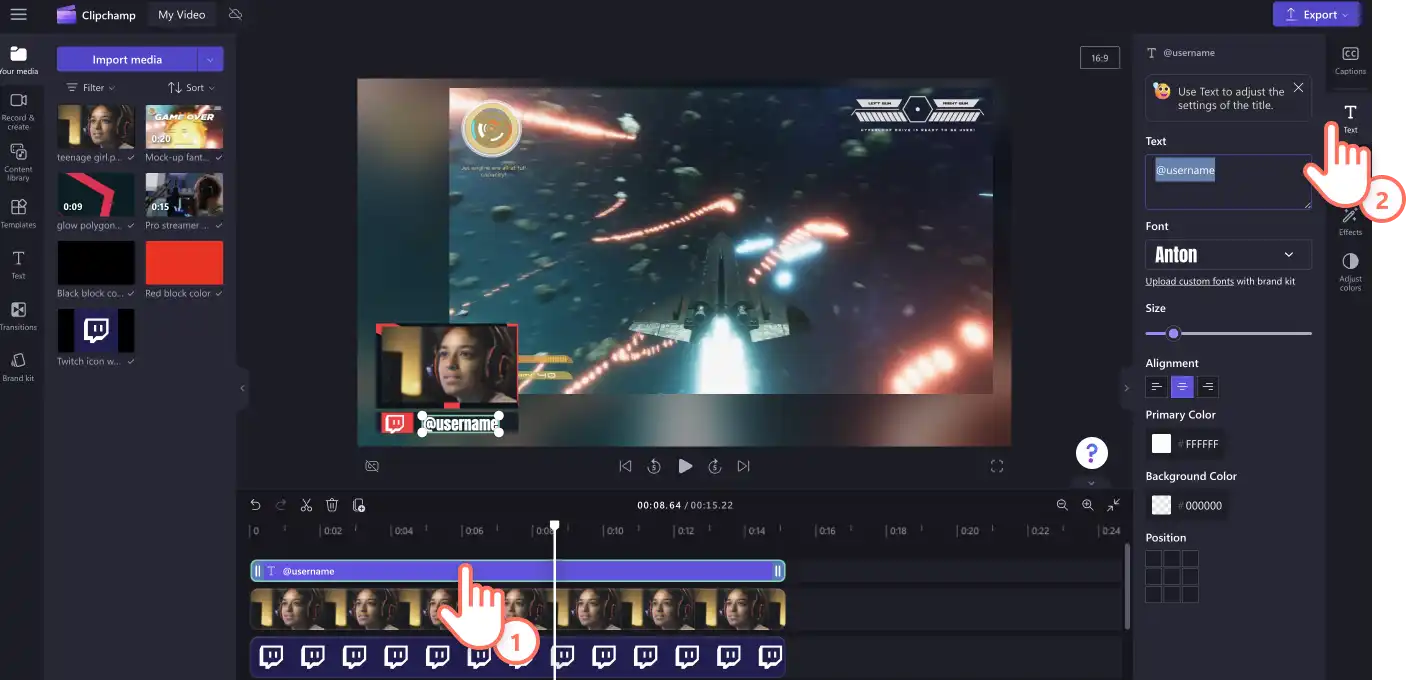
To edit the text, click on the text box on the timeline. Inside the text tab on the property panel, edit the text, font, and text color. Add your gaming username or social media handle.
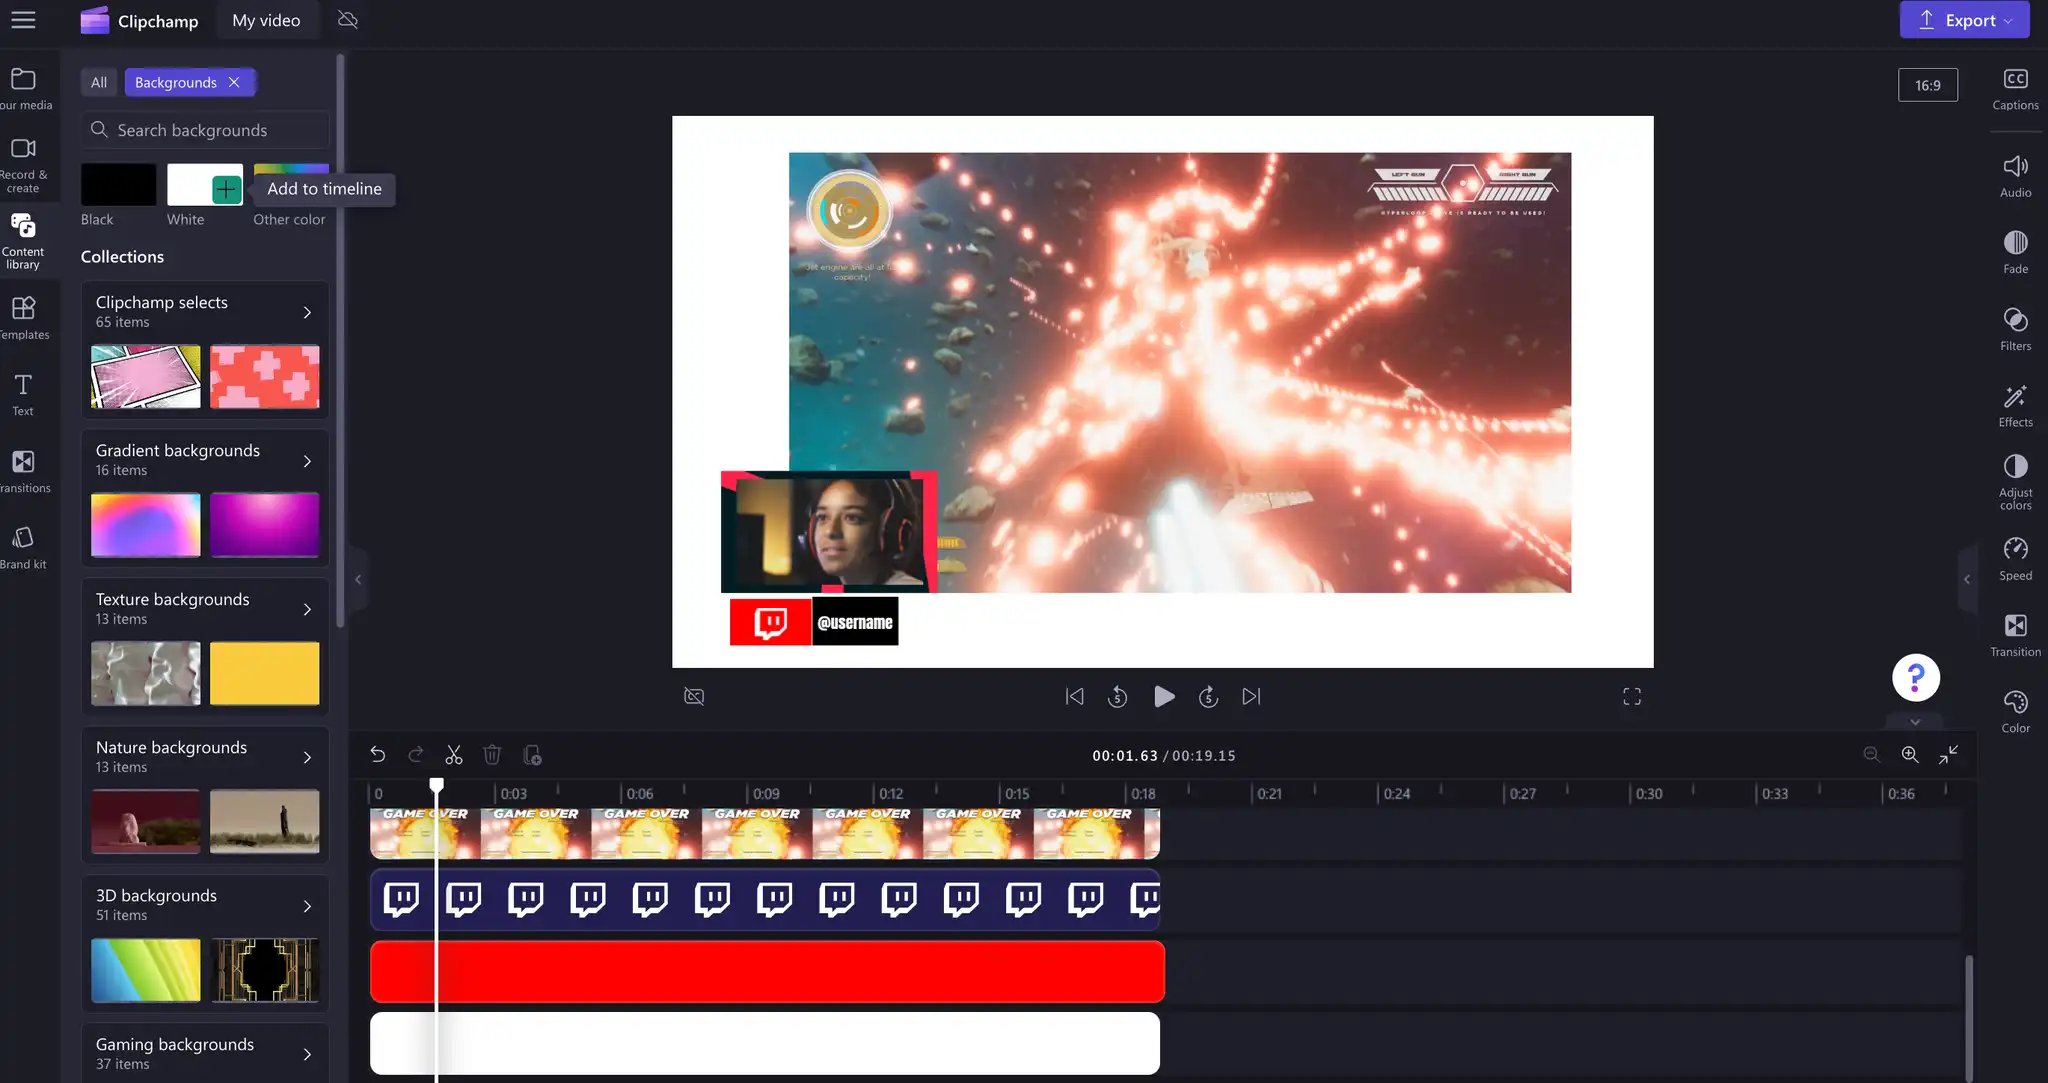
To add a background color, click on the graphics tab on the toolbar, then click the backgrounds category. Drag and drop a background onto the timeline as the very bottom layer. When you're ready, you can click on the color tab on the property panel to customize the color of your background.
Step 5. Save your gaming reaction video
To save your gaming reaction video, click on the export button and select a video resolution. We recommend exporting in 1080p or 4K video resolution for the best possible quality. Only select 4K if your gaming footage was recorded in 4K. Save your gaming reaction video to your computer or upload directly to YouTube via the exporting page.

For more ways to level up your YouTube channel, check out our gaming intro videos or explore gaming highlight videos. You can also explore exclusive Xbox content packs like Minecraft video backgrounds, sound effects and stickers while editing your video in Clipchamp.
Start creating gaming videos today with Clipchamp or download the Clipchamp Windows app.
Heads up! The screenshots in this article are from Clipchamp for personal accounts. The same principles apply to Clipchamp for work and school accounts.