On this page
You might be wondering — why is Clipchamp talking about stock images? Aren’t they all about video? We don’t blame you for being curious, because images aren’t the first thing you think of when you hear “video editor”.
However, pictures play a big role in video creation. They’re used to create video intros and video outros, slideshows and presentations. In fact, many people create videos without any video footage at all. So, adding stock images to the sidebar is a logical next step for Clipchamp — it completes our stock collection alongside video, music and SFX. We hope stock images will be one more tool that helps our everyday editors (that’s you) succeed.
Ready to explore? Let’s give you the full picture.
How to add stock images to your video
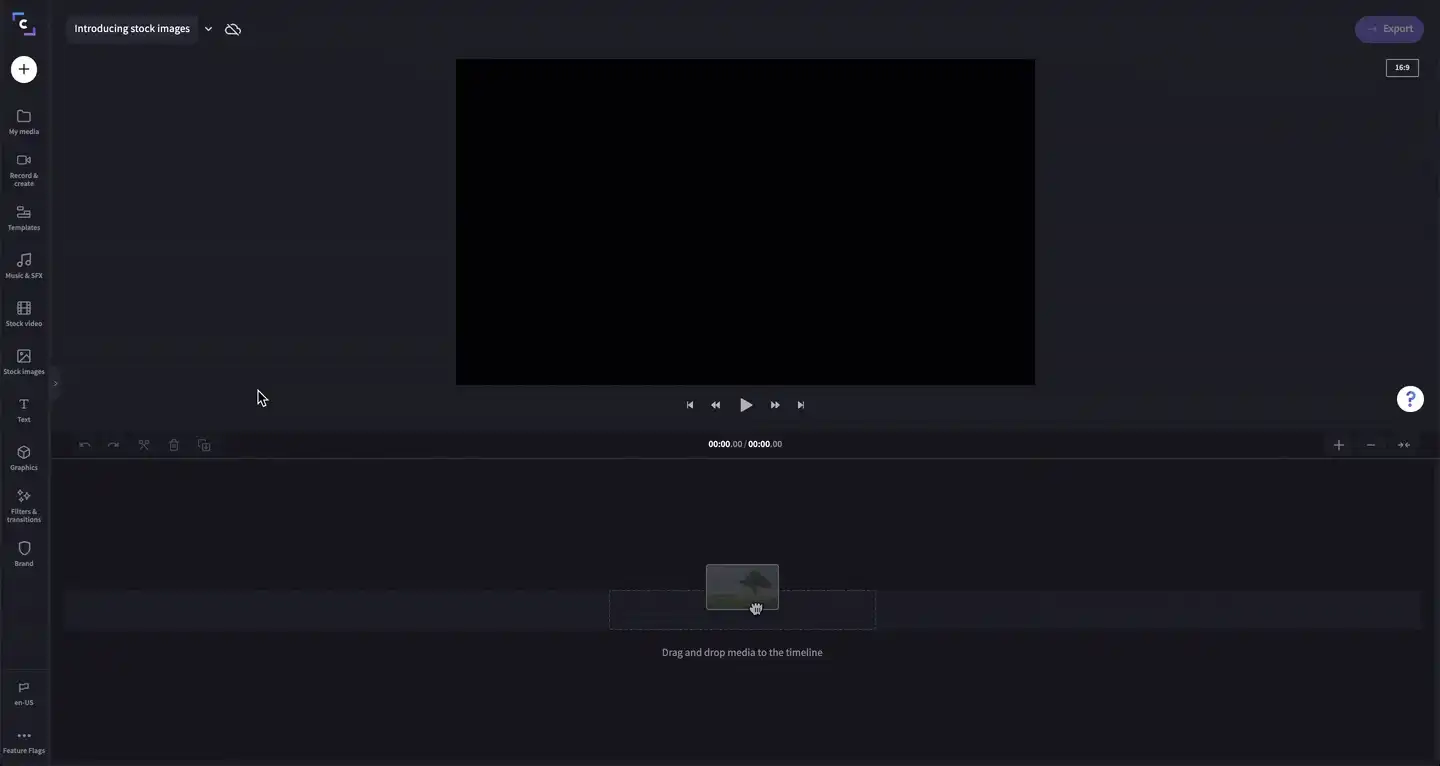
Step 1. Log in and create a video
If you're not a member already, sign up to Clipchamp for free, or easily log in. Then, click the create a video button in the top right hand corner of the home screen.
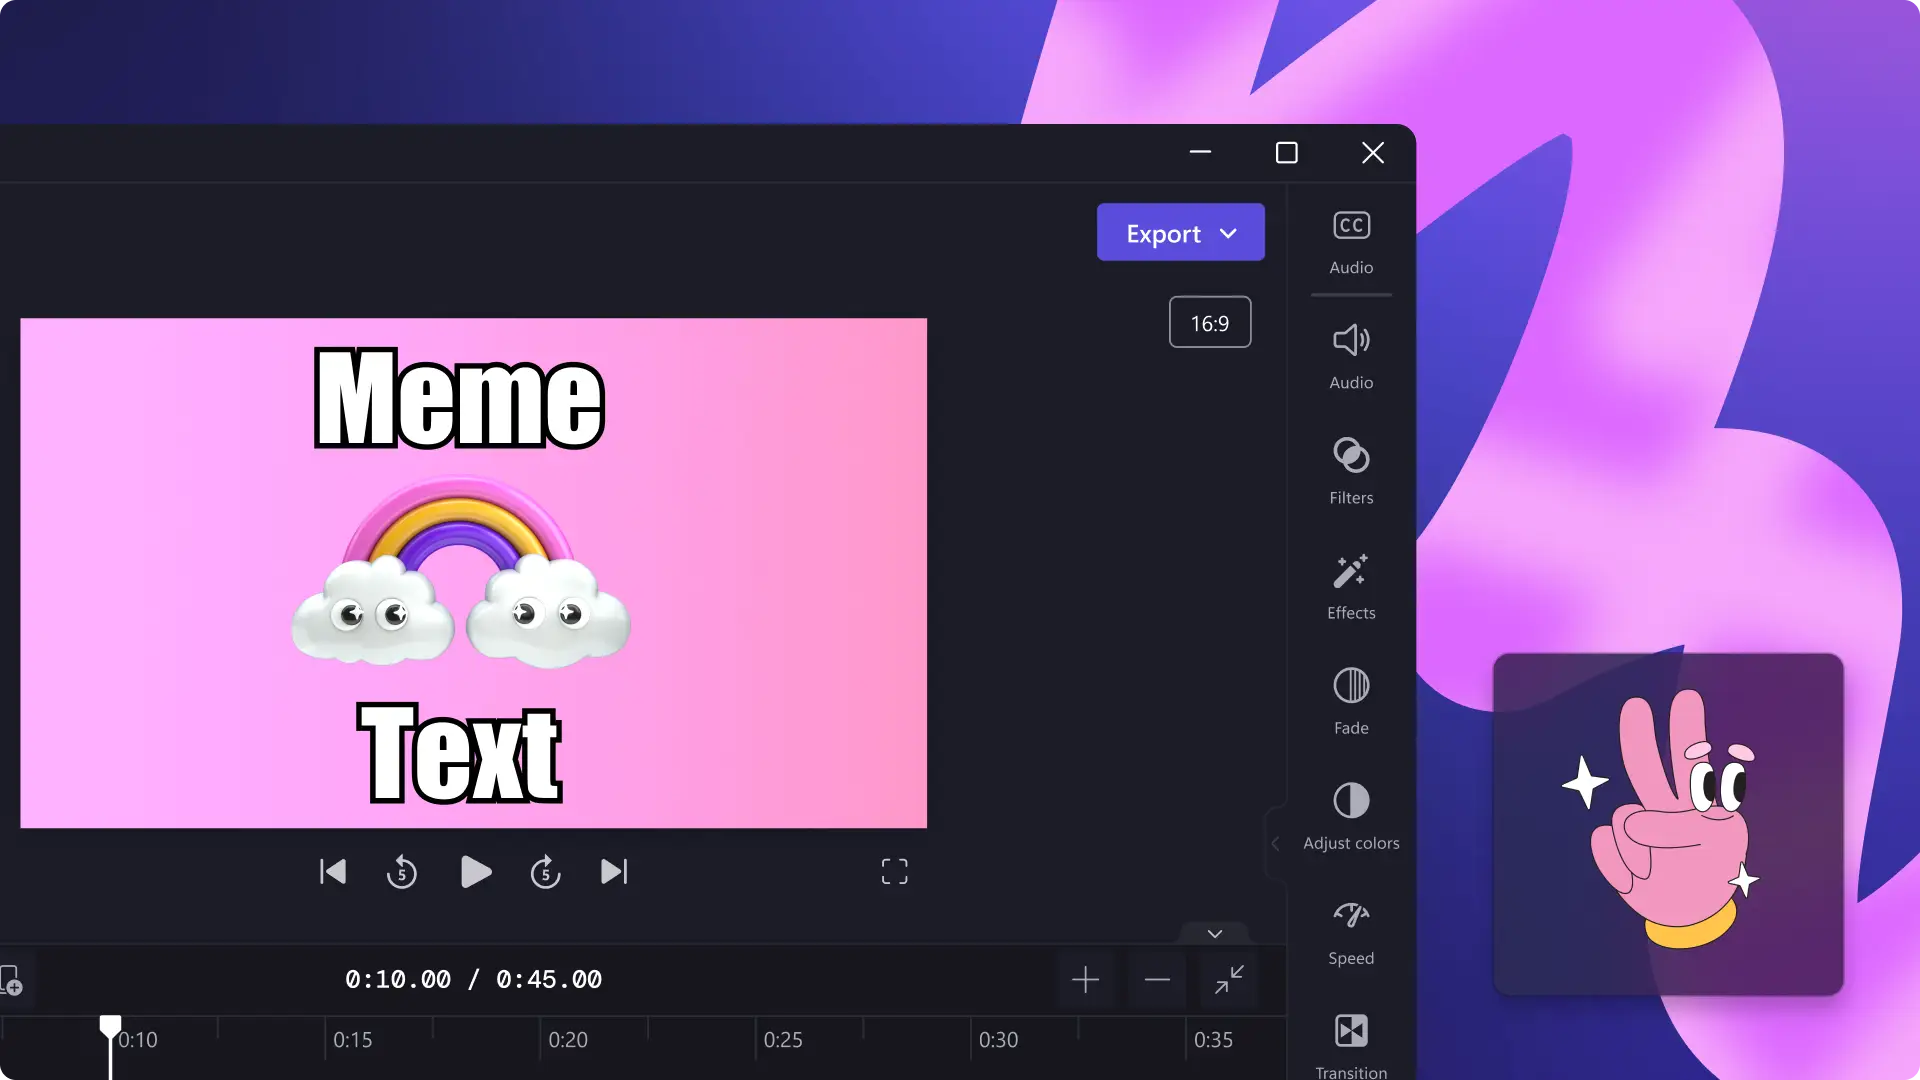
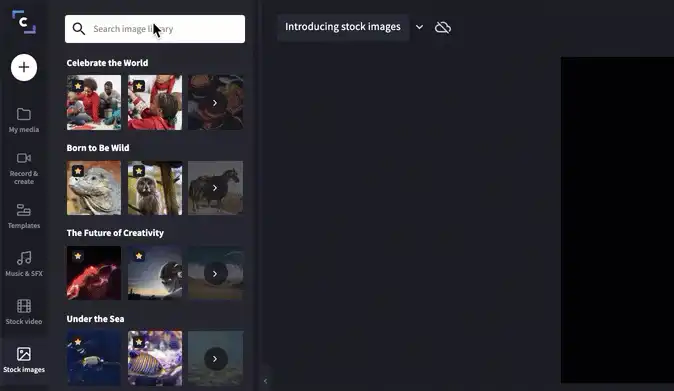
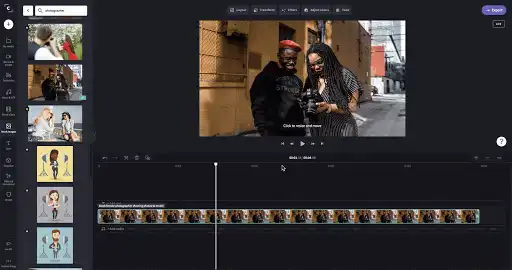
Step 2. Open the stock images tab in the sidebar
Once you arrive in the editor, navigate to the sidebar and select the stock images tab located beneath stock videos.
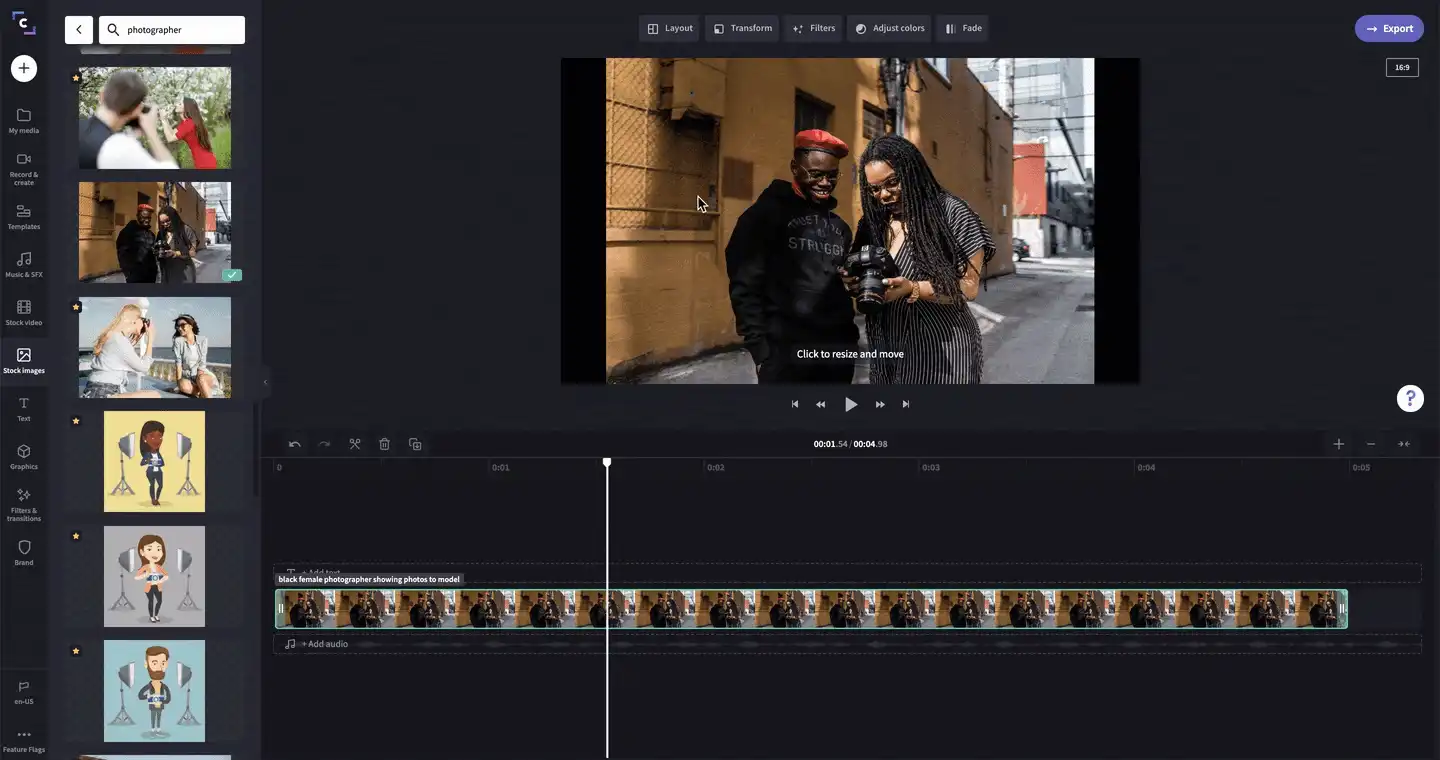
Step 3. Search for and select stock images
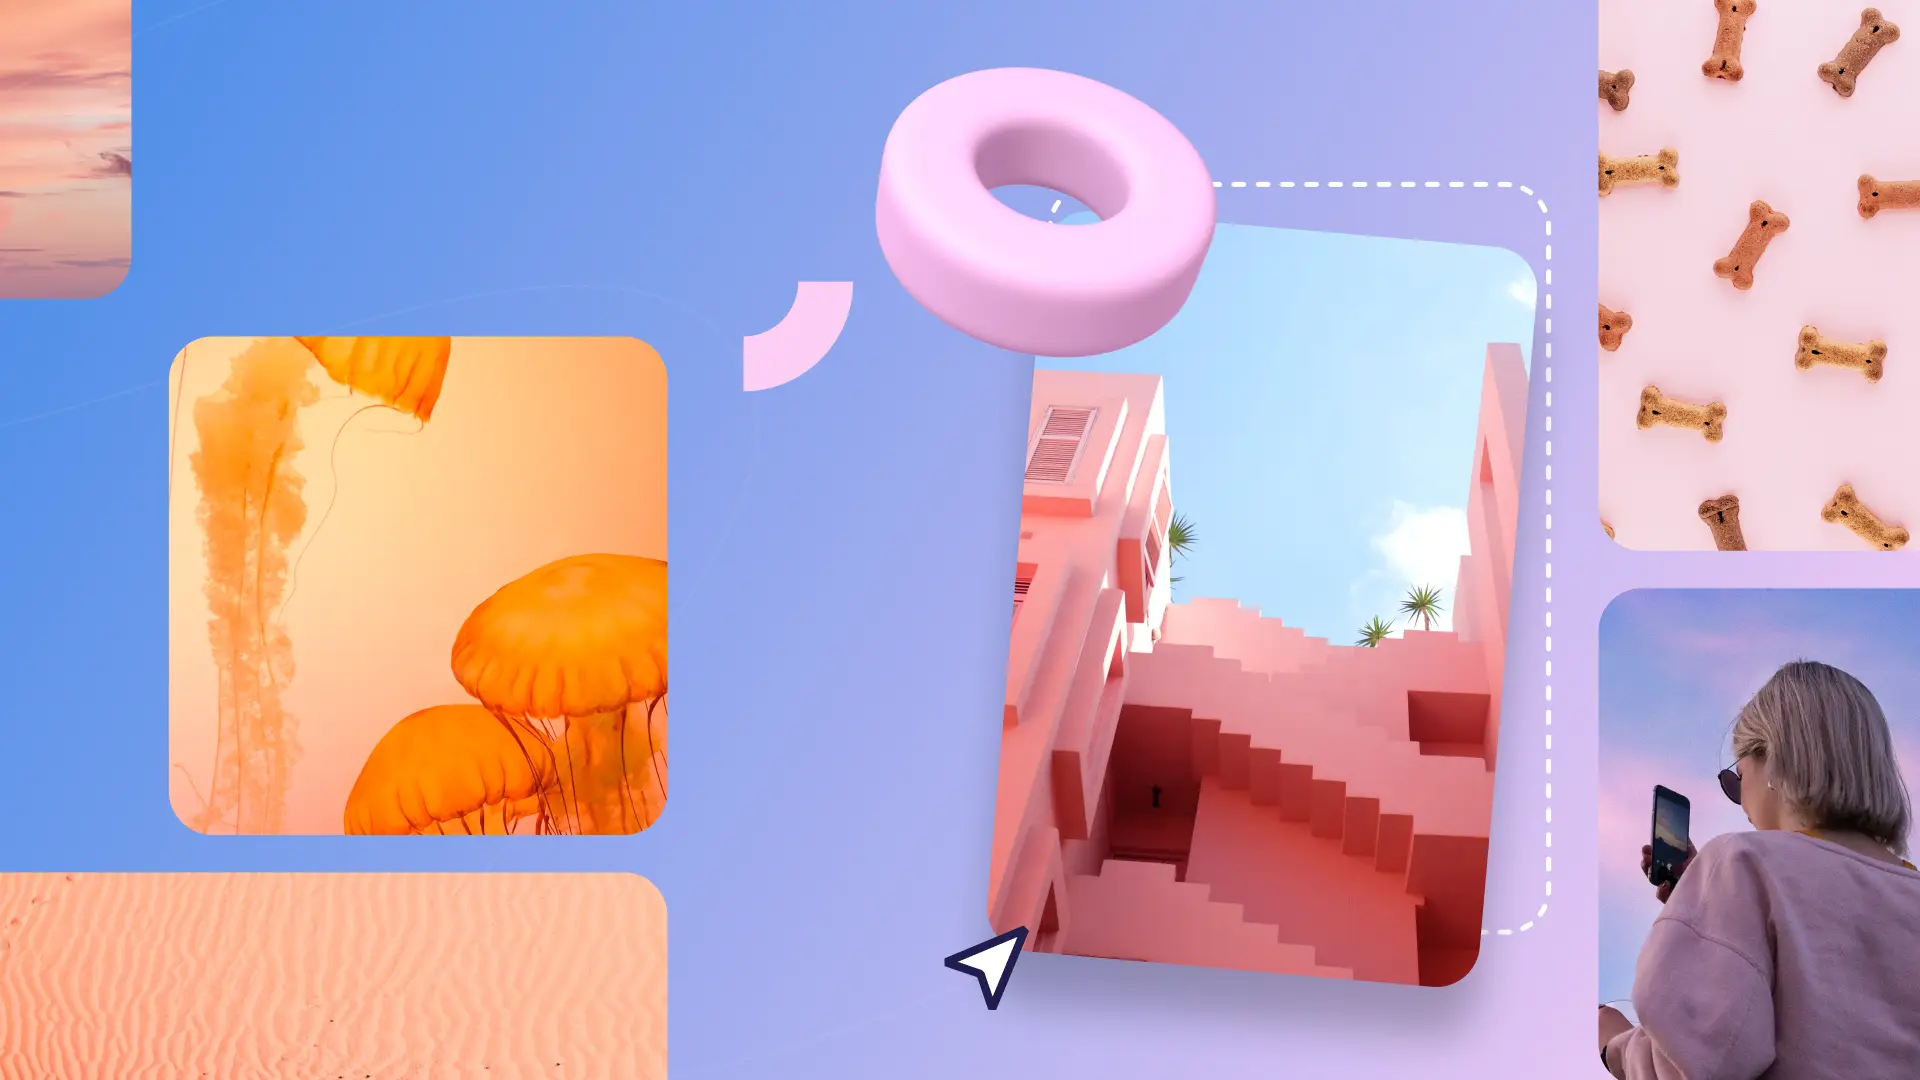
Just like with stock videos, music and SFX, you can navigate our stock image offering using the search bar. Type in some keywords and scroll to explore the results. Alternatively, you can browse through the stock image collections. When you’ve found an image you like, click the plus icon to add it to your timeline.
Step 4. Resize your stock image
Stock images come in all shapes and sizes, so they won’t always fit perfectly into your video’s aspect ratio. Luckily it’s a simple fix — simply select your image, then click the transform button, and select crop to fill.
Step 5. Set a time for your stock image
Unlike videos, stock images don’t have a set time length. When you add a stock image to the timeline it will appear with a default time length of five seconds — from here you can shorten or lengthen this time by clicking and dragging the image.
Step 6. The rest is up to you
That’s all there is to it! From here, you can start adding stock images to all of your videos . We can’t wait to see what creations come out of this latest addition to Clipchamp.

Heads up! The screenshots in this article are from Clipchamp for personal accounts. The same principles apply to Clipchamp for work and school accounts.