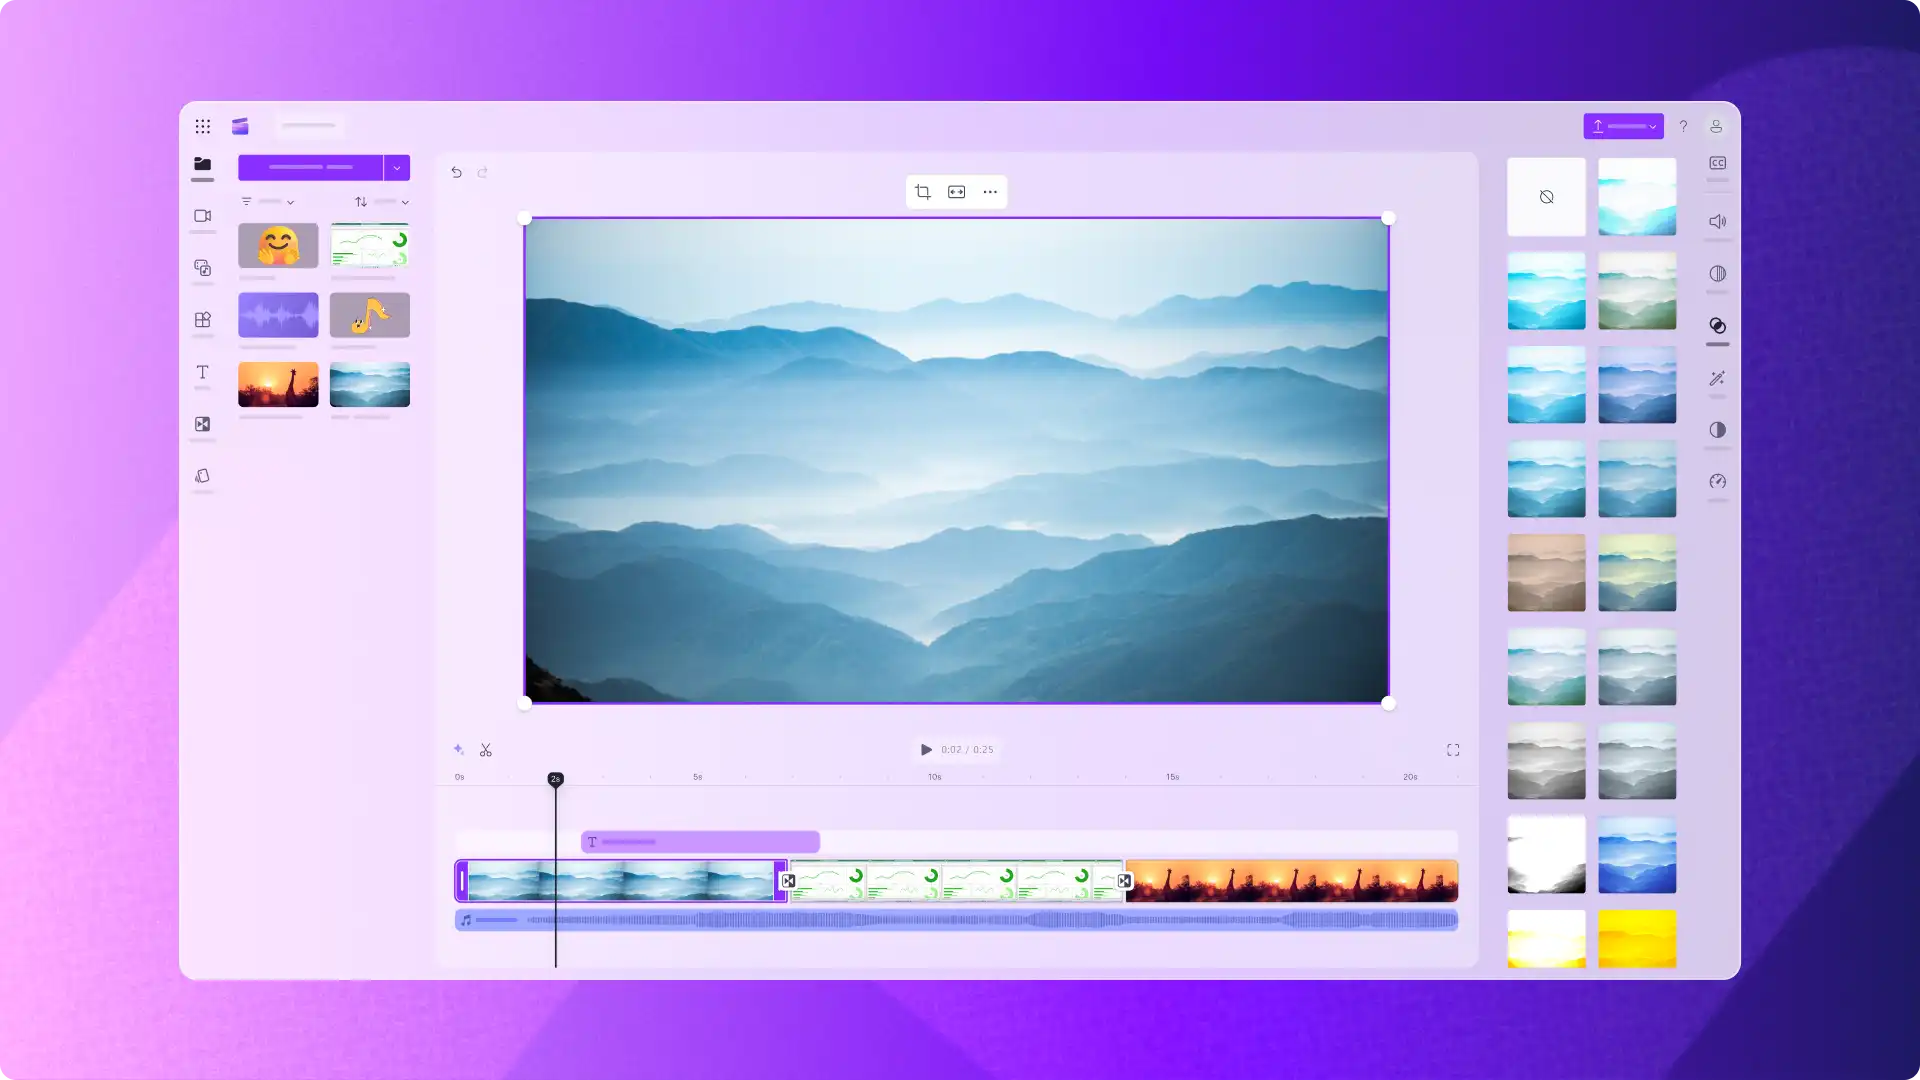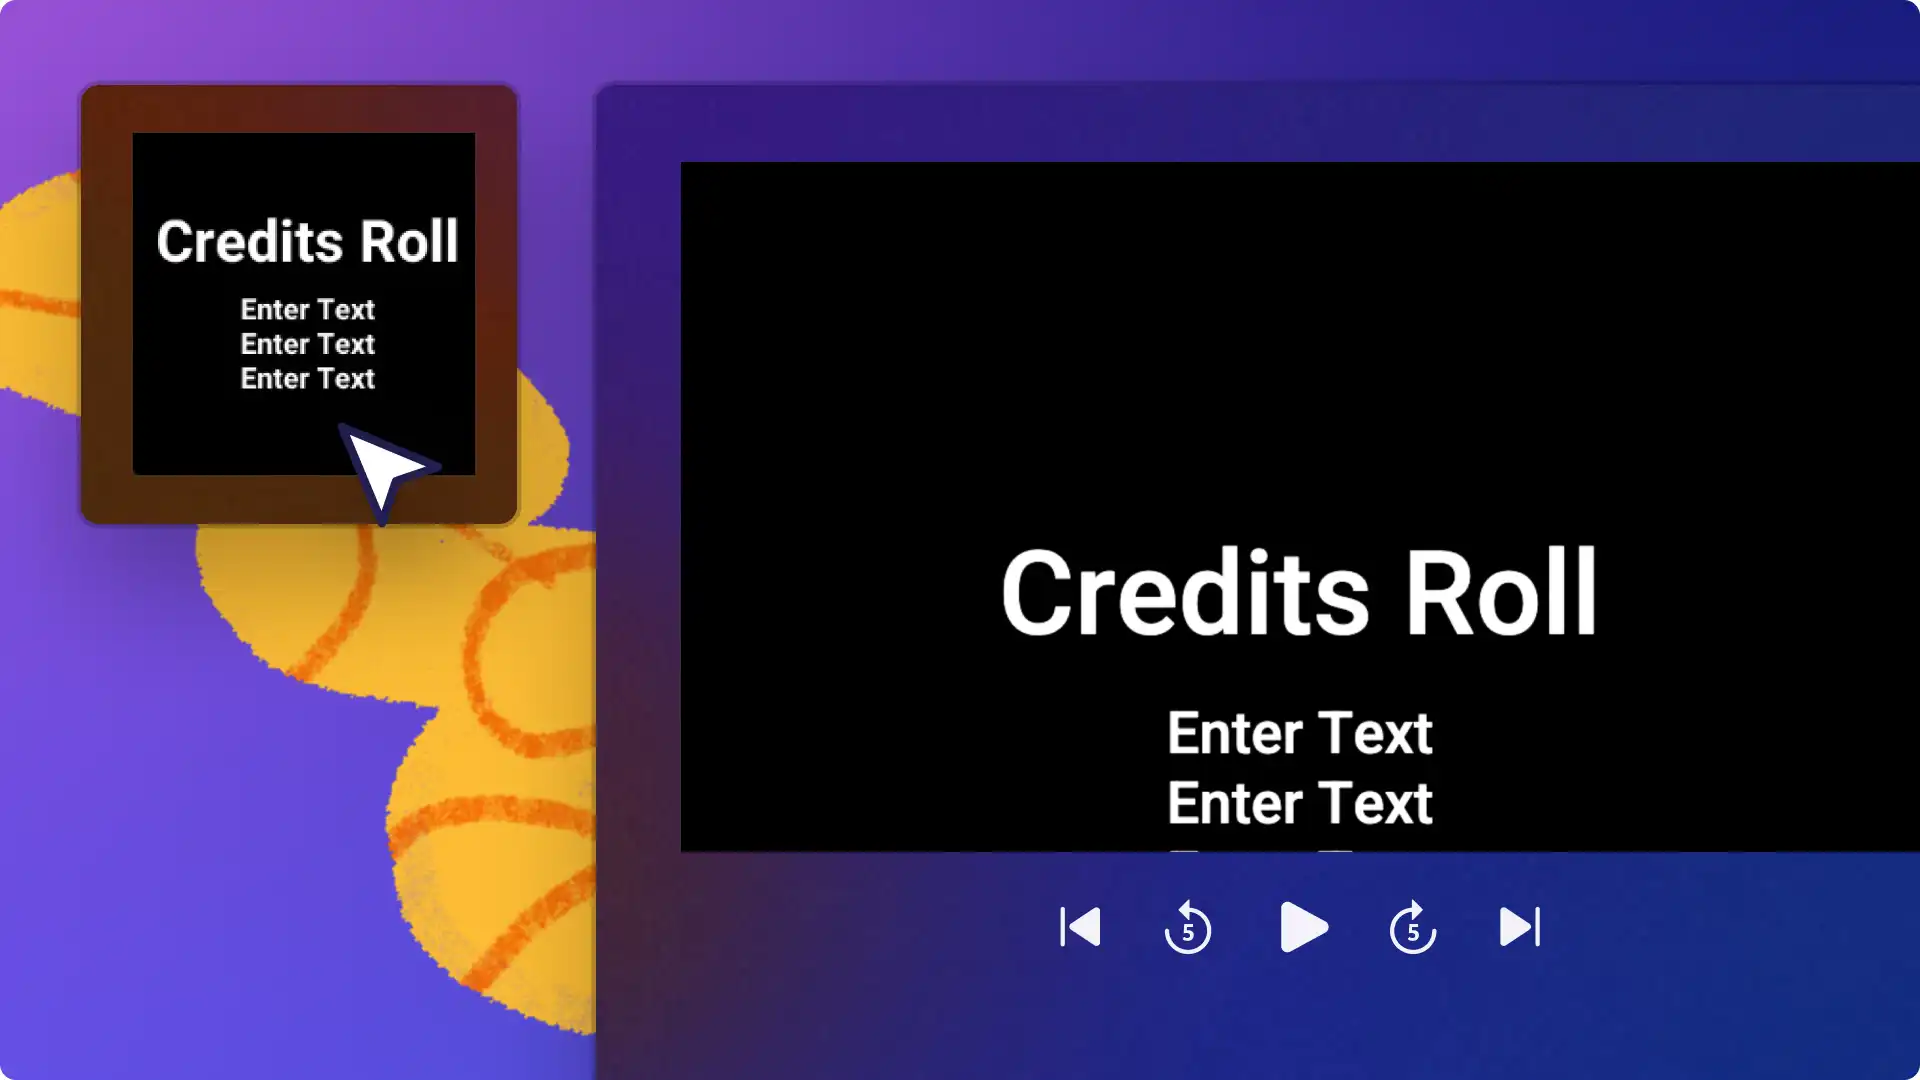
Adding end credits gives videos a movie-like feel. It's a simple way to appreciate the cast and crew or thank followers for watching. The animated movie credits text style can polish any video in seconds, from documentaries and short films to podcast videos and videos for YouTube. Rolling credits also pair well with royalty-free ambient music and sticker overlays, with a wide range of font styles, colors, and sizes to choose from.
The animated movie credits text style can polish any video, from documentaries and short films to podcast videos and videos for YouTube. Rolling credits also pair well with royalty-free ambient music and sticker overlays, with a wide range of font styles, colors, and sizes to choose from.
In this guide, explore how to add the movie credits text style with Clipchamp video editor, personalize and animate the credits, and add background music to the final cut.
How to add the movie credits text style to videos
Step 1. Import media or add stock videos
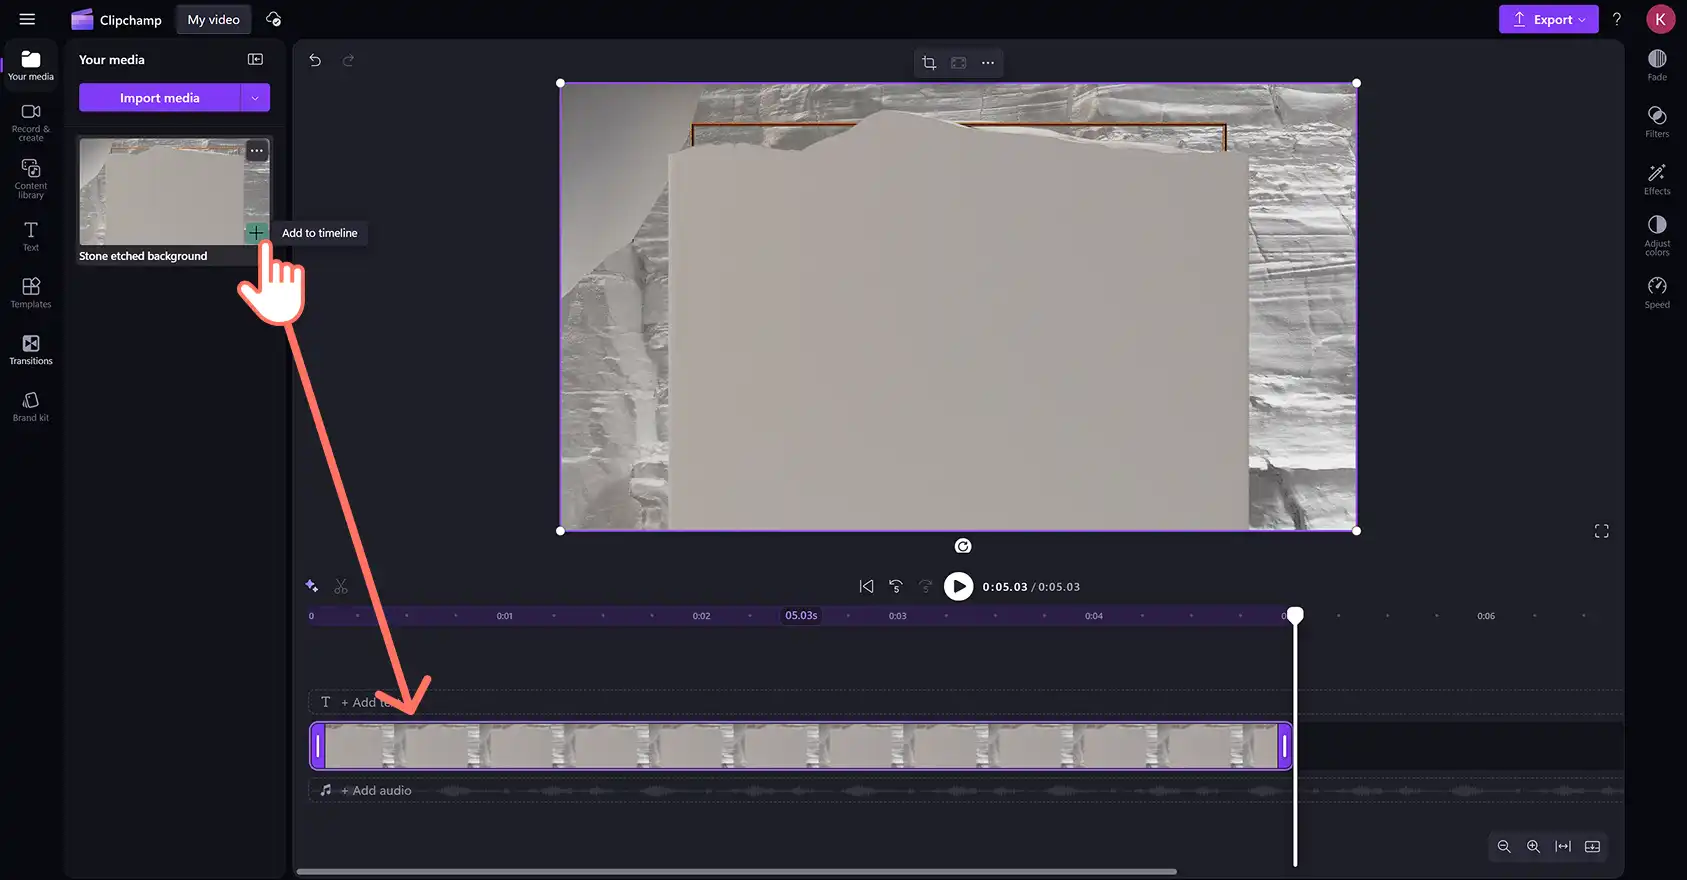
To use existing media files, click on the import media button within the your media tab on the toolbar. Browse computer files or connect and import from OneDrive to add files from cloud storage.
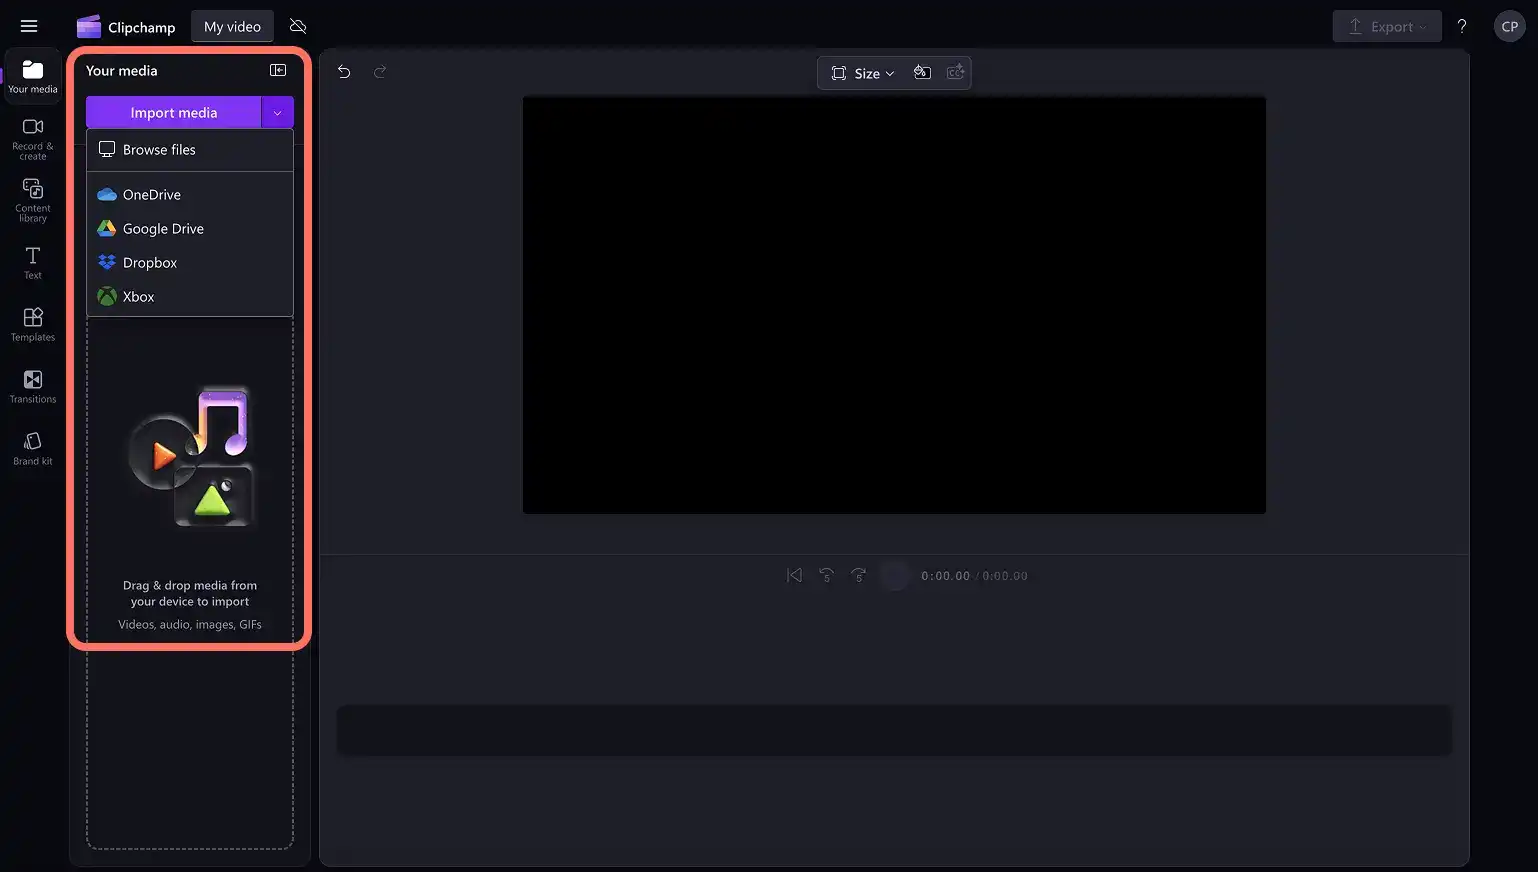
To use stock video, click on the content library tab on the toolbar. Browse the royalty-free video library to select the right stock. Browse by category or enter keywords into the search bar.
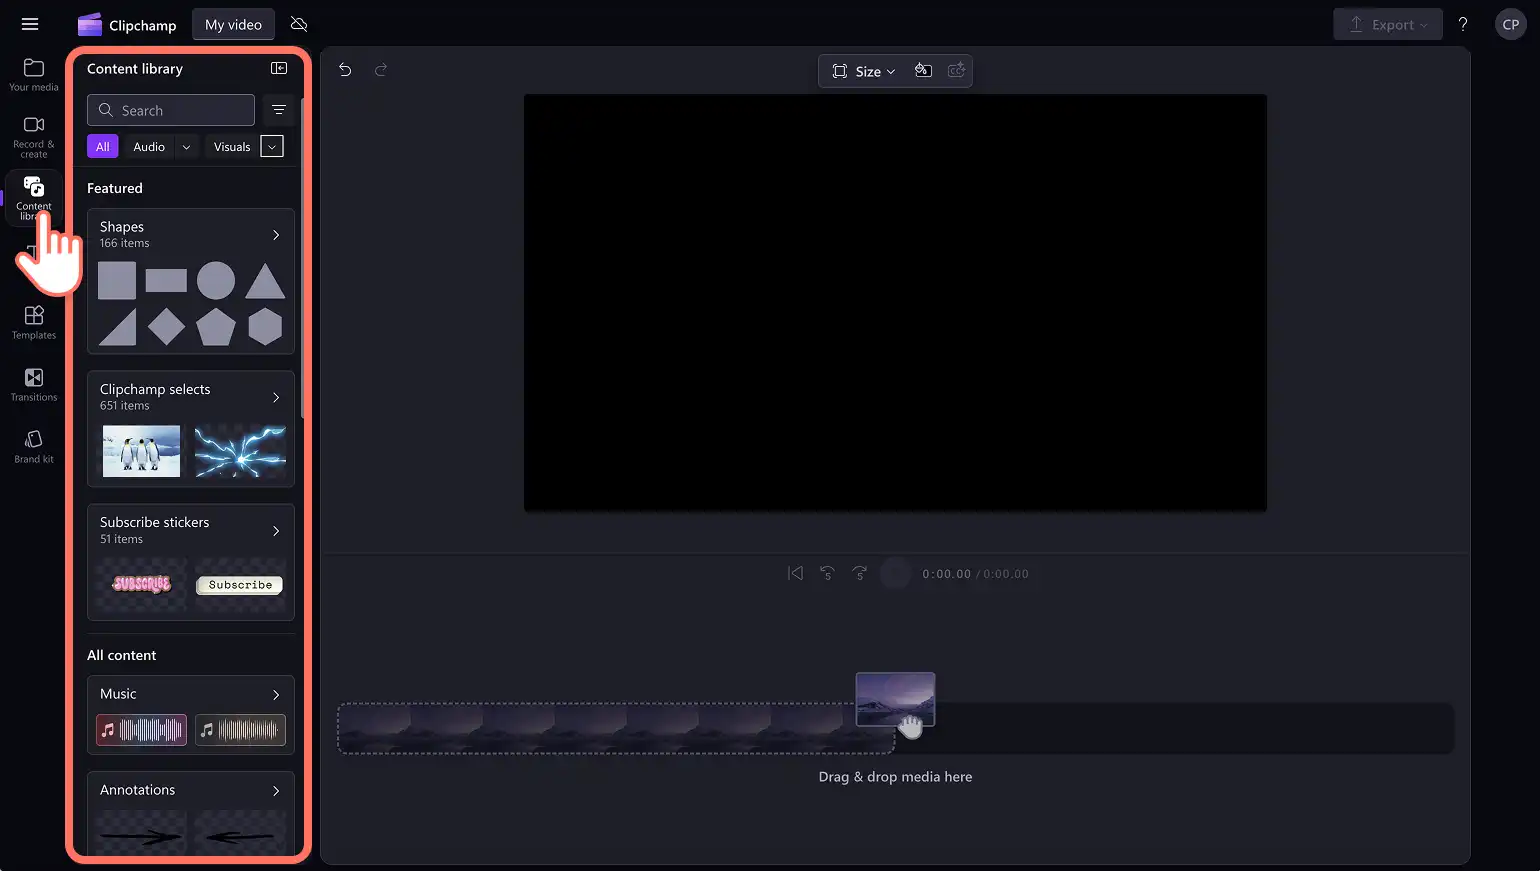
Drag and drop media assets onto the timeline to start editing with the movie credits text.
Step 2. Add the movie credits text
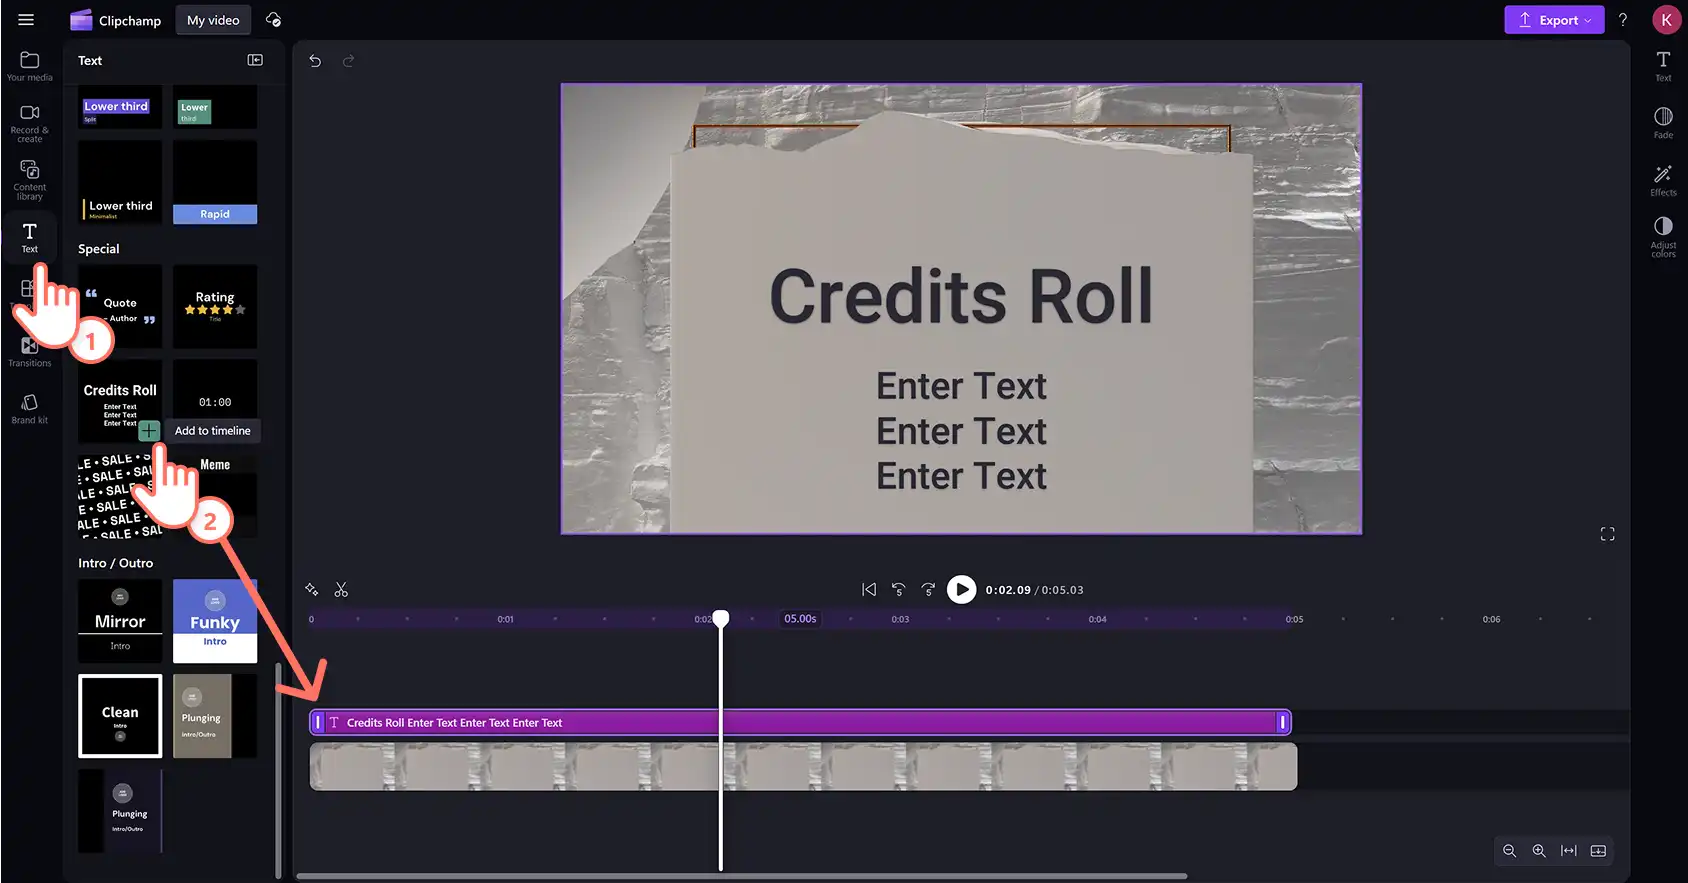
Click on the text tab on the toolbar then scroll down to the credits roll title under the special category. Preview by hovering the cursor over the title. Drag and drop the credits roll title onto the timeline above the video.
Step 3. Personalize the movie credits title
Customize the rolling credits title by editing the text, colors, fonts, duration, position, and timestamp, then add an animated title alongside it for a polished sign off.
Movie credits duration and position
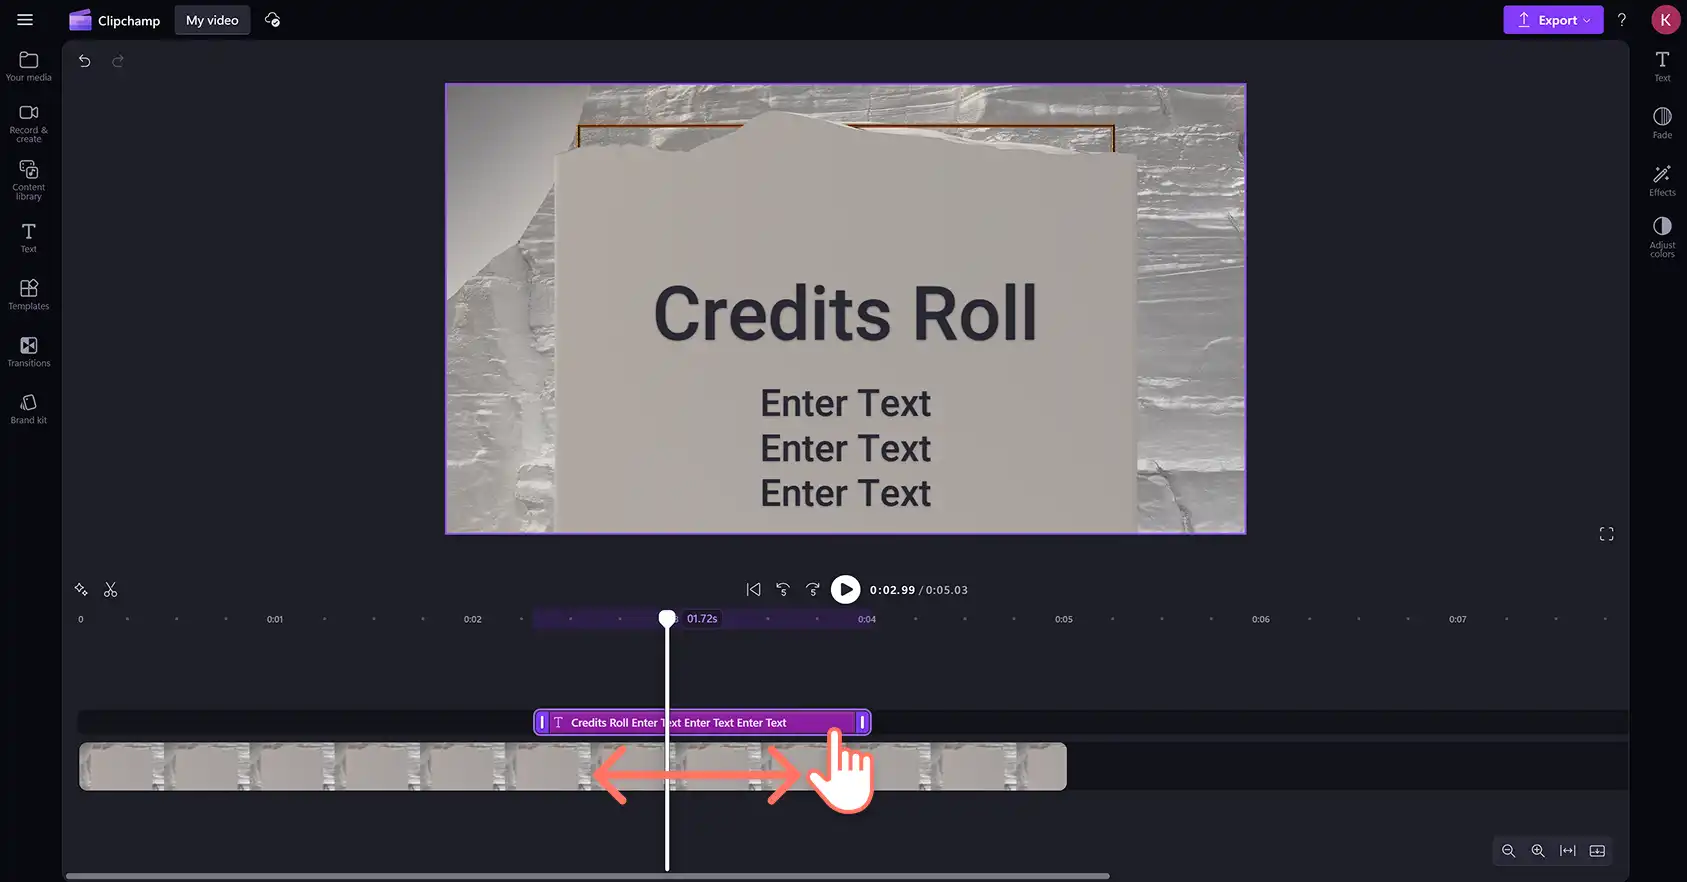
To extend or decrease the length of movie credits, drag the text handles to the left to decrease, and right to extend. It is also possible to move the text around the timeline to a desired timestamp.
Customize and animate credits text, font, size and colors
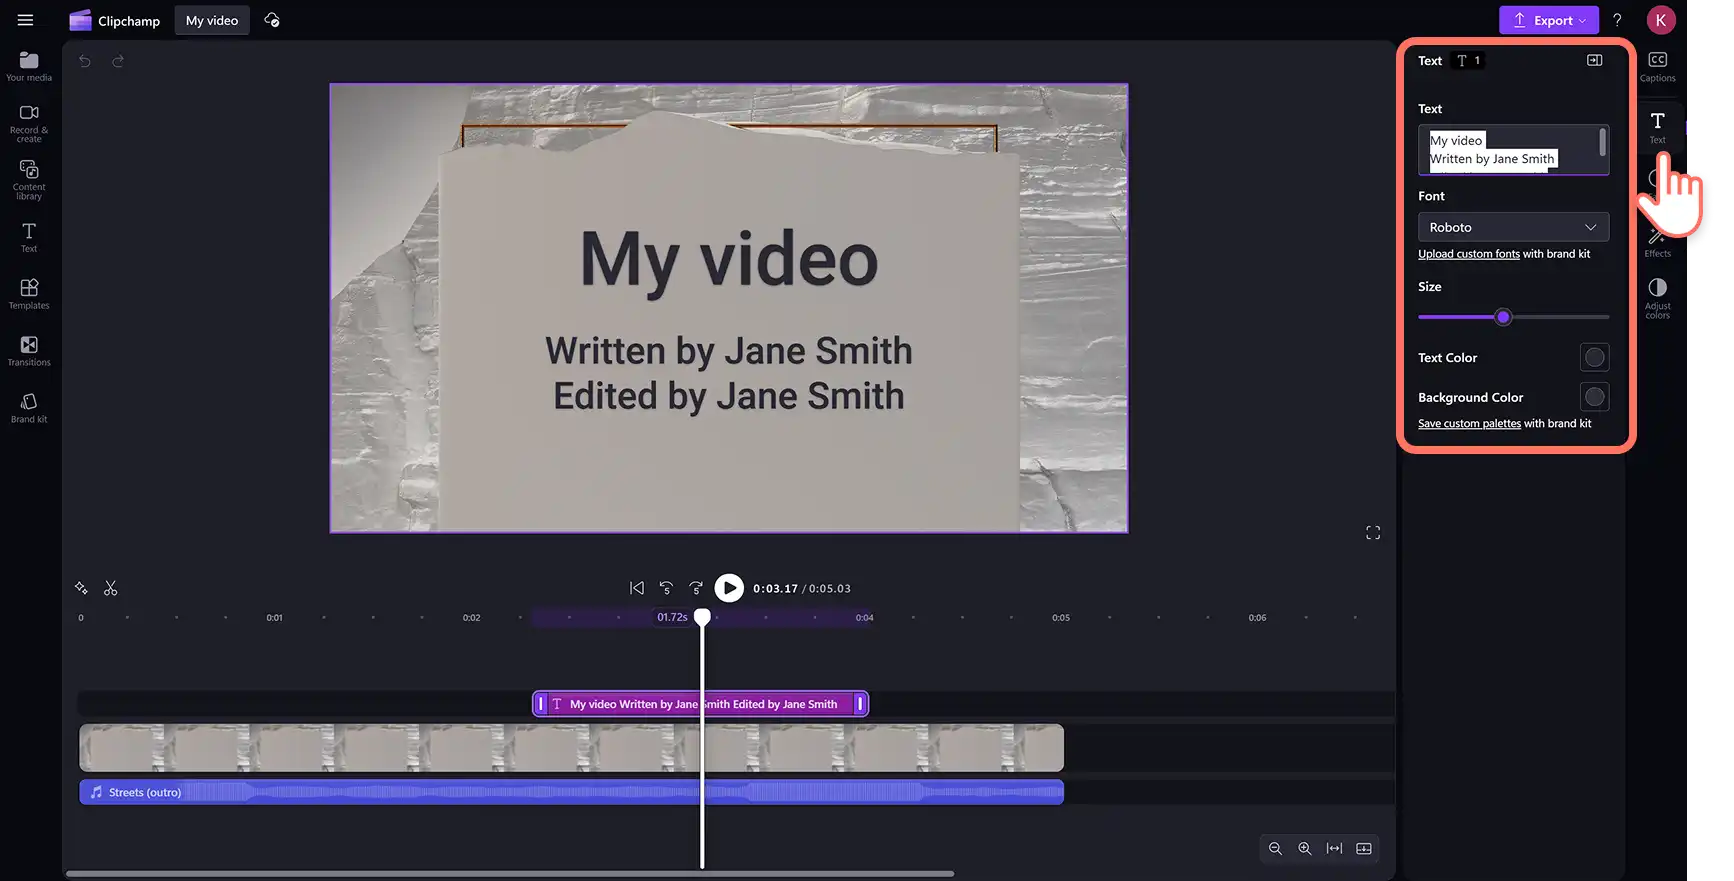
Click on the text tab on the property panel to open personalization options. Here, edit the text, font style, text size, and colors. Text animations are available on plain text and on any option inside the text styles collection, so add one of those above the credits roll for an animated thank you or sign off. Select the text on the timeline, click on the animate tab on the property panel to view animation options.
Choose from fade, smooth slide, bounce slide, smooth scale, bounce scale, or typewriter. Set the animation to play at the beginning of the title, at the end, or in both places. Drag the duration slider to change the speed, and click a direction arrow if available within the chosen animation.
Step 4. Preview and save end credits video
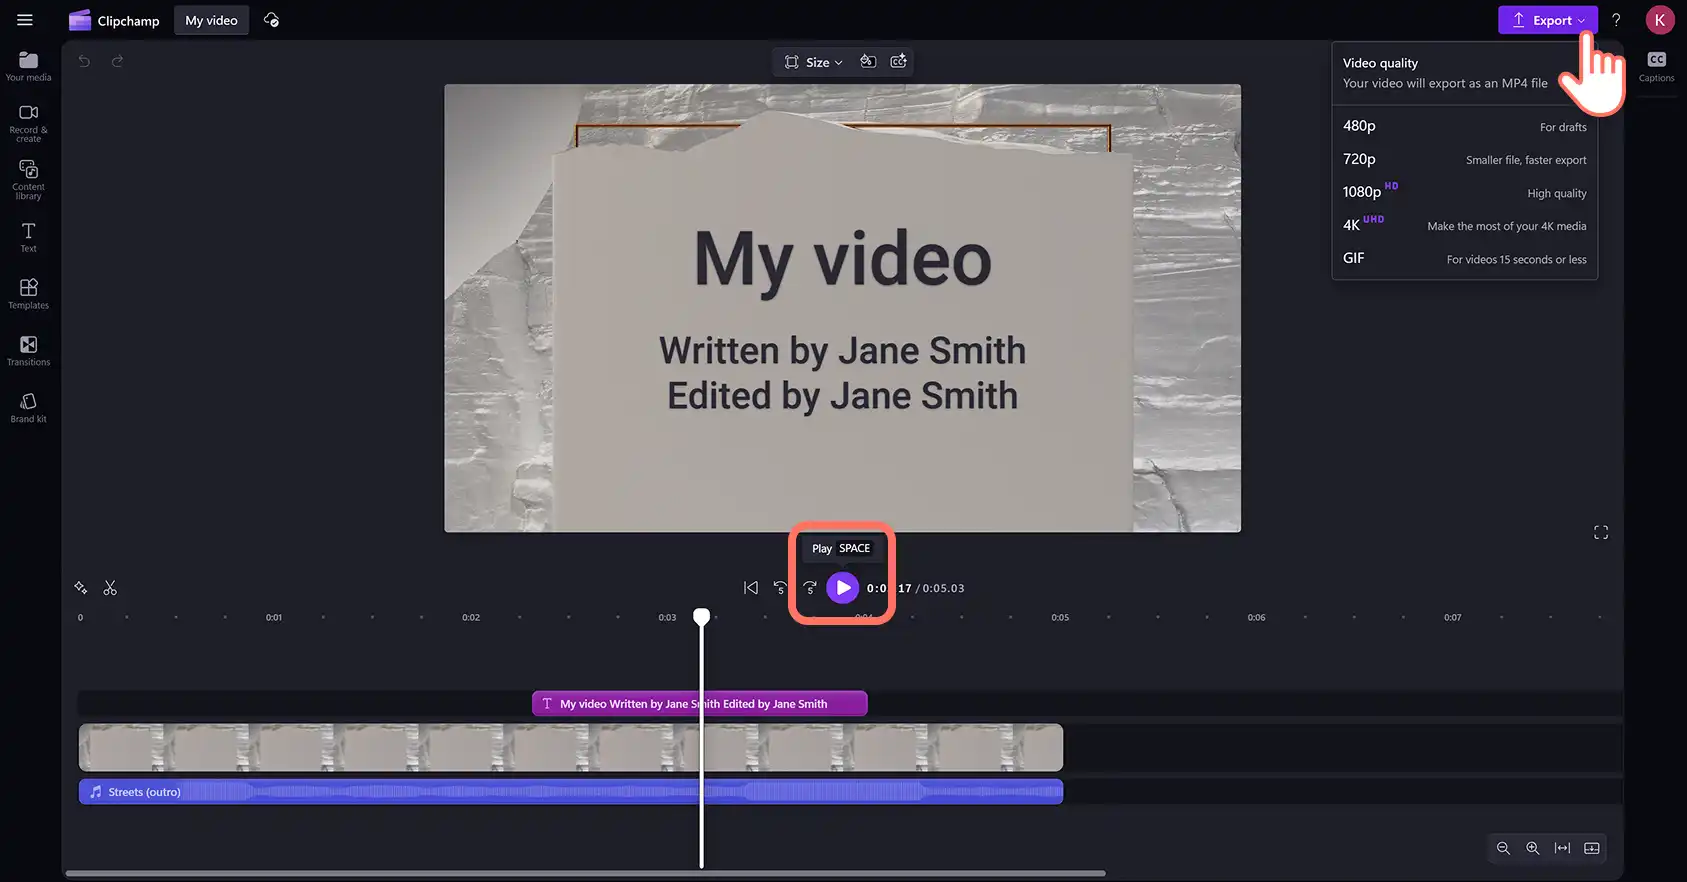
Make sure to preview the video before saving by clicking on the play button. When ready to save, click on the export button and select a video resolution. For more help, check out adding titles and text to video.
How to add music to end credits and outro videos
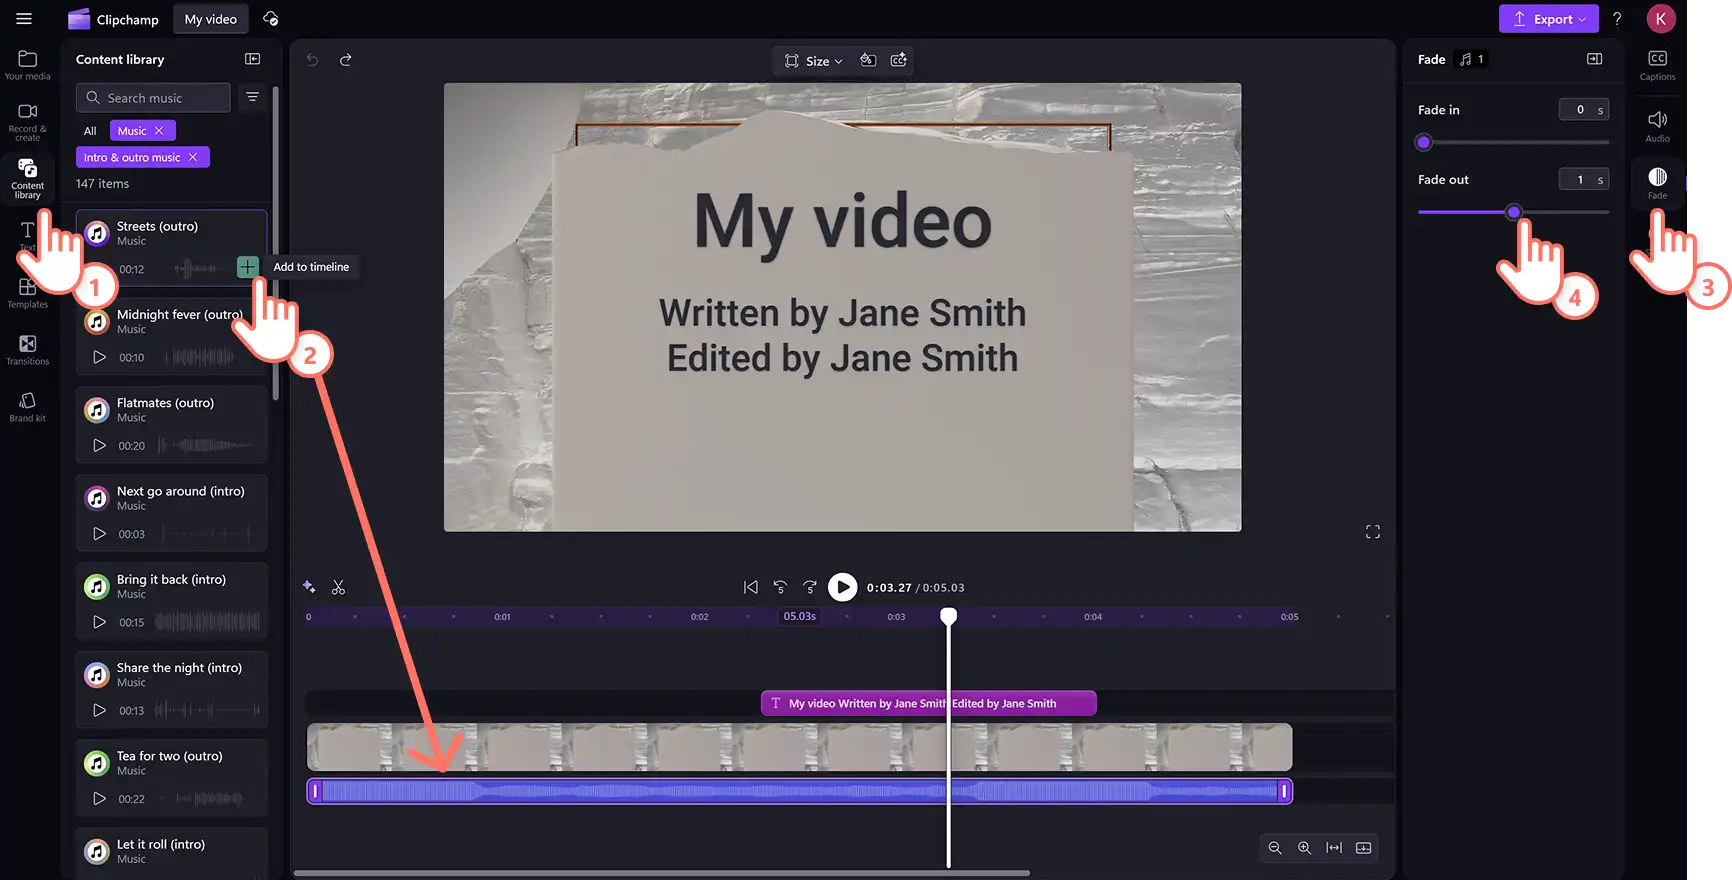
Add ambient background music to closing or opening credits to add mood to the beginning or end of a video. Choose from an endless range of royalty-free music and sound effects in the content library on the toolbar.
Click on the content library tab on the toolbar > audio drop down arrow > music or sound effects.
Browse the library then drag and drop an audio file onto the timeline below the video asset.
Edit the length using the trim handles and move to a desired position on the timeline.
Use the audio tab to adjust the volume using the volume booster.
Use the fade tab to add a fade in or fade out onto audio assets.
Use the speed tab to edit the speed of audio files on the timeline.
Seven ideas when to add end credits to videos
The credits roll title suits far more than short films. Here are seven video ideas to try.
List locations, fellow travelers, and the trusted camera person in travel highlights video from a recent trip.
Recognize interviewees and fellow creators in video podcasts at the end of an episode.
Thank subscribers, followers, and the wider community in YouTube outro videos before the next upload lands.
Offer appreciation in corporate videos to recognize colleagues and interns.
Credit authors, teachers, and students in online learning videos across a full course.
Acknowledge original creators with closing credits in reaction videos before the outro plays.
Inform customers about suppliers and retailers in product demo videos at the end of a launch.
Explore more video editing techniques by learning how to merge multiple video clips and then optimize content during post-production with video enhancing effects for a sharper finish.
Start editing end credits with Clipchamp video editor or download the Microsoft Clipchamp Windows app to edit from a desktop.
Heads up! The screenshots in this article are from Clipchamp for personal accounts. The same principles apply to Clipchamp for work and school accounts.