Heads up! The screenshots in this article are from Clipchamp for personal accounts. The same principles apply to Clipchamp for work and school accounts.
On this page
Quickly add subtitles to videos and slideshow presentations for free using AI and make your videos stand out. Subtitles make videos easier to follow on mute, accessible to viewers with special needs, and inclusive for a global audience when available in multiple languages with the subtitle generator.
There's no need to hire an expensive freelancer to create a video transcript either. Automatic subtitles transcribe your video in seconds using AI-powered technology. No matter the video genre, save time, money, and boost accessibility in videos for school, work, or social media.
Let's learn how to add subtitles to videos while exploring the top benefits of subtitles with the Clipchamp video editor.
How to add subtitles to video for free
Step 1. Import your video
To import your own videos or audio, click on the import media button in the your media tab on the toolbar to browse your computer files, or connect your OneDrive.
Note: To use the subtitle generator, make sure your video has a voiceover or a song with lyrics to detect.
Drag and drop your video onto the timeline. To use the autocaptions feature, make sure your video has a voiceover or sound.
Step 2. Add subtitles using automatic captions
To add subtitles to your video, click on the captions icon in the video preview to turn on autocaptions. Alternatively, click on the captions tab on the property panel, then click transcribe media button.
A popup window will appear offering transcribing with AI options. Here, you can select which language you would like to use and filter any profanity and offensive language by checking the box. When you’re ready to generate your subtitles, click on the transcribe media button.
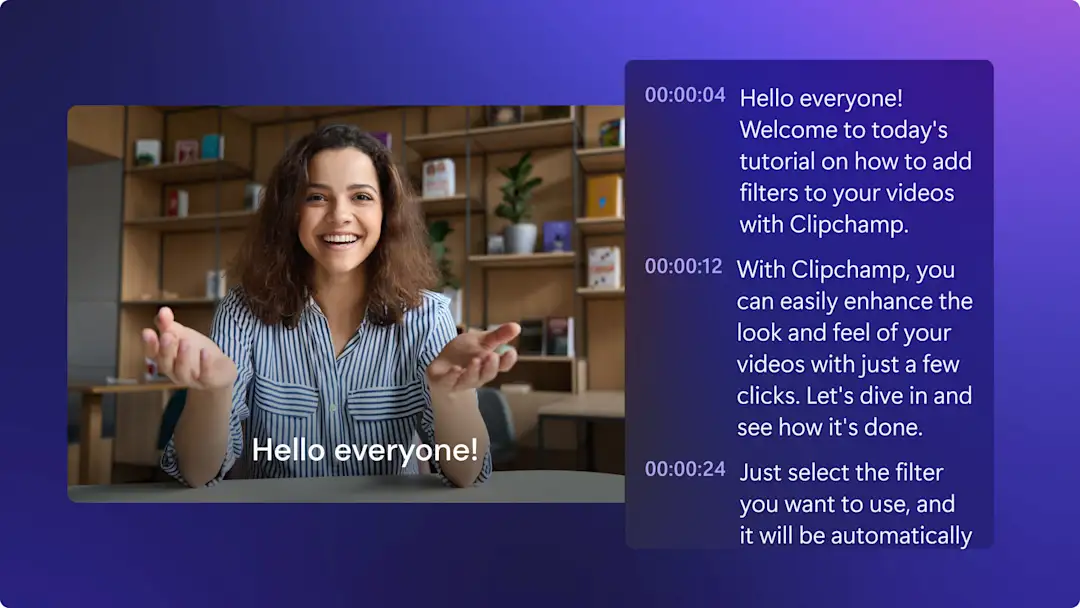
Once your subtitles are generated, they'll appear as a transcript in the property panel and on the video preview window.
Step 3. Edit your transcript and customize the appearance
Replace misspelled text
While our subtitle software is highly accurate, there’s a small chance that some words may be misspelled. Read through and click on your automatic transcript and type over the existing word to replace with the correct spelling.
Personalize the font, color, alignment, and size
To edit the appearance of your subtitles, click on your captions on the video preview. This will open up different options on the property panel. Next, click on the text tab on the property panel. Here, you can edit the font, size, alignment, and colors. You can explore advanced text settings such as letter spacing and shadows, which can increase the accessibility of your video.
Step 4. Save your video with subtitles
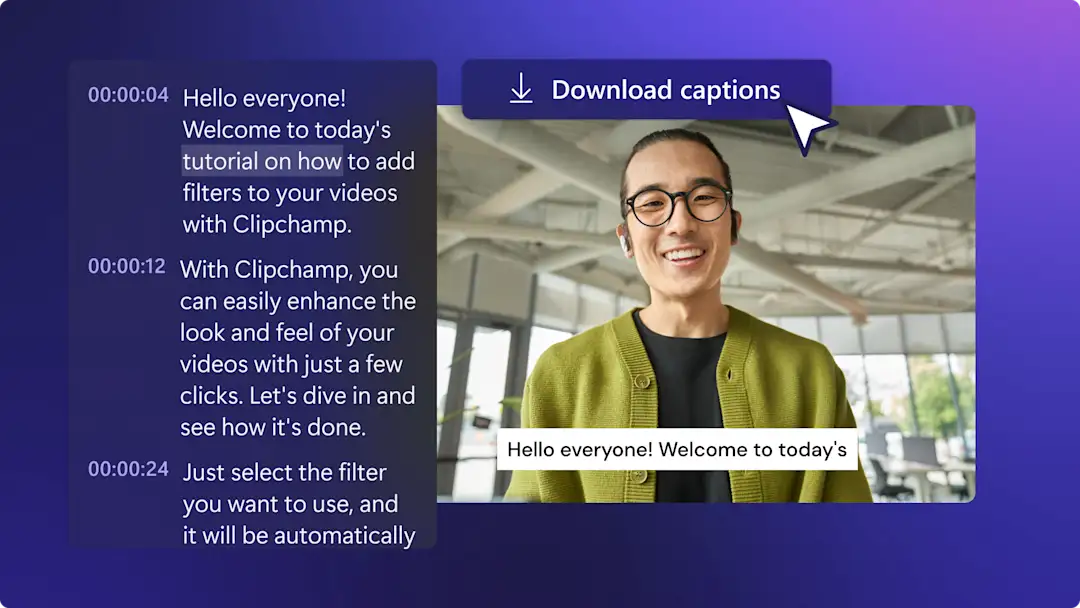
Before saving your video, don't forget to download your SRT transcript file by clicking on the download captions button in the captions tab on the property panel. Your captions will download to your device.
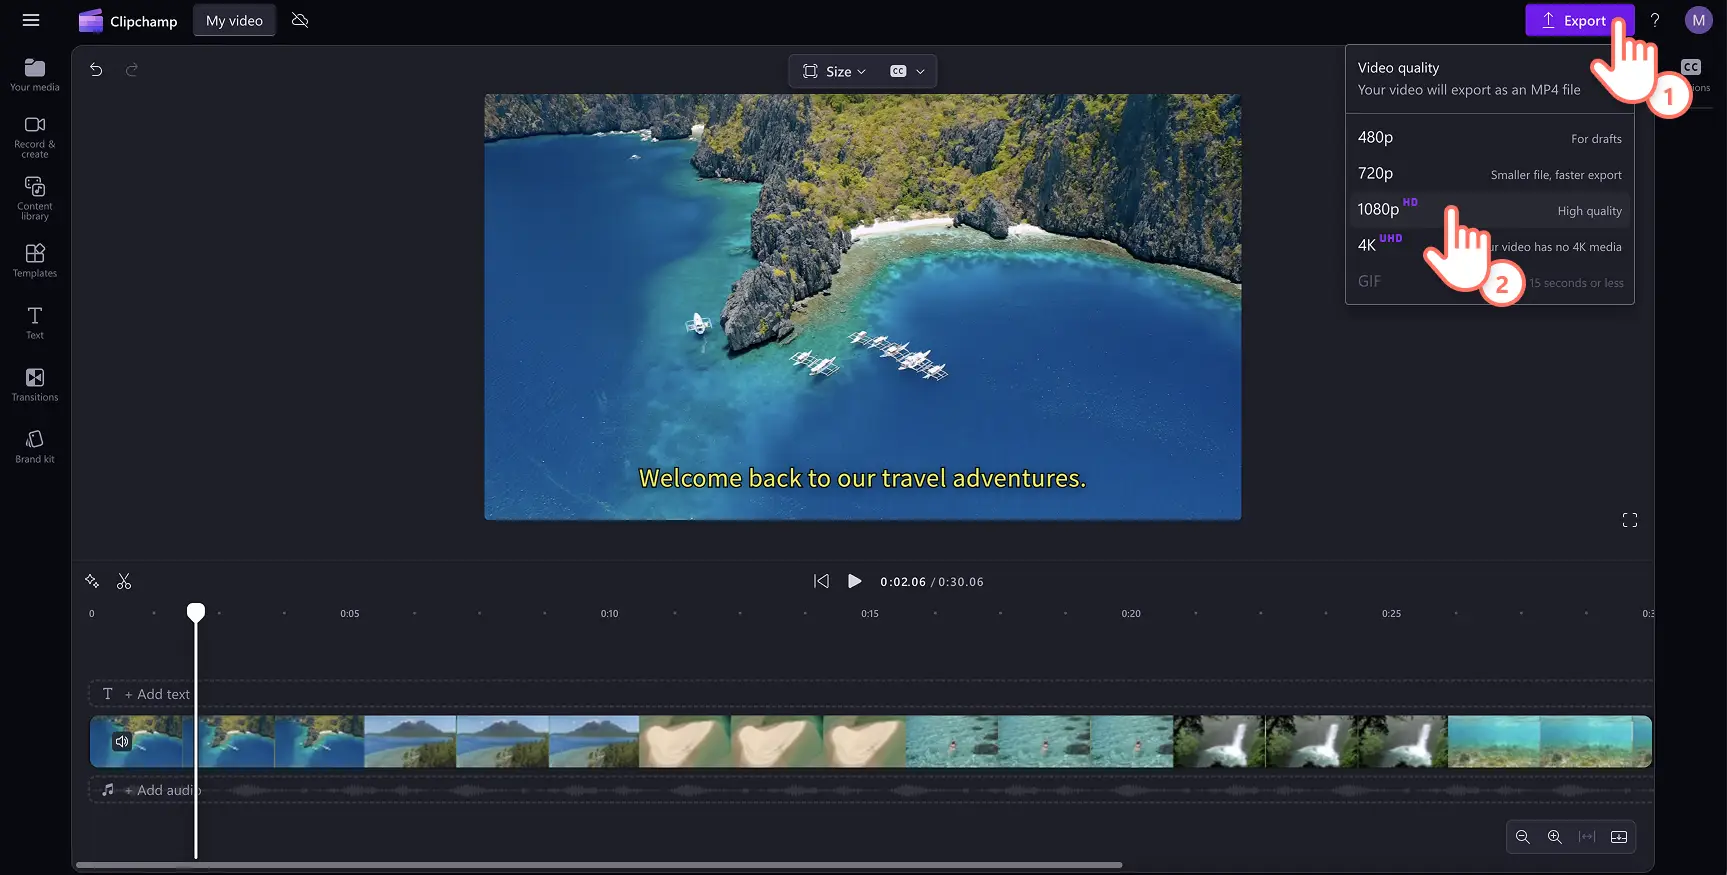
Make sure to preview by clicking on the play button. You can also set the video up with automatic subtitles or transcripts. When you’re ready to save, click the export button and select a video resolution.
For more help, check out our how to add subtitles to video YouTube tutorial.
How to add subtitles to Instagram videos
Follow these steps to learn how to add subtitles to Instagram videos in a few minutes with Clipchamp:
Import your Instagram video or create a new video using stock footage.
Click on the captions tab, then click on the transcribe media button.
A popup window will appear. Click on the transcribe media button to create automatic subtitles for your video.
Click on the export button to save your Instagram video with subtitles in 1080p video resolution.
How to add subtitles to YouTube videos
Follow these steps to learn how to add subtitles to your YouTube video using automatic captions in Clipchamp:
Import your YouTube video or create a new video using stock footage.
Click on the captions tab, then click on the transcribe media button.
A popup window will appear. Click on the transcribe media button to create subtitles for your video automatically.
Click on the export button to save your YouTube video with subtitles in 1080p video resolution.
How to remove or turn off subtitles on videos
If you no longer require your video to have automatic subtitles, just follow the steps below to turn off automatic captions.
Click on the captions tab on the property panel.
Click on the turn off autocaptions button in the captions tab.
Your video will now have no subtitles.
You can also toggle on the hide captions in video button if you only want an automatic transcript without captions. For more help, check out our autocaptions tutorial.
5 reasons to add subtitles to your videos
Improve video accessibility: adding subtitles to videos creates inclusive content for audiences, like the deaf or hard of hearing communities.
Increase user watch time: if you're looking to improve video or YouTube channel engagement, video captions can highlight important information that will help viewers follow your content easily.
Overcome any language or accent barriers: sometimes voices within videos can be hard to understand due to different languages or accents. Adding subtitles empowers all viewers to follow along by catering to non-native-speaking viewers.
Boost your videos searchability and SEO: video subtitles and transcripts can make content more visible in search as all relevant keywords are indexable. If you want to increase watch time, engagement, and generate a wider audience, add subtitles to videos.
Enhance viewers learning: subtitles are the perfect way to help improve learning and comprehension in educational videos like tutorials and PowerPoint presentations. If viewers are unable to use headphones or are watching in loud surroundings, automatic subtitles let them watch, listen, and read all at once.
Frequently asked questions
Can I generate subtitles in multiple languages in one video?
The autocaptions feature in Clipchamp video editor currently allows you to generate automatic subtitles in one language per video.
Should I use captions or subtitles?
Both captions and subtitles serve different purposes for your video, but both options add a different value to it. Determine if you would like to translate the language that’s spoken in your video or add a text-based representation or automatic transcript of all your video’s audio.
Can I add subtitles to my video voiceover?
We highly recommend adding subtitles to videos that include an AI voiceover or voice recording using the subtitle generator. Captions are essential for increasing your video's accessibility and online reach.
How to add subtitles to YouTube videos?
Before saving your YouTube video, add automatic subtitles using the autocaptions feature. Once captions are added, save and upload your video directly to YouTube. For more help, check out the autocaptions help article.
Is the Clipchamp subtitle generator safe and private?
The subtitles are created using advanced speech recognition technology without any human input. Your audio files are not stored by Clipchamp so the subtitle generator is safe and private.
Now that you've mastered subtitles, learn about the best fonts for social media, or how to create an AI voiceover in a few clicks.
Start editing today with the Clipchamp video editor or download the Microsoft Clipchamp Windows app.


