On this page
Keep viewers engaged with exciting and stylish spin transitions in videos.
Scene transitions are a creative way to smoothly switch from one clip to the next while instantly capturing attention. Use the spin video transition to dynamically summarize in YouTube outros, showcase key moments in sports highlight videos, or energetically unveil products in Instagram sale ads.
Learn how to add spin video transitions with sound effects and adjust the settings quickly and easily in Clipchamp video editor.
How to add the spin video transition between clips
Step 1. Import media or select stock videos
To upload video or image files, click on the import media button in the your media tab on the toolbar to browse computer files, or connect your OneDrive.
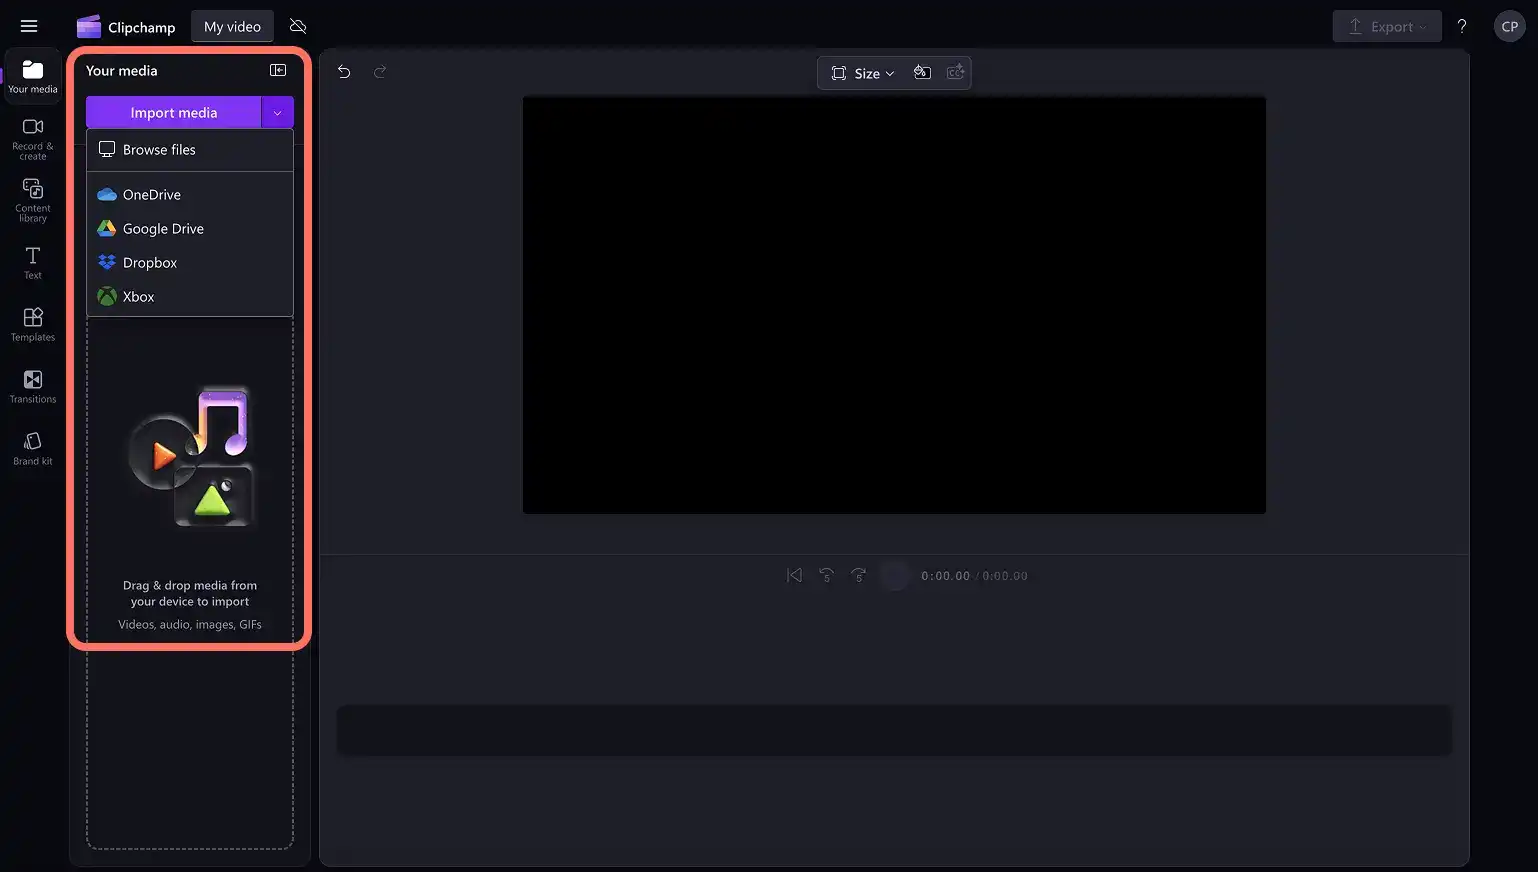
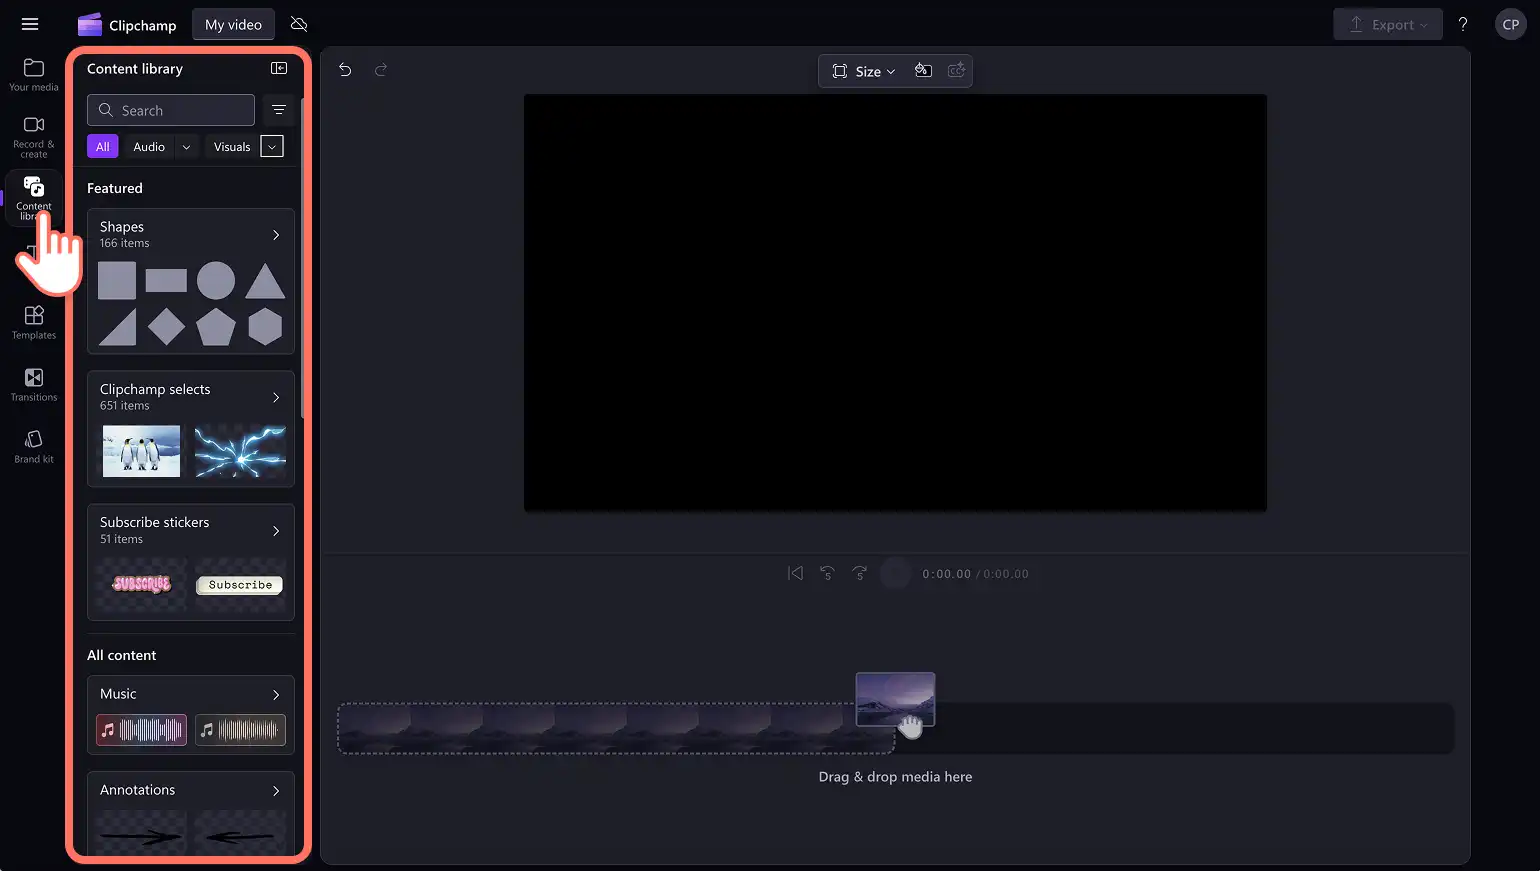
Search through the royalty-free video library to find free and premium stock videos. Click on the content library tab on the toolbar and click on the visuals drop down arrow, then videos. You can browse the different stock categories using keywords in the search bar as well.
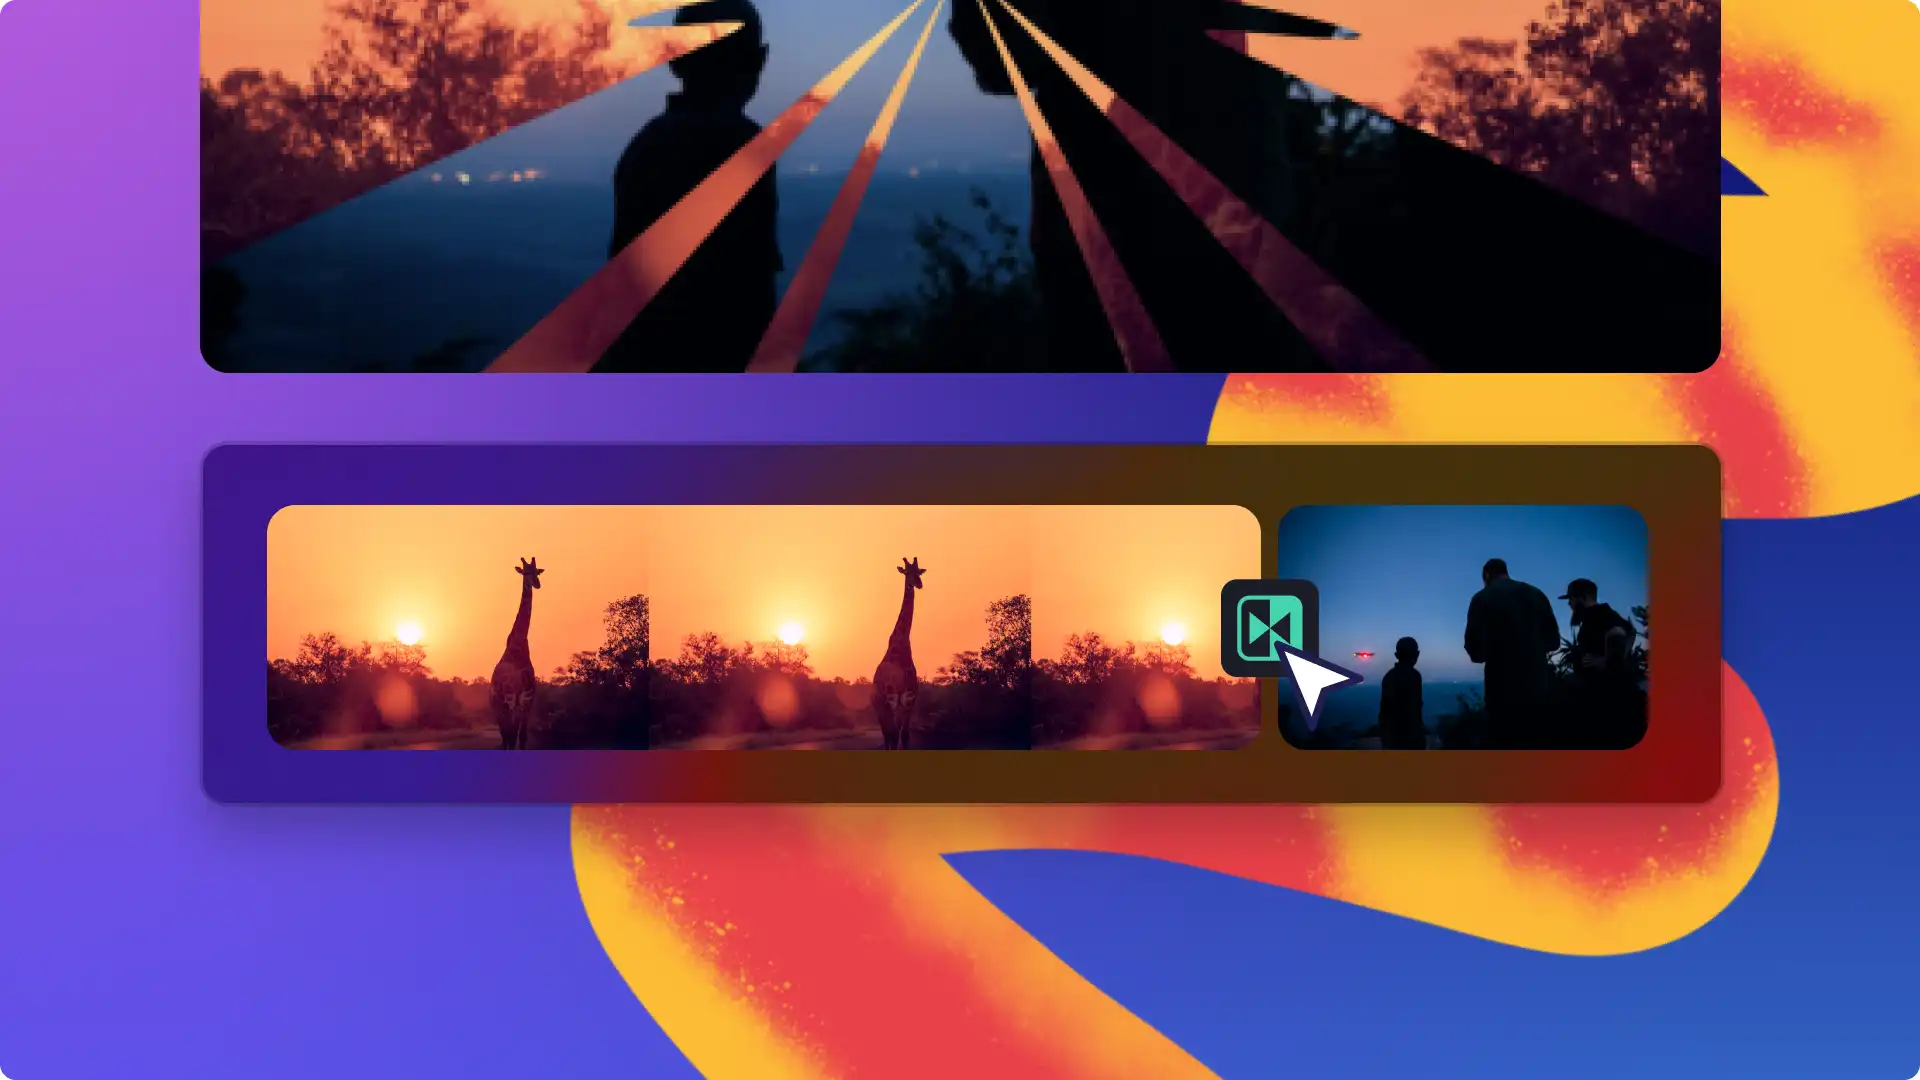
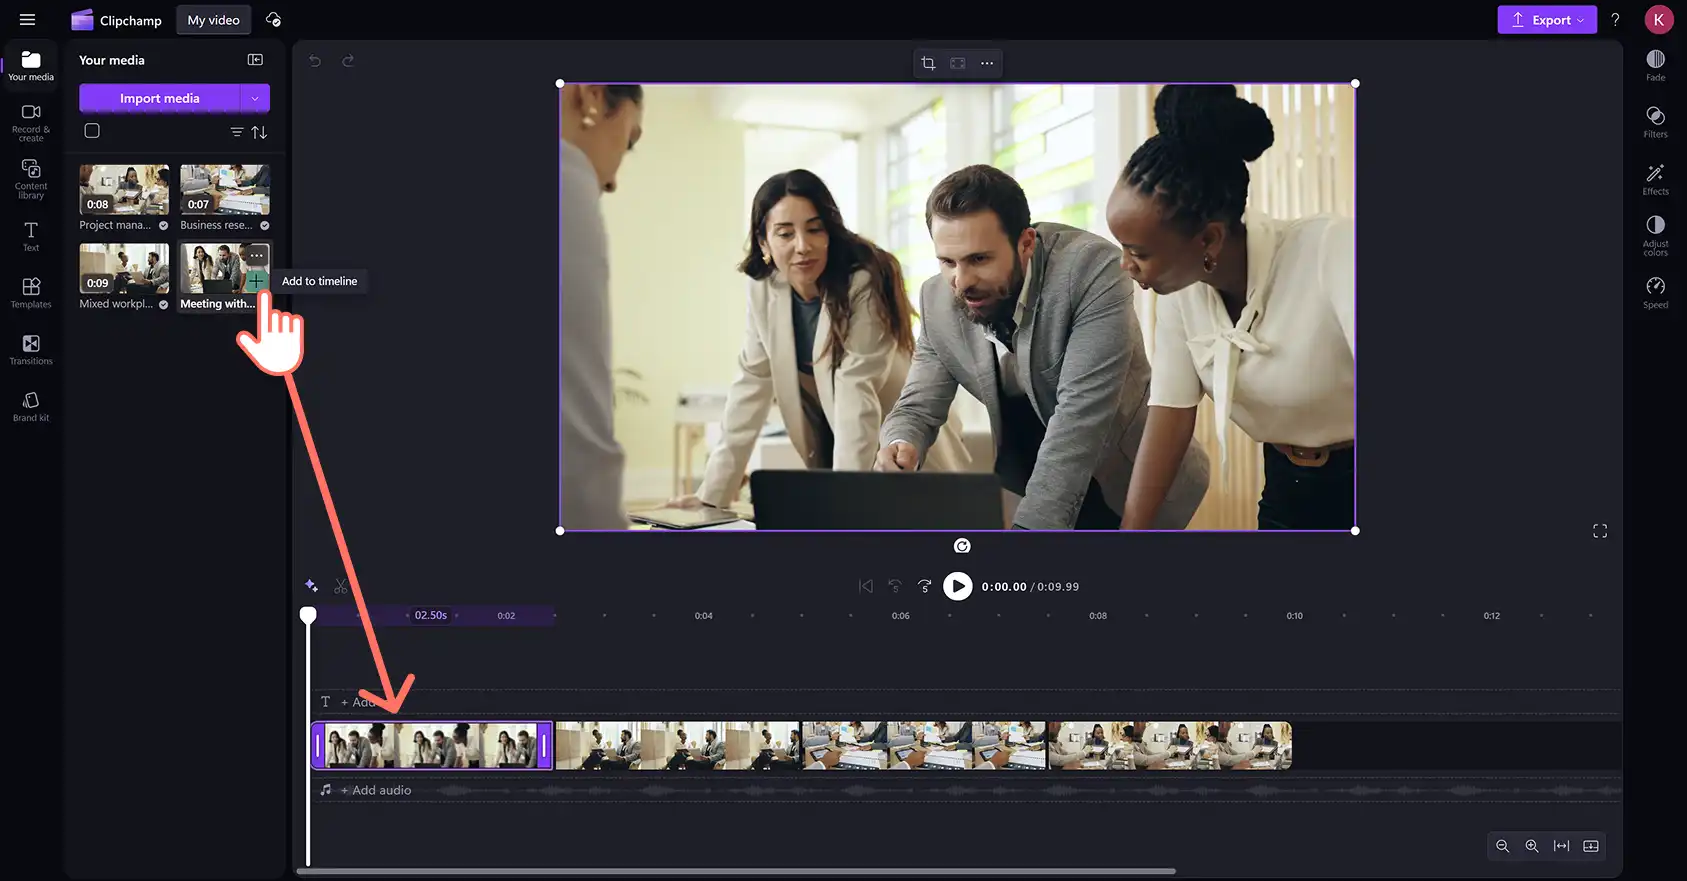
Next, drag and drop video clips to the timeline. Make sure to place each video asset side by side on the timeline without any gaps.
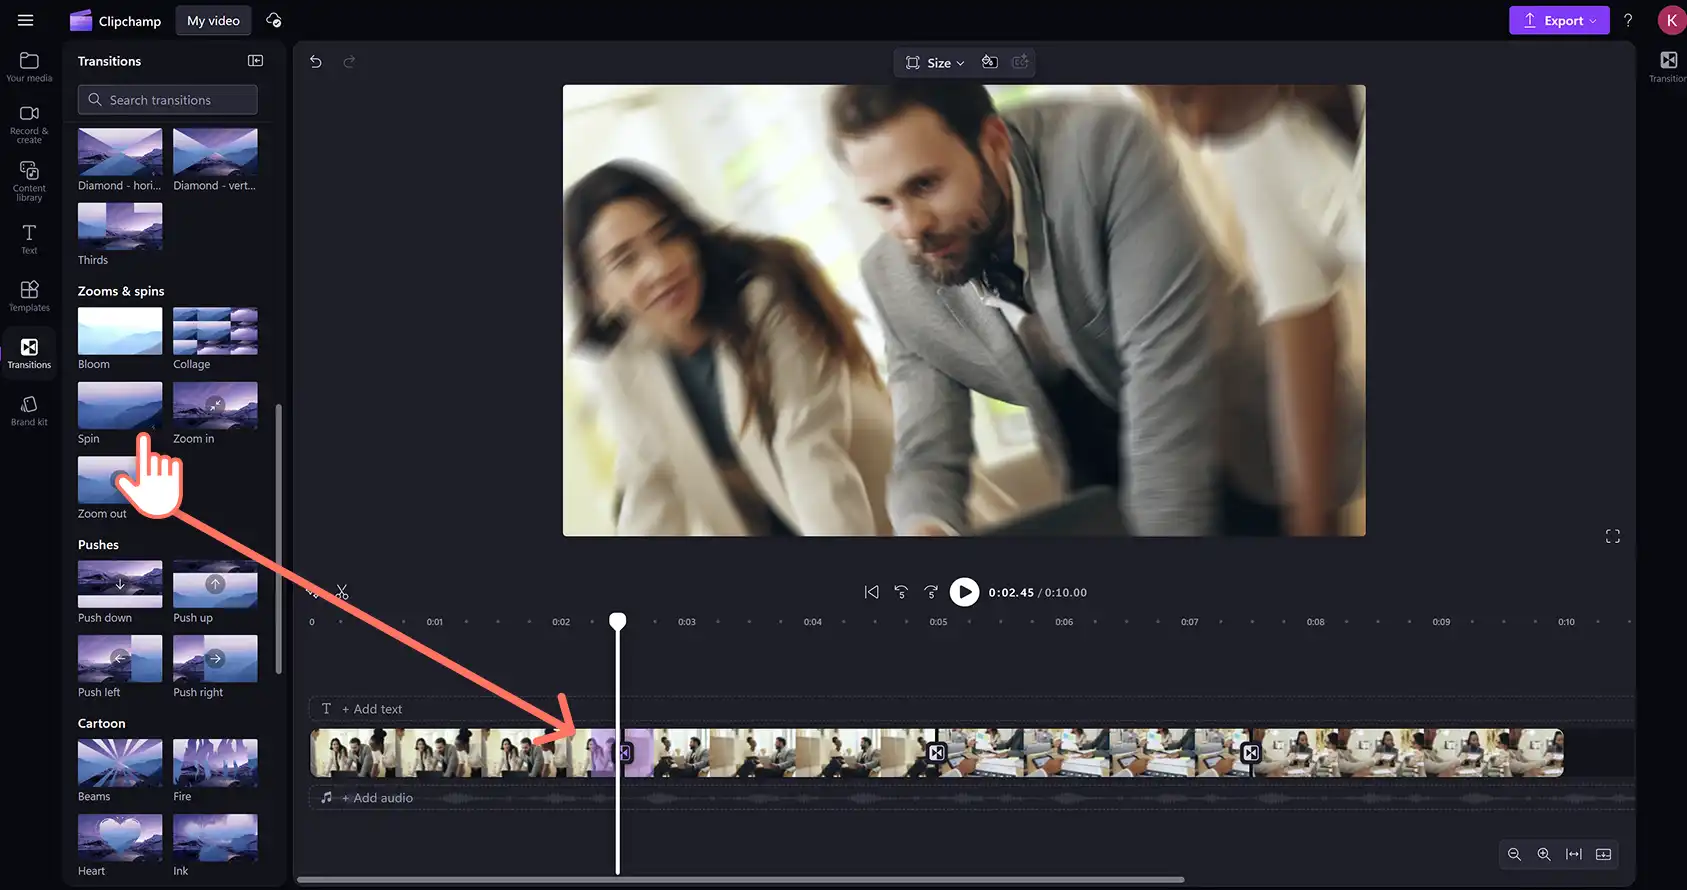
Step 2. Apply the spin video transition
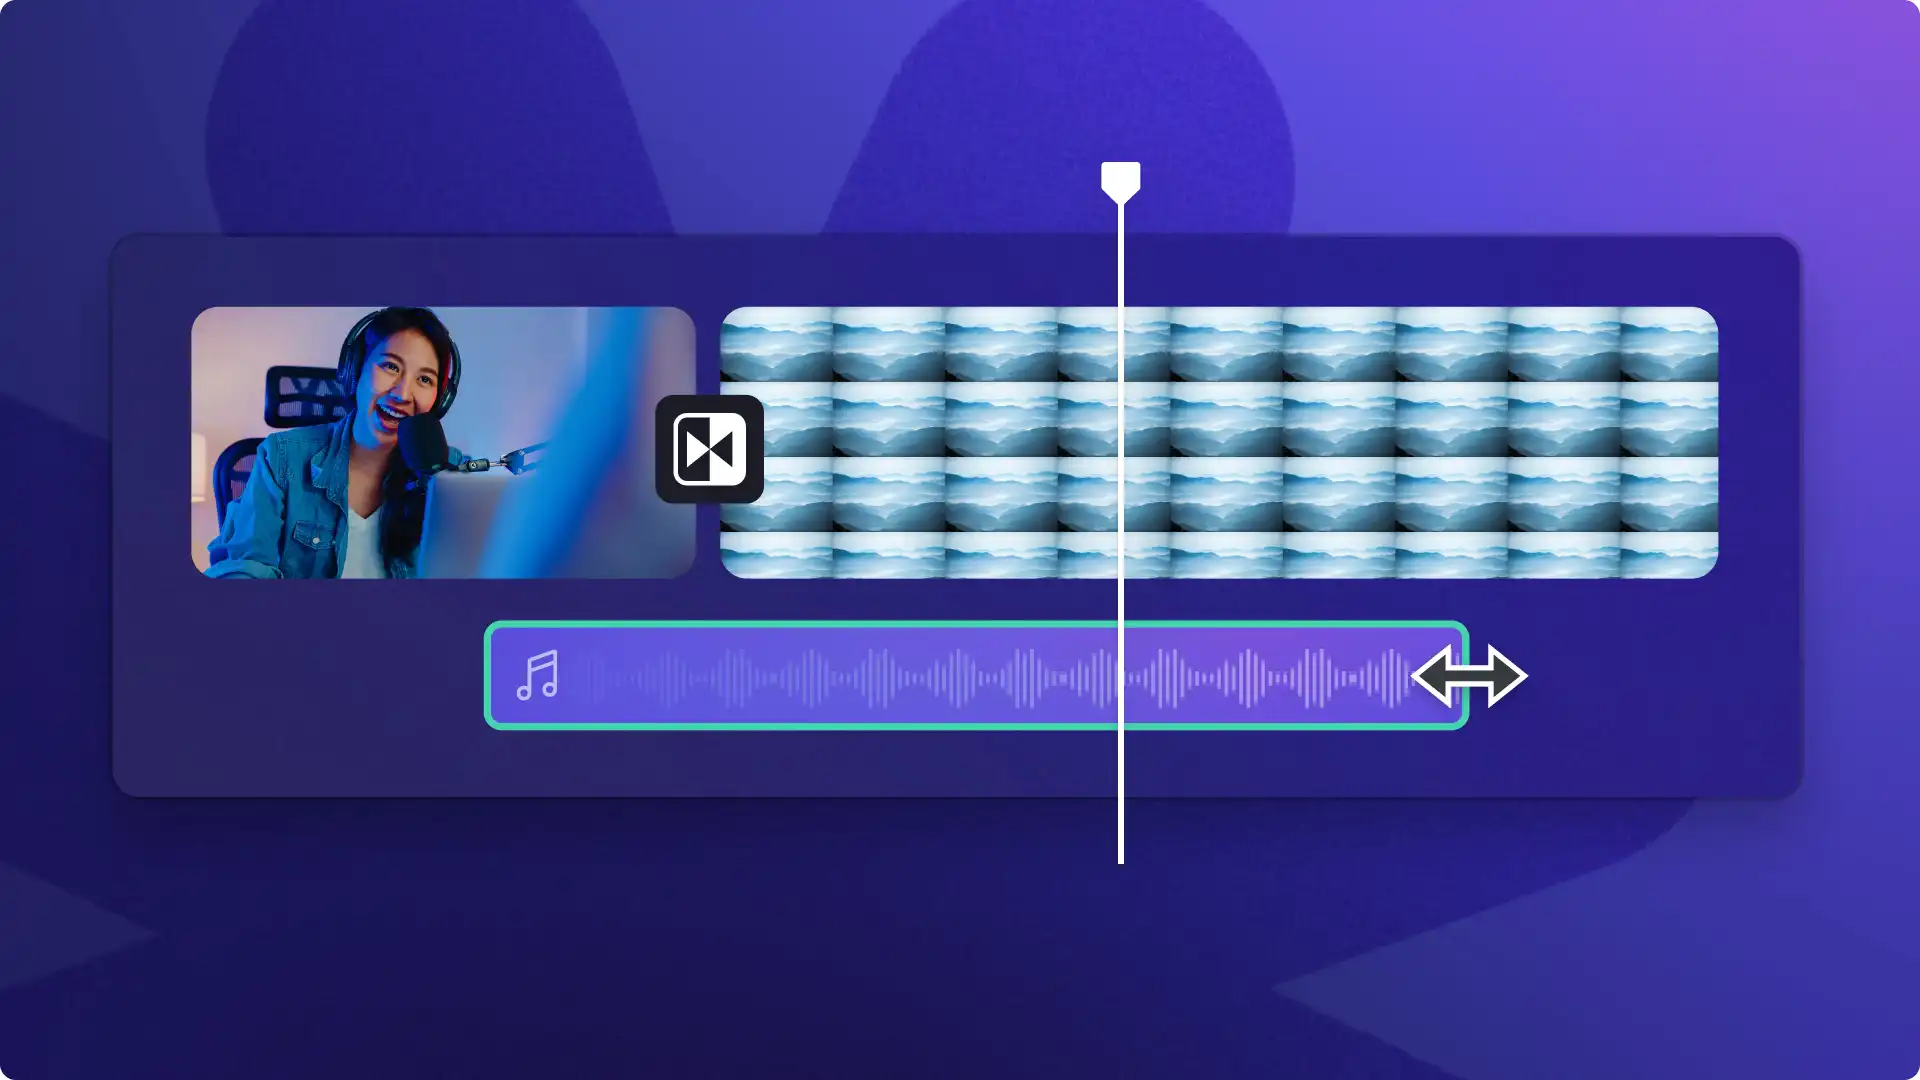
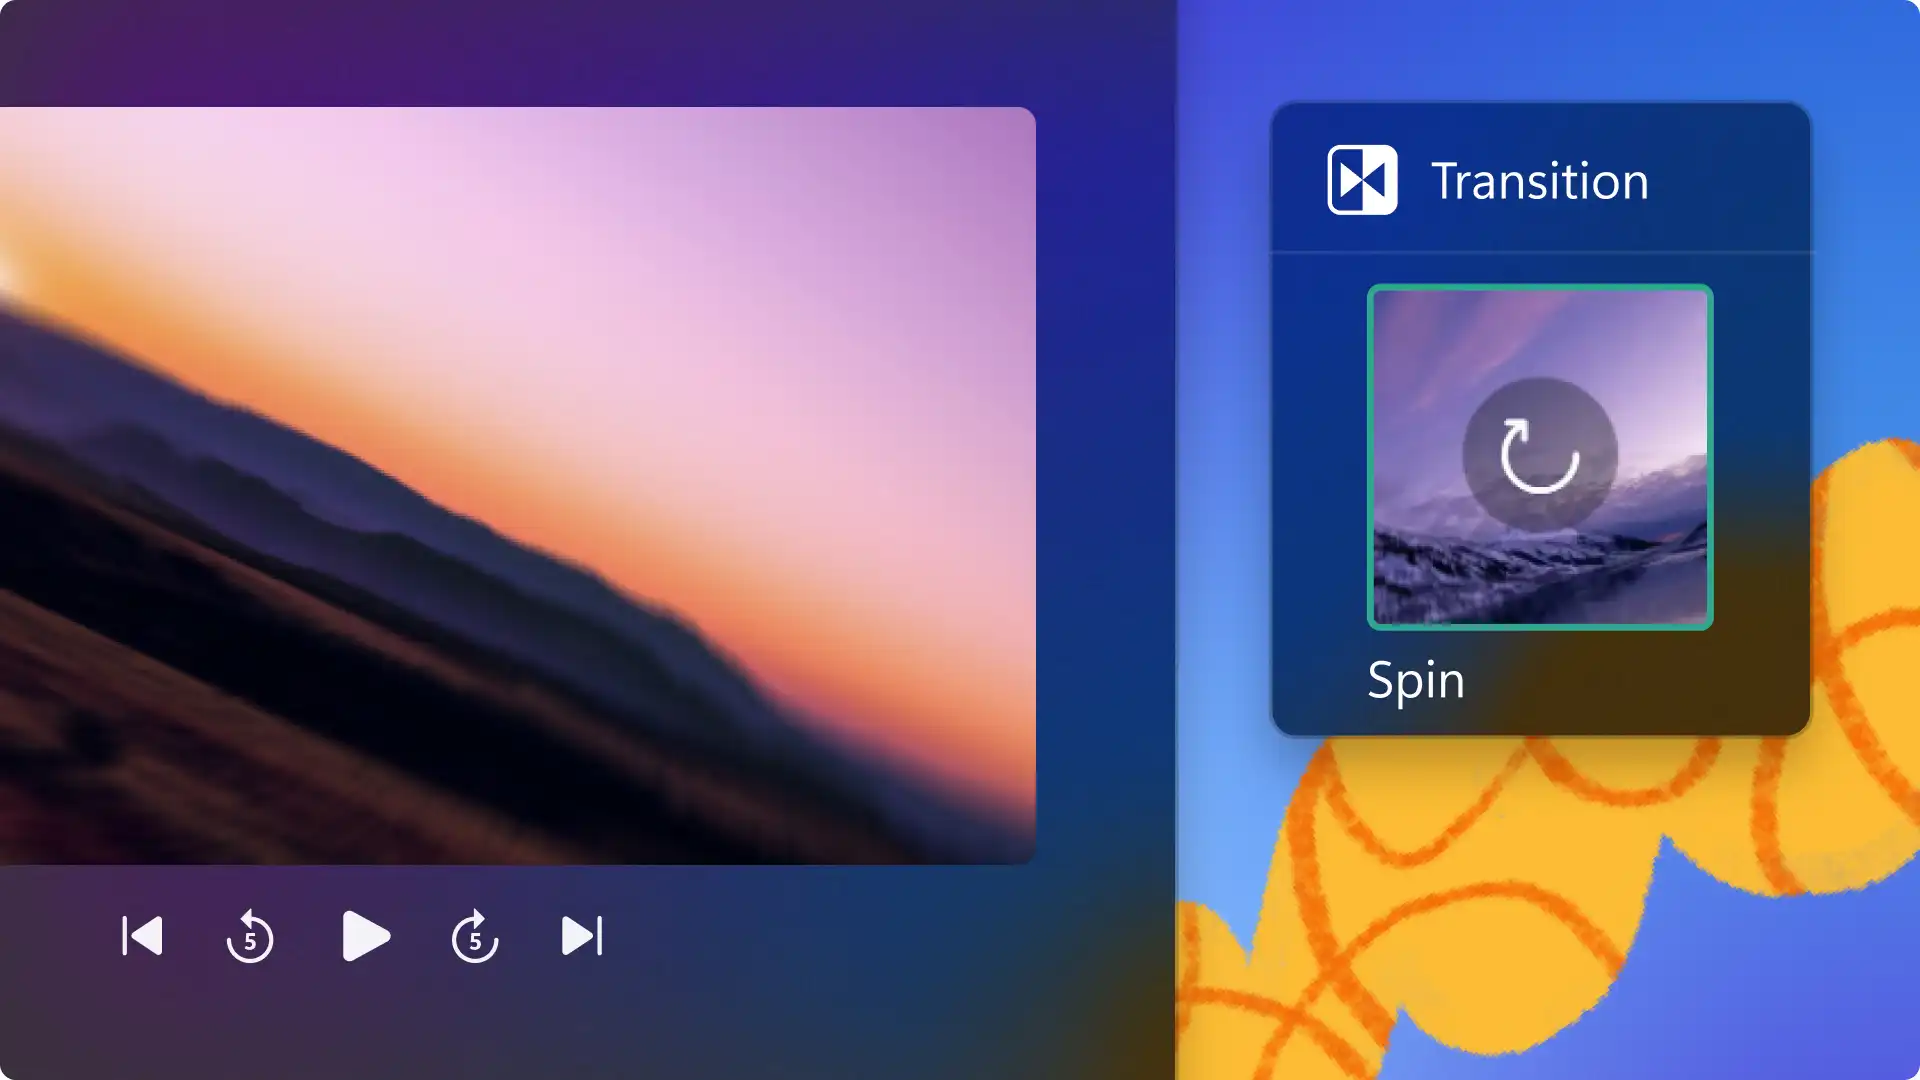
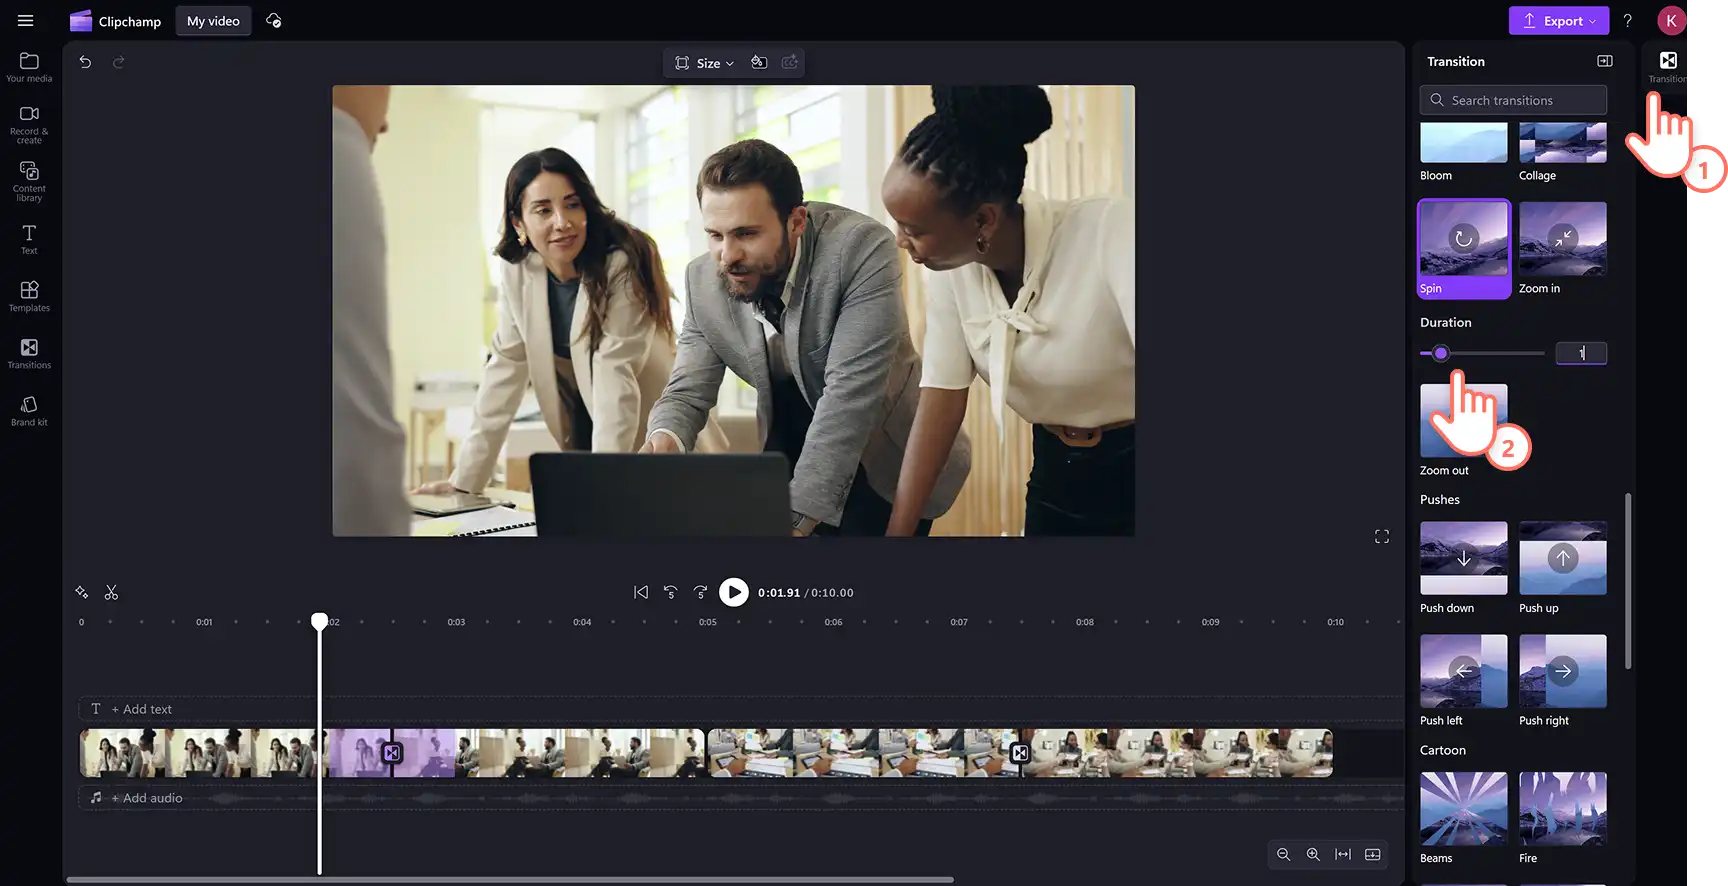
To add a spin transition between two clips, click on the transitions tab on the toolbar. Scroll through the different options until you find the spin transition. Drag and drop the spinning video effect between two clips on the timeline and the transition will automatically snap into place.
You can edit the duration of the spin transition by clicking on the transition tab on the property panel. Drag the duration slider left or right or enter in a number to change the running time of the spin transition.
Step 3. Add sound effects to spin transitions
Make spin transitions playful and engaging by adding a sound effect. Click on the content library tab on the toolbar then click on the audio drop down arrow, then sound effects.
Drag and drop a sound effect onto the timeline on the same timestamp as the spin transition. You can then adjust sound levels by clicking on the audio tab on the property panel and sliding the volume booster up or down.

Step 4. Preview and save your video
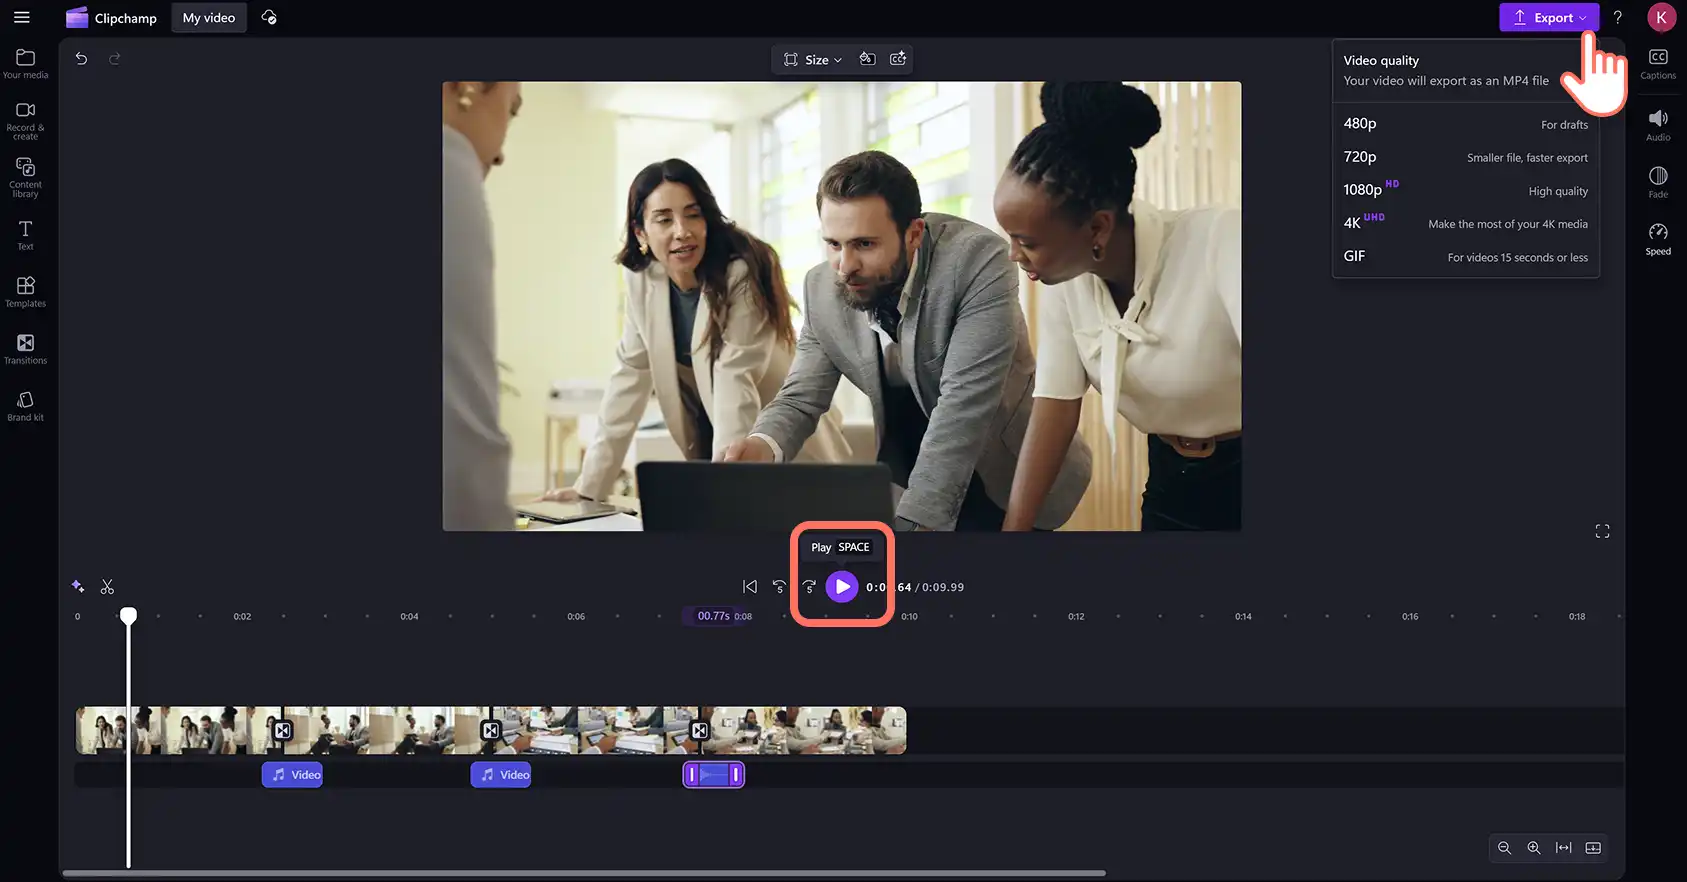
After you’ve finished editing, preview the video by clicking on the play button. When you're ready to save, click on the export button and select a video resolution to start exporting.
Watch how to add transitions to videos
Learn how to add spin and other transitions to videos in this beginner-friendly YouTube tutorial.
Five ways to level up videos with the spin transition
Create a sense of motion in travel highlight videos when changing from fast paced action to dramatic landscapes.
Hold students’ attention in online learning videos by using the spin transition to introduce new topics.
Generate excitement after an intro clip or add a smooth outro transition from video to logo animation in YouTube videos.
Bring some energy and engagement to corporate videos when shifting between topics or running through key company milestones.
Instantly hook potential buyers in Instagram video ads when showcasing products or customer testimonials.
For more engaging video editing techniques, learn how to change video aspect ratios for different platforms and how to make seamless video loops.
Add captivating transitions to your videos for free online in Clipchamp or download the Microsoft Clipchamp Windows app.
Heads up! The screenshots in this article are from Clipchamp for personal accounts. The same principles apply to Clipchamp for work and school accounts.