On this page
Transform business communications and important messages with corporate explainer videos. Connect with viewers and increase engagement while sharing complex ideas, mission statements, and product demos.
With over 96% of marketers saying explainer videos increase user understanding, video is the perfect way to enhance communication, retention, and brand awareness in minutes. All you have to do is record your face or voice, edit and customize with AI video tools and special effects, then share videos in HD quality.
Explore how to easily create and edit corporate explainer videos with AI using Clipchamp for work.
How to make explainer videos for work
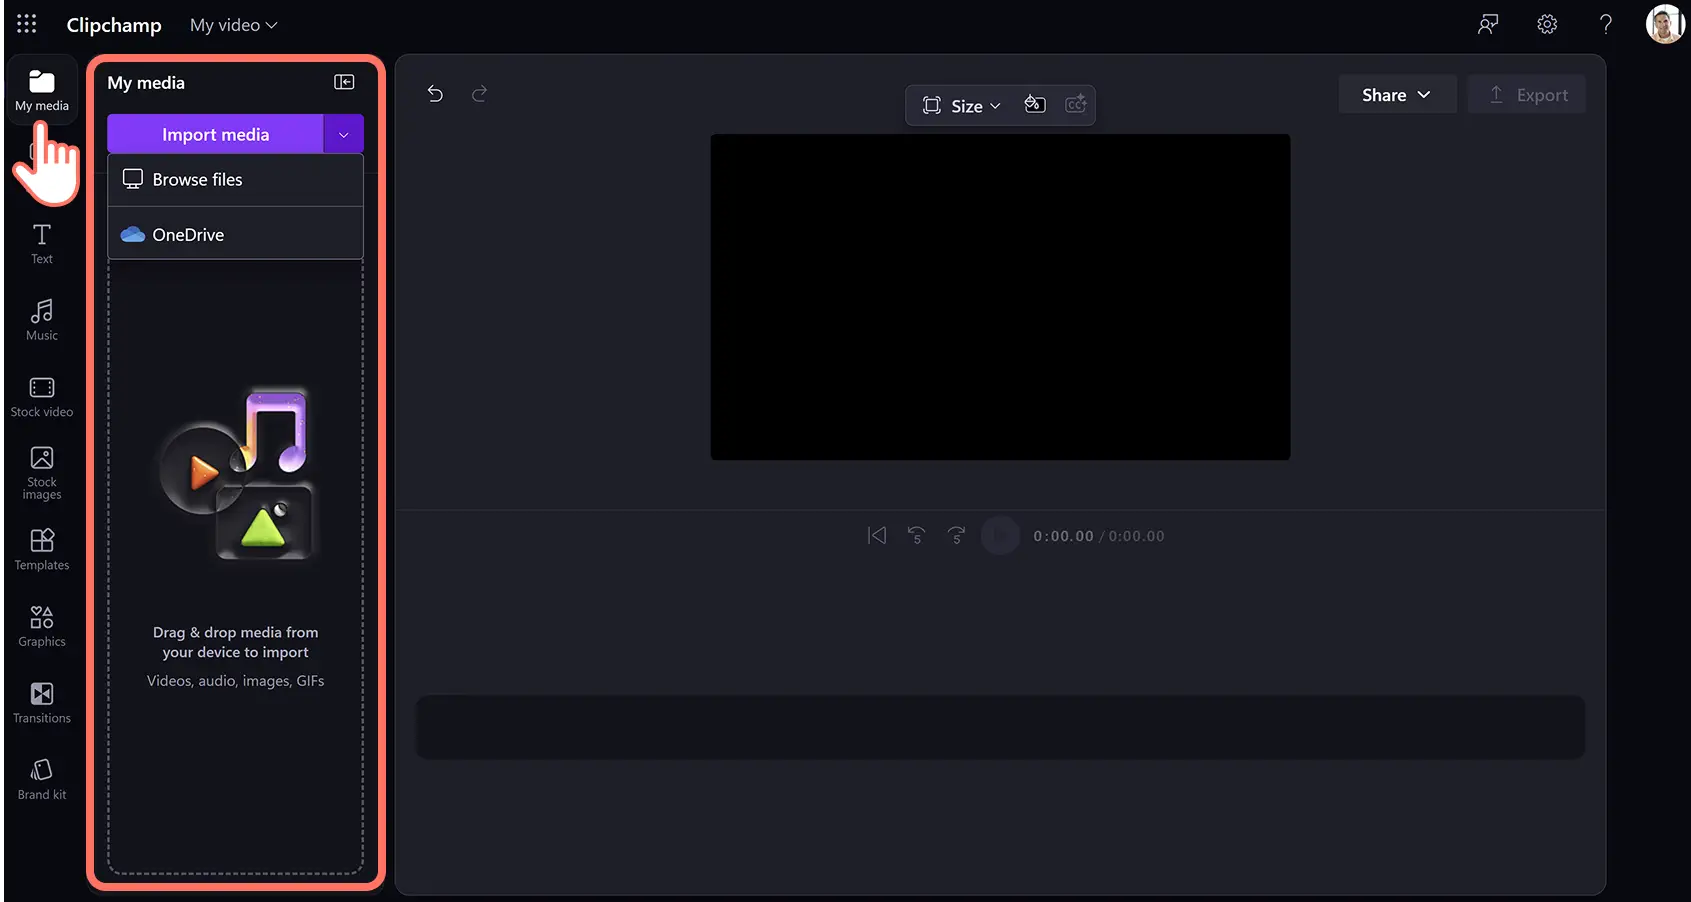
Step 1. Import a video, select stock, or record a video
To import videos, photos, and audio, click on the import media button in the your media tab on the toolbar to browse computer files, or connect OneDrive.
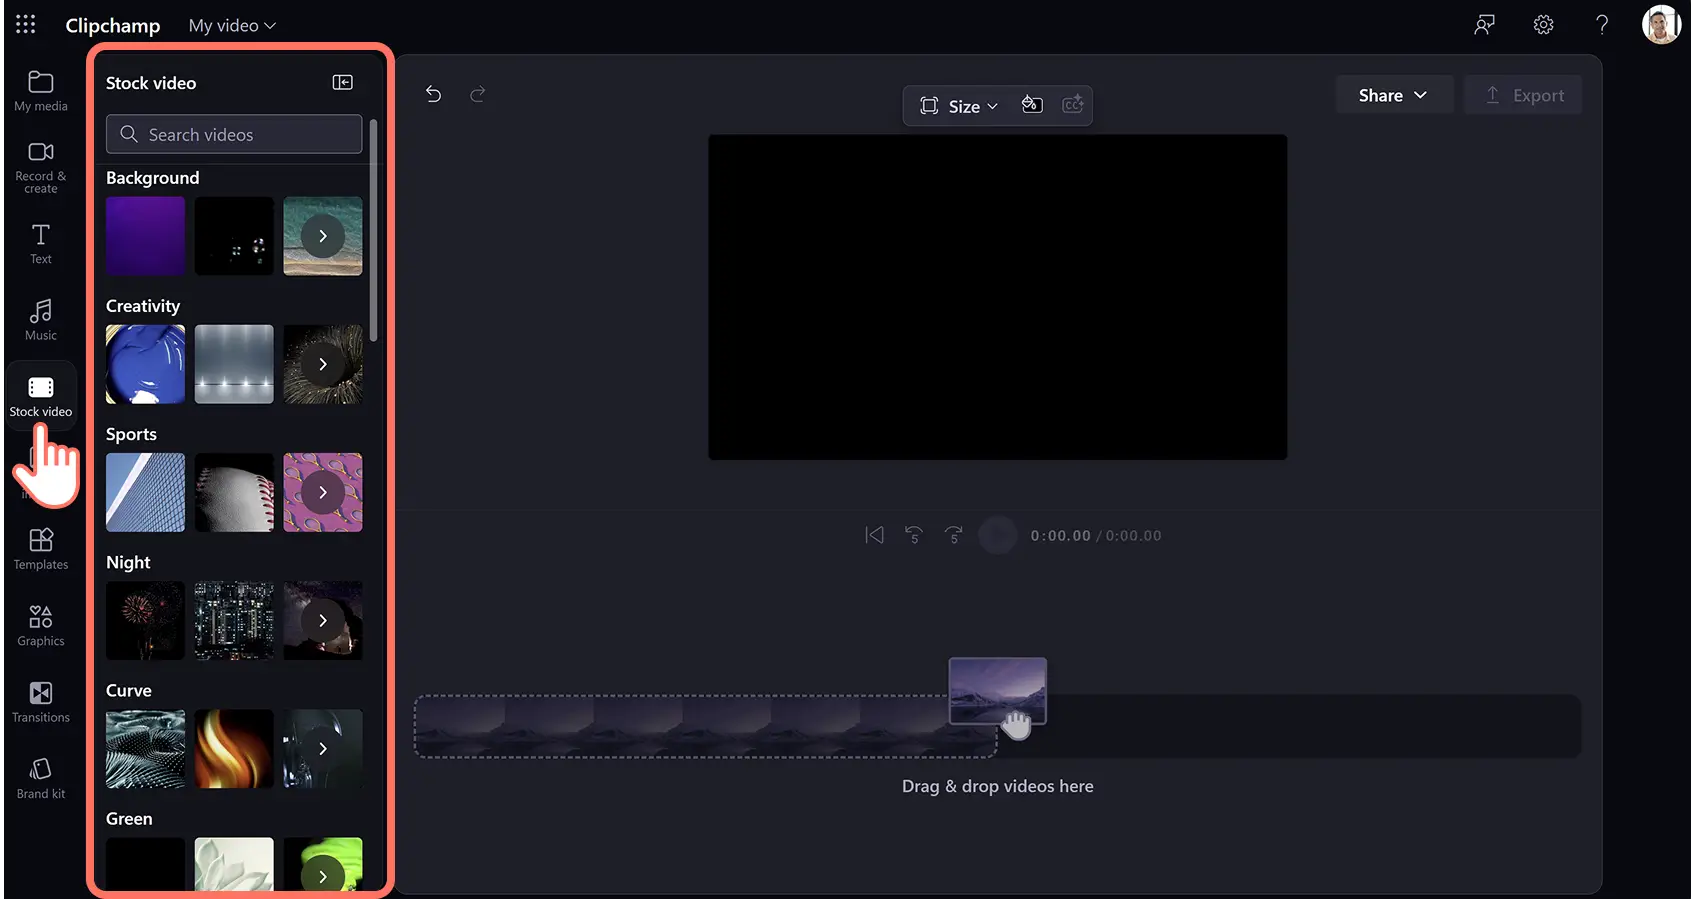
If you would like to use stock footage, click on the stock video tab on the toolbar then select a video category or enter keywords into the search bar.
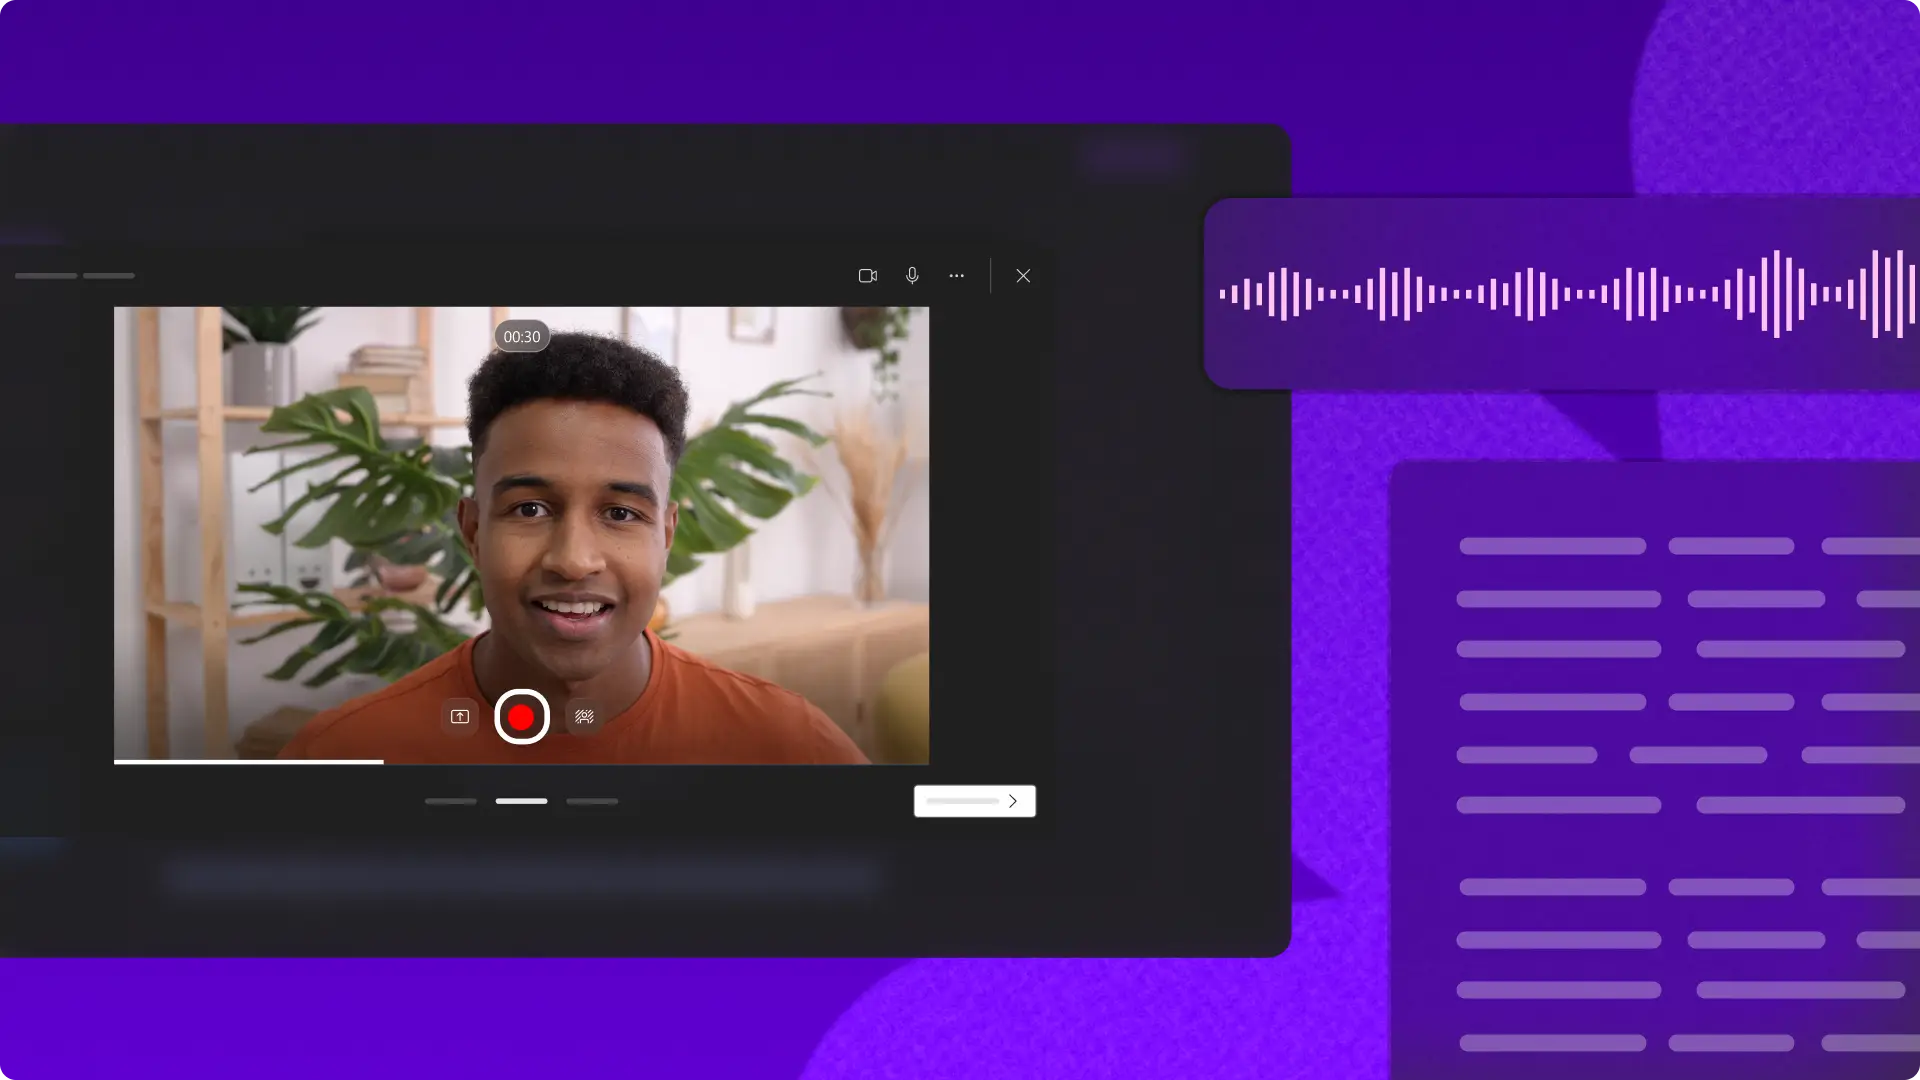
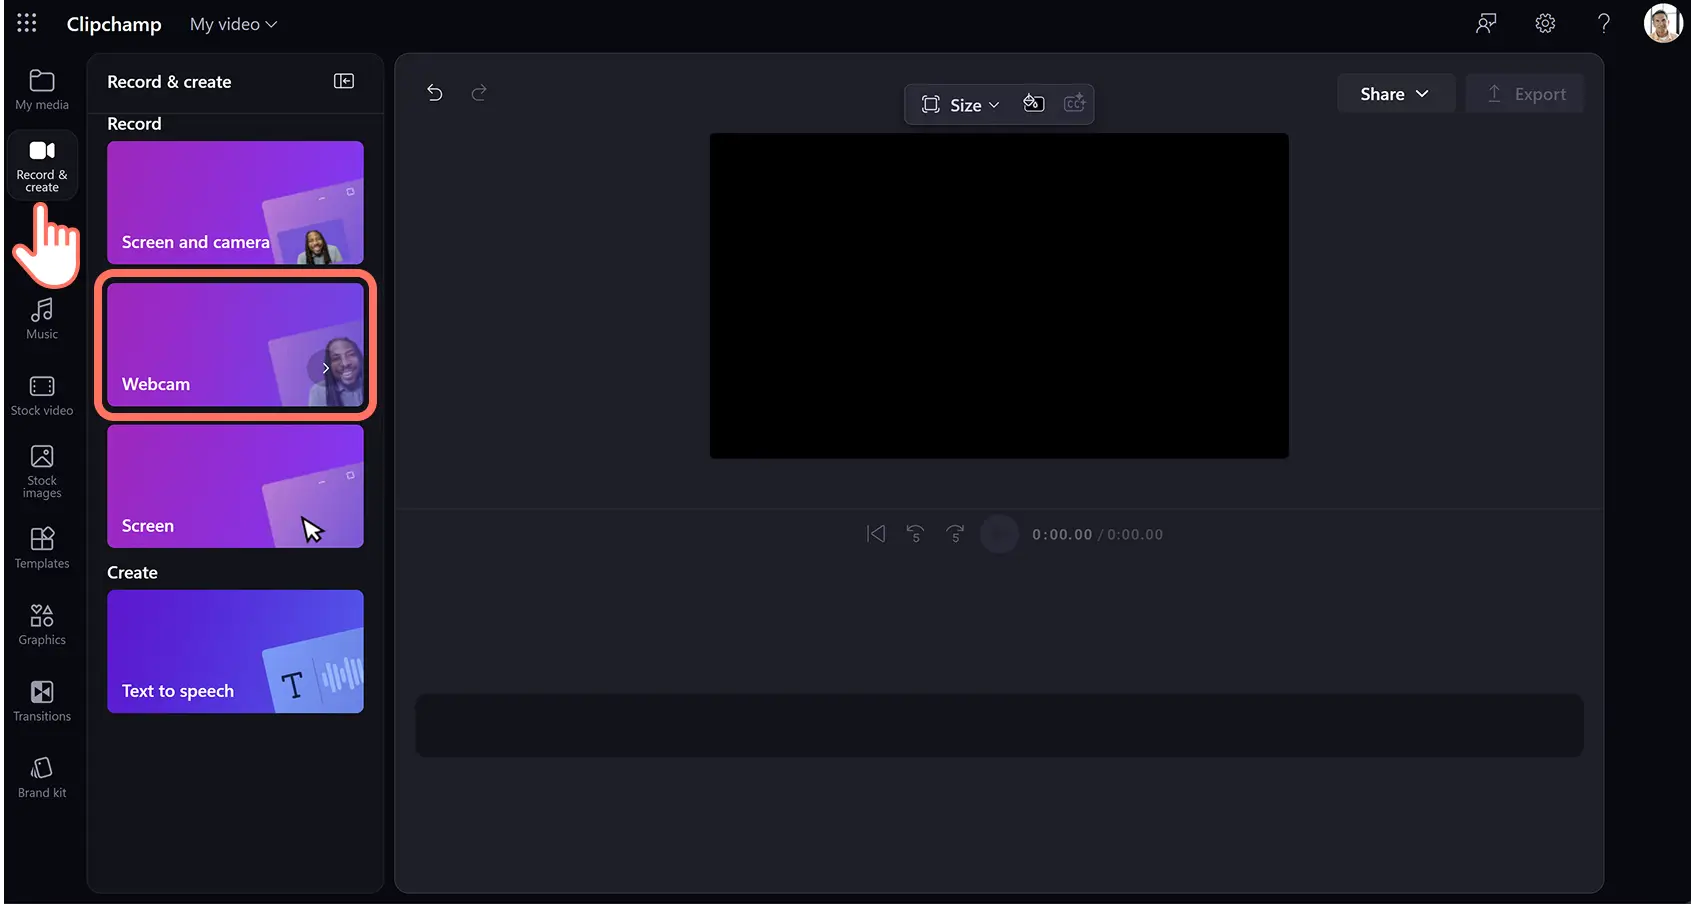
You can also record explainer videos directly in the video editor using the webcam recorder. Click on the record & create tab on the toolbar, then click on the webcam option and follow the prompts.
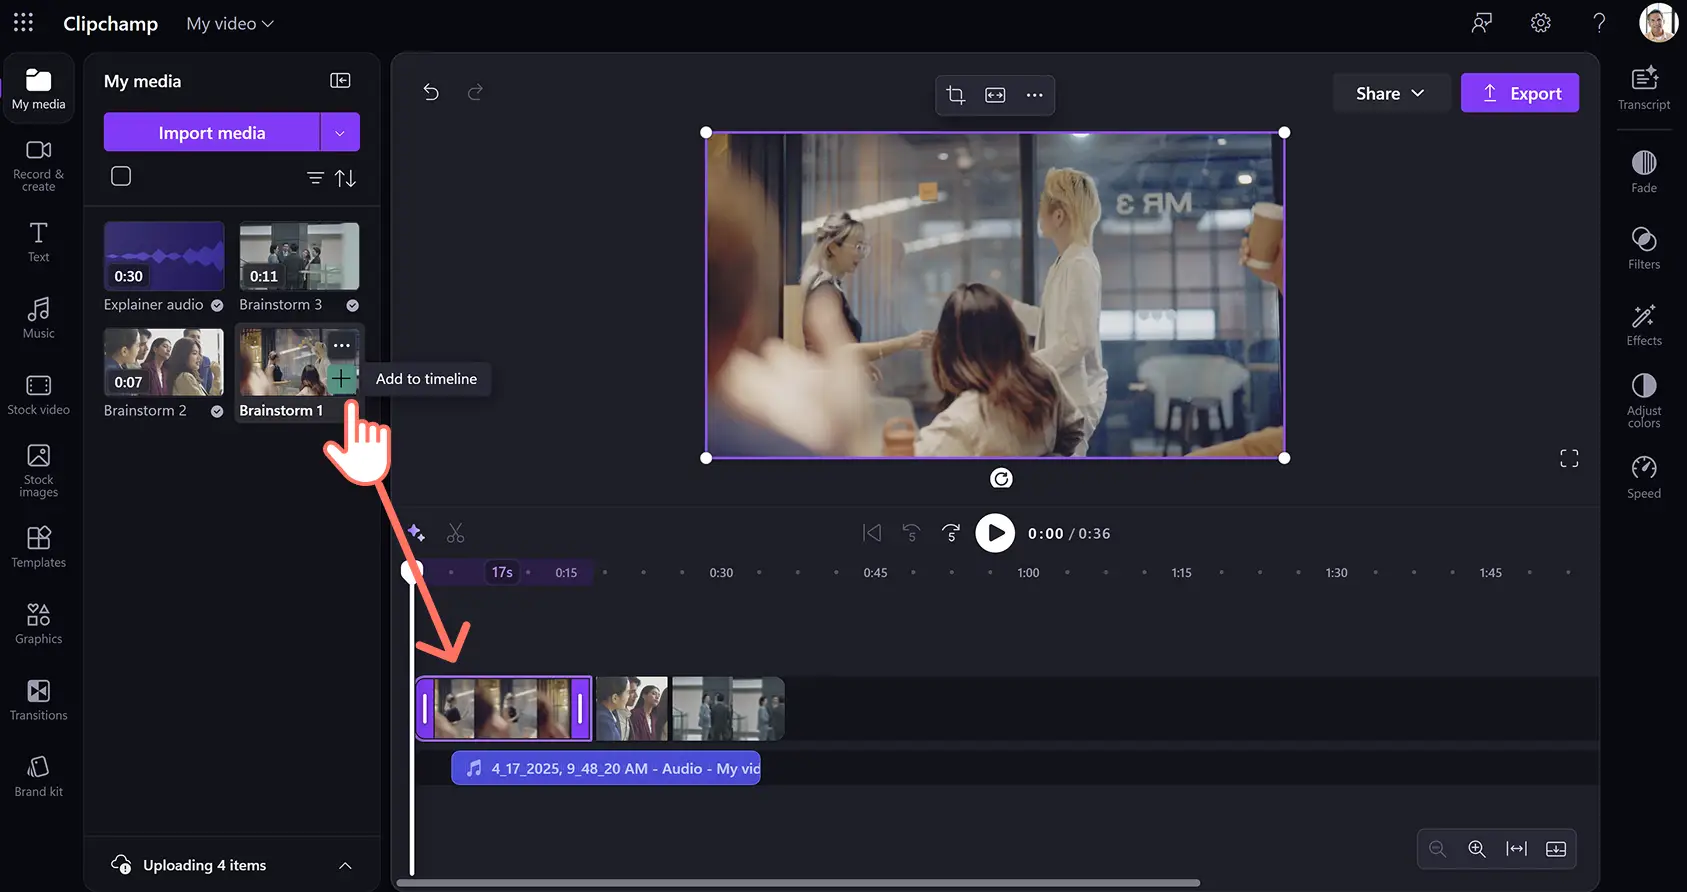
Drag and drop media onto the timeline to start editing.
Step 2. Edit the video quality using AI
Add AI captions to videos
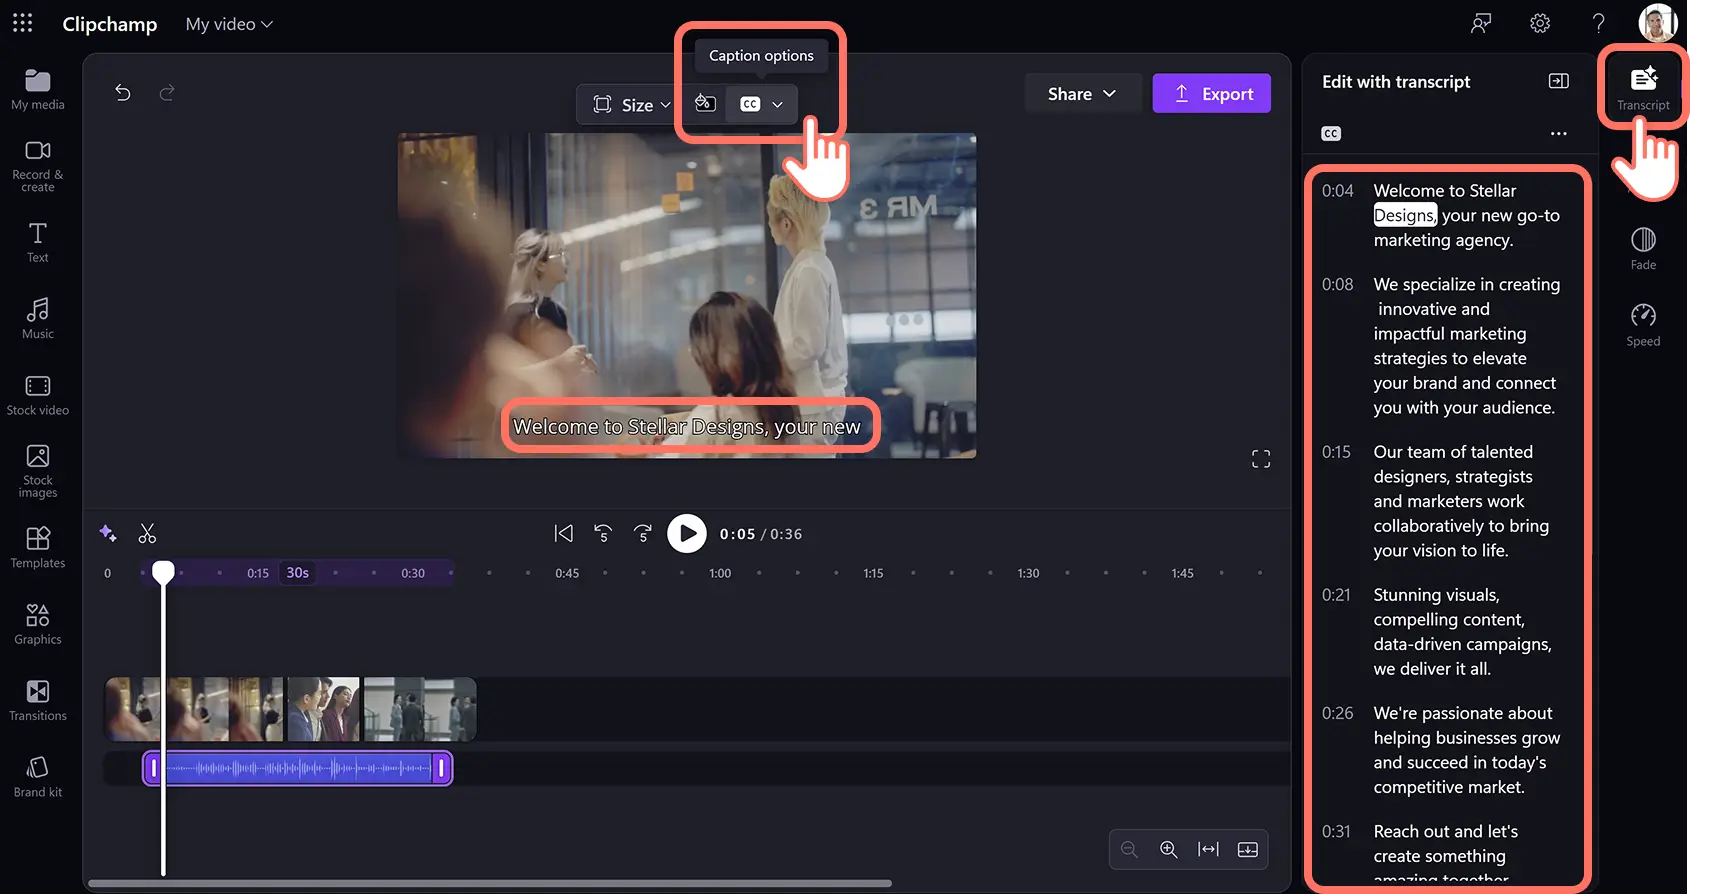
Enable AI subtitles for explainer videos so they're easier to understand. Click on a video or audio asset on the timeline so it's highlighted, then click on the transcript tab on the property panel. Alternatively, you can select the captions option on the floating toolbar when an audio asset is selected on the timeline. Next, click on the generate transcript button and follow the prompts to automatically generate subtitles with AI. You can then edit the transcript inside the textbox within the property panel to make any punctuation or spelling changes.
Remove background noise with AI
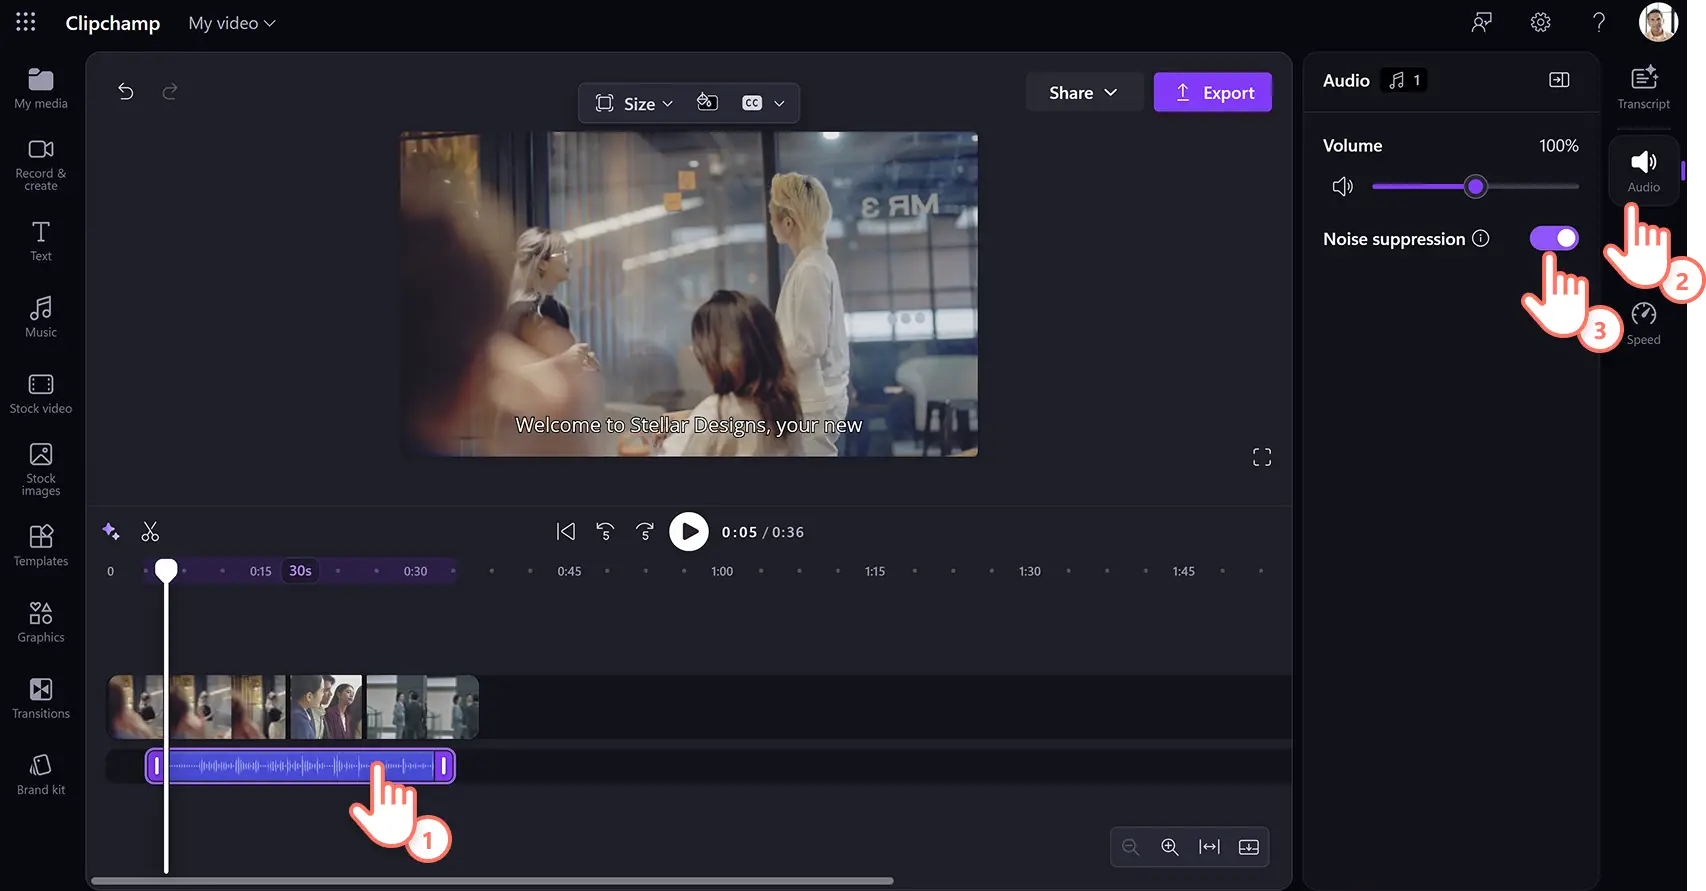
Clean the audio quality of voice recordings and video footage by using the AI audio enhancer to apply noise suppression to sound files. Click on the audio asset on the timeline so it's highlighted, then click on the audio tab on the property panel and switch on the noise suppression toggle. AI will automatically improve the audio quality by filtering out unwanted background noise like hums and echoes.
Adjust video quality and colors
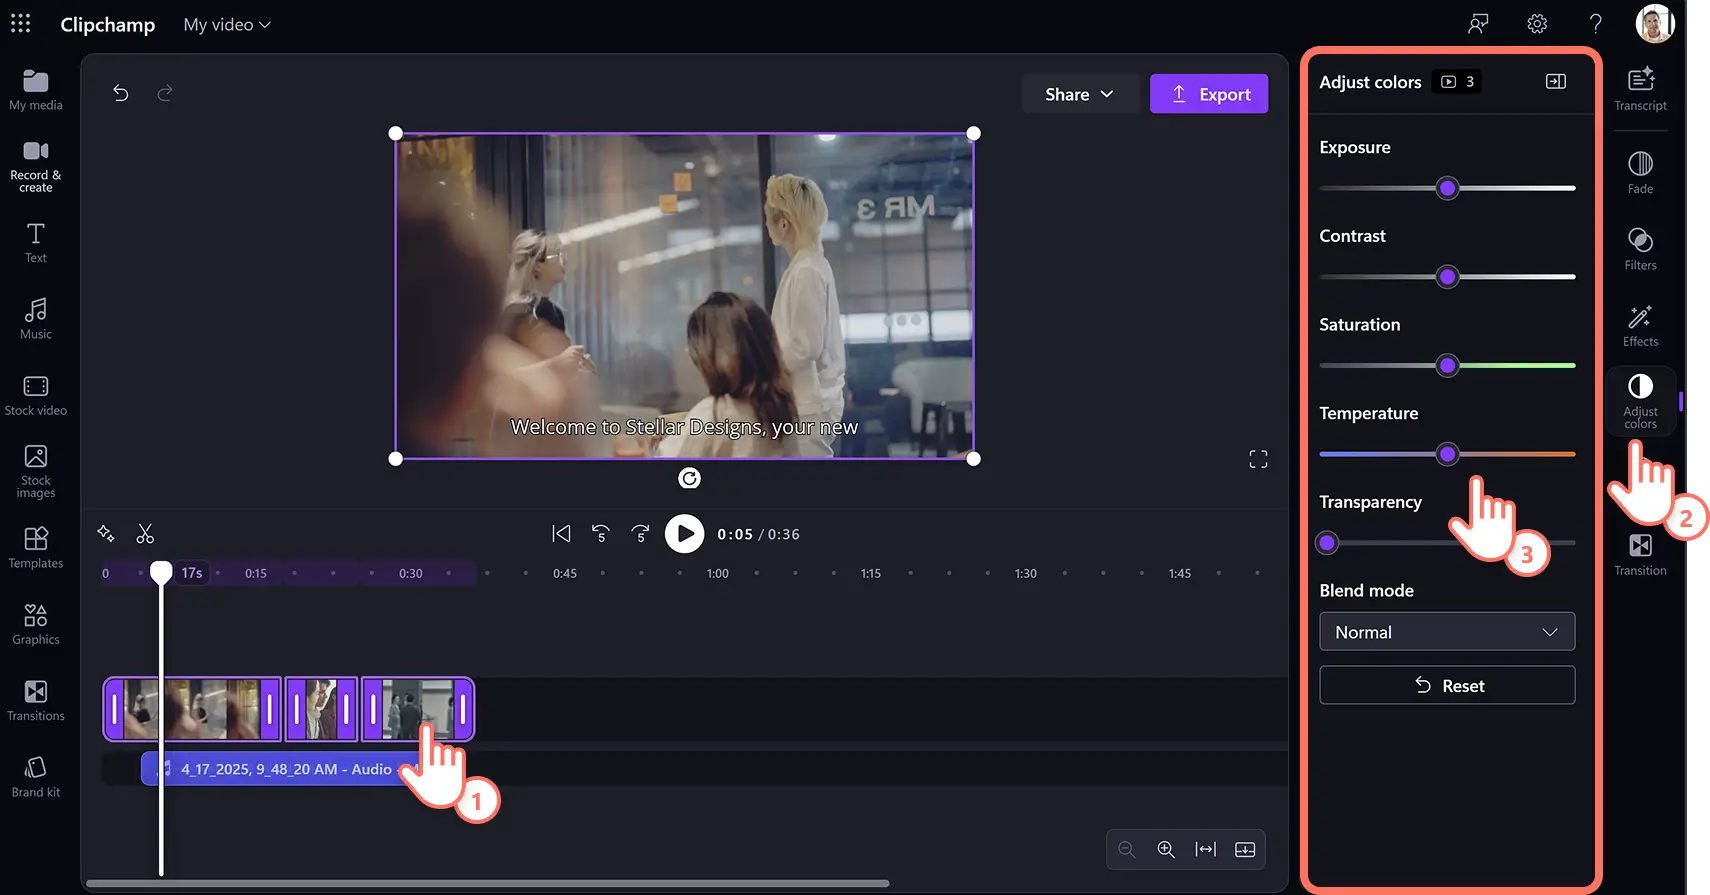
Customize the aesthetic of corporate explainer videos using the video enhancer to quickly and easy color correct visuals. Use the multi-item editing tool by holding down the shift key on your keyboard and clicking on all video assets on the timeline to select them all at once. Next, click on the adjust colors tab on the property panel and drag the sliders to change the exposure, contrast, saturation, and other video quality settings.
Step 3. Customize explainer videos with special effects
Add corporate brand kit
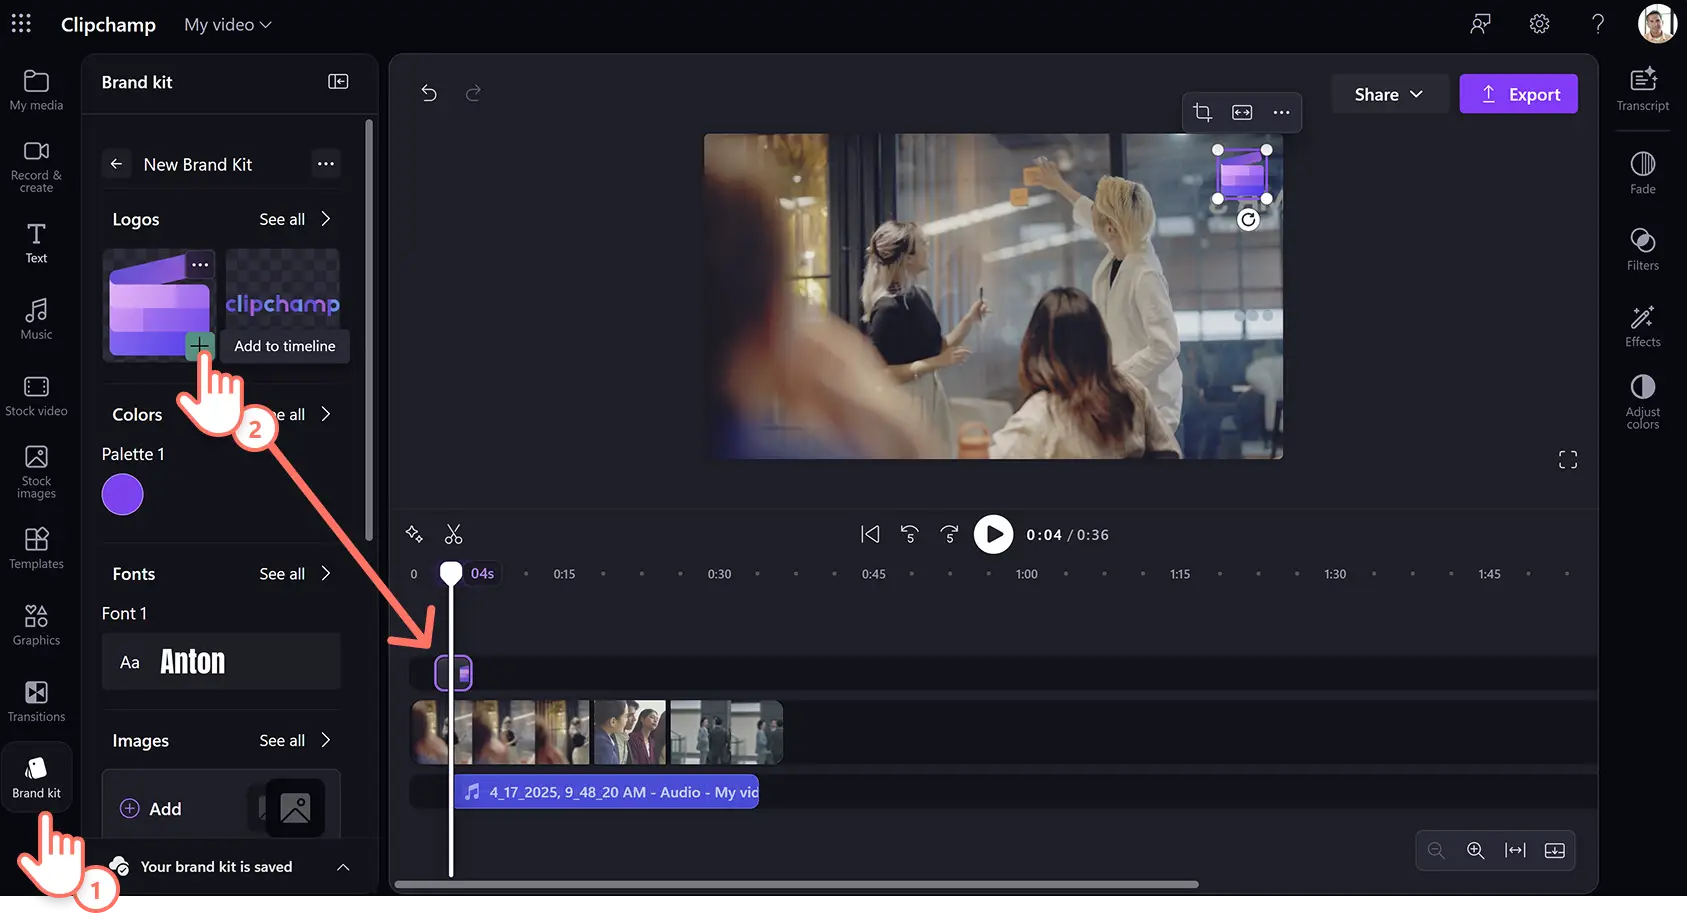
Easily store and use company assets like logos, fonts, and color schemes with the brand kit tool. Click on the brand kit tab on the toolbar and import assets. Once you have added branding to the tab, drag and drop your brand logo onto the timeline above all video assets to create a logo overlay. You can then adjust the transparency of your logo inside the adjust colors tab to make a watermark.
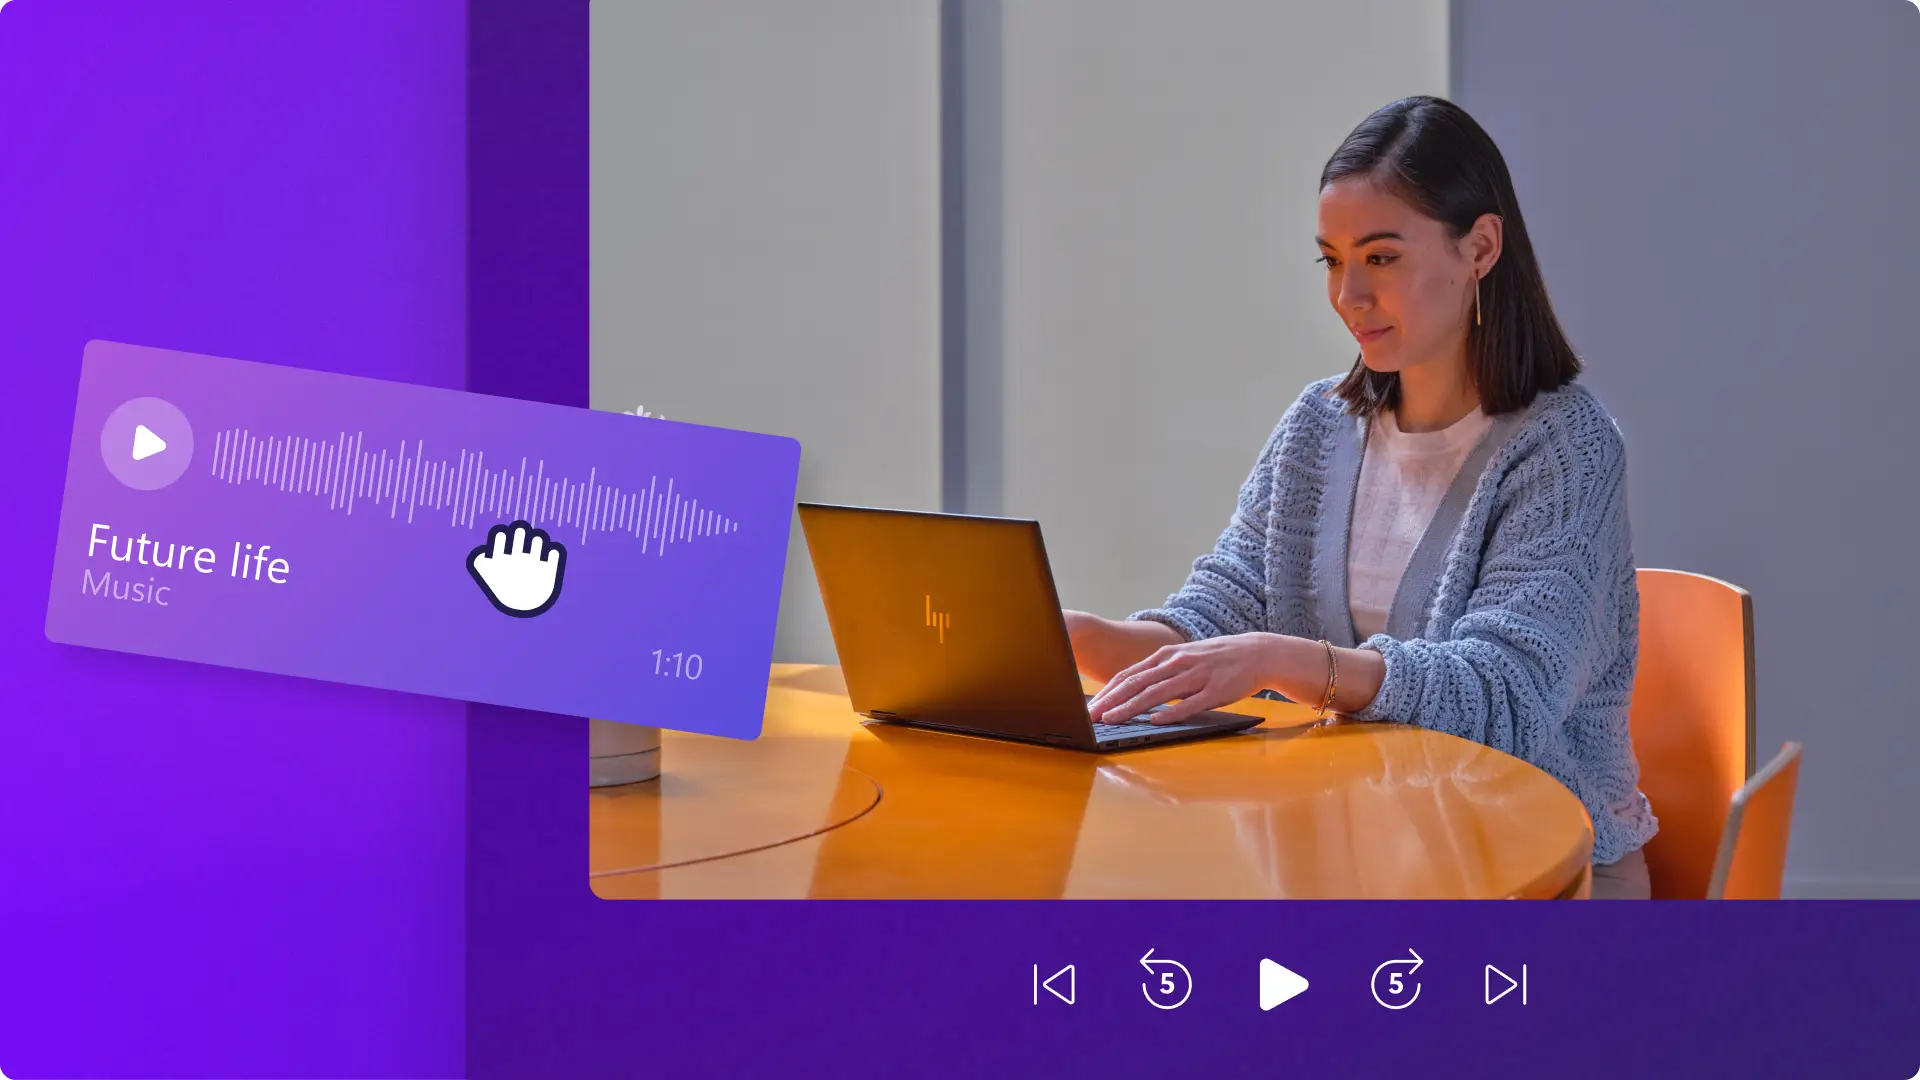
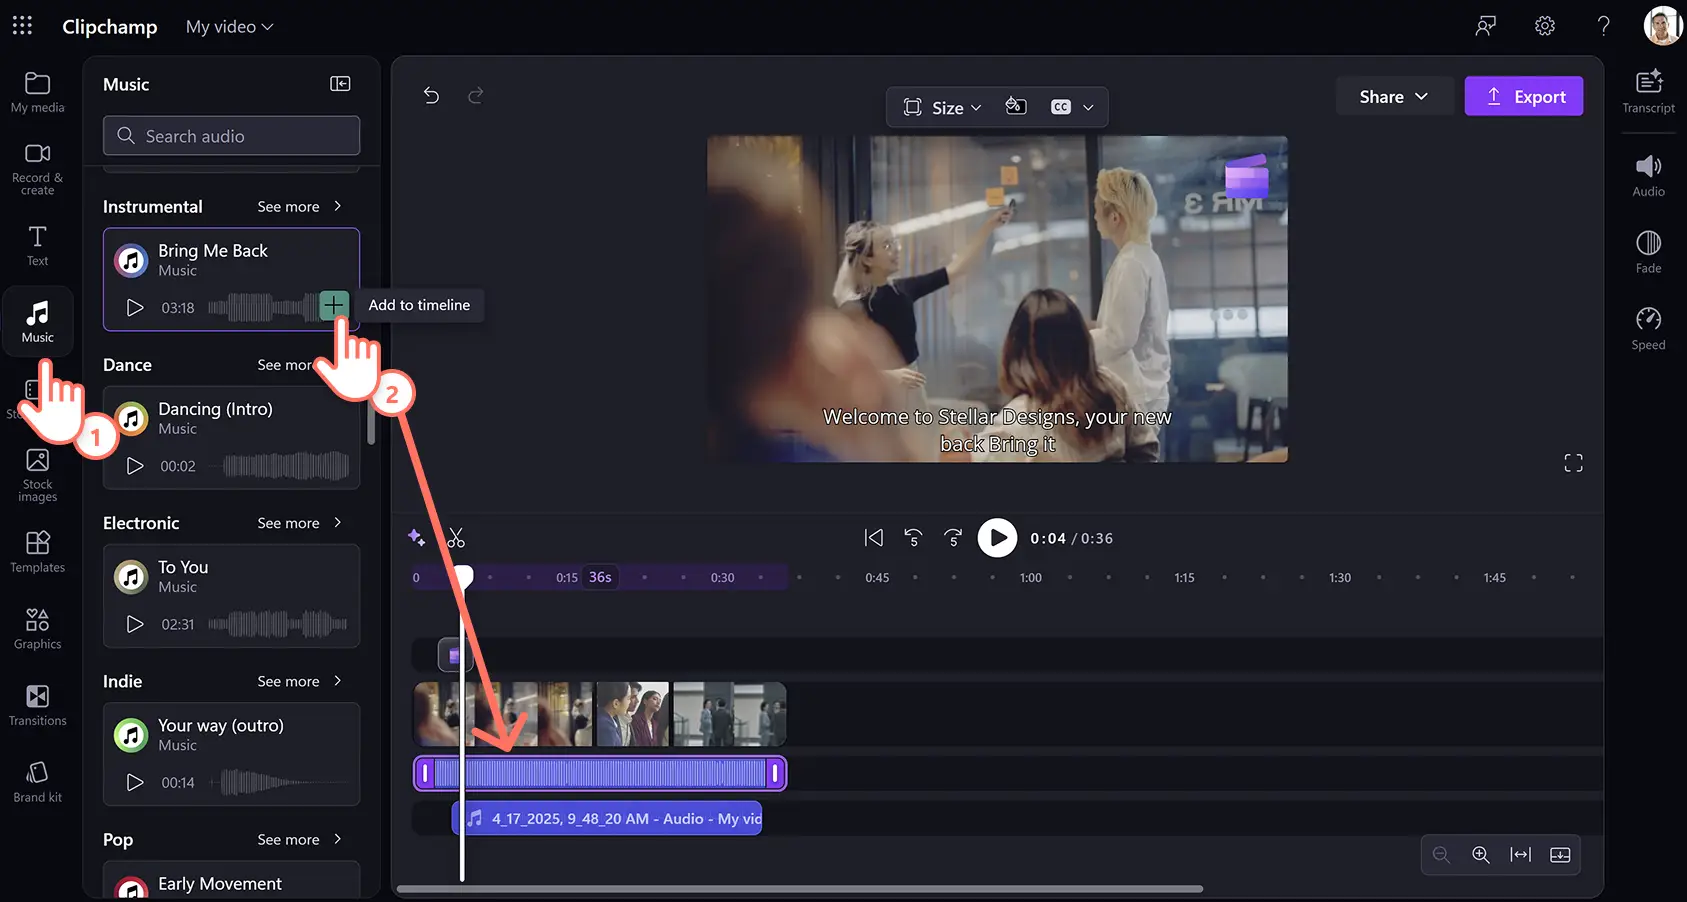
Use royalty-free background music
Set the mood and tone of corporate explainer videos using royalty-free stock music. Click on the music tab on the toolbar and browse song choices by genre or theme. Choose an audio track then drag and drop the asset onto the timeline below the video. Adjust the volume of music by clicking on the audio tab on the property panel then sliding the audio slider to the left or right.
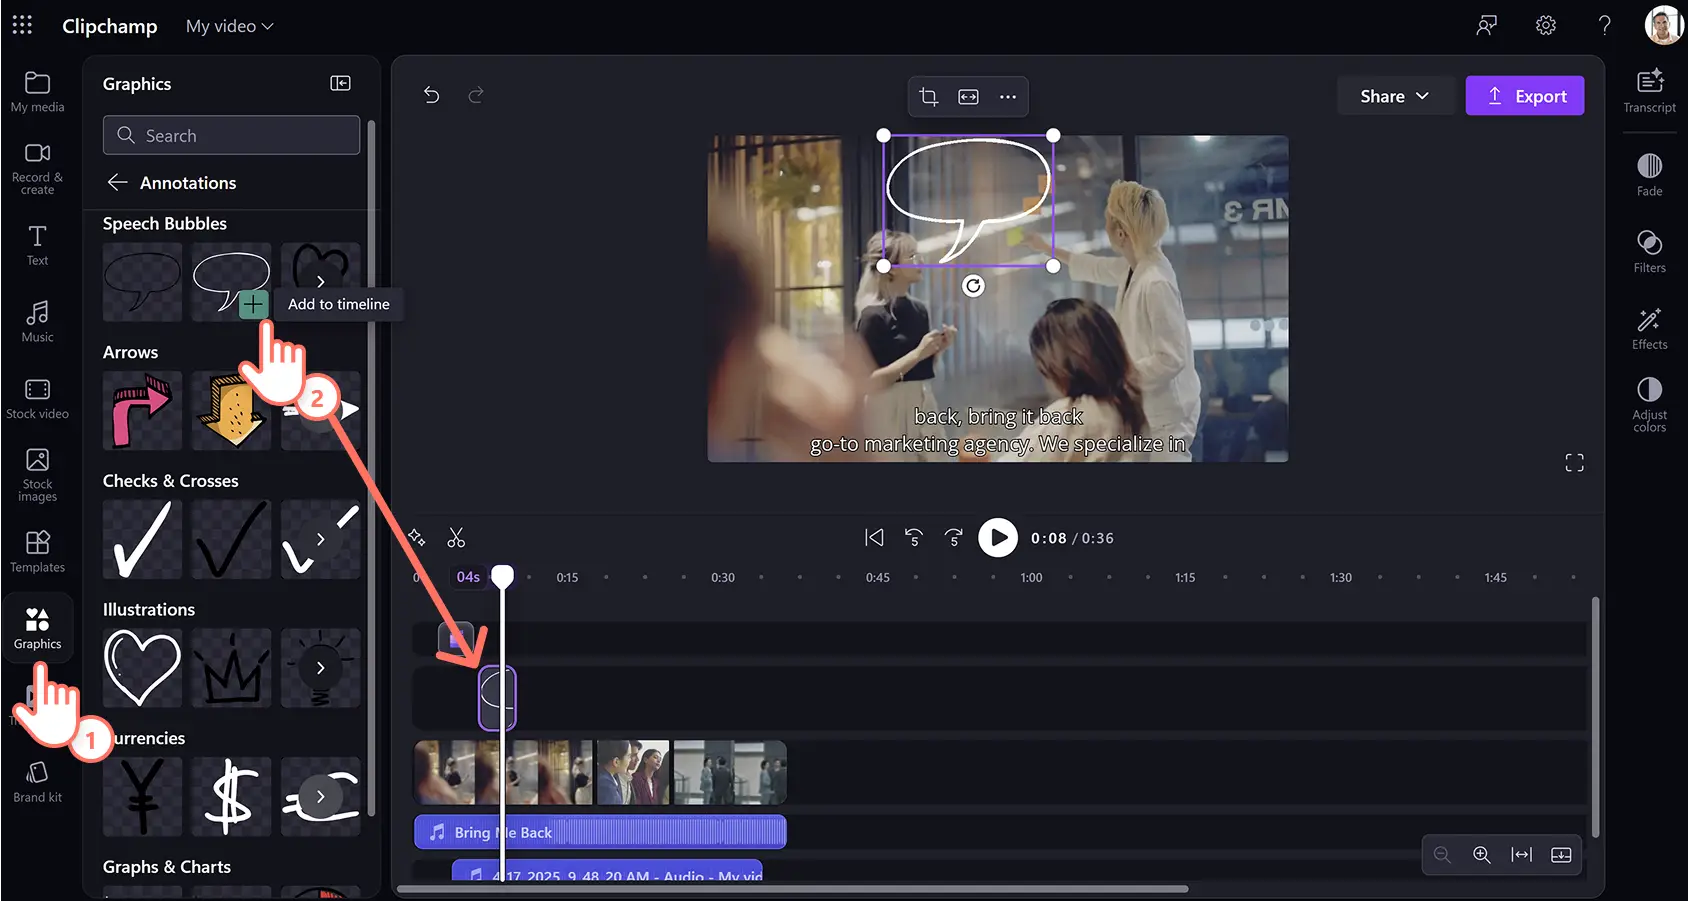
Overlay annotations
Annotate corporate explainer videos with unique illustrated annotation stickers. Click on the graphics tab on the toolbar and click on annotations then browse by category or enter keywords into the search bar. Drag and drop overlay annotations onto the timeline above all other media assets.
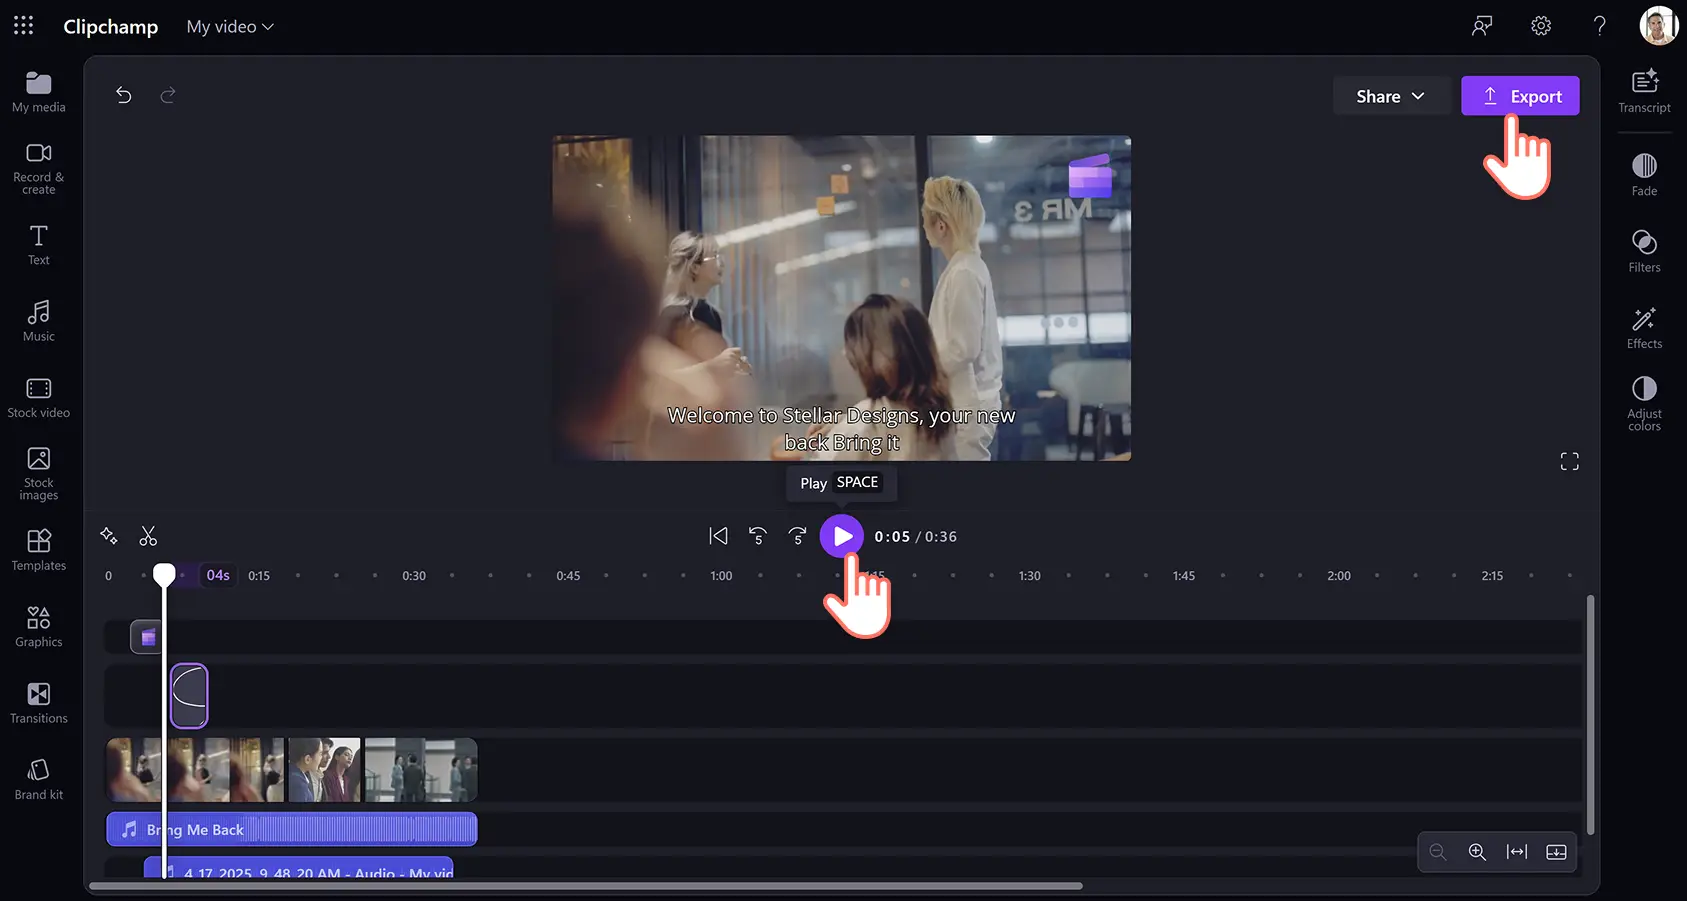
Step 4. Preview and save explainer video in HD video quality
Before saving your corporate explainer video, make sure to preview by clicking on the play button. When you’re ready to export and share, click on the export button then select a video resolution.
How to create AI explainer videos
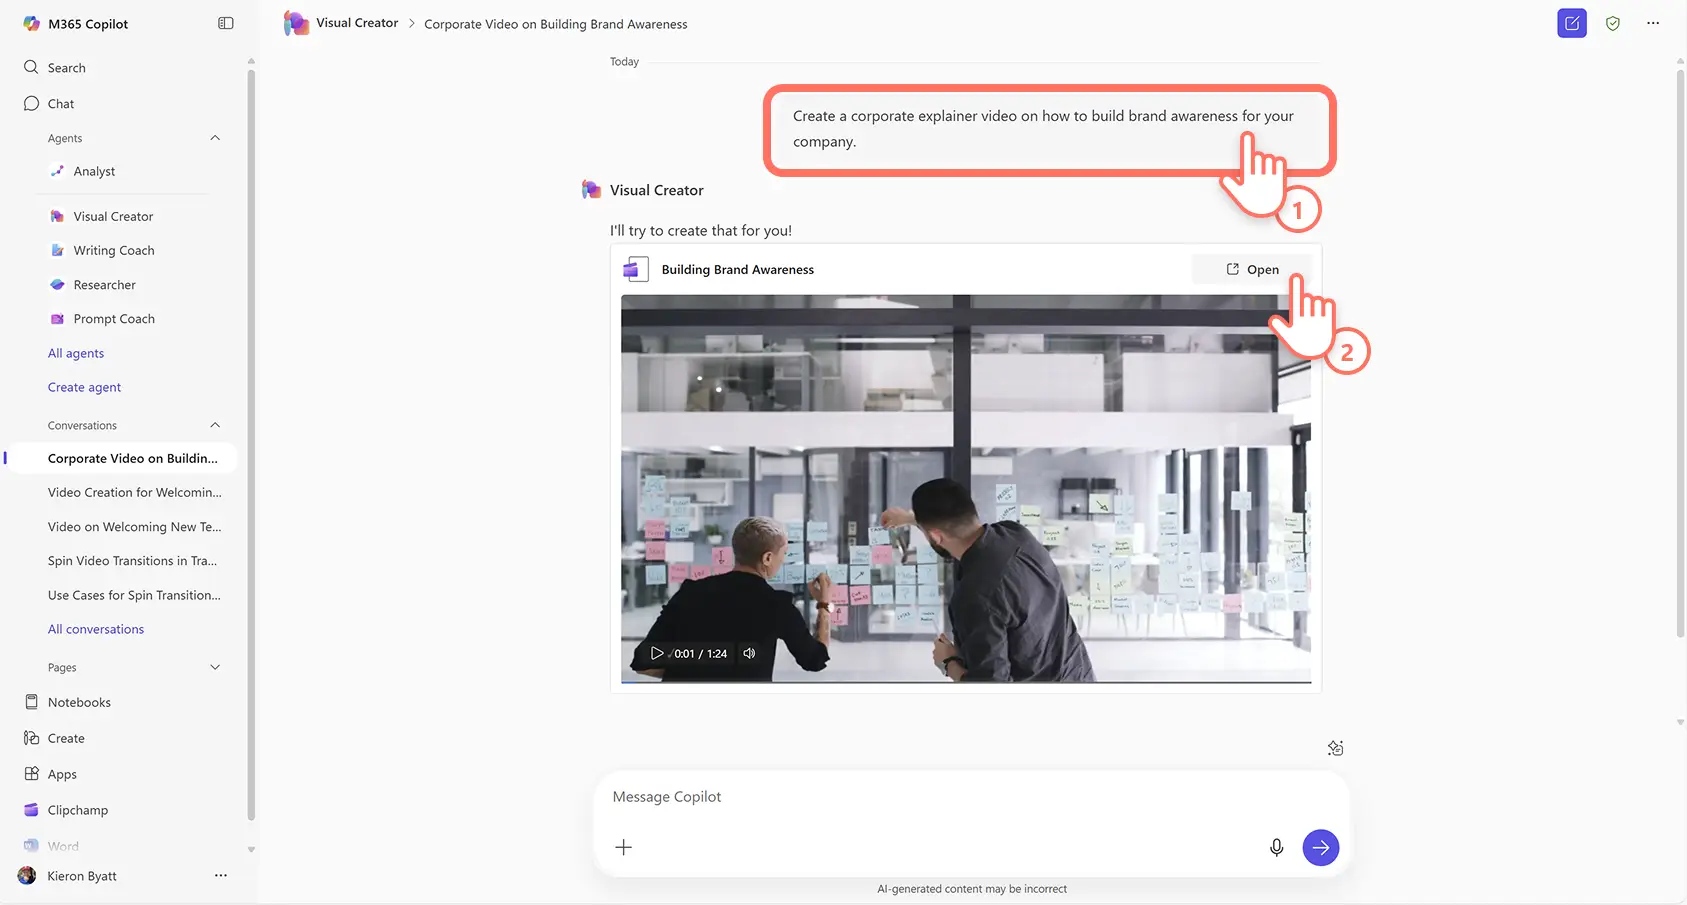
Create corporate explainer videos with AI by turning text into video using Visual Creator in Microsoft Copilot.
Open the Microsoft 365 homepage then click on the Visual Creator option from the Copilot menu.
Type the video prompt into the chat box, for example "create an explainer video on how to integrate diversity and inclusion in the workplace". You can also add supporting media like videos, photos, and audio.
AI will then start creating the video.
Once the video is generated, play it back by clicking on the play button in the preview window.
Click on the open button to continue editing the video in Clipchamp.
Once you've finished editing, click on the export button and select a video resolution.
Five explainer video benefits for all businesses
Create clear communication: explainer videos can simplify complex business ideas and convey messages in a way that’s easy to understand. This ensures messages resonate with a wider audience, regardless of their industry knowledge.
Boost viewer engagement: videos are more engaging than lengthy text paragraphs and can hold audiences' attention longer, increasing the likelihood of interaction and sharing across platforms.
Increase brand awareness: showcase a brand’s personality, values, and products in a visually appealing way. A high-quality explainer video can strengthen your brand identity and foster trust with your audience.
Build versatility: repurpose and share explainer videos on various different platforms—on your website, social media, and email campaigns. Shareable videos allow brands to reach audiences wherever they are, maximizing impact.
Enhance conversion rates: corporate explainer videos can clearly highlight product and service benefits, leading to better understanding and increased interest from potential customers. This can drive more conversions and ultimately boost sales and growth.
Watch beginner's guide to Clipchamp for work tutorial
Communicate business messages clearly and effectively with polished corporate explainer videos. Explore explainer video examples and tips for more ideas then learn how to create and share video templates for work.
Start creating corporate videos today with Clipchamp for work, or download the Microsoft Clipchamp Windows app.
Heads up! The screenshots in this article are from Clipchamp for work accounts and the same principles apply to Clipchamp for school accounts. Clipchamp personal account tutorials may differ. Learn more.