Heads up! The screenshots in this article are from Clipchamp for personal accounts. The same principles apply to Clipchamp for work and school accounts.
On this page
Podcasts have become our new favorite medium to tell stories and teach lessons. They have become just as popular on YouTube as they are on listening apps like Spotify and Apple Music. And thanks to the algorithm, posting on YouTube also helps a podcast be seen and heard by a much wider audience.
If you're ready to post your video to YouTube, add another layer to the listening experience with visuals, ranging from video recordings of yourself podcasting to animated audio waveforms. Learn about the different types of podcast videos, explore inspiring examples, and follow our step-by-step tutorial to make your own podcast video in Clipchamp.
What is a podcast video?
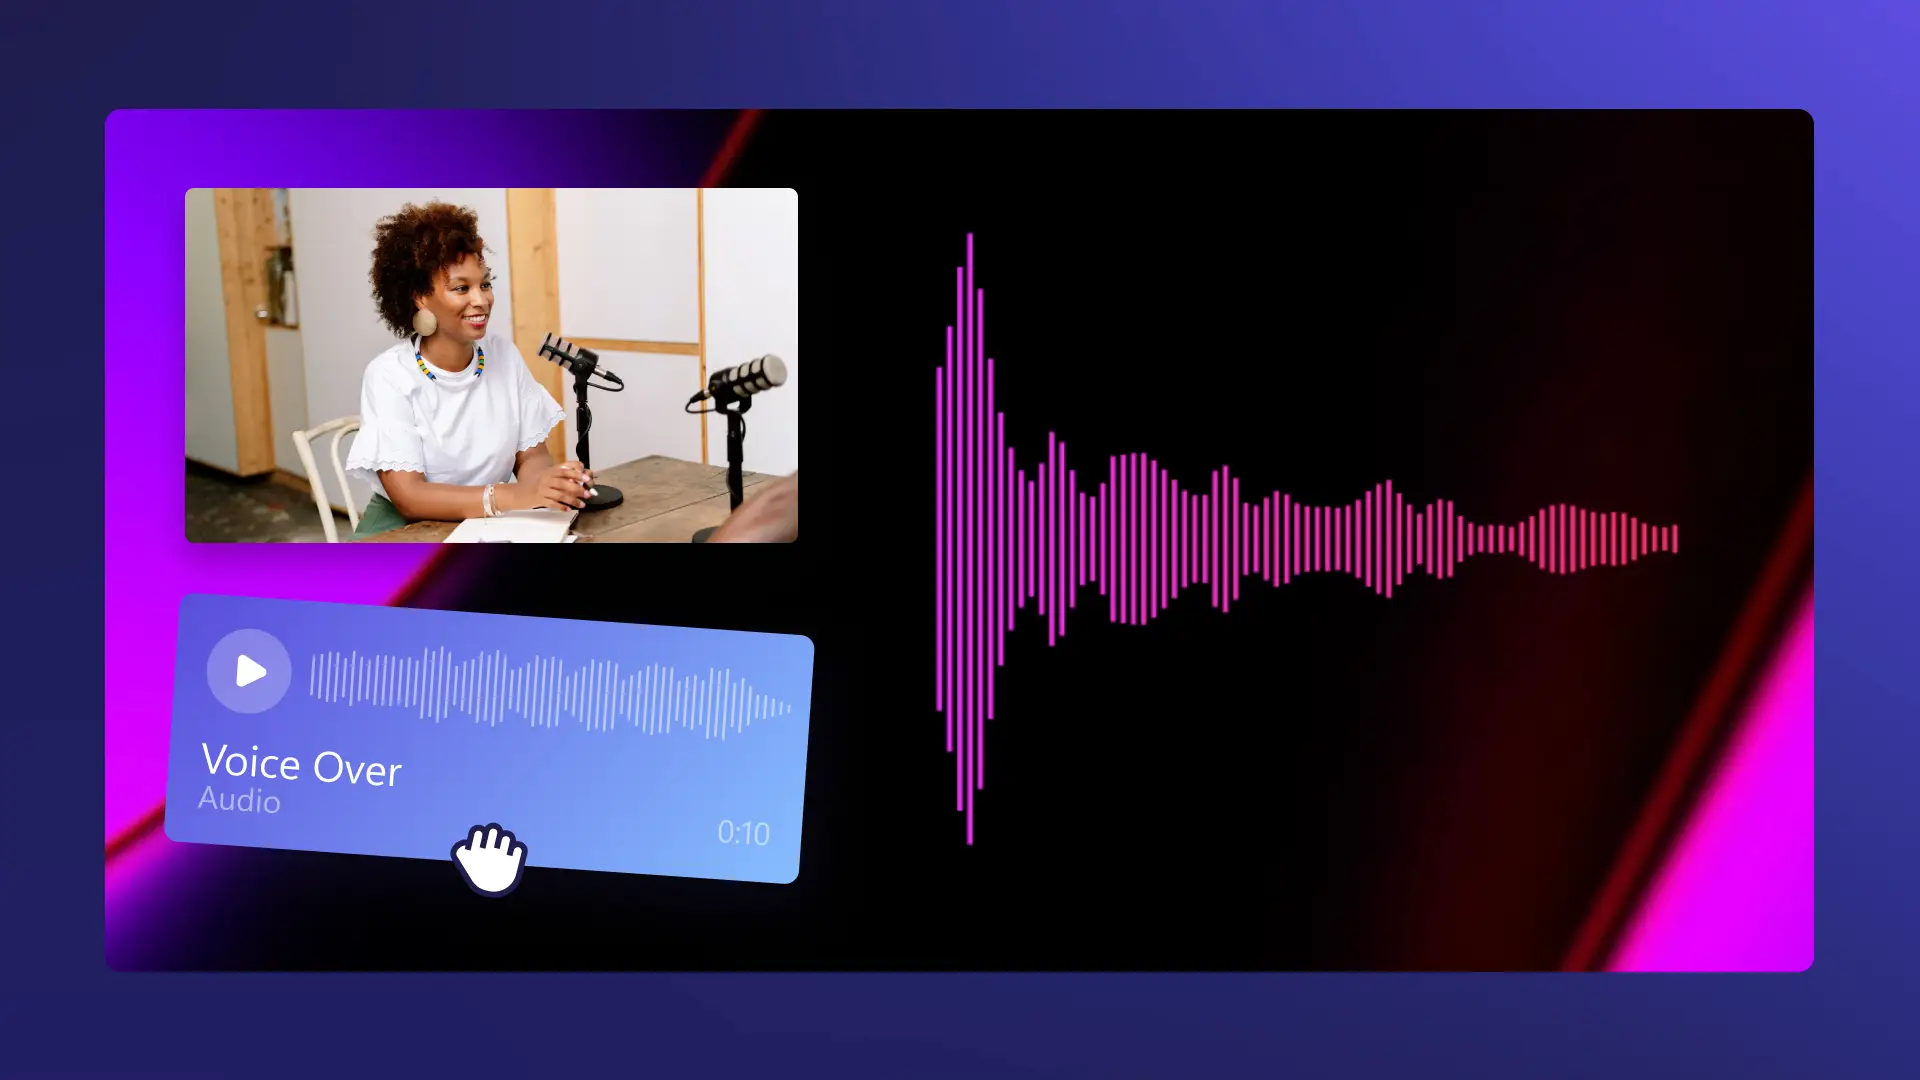
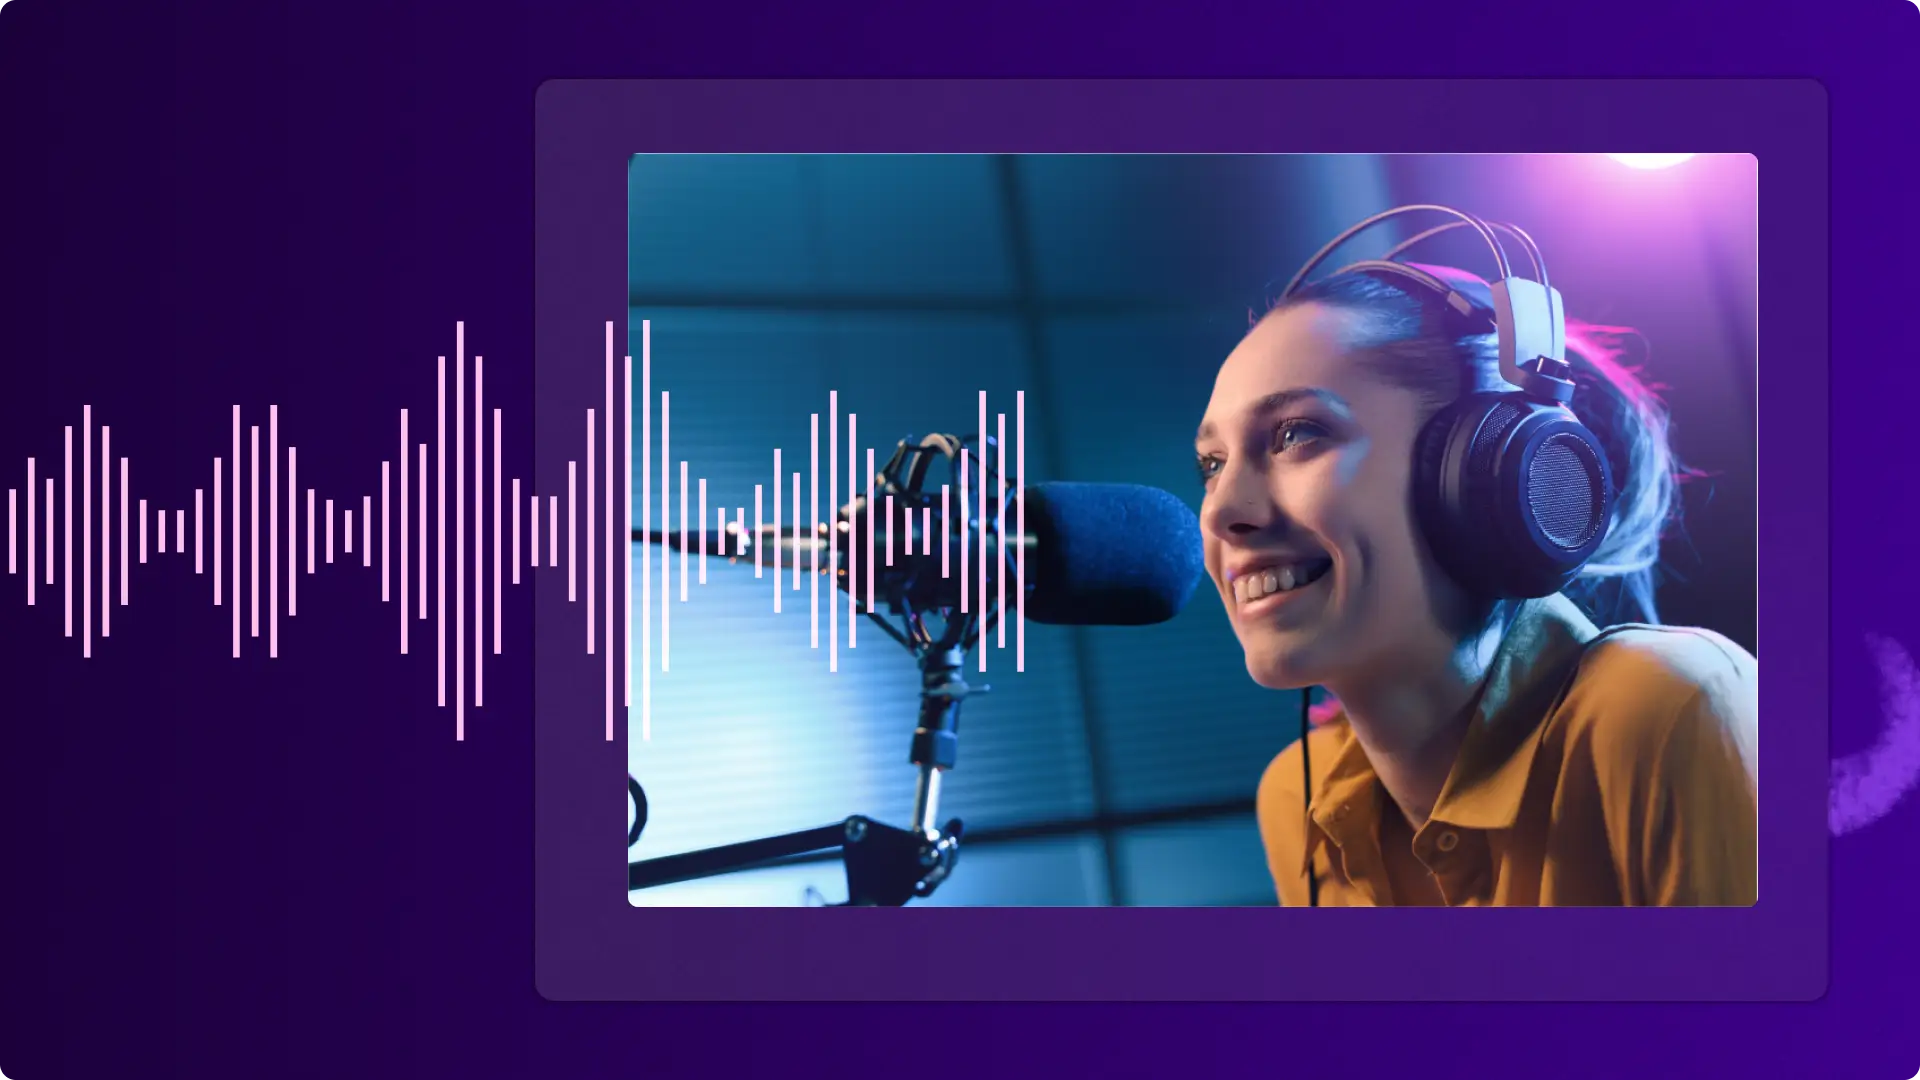
Video podcasts are a combination of podcast audio and visual media. The video element can be as simple as a plain background with a logo or as elaborate as an edited video recording. Podcasts with video can be made by absolutely anyone, sharing information about many different genres, including sports, crime, technology, comedy, the environment, and more.
Not only are professional podcasters posting on YouTube, but it’s also likely professional YouTubers will eventually end up creating their own podcasts to accompany their channels and income. Creators have outsmarted YouTube and transformed the video-centric platform to include podcasts. This leverages the algorithm to meet new listeners, therefore generating more revenue and expanding the medium's growing rapidly.
You may have heard of Emma Chamberlain. With over 12 million subscribers, Chamberlain decided to use her platform and fanbase to popularise her podcasts on her YouTube channel.
Popular podcast video styles
Picture podcast videos
A podcast video doesn't always have to include a moving background. Well-known YouTube sensation Lavendaire uses a still image of herself with informative text about her podcast brand and episode number on the right-hand side.
Audio visualizer podcast videos
If you don’t have an accompanying video you would like to post with your podcast, using an audio visualizer overlay is a dynamic element that can keep your viewers interested.
How to make a podcast video with audio visualizer
Step 1. Record or upload audio
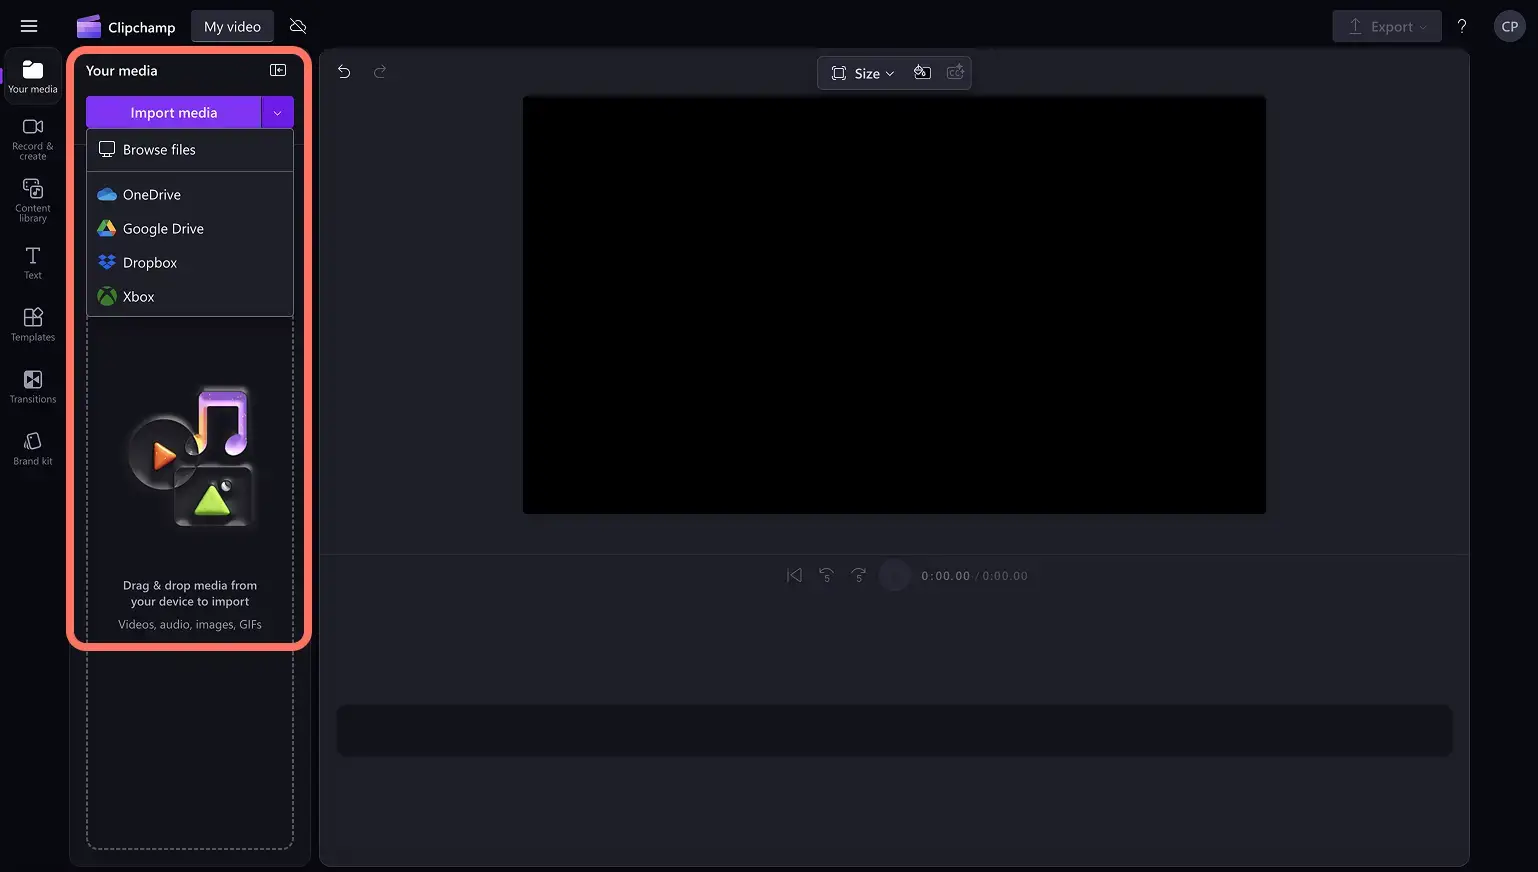
To import your own podcast audio, click on the import media button in the your media tab on the toolbar to browse your computer files. You can also import your files if you connect your OneDrive.
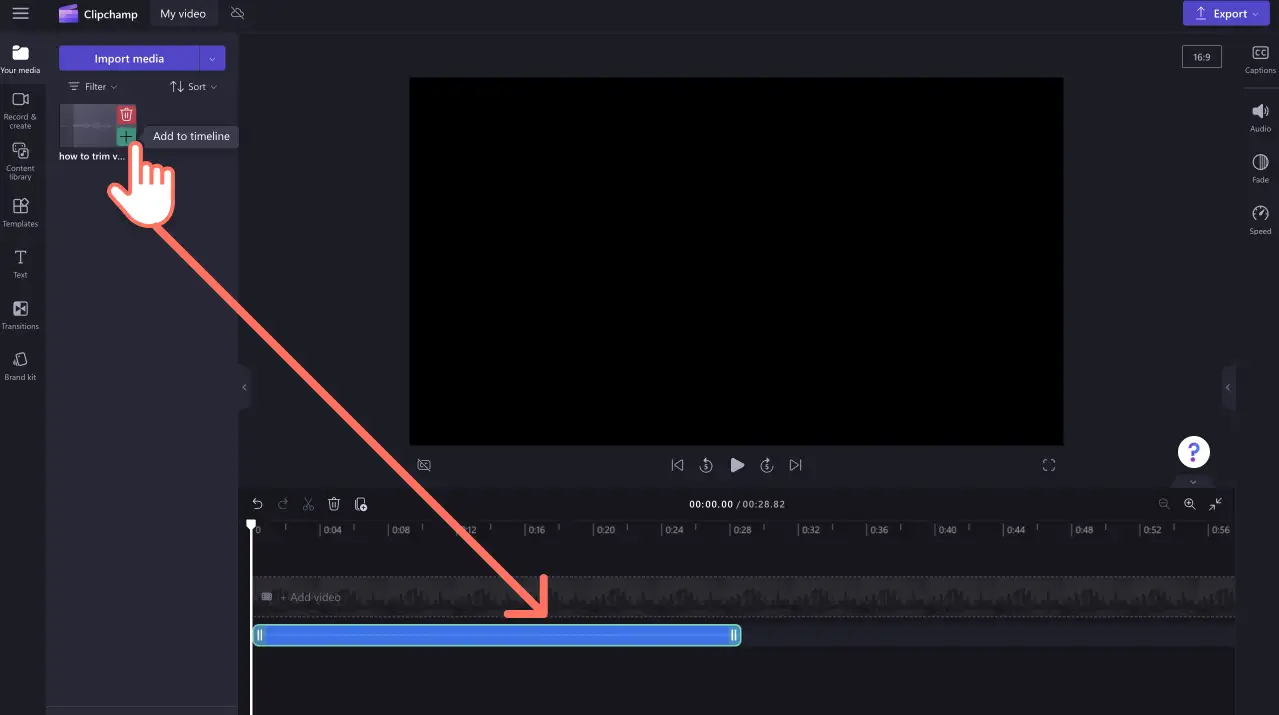
Your audio file will now be in the your media tab. Drag and drop your audio file onto the timeline.
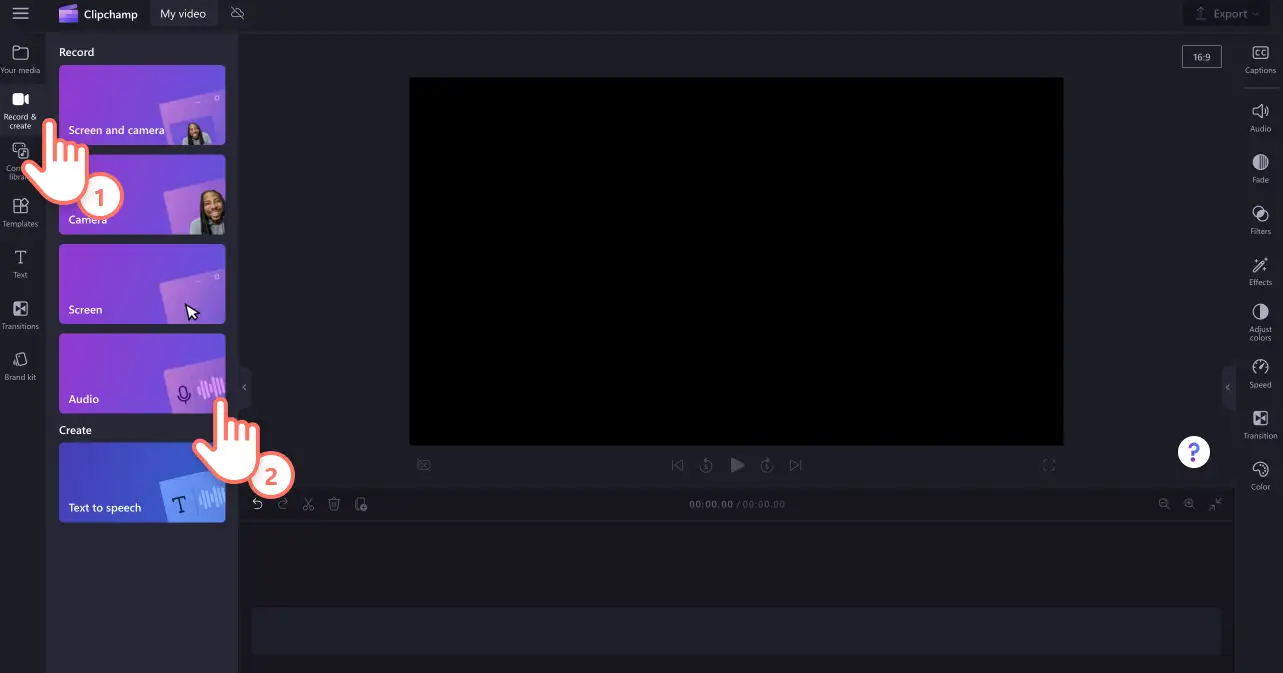
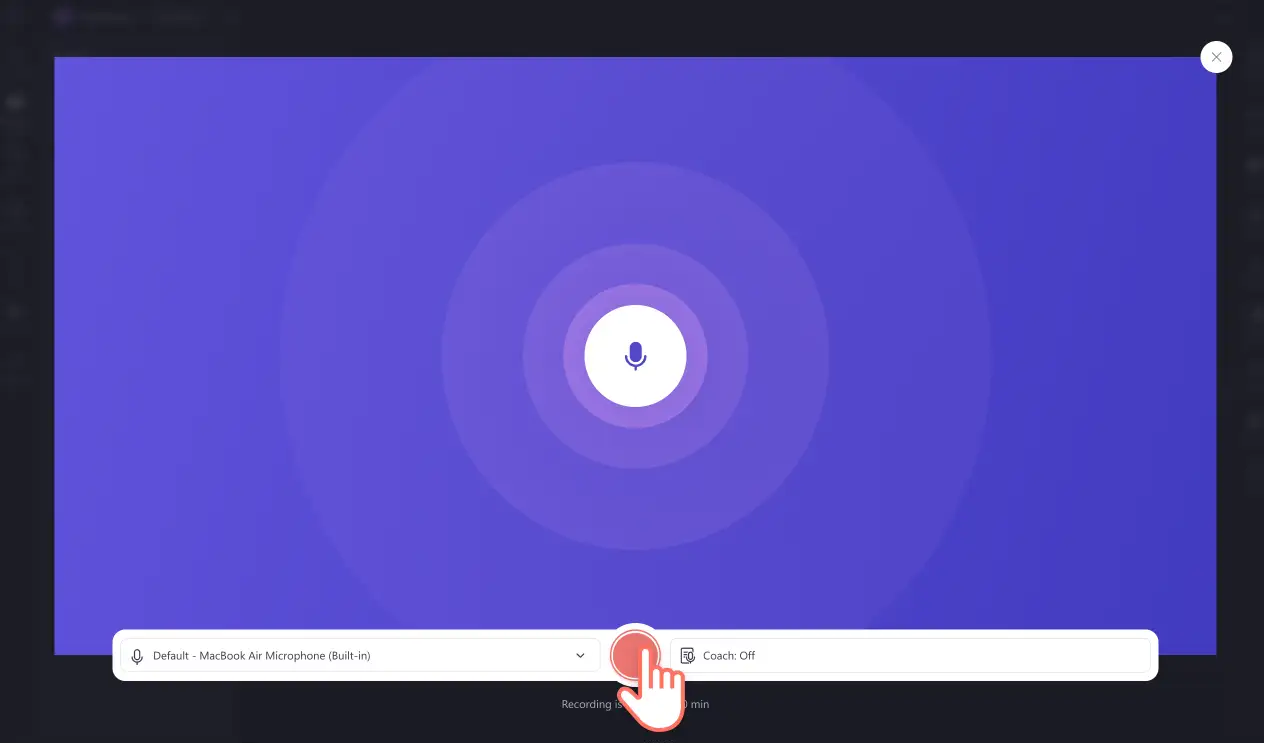
You can also record your voice directly inside Clipchamp using our audio recorder tool. To locate the audio recorder, click on the record & create tab on the toolbar, then click on the audio option.
Click on the red microphone button to start and stop recording your podcast.
Step 2. Add a stock video, image, or animated background
Next, give your podcast video a background. If you don't have any personal video footage, you can also use free stock media like video clips, video backgrounds, and stock music.
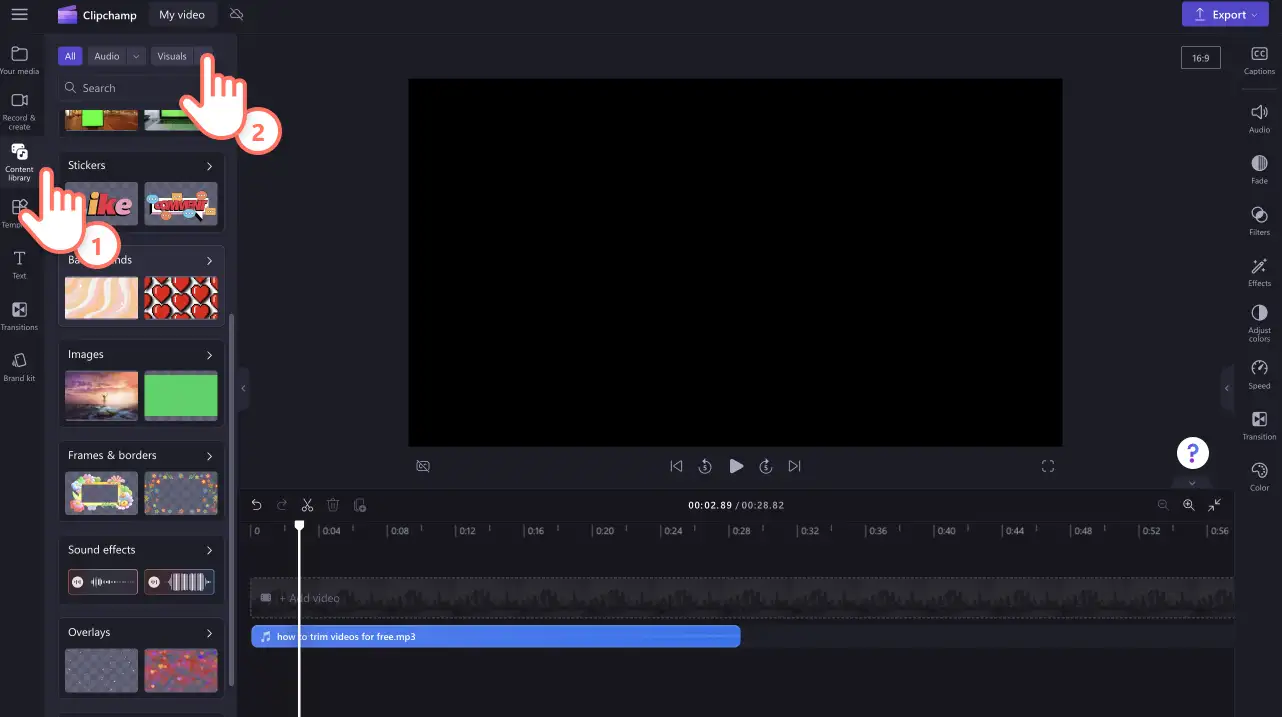
Click on the content library tab on the toolbar and click on the visuals drop down arrow, then videos. Browse the different stock collections curated by themes or use the search bar.
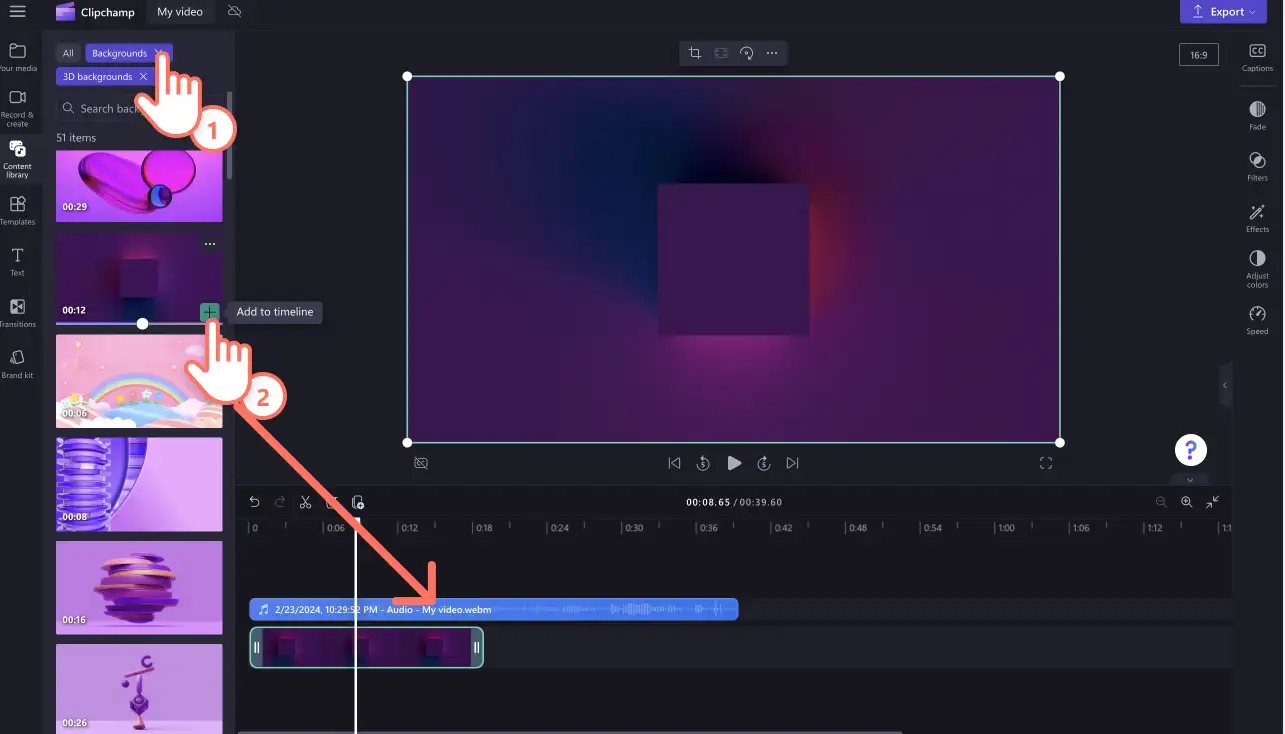
For this tutorial, we have selected an abstract video background. Drag and drop your background onto the timeline above your audio file.
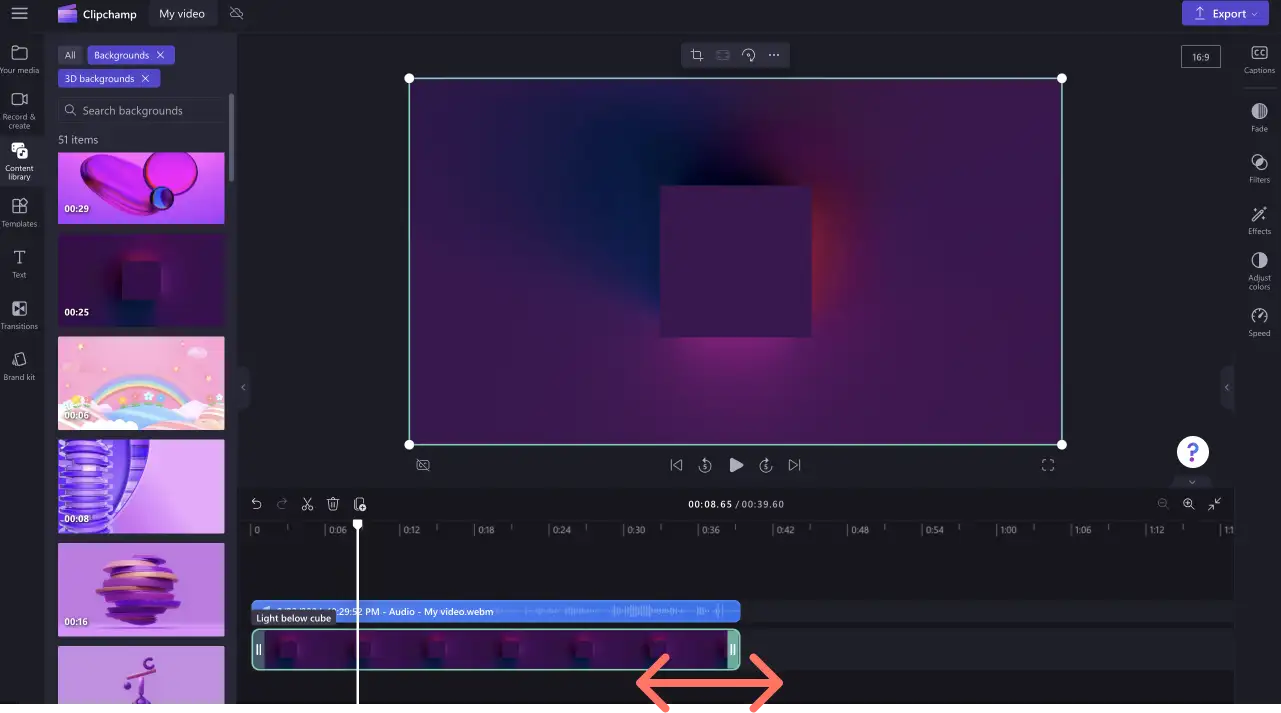
If your media asset isn’t the same length as your audio file, simply expand the background asset using the green sidebars on the timeline.
Step 3. Add the audio visualizer overlay
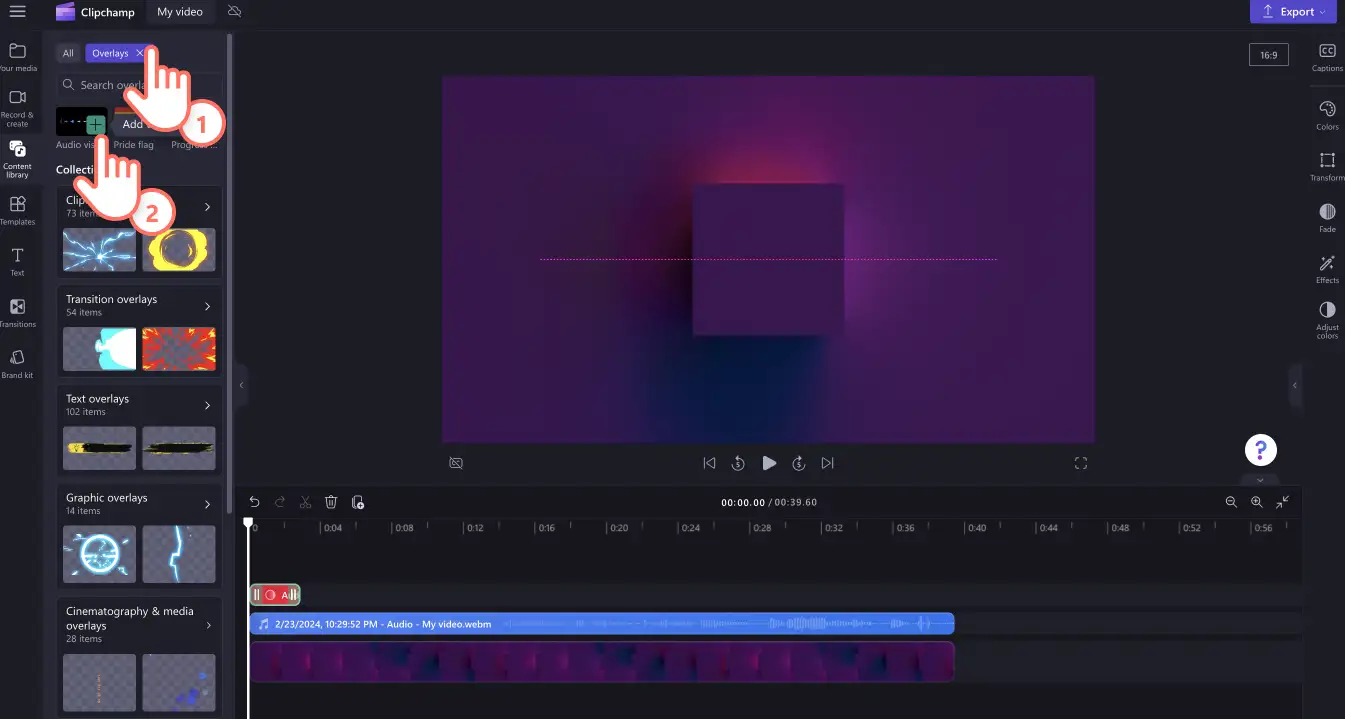
Click on the content library tab on the toolbar and click on the visuals drop down arrow, then overlays. Click on the audio visualizer overlay shortcut underneath the search bar. Drag and drop the visualizer onto the timeline.
Place the overlay above your video and music files.
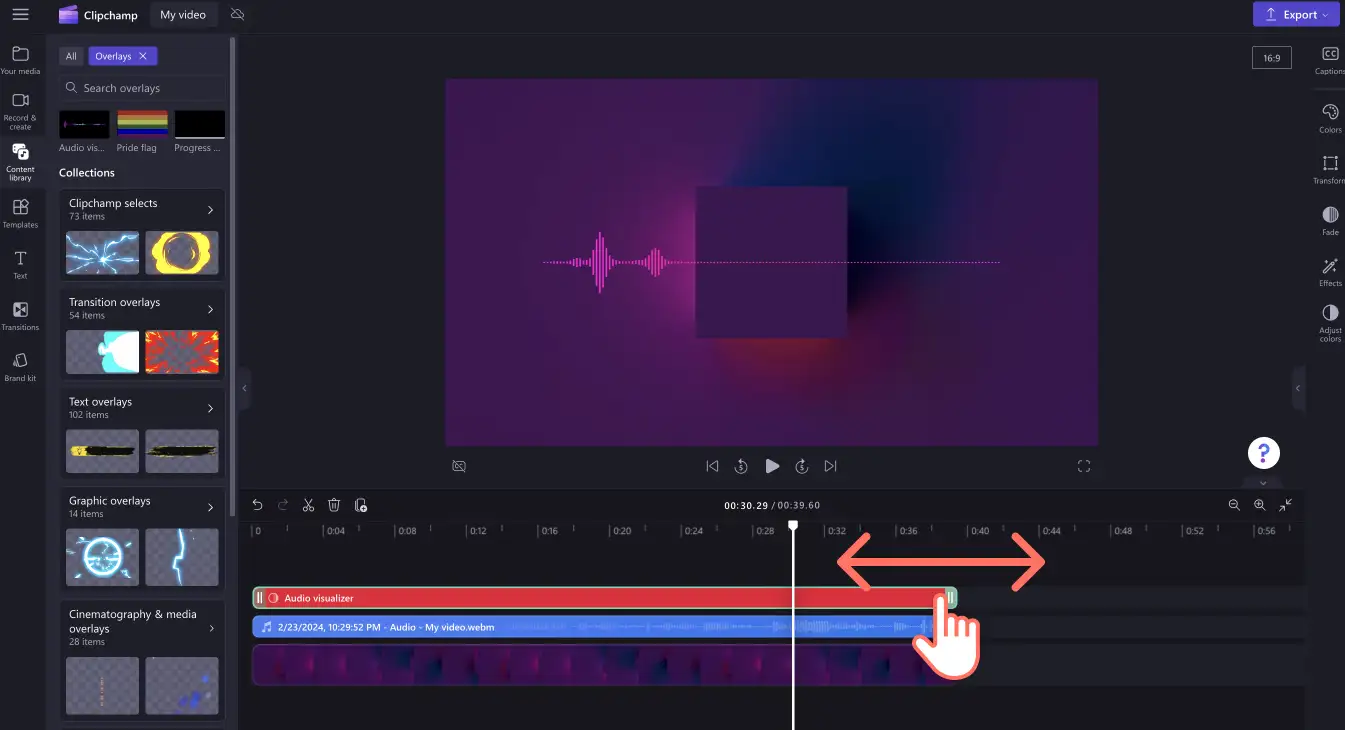
Adjust the length of the audio visualizer overlay to match your video and audio file. Expand the overlay using the green sidebars on the timeline.
Step 4. Customize the audio visualizer
To edit the size and appearance of your audio visualizer overlay, click on the transform tab to reveal the property panel on the right side of your screen. You can edit the color, position, and size, and change the display from music bars to fluid sound waves.
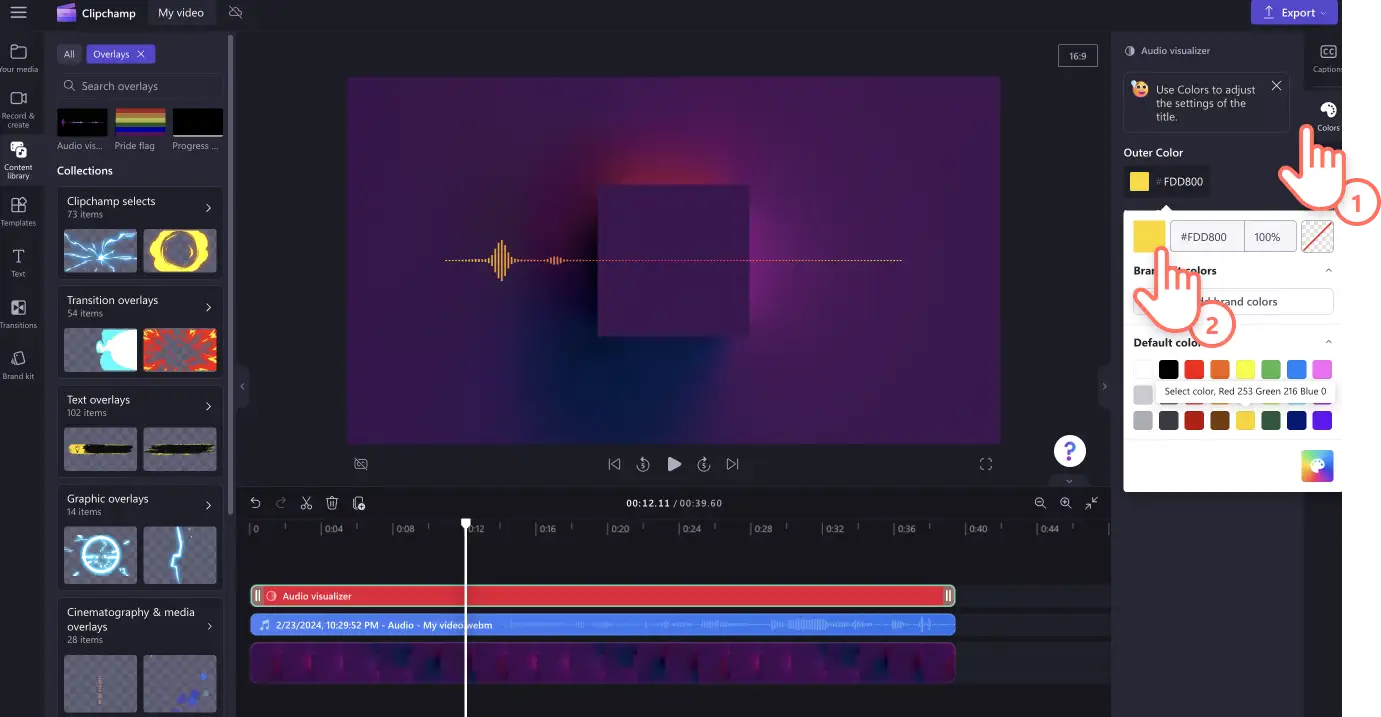
To edit the color, click on the colors tab, then select a color preset or type in a HEX color code. You can also add fades and filters and adjust the colors of your audio visualizer using the other tabs on the property panel.
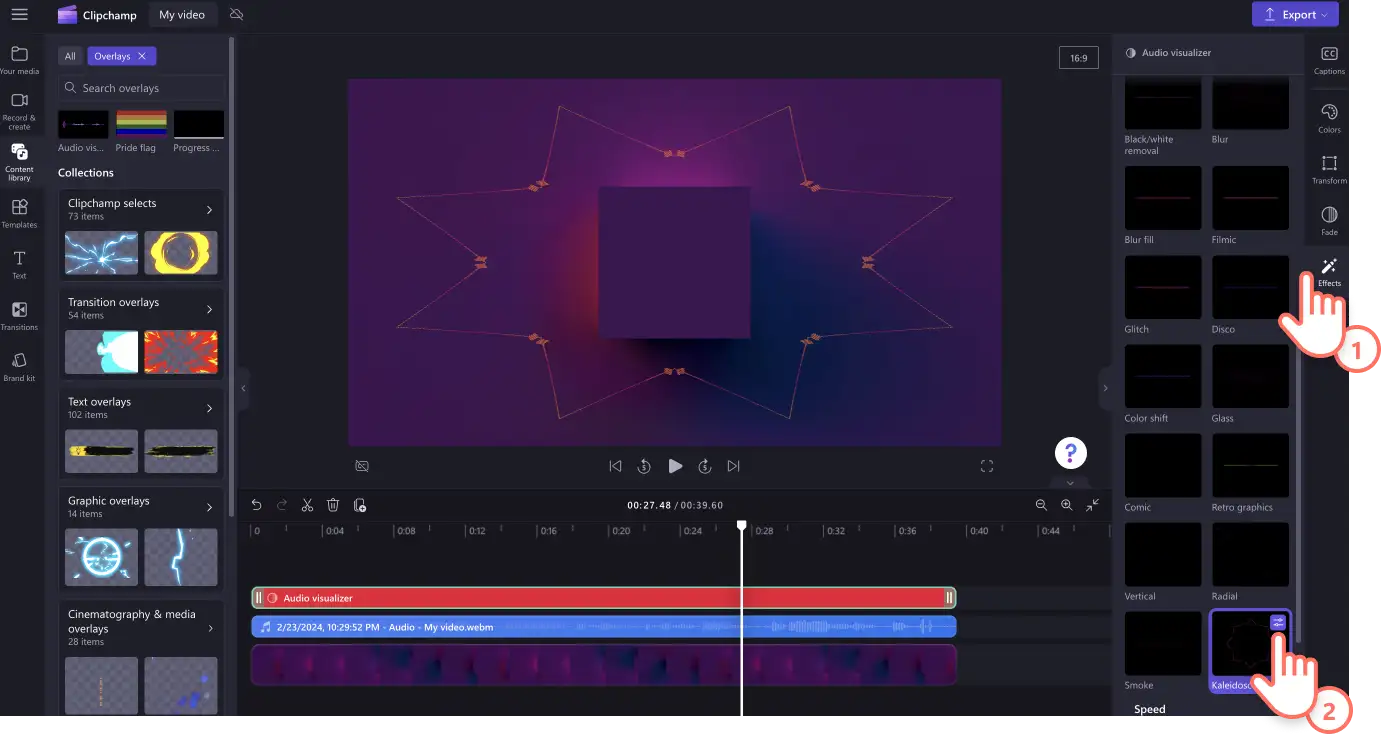
Change your audio visualizer's appearance with a fun video effect available in property panel. Click on the effects tab, then select a video effect that suits your video.
Step 5. Add your podcast logo
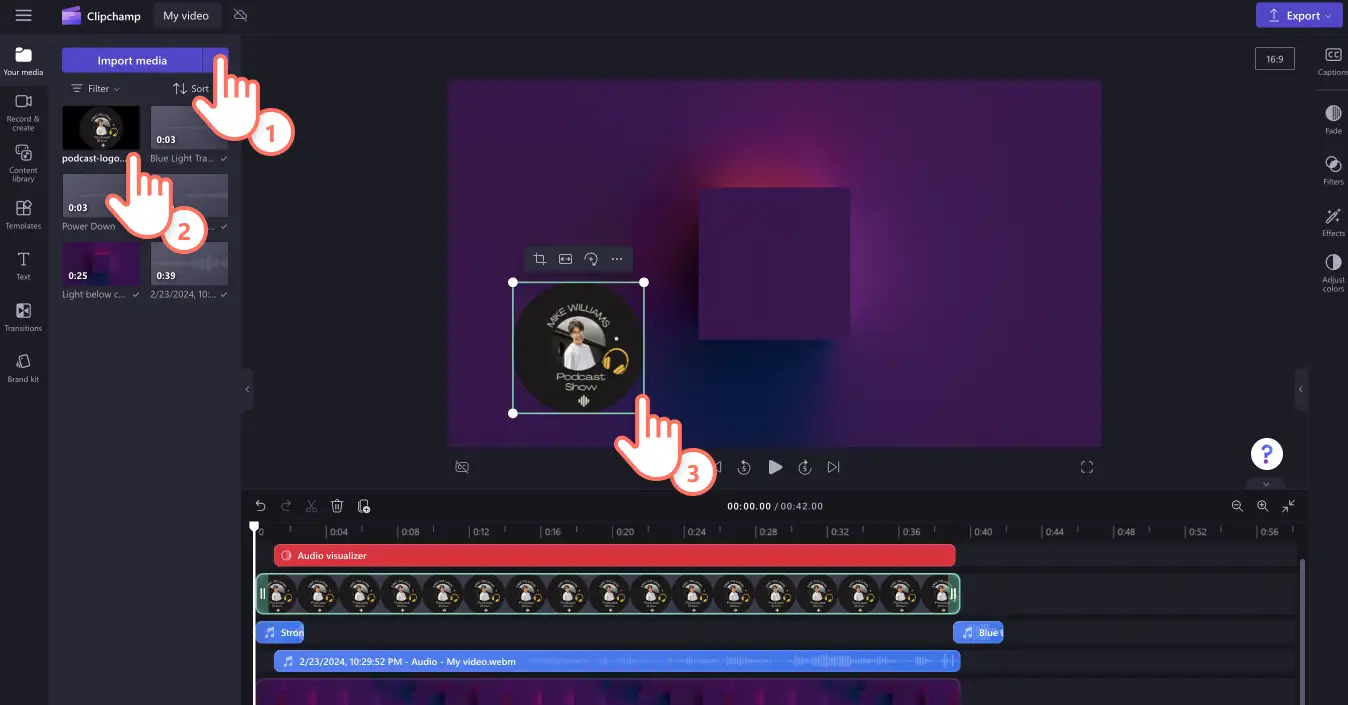
Add your podcast logo or cover image from your computer using the import media button. Select your logo, then click on the open button. Make sure your logo is in a PNG, JPEG or SVG file format with a maximum size of 10MB.
Step 6. Save your podcast video
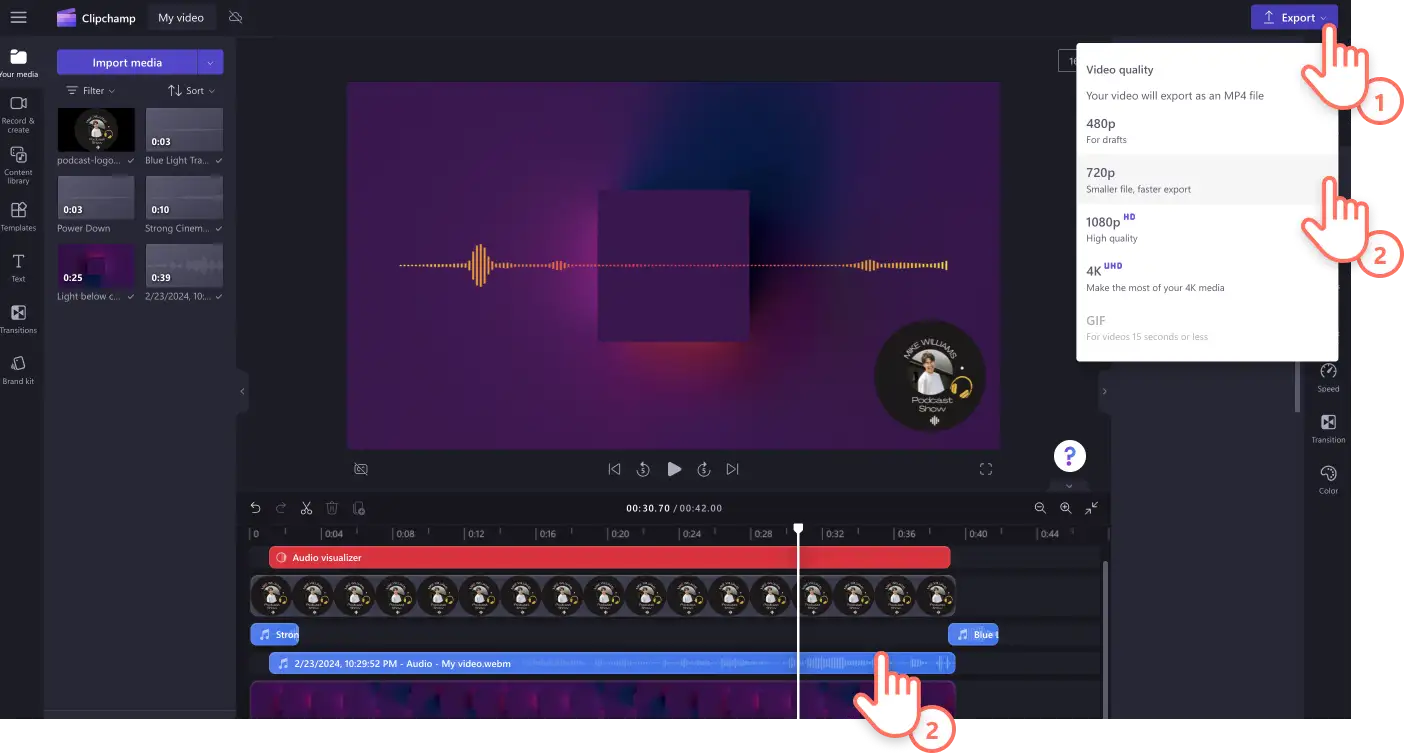
When you’re ready to save your podcast with voice visualizer, click on the export button and select the video quality. We recommend saving 1080p for the best quality YouTube video.
Learn more about how you can publish your video directly to YouTube.
Add special effects to your podcast videos
Clean audio with noise suppression
Remove or soften unwanted background noise from your audio with the AI noise suppression tool. Clean out room noise like echoes or interfering sounds like air conditioners or barking dogs. Just select your audio file in the timeline then click on the audio tab in the property panel and toggle on noise suppression.
Fine-tune speed
Is your video podcast too long? Improve and customize the speed of your audio with our helpful speed selector feature. You can adjust the speed of your video and audio using the sliders or even manually edit assets with specific speed numeric values.
Add YouTube-ready stickers
If you’re sharing your video podcast to a social media platform like YouTube, don’t forget to add in like and subscribe stickers and a dazzling intro and outro.
Add a podcast bumper or stringer
Find a signature tune for your podcast to hook listeners in during the intro, transition between podcast segments and close off your show. Choose from a variety of original and royalty-free soundtracks in Clipchamp. Find bumpers and stringers from any genre--pop, electronic, hip hop, corporate and even lo-fi. Browse the music library.
Add subtitles to your video
Make your video podcast more accessible with the help of captions. Our autocaptions feature does all the hard work for you by automatically generating captions and a transcript. Just click on the captions tab on the property panel and turn on the auto-captions button. Check out the tutorial.
Frequently asked questions
What’s the difference between podcast videos and video podcasts?
Usually, video podcasts are recorded podcast sessions, and viewers can watch creators speak while podcast videos only contain recorded podcast audio, not live video.
What is the best platform for a video podcast?
YouTube is the top preferred platform for podcast videos. Some other popular podcast platforms include Spotify, Apple Podcasts, and Amazon Audible.
What aspect ratio should my video podcast be in for YouTube?
We recommend creating your video podcast in a widescreen 16:9 video aspect ratio and saving in 1080p video resolution to suit YouTube guidelines.
With the help of our audio visualizer overlay, you can create podcast videos in no time. Continue learning how to add more elements to your videos like transitions and text or try the podcast video maker right away.
Make your podcast video for free on Clipchamp in your browser or download the Clipchamp Windows app.
