Record authentic and professional voiceovers straight with the free online voice recorder. Effortlessly narrate product demos, slideshow presentations, podcasts, or TikTok videos without leaving your web browser.
Polish your voiceover with beginner-friendly editing features like trim, speed controller, and volume booster. You can also quickly enhance voiceovers using AI powered tools like noise suppression and autocaptions.
In the following tutorial we’ll walk you step-by-step through how to conveniently record and edit your voice online with Clipchamp video editor.
How to use the online voice recorder
Step 1. Import your video or select stock media
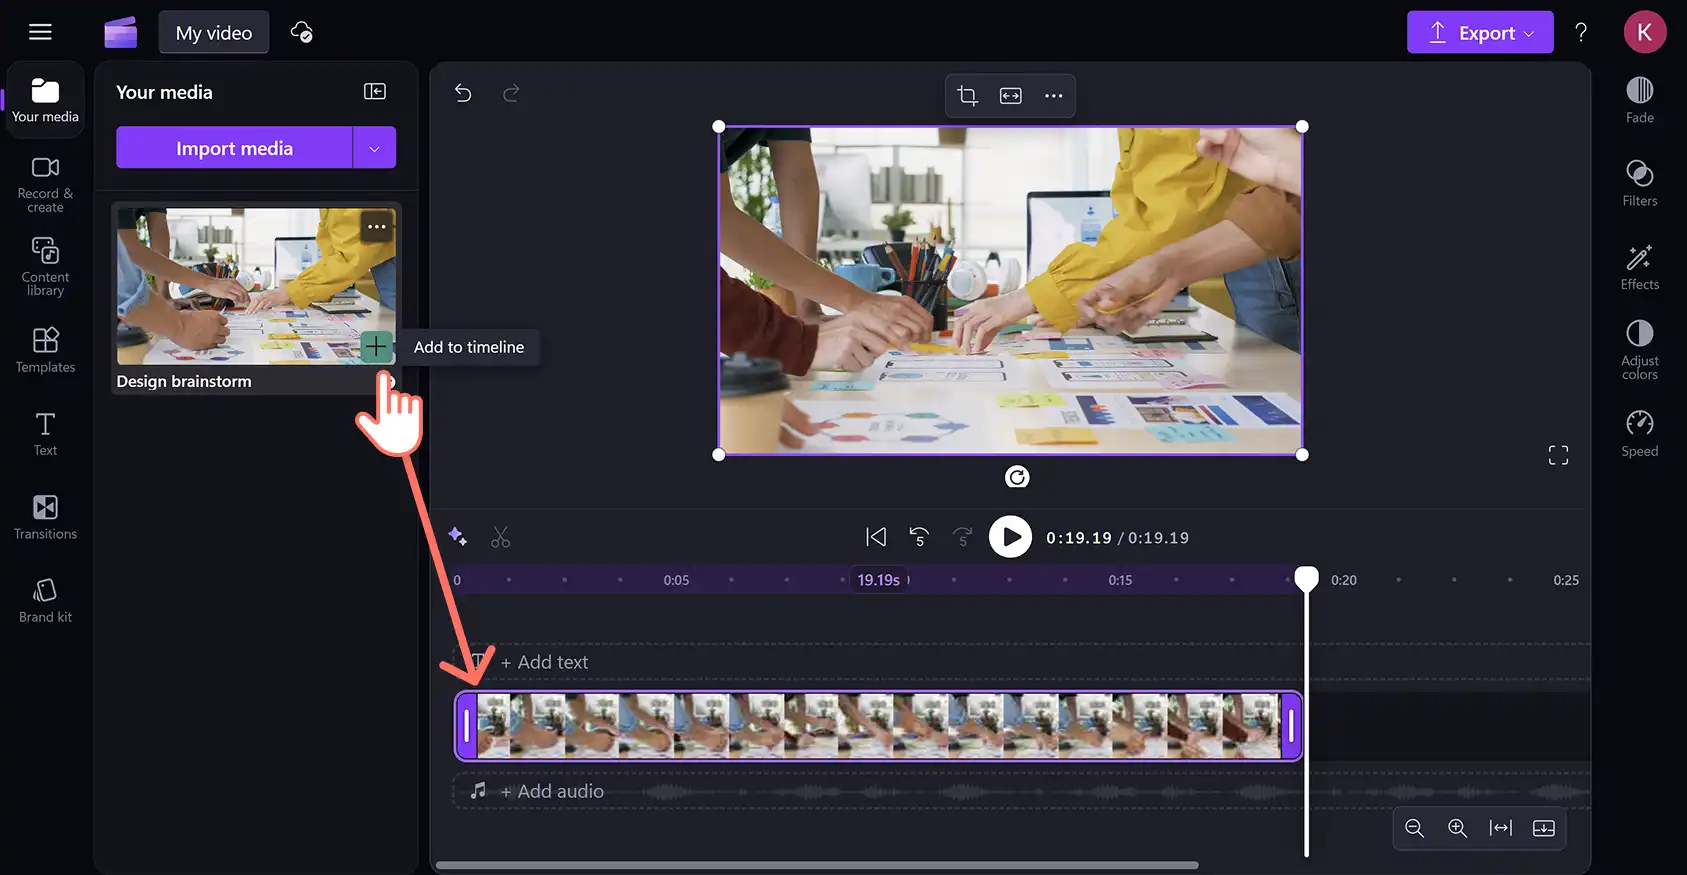
To import your own videos or photos, click on the import media button in the your media tab on the toolbar to browse your computer files, or connect your OneDrive.

You can also use free stock media like video and backgrounds. Click on the content library tab on the toolbar and click on the visuals drop down arrow, then videos. Browse through the different stock categories by theme or using the search bar.
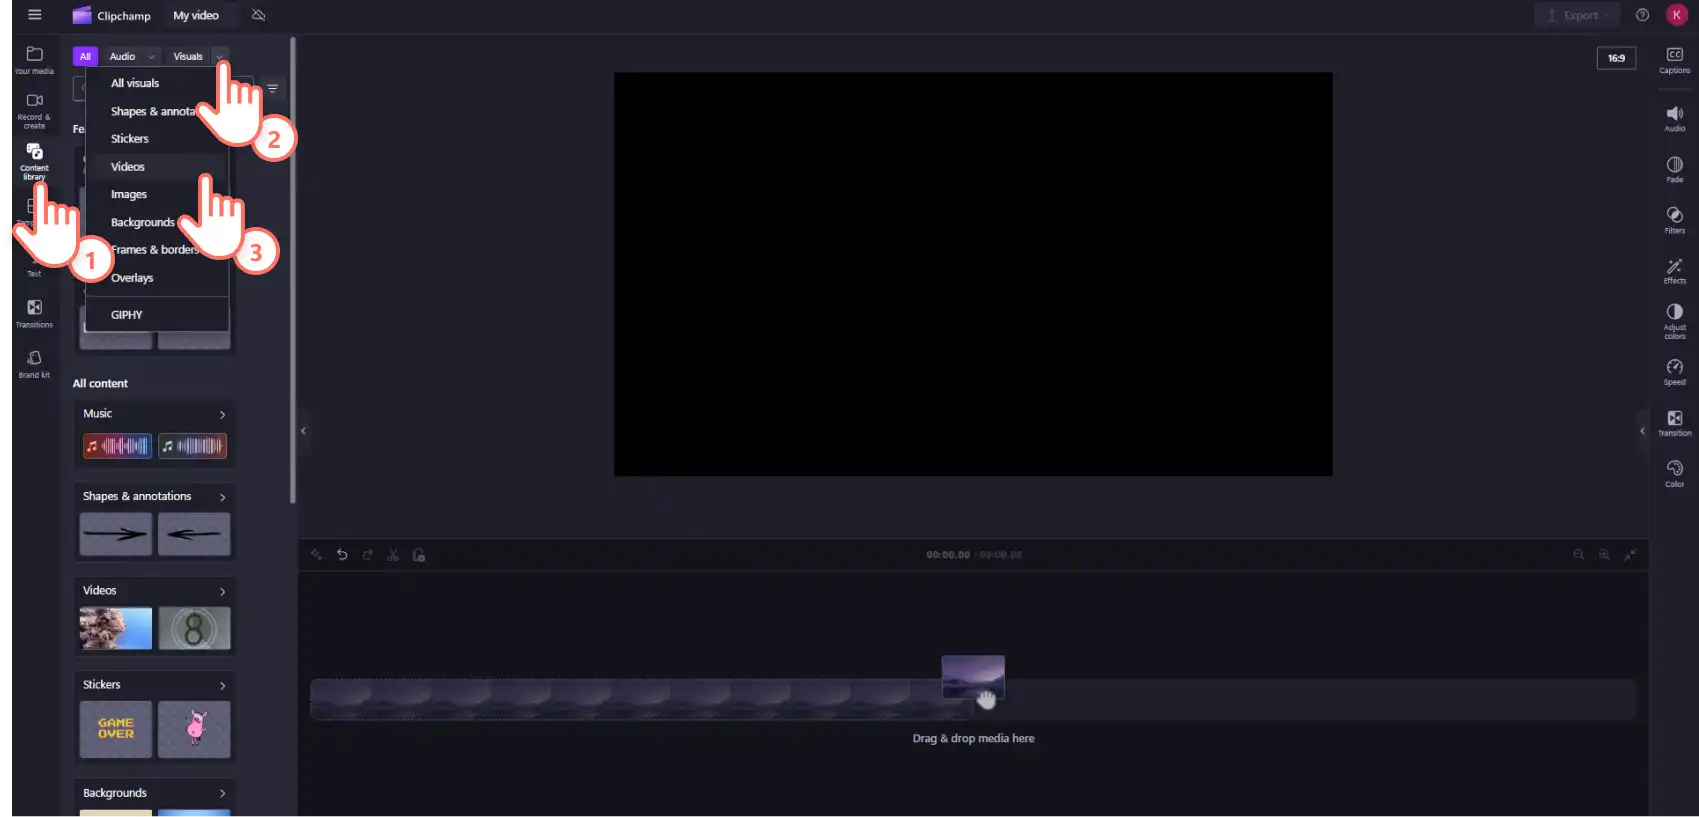
Drag and drop your video onto the timeline.
Step 2. Locate the voice recorder and allow microphone access
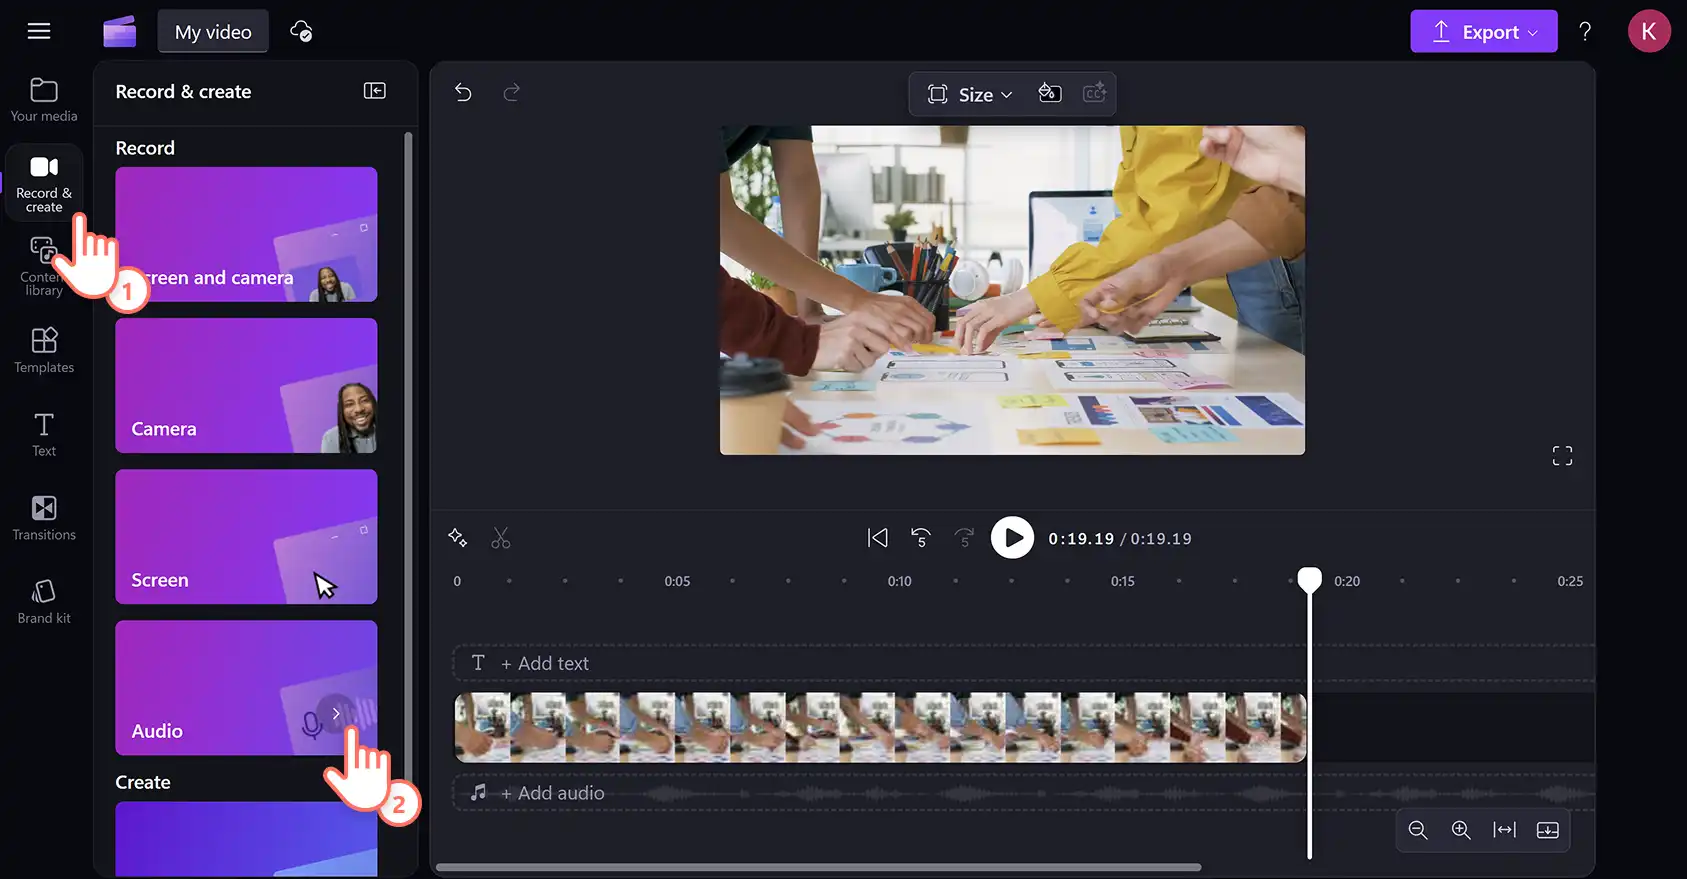
Click on the record & create tab on the toolbar, then click on the audio option.
If you've never used the free audio recorder before, a popup window will appear with microphone access options. Click on the allow button on the popup dialog and this will allow Clipchamp to use the microphone on your device. Don’t forget to do a mic test once you've given access to check how your microphone sounds.
Step 3. Record your voiceover using the voice recorder
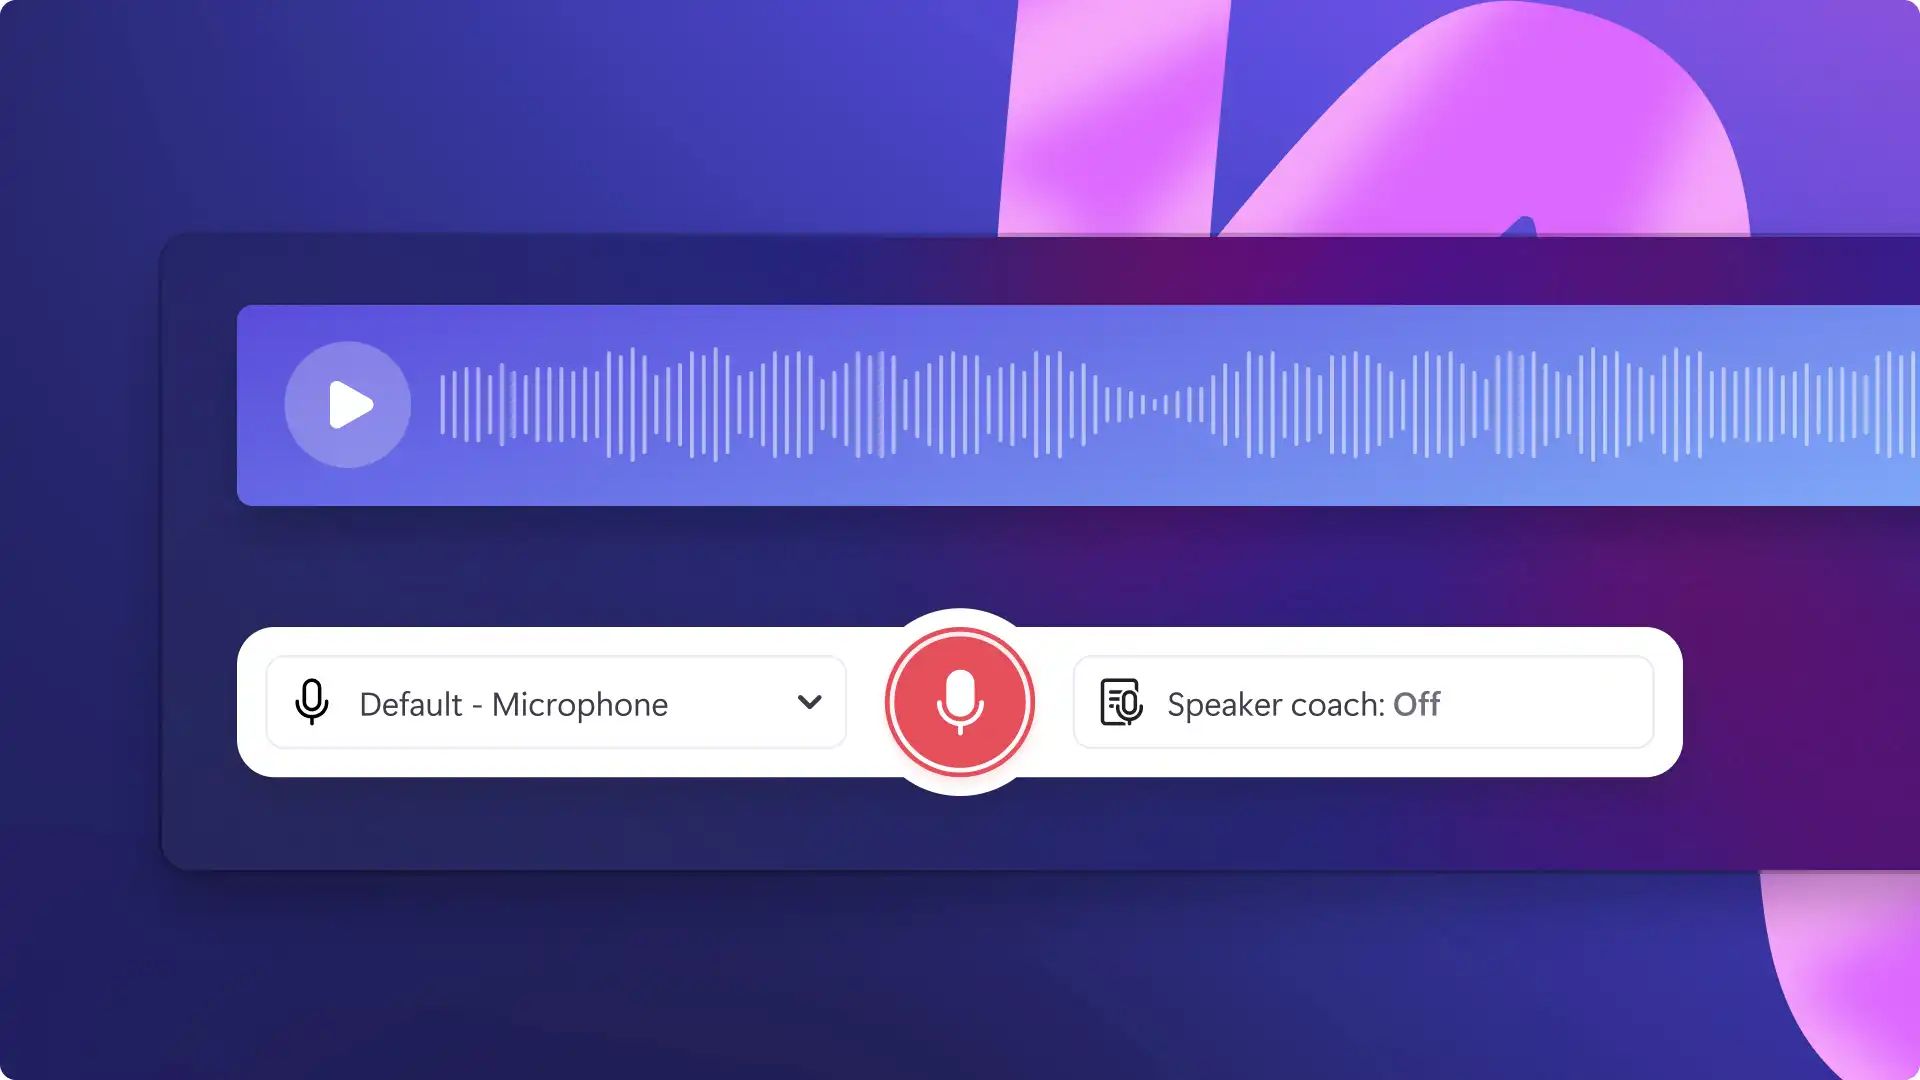
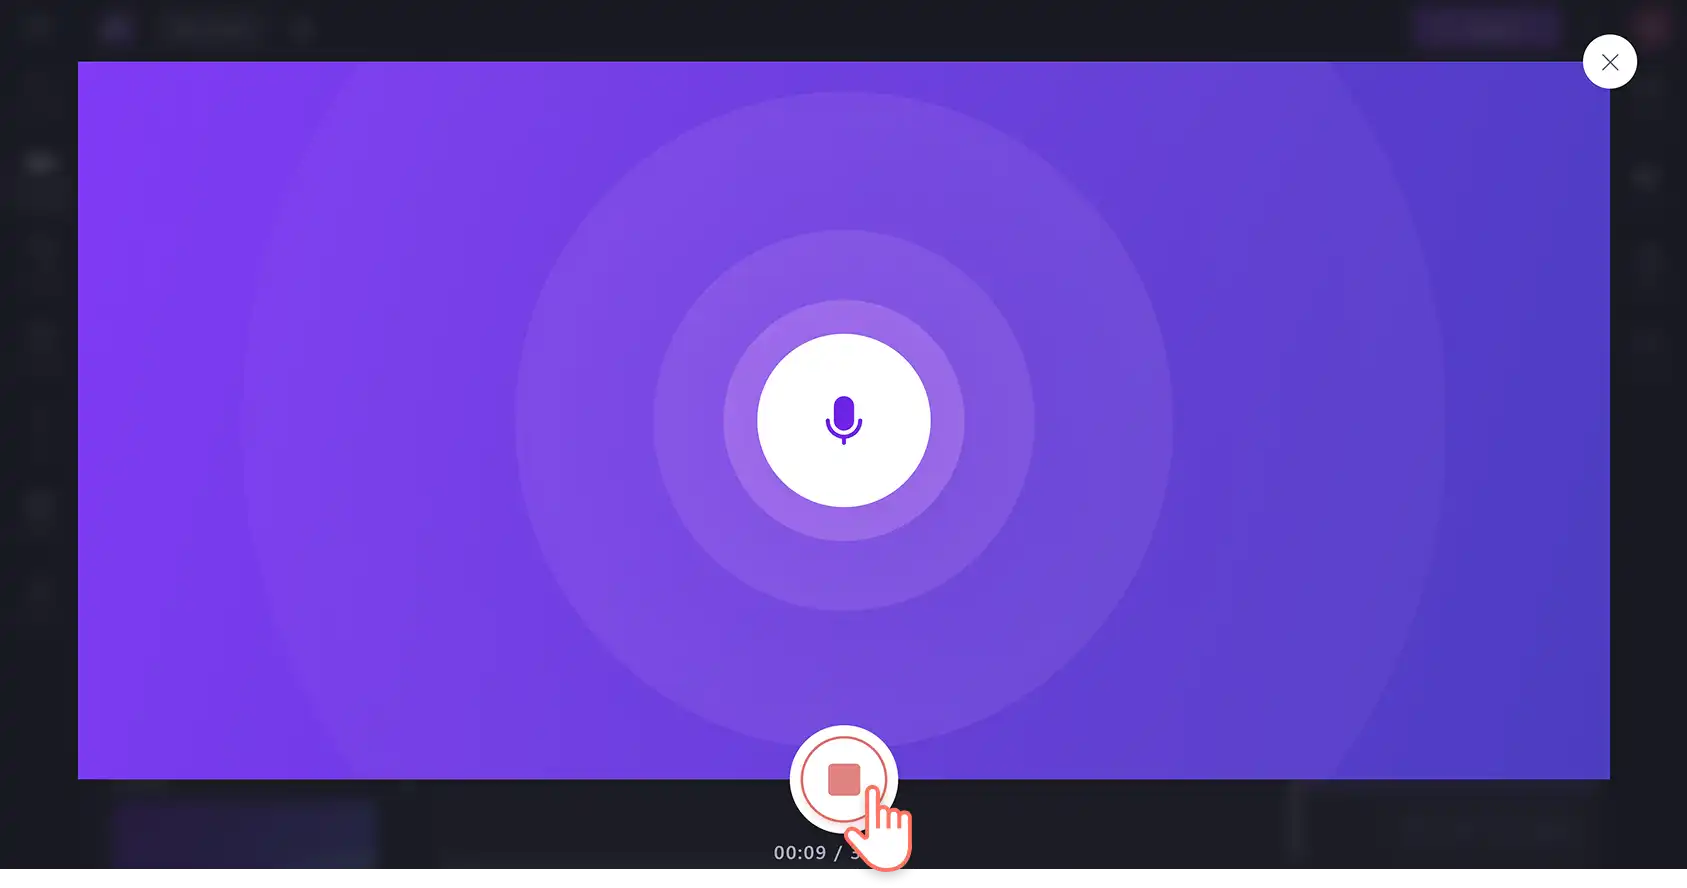
To start using the mic recorder online, click on the red button. You can also select your microphone source and do a mic test.
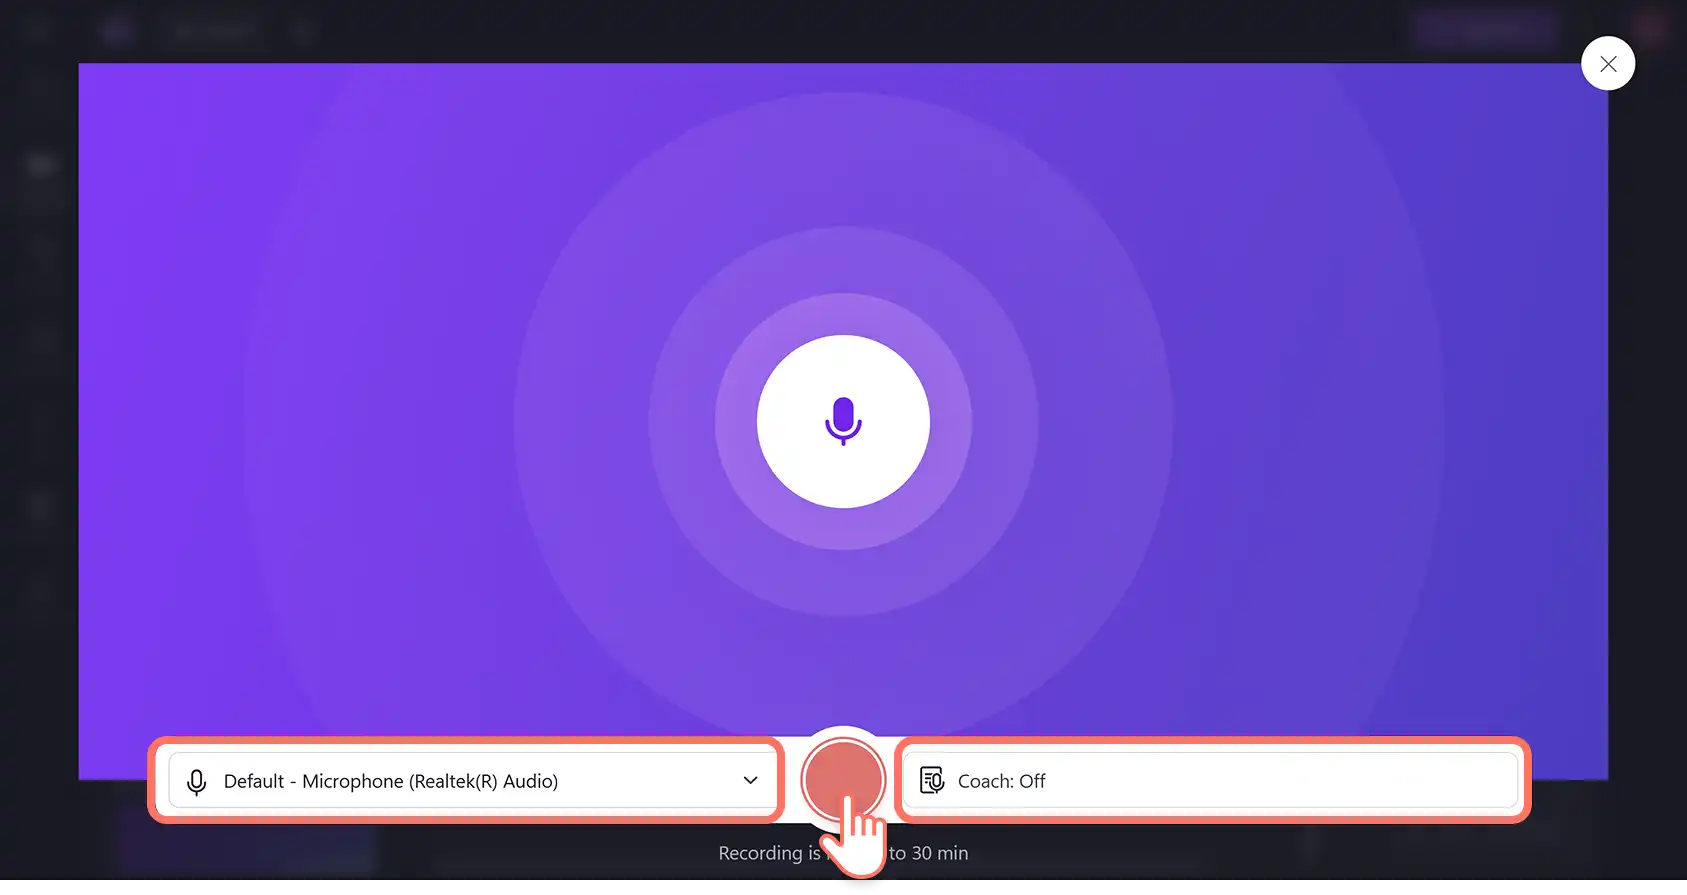
Record up to 30 minutes of audio. A timer will display at the bottom of your screen to show how long your voice recording is. Click on the stop button when you’re finished.
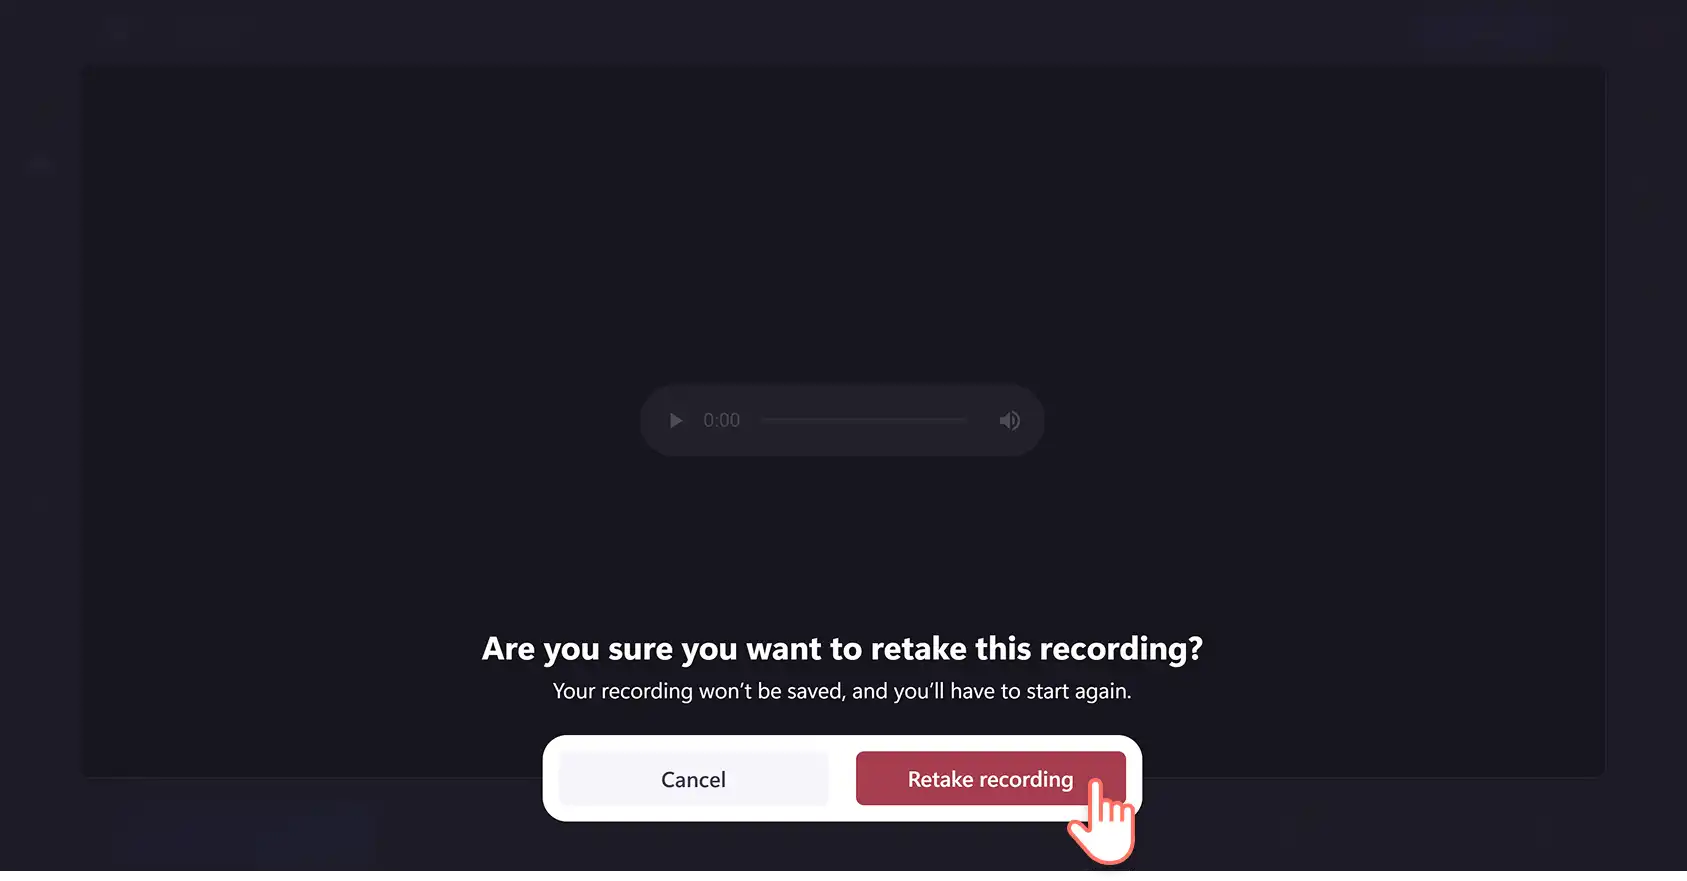
You can redo your voiceover by clicking on the retake recording button. You will then be asked to confirm by clicking on the red retake recording button again.
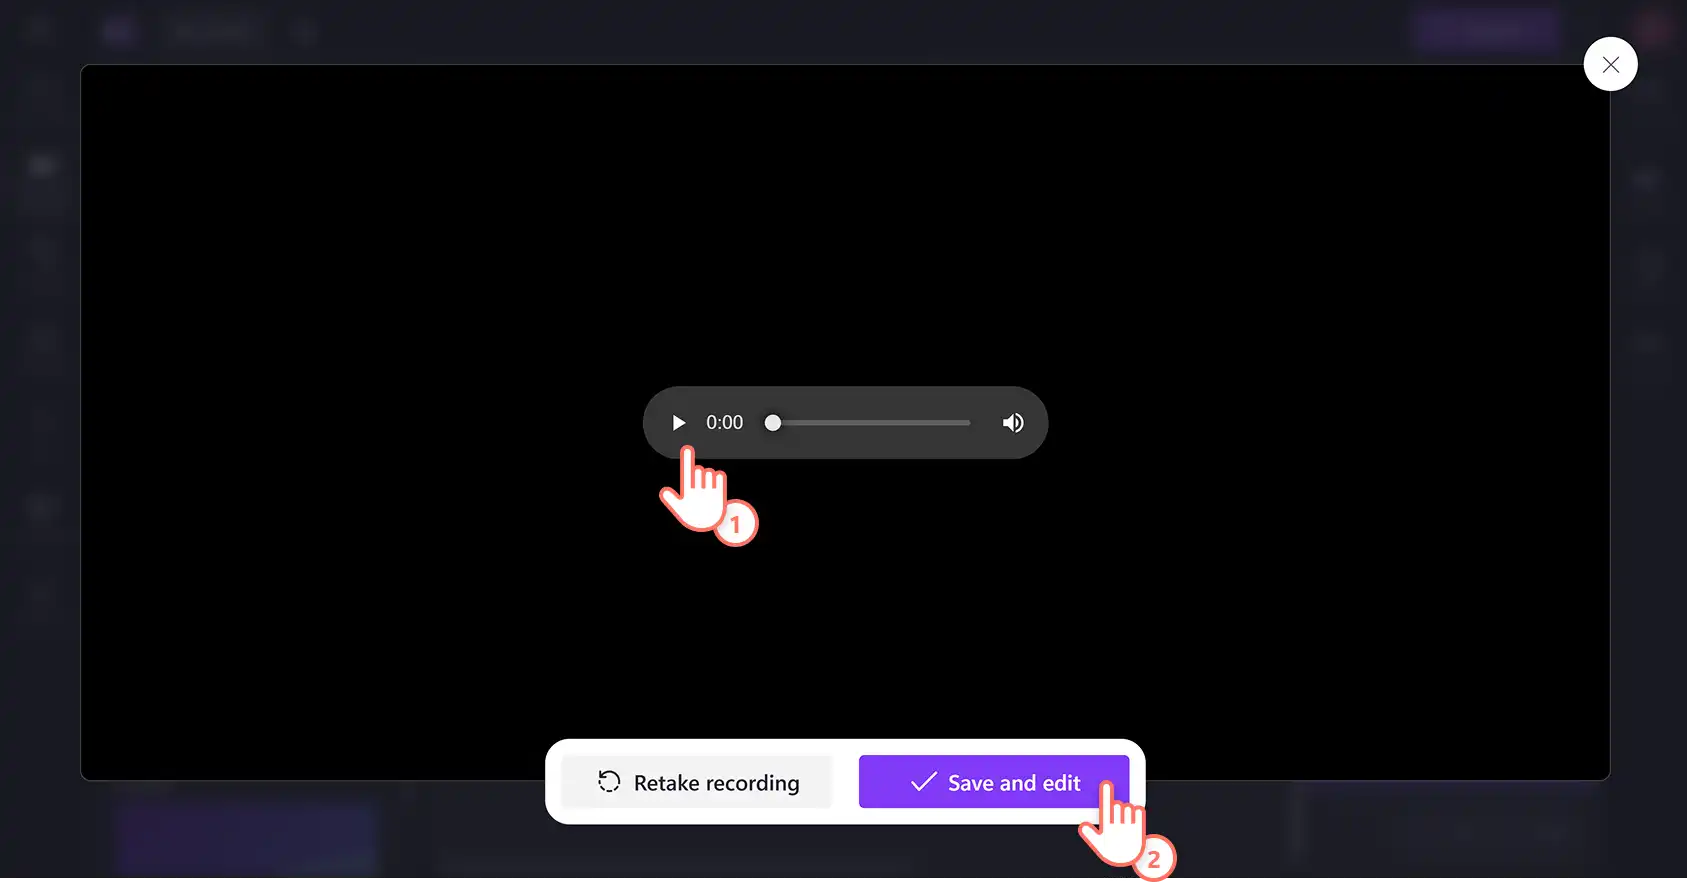
Next, preview your voiceover using the play button. If you’re happy with your recording, click on the save and edit button to save and return to the editor.
Once you have clicked the save and exit button, your voice recording will now appear on the timeline below your video clips. Your voiceover will also automatically download as an MP3 or webm file to your device in the downloads folder.

Your voice recording will automatically appear on the timeline as a new media asset. It will also save to the your media tab where you can drag and drop it onto the timeline to reuse or reposition your voice recording.
Step 4. Preview and save your video
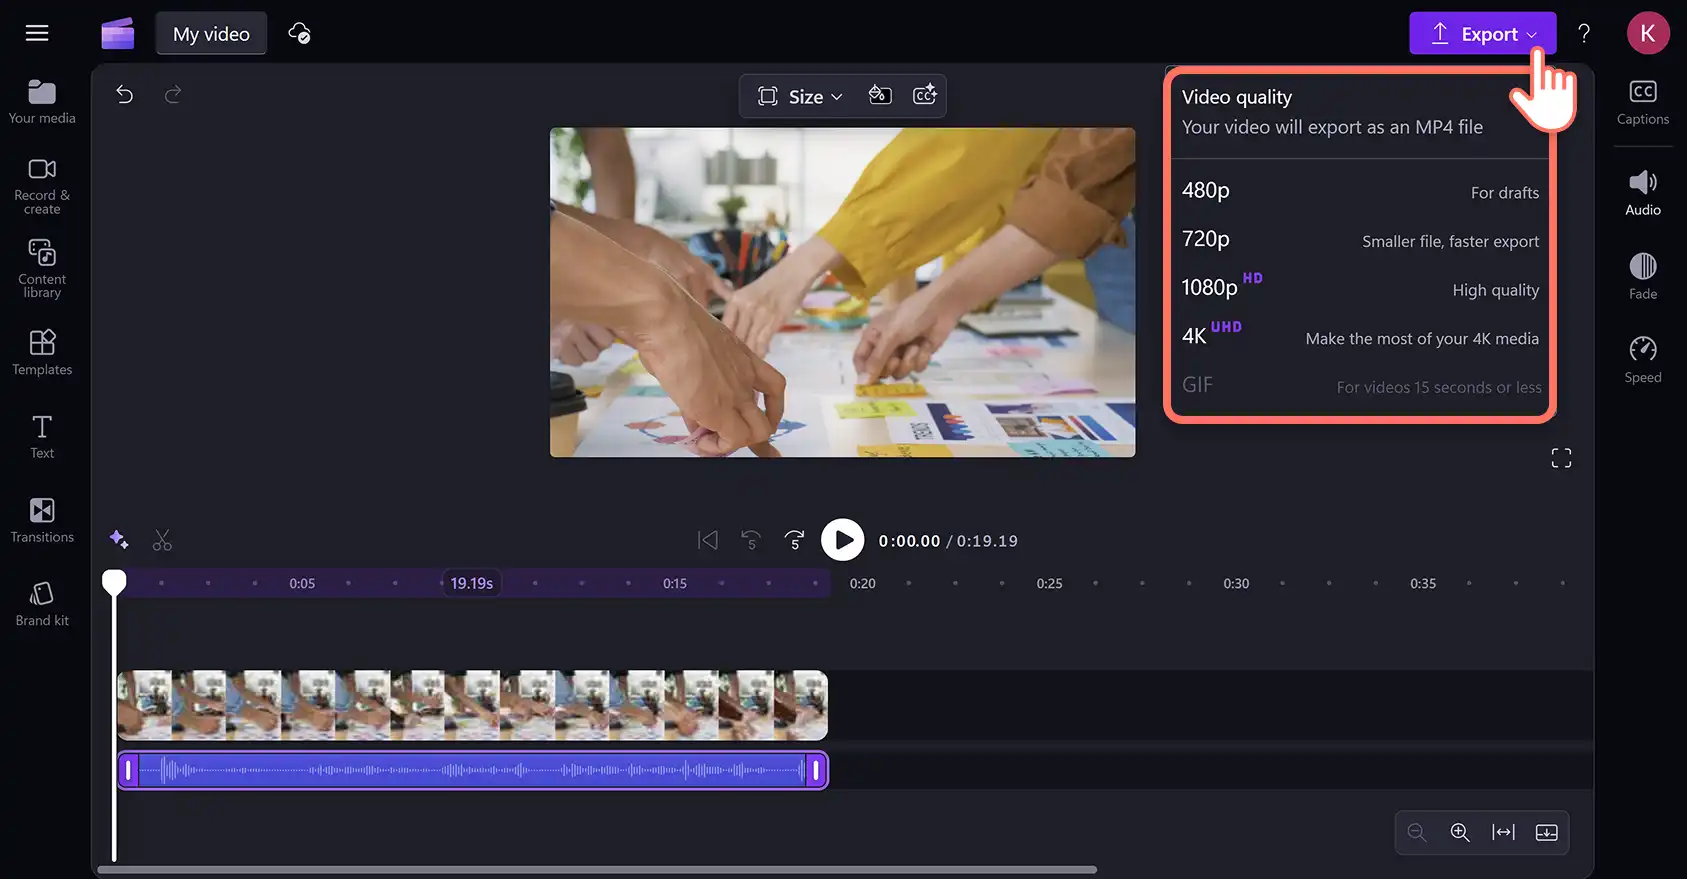
Before saving your voiceover video, make sure to preview by clicking on the play button. When you’re ready to save, click on the export button and select a video resolution. For more help, take a look at this online voice recorder help article.
Improve voice recordings with AI editing tools
Delete unwanted pauses using AI silence removal
Remove any unnecessary pauses in voice recordings and videos using AI silence remover. AI suggestions will identify silences and pauses automatically which you can then auto cut or trim to your liking.
Create clear voiceovers with AI background noise removal
Did your voice recording pick up unwanted background noise or ambient sounds like the hum of an air conditioner? Fix poor sound quality and reduce background noise in your voice recordings with the AI noise suppression tool.
Generate AI subtitles and transcripts
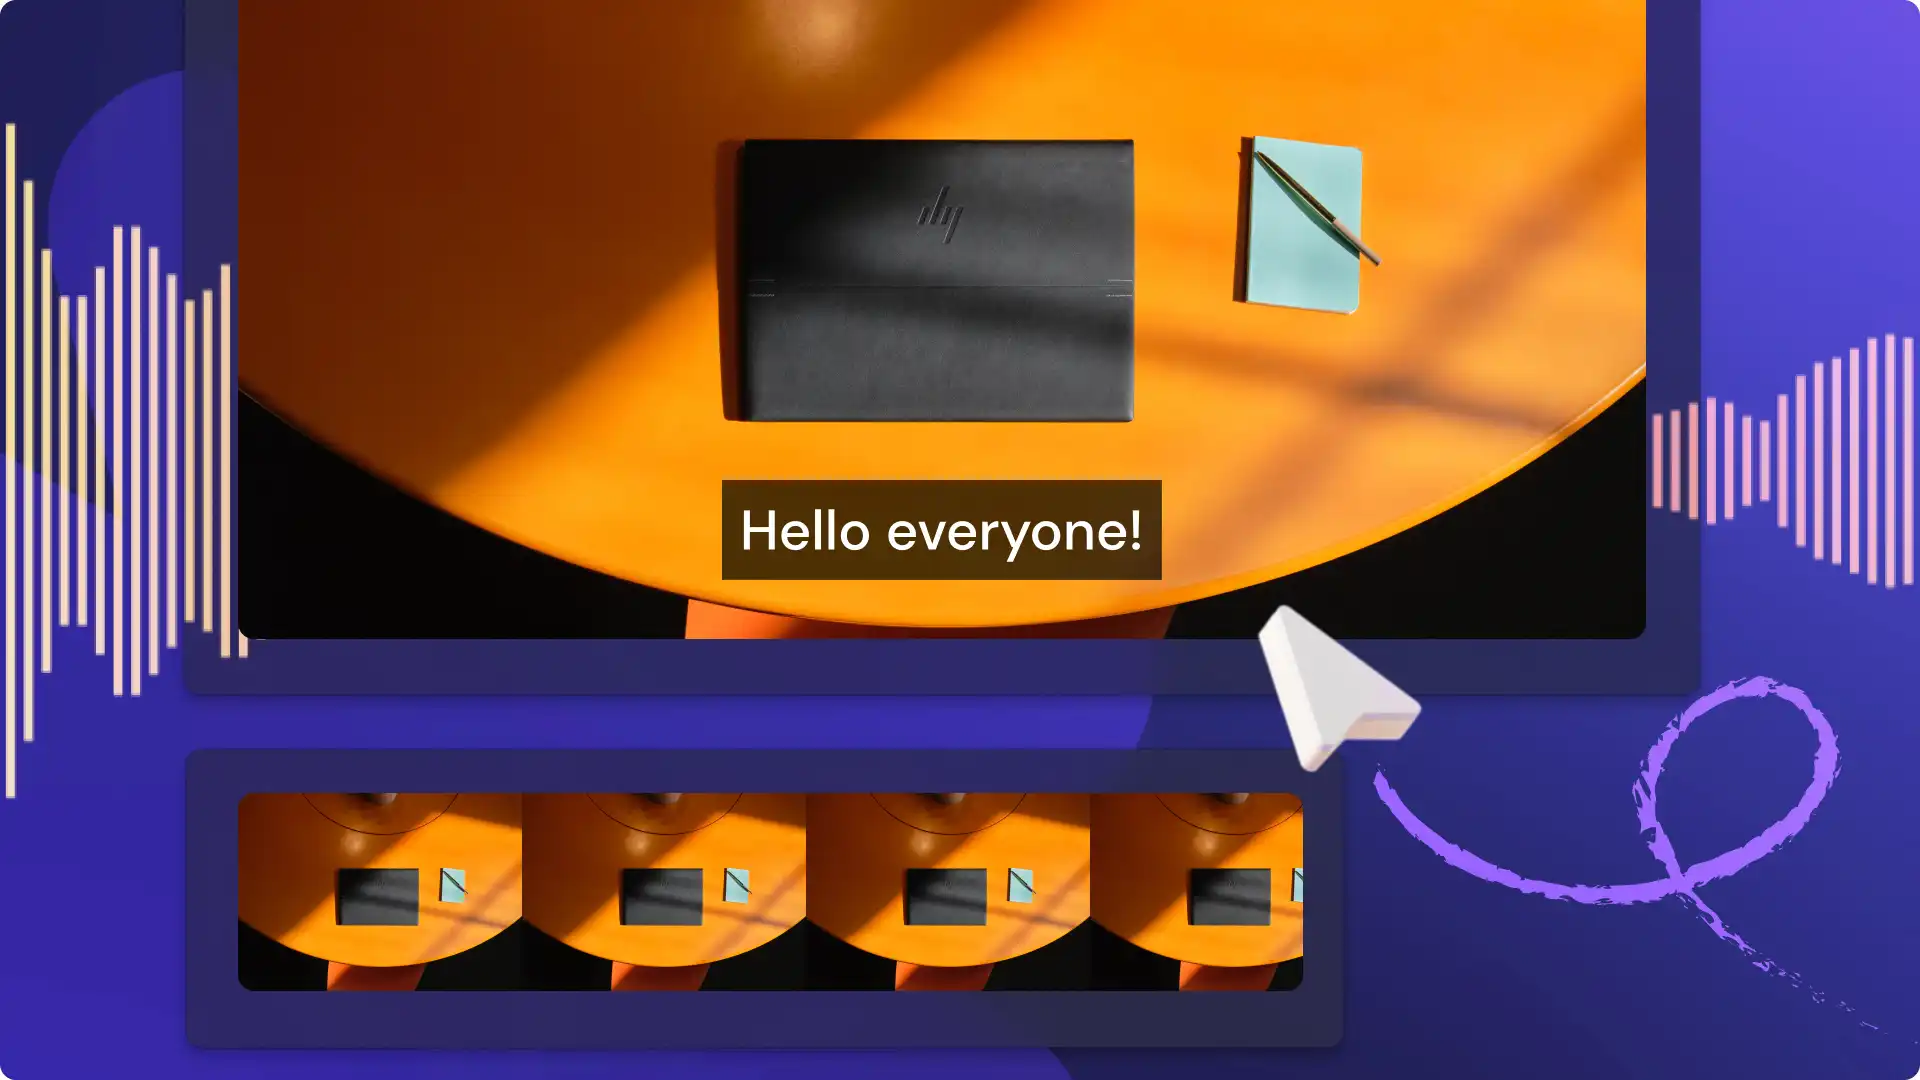
Instantly make your videos more accessible and easier to follow by generating real-time subtitles with AI-powered autocaptions. Enable the smart voice detector in one click to generate subtitles and a downloadable video transcript. You can also generate subtitles from Spanish voiceovers, and other global languages.
Edit the speed, volume, or add fades to voice recordings
Customize voice recordings by controlling the pace of your narration using the speed controller, or increasing sound levels without distortion with the volume booster. Add some creativity to audio transitions or the end of a video by adding audio fades to tracks on the timeline.
10 voiceover video ideas to inspire you
Get started recording your own voiceovers with this list of different video ideas where you'll need a strong narrator paired with your visuals.
Podcast video: start an informative or entertaining video podcast straight from your laptop and add the audio visualizer so you can share on YouTube and Spotify.
Marketing promo video: generate brand awareness for your business by narrating promotional marketing videos like product launch highlights.
How-to video tutorial: record a voiceover to describe a screen recording or live footage for instructional videos and how-to tutorials.
Product demo video: narrate the basics of using your product in an engaging and easy to follow to demonstration video.
Social media slideshow video: share with your social media followers all the highlights of your recent road trip by narrating a slideshow video.
Video ads: lay down a voiceover track over image and video montages to create quick and easy Instagram video ads.
Video portfolio: impress employers and clients by providing behind-the-scenes insights on projects in your video portfolio.
Faceless YouTube video: find a topic niche and launch a side hustle explaining subjects or provide handy life hacks in a faceless YouTube channel.
Vlogs: compile all your mobile shot footage then record a voiceover recapping the day's sights and sounds for your travel vlog.
Explainer video: guide your LinkedIn network through your business's roadmap by recording a voiceover for a company explainer video.
Watch how to use the voice recorder on YouTube
Learn how to make voice recordings online in this quick and easy video tutorial.
Frequently asked questions
- How to save online voice recordings
All voice recordings made with the free online voice recorder in Clipchamp video editor automatically save. Finished audio files will instantly download to your device and the audio will save to your video in the cloud so you can also access it anytime you open Clipchamp.
- How to add online voice recordings and video to PowerPoint?
You can easily add videos and audio recordings from Clipchamp video to PowerPoint. Clipchamp is the official video editor for Microsoft and is available alongside PowerPoint with an M365 subscription. Once you export a video from Clipchamp you can simply embed it in a PowerPoint Slide. You can do the same with the audio recordings made using the online voice recorder.
- Can I record more than one voiceover?
You can make an unlimited amount of voice recordings for free with the voiceover maker in Clipchamp.
- How do I record my voice for free?
The online voice recorder is free for all Clipchamp users.
Check out 10 audio editing hacks for more online audio editing tips and take a look at how the AI audio enhancer can improve the sound quality of your videos.
Start using the online voice recorder today with Clipchamp or download the Clipchamp Windows app.
Heads up! The screenshots in this article are from Clipchamp for personal accounts. The same principles apply to Clipchamp for work and school accounts.