On this page
Instantly trim away excess background music, make audio more precise, or easily edit the length of AI voiceovers and voice recordings with the online audio trimmer.
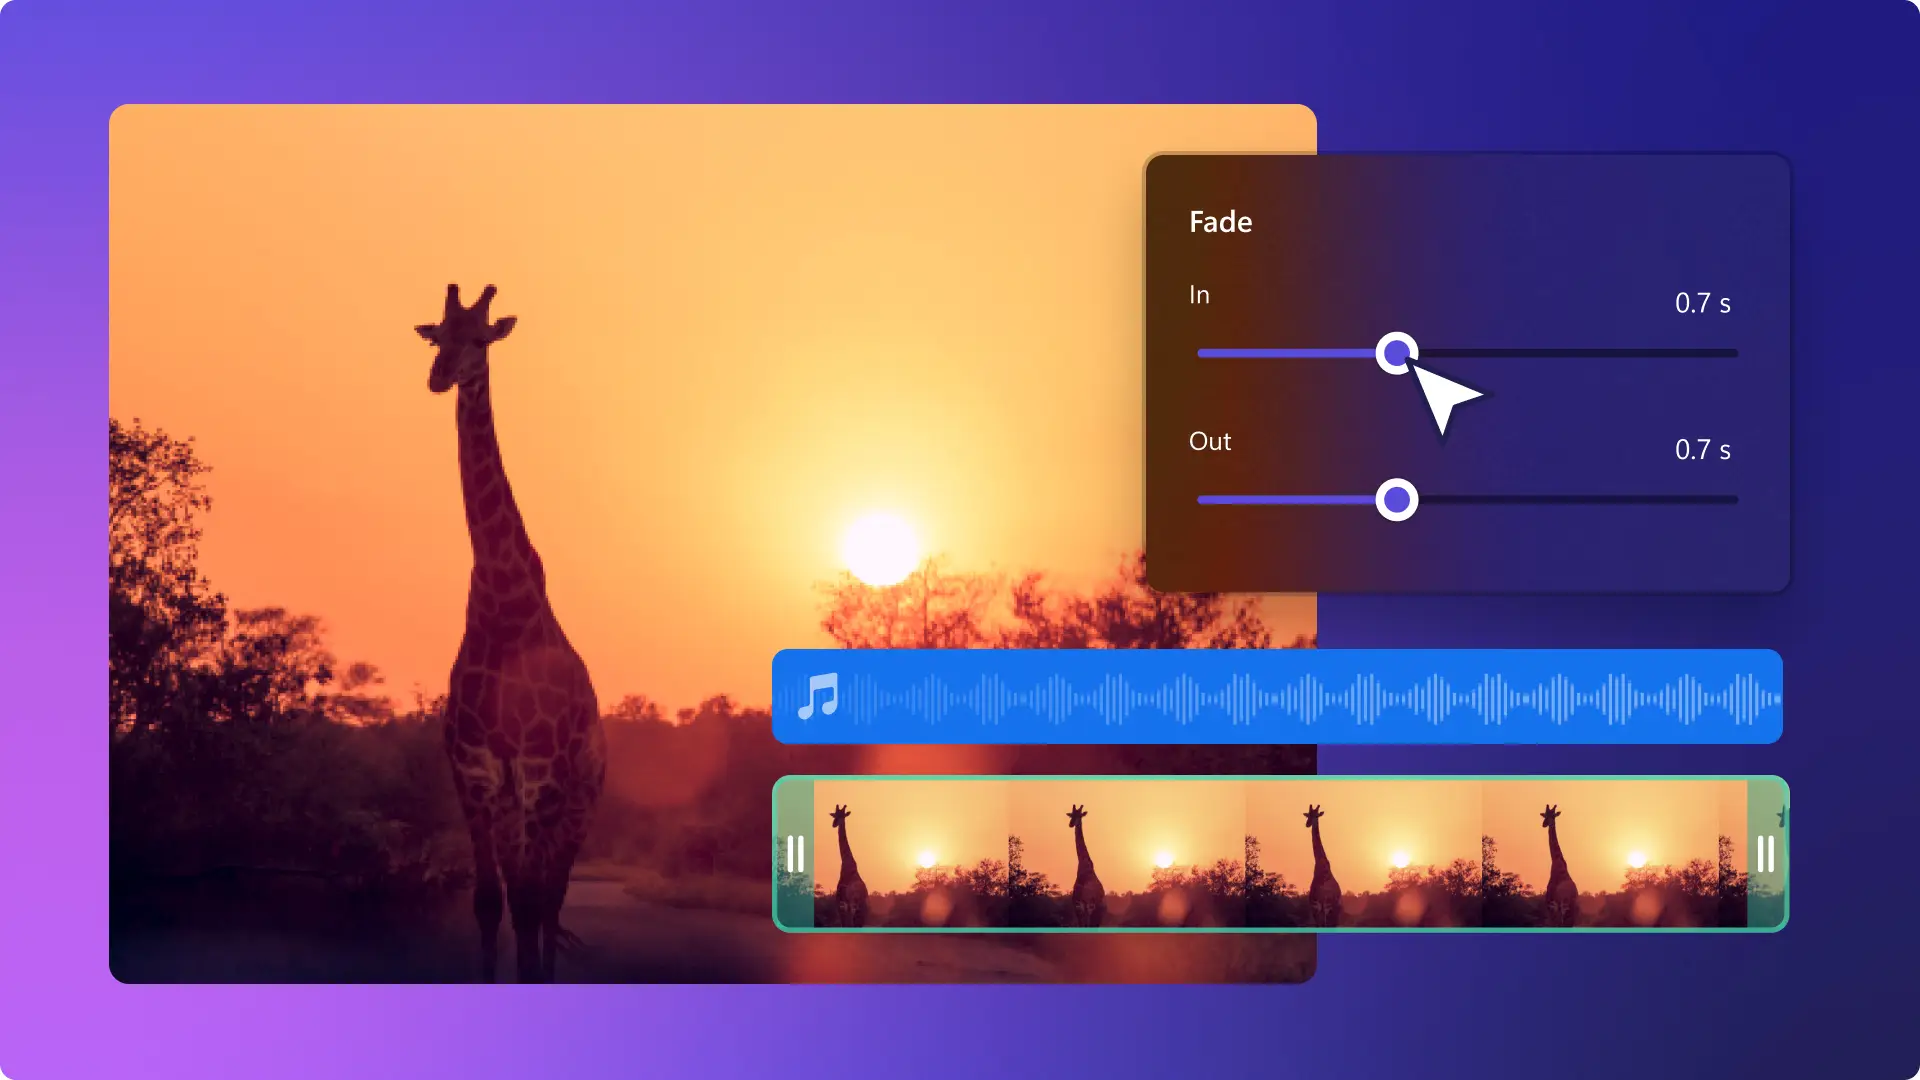
Polish video dialogue or audio tracks even further with helpful editing features like volume adjustments, pace, and fading in and out. You can even save audio in high-quality MP3 format for easy sharing.
Read on to learn multiple different ways to trim audio online with Clipchamp video editor.
How to trim audio only in videos
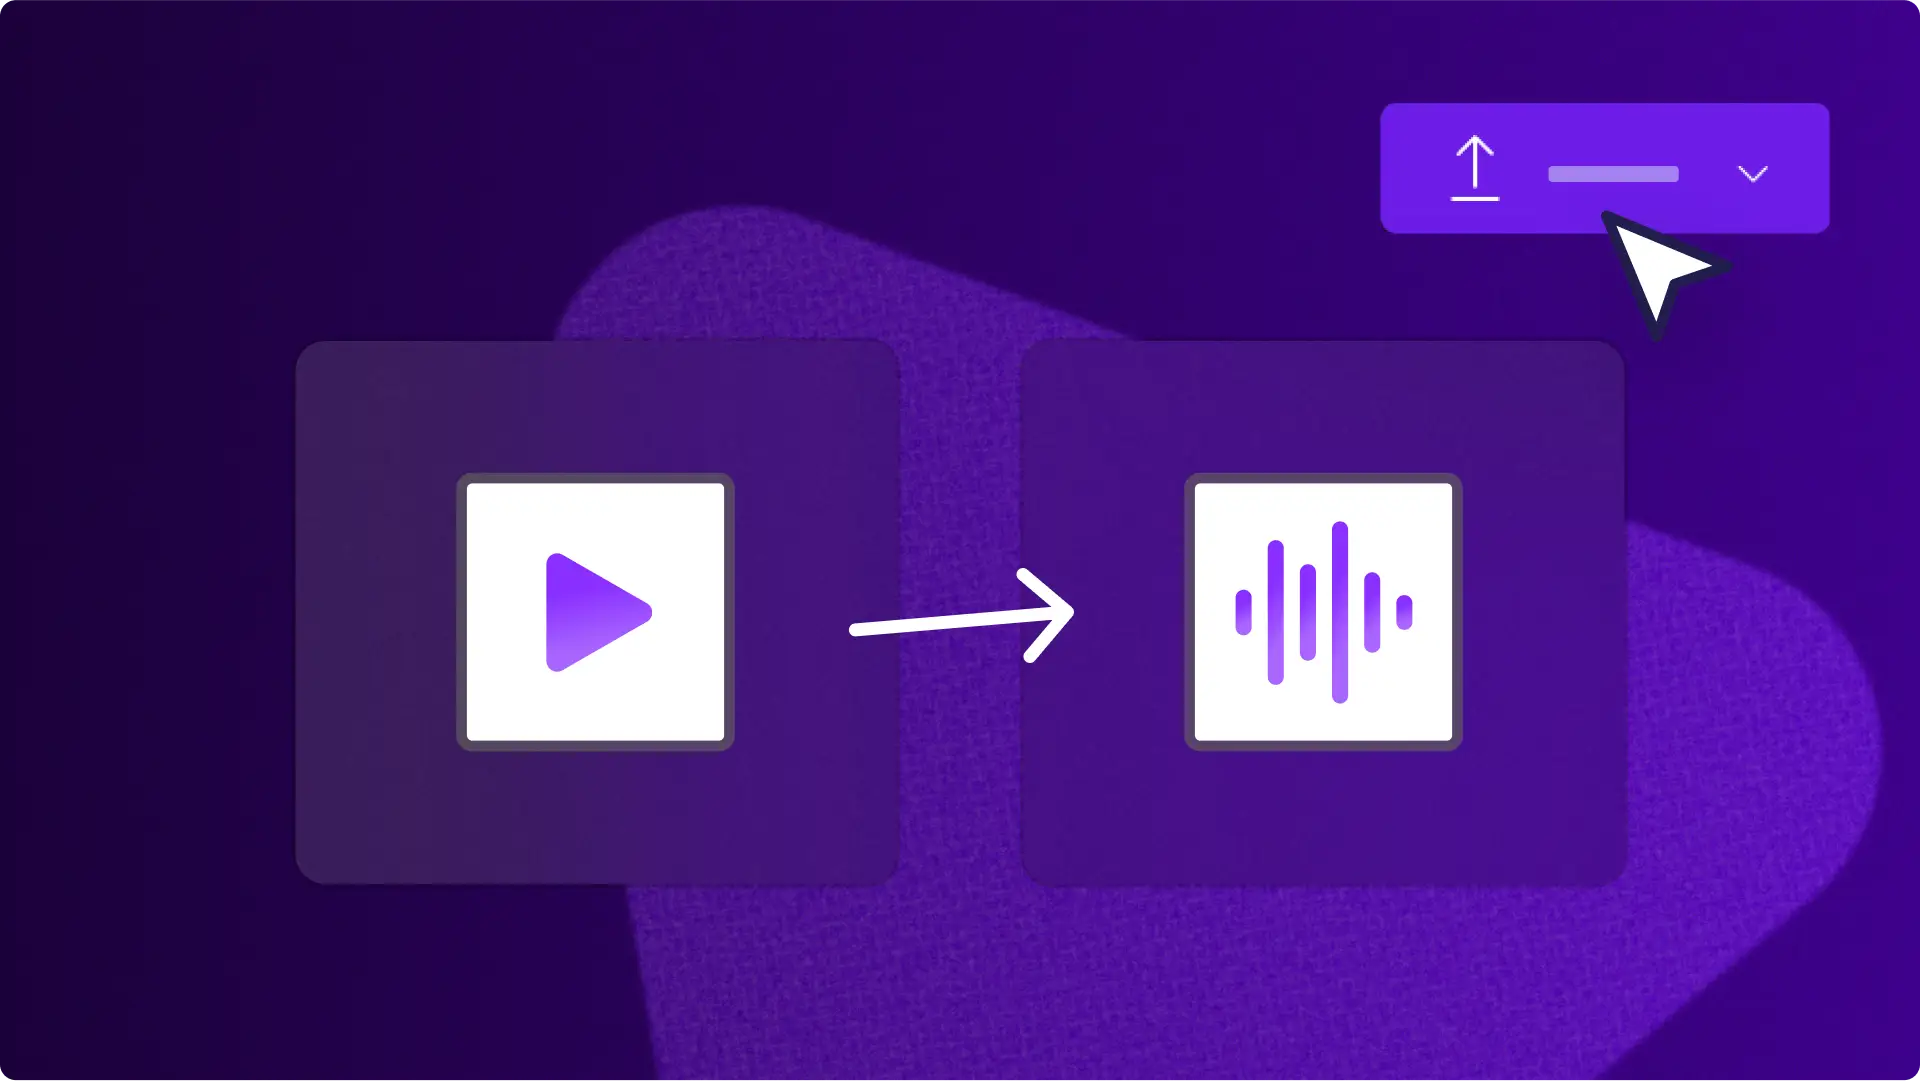
To trim a video’s audio without editing the video footage, detach audio from video before starting. Detaching audio from video is the easiest way to trim audio without altering the speed of your video footage.
First, right click on the video on the timeline.
Next, click on the audio button, then click detach.
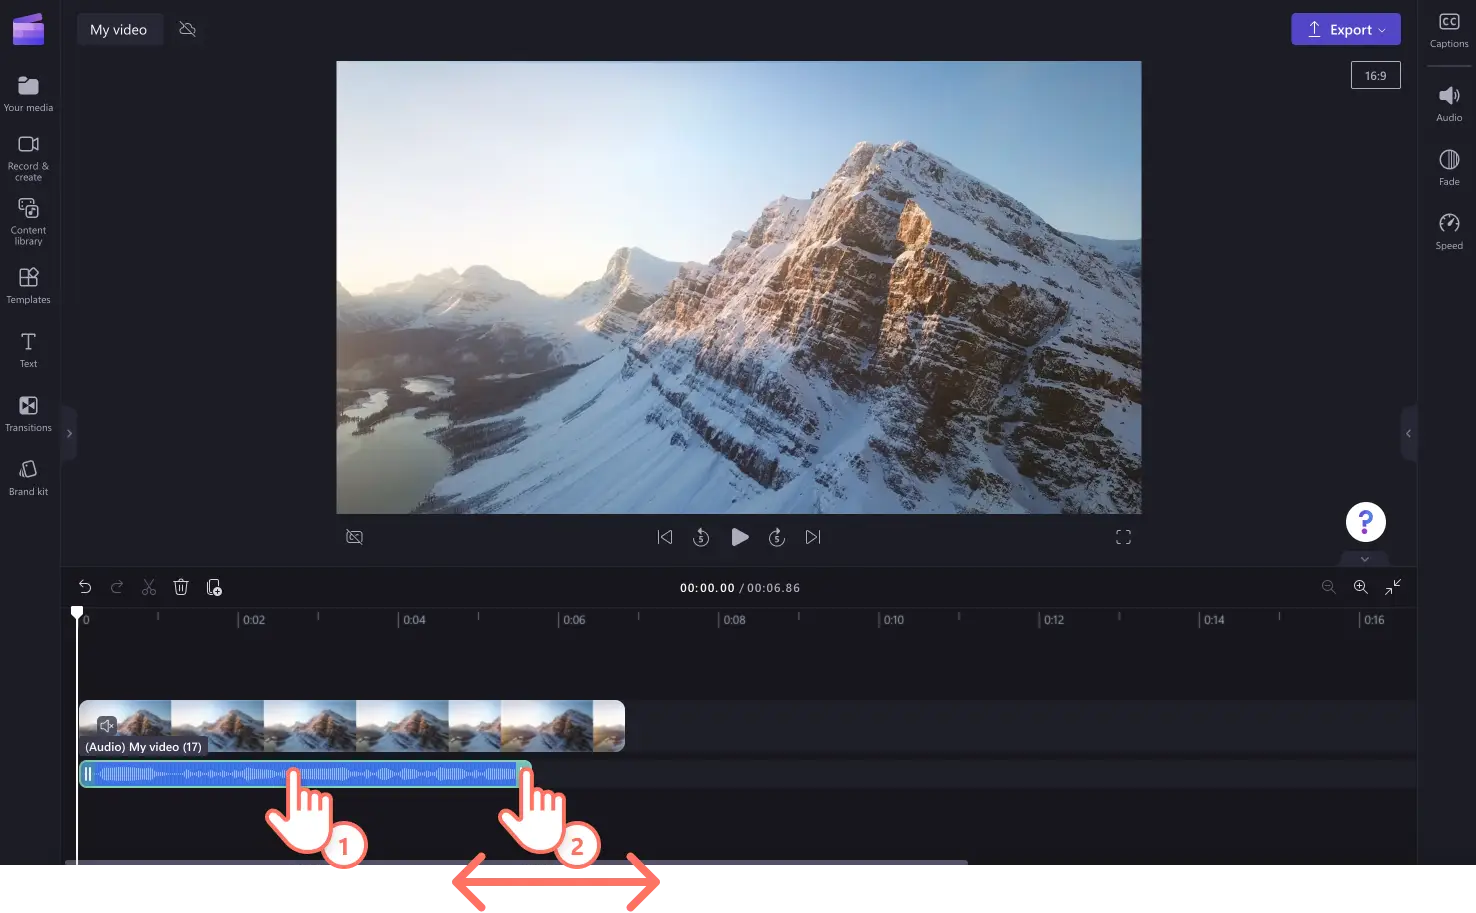
The audio file will automatically appear on the timeline under your video clip. The audio will also be downloaded to your device as an MP3 file. Next, click on the audio file on the timeline then drag the right handle to the left to trim.
For more help, watch how to save MP3 audio from MP4 videos (unlimited downloads) on YouTube.
How to trim audio through the speed selector
Make audio shorter without losing any sound by editing the pace of audio. Perfect for AI voiceovers and audio recordings, the speed selector lets you speed up audio to make it shorter and faster on the timeline. Follow the steps below to learn how to trim audio using the speed selector.
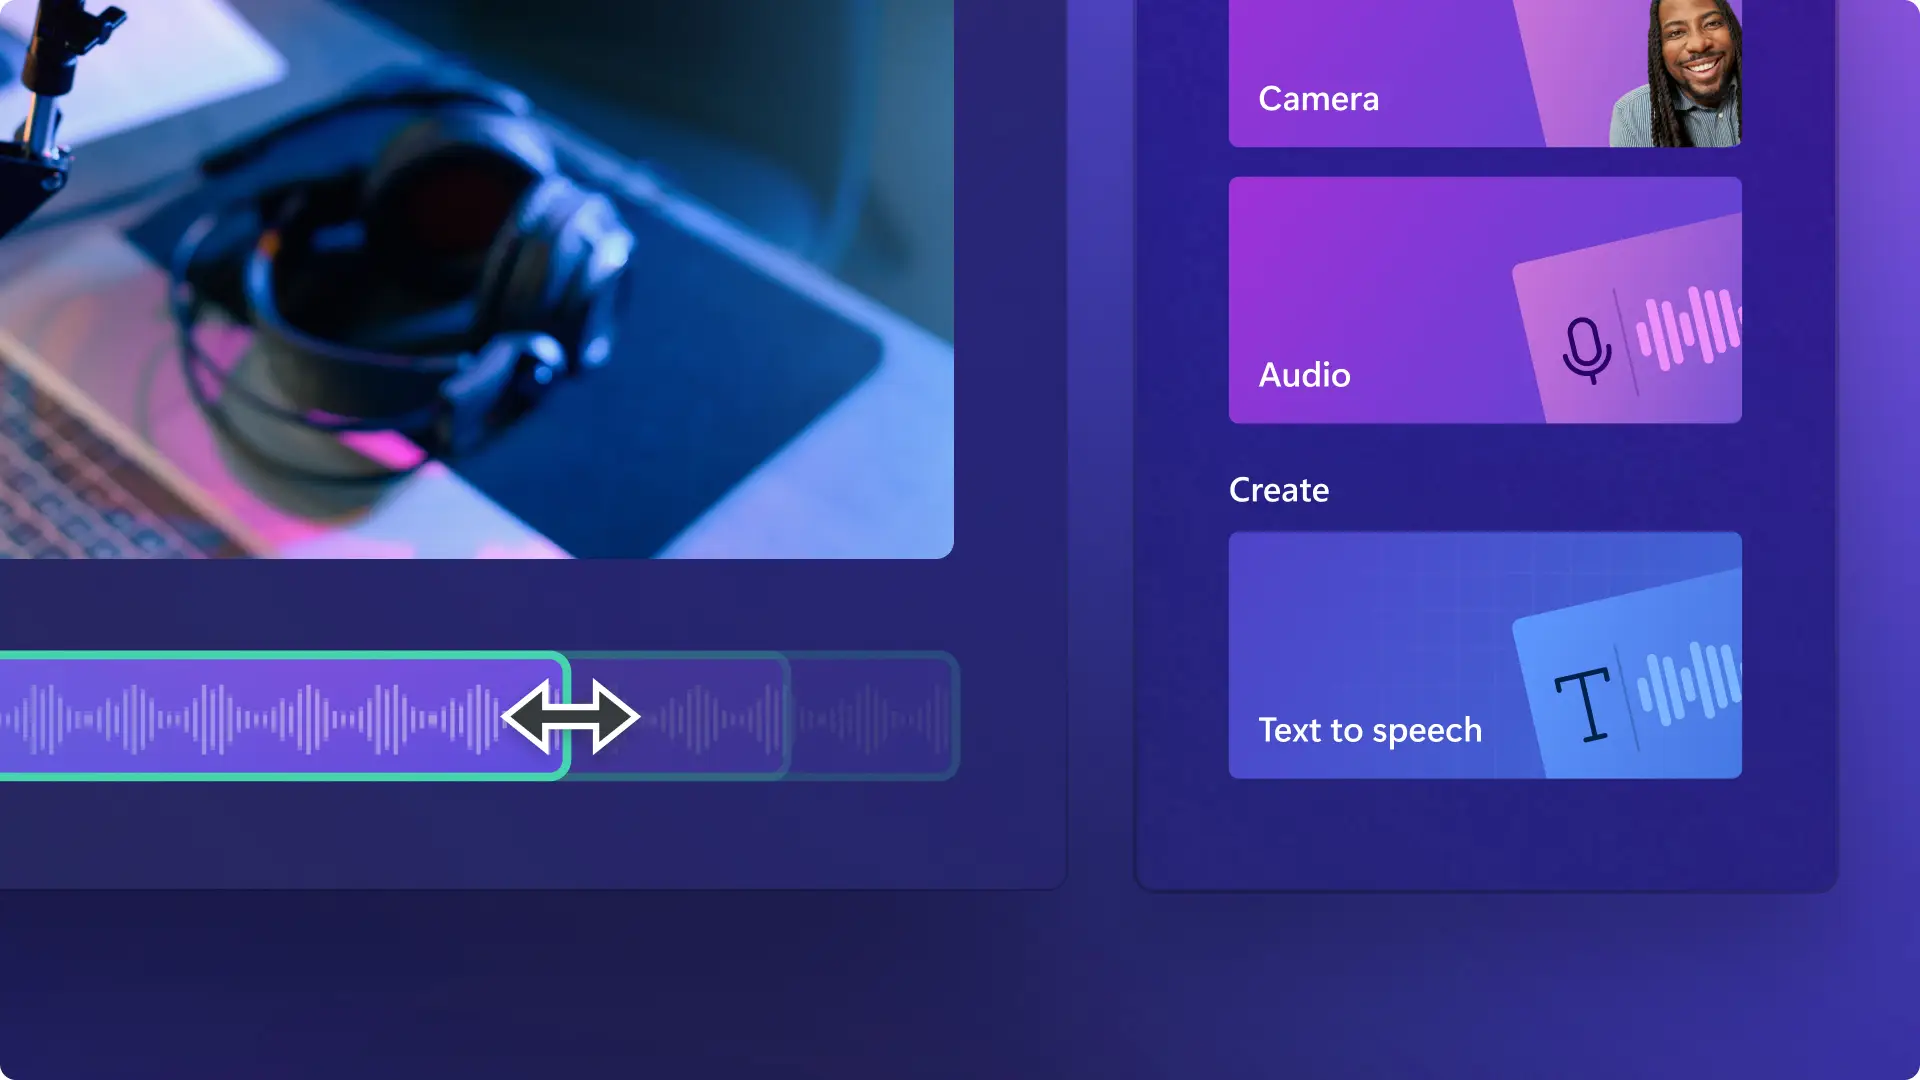
Drag and drop an audio file onto the timeline. You can select stock music, a sound effect, or create an AI voiceover or audio recording.
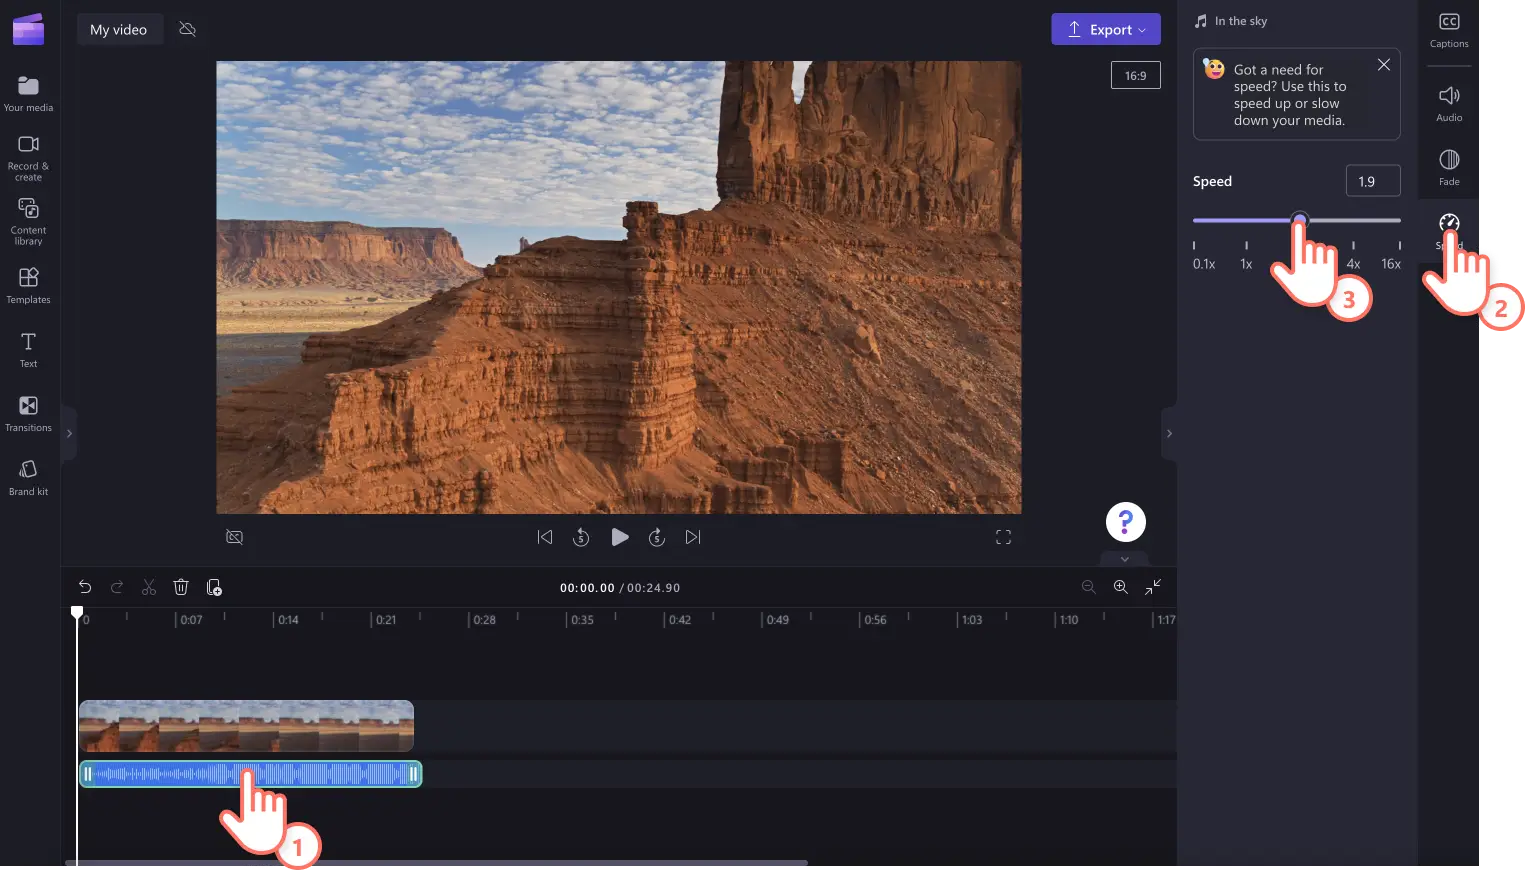
Click on the audio file on the timeline so it’s highlighted.
Next, click on the speed tab on the property panel. Here, drag the speed slider to the right to increase the pace of your audio. This will make your audio file shorter on the timeline and speed up its pace. You can also type in a specific numeric value.
Note: speeding up an audio file to trim will make audio faster. Remember to keep audio at a professional and understandable speed.
How to trim audio using the audio trimmer
Make audio the same length as videos on the timeline by using the trimming handles. Trimming audio using the audio trimming handles is ideal for those audio files that you don’t mind removing some of the sound at the end. Follow the steps below to explore how to trim audio on the timeline using the handles.
Drag and drop an audio file onto the timeline. You can select stock music, a sound effect, or create your own AI voiceover or audio recording.
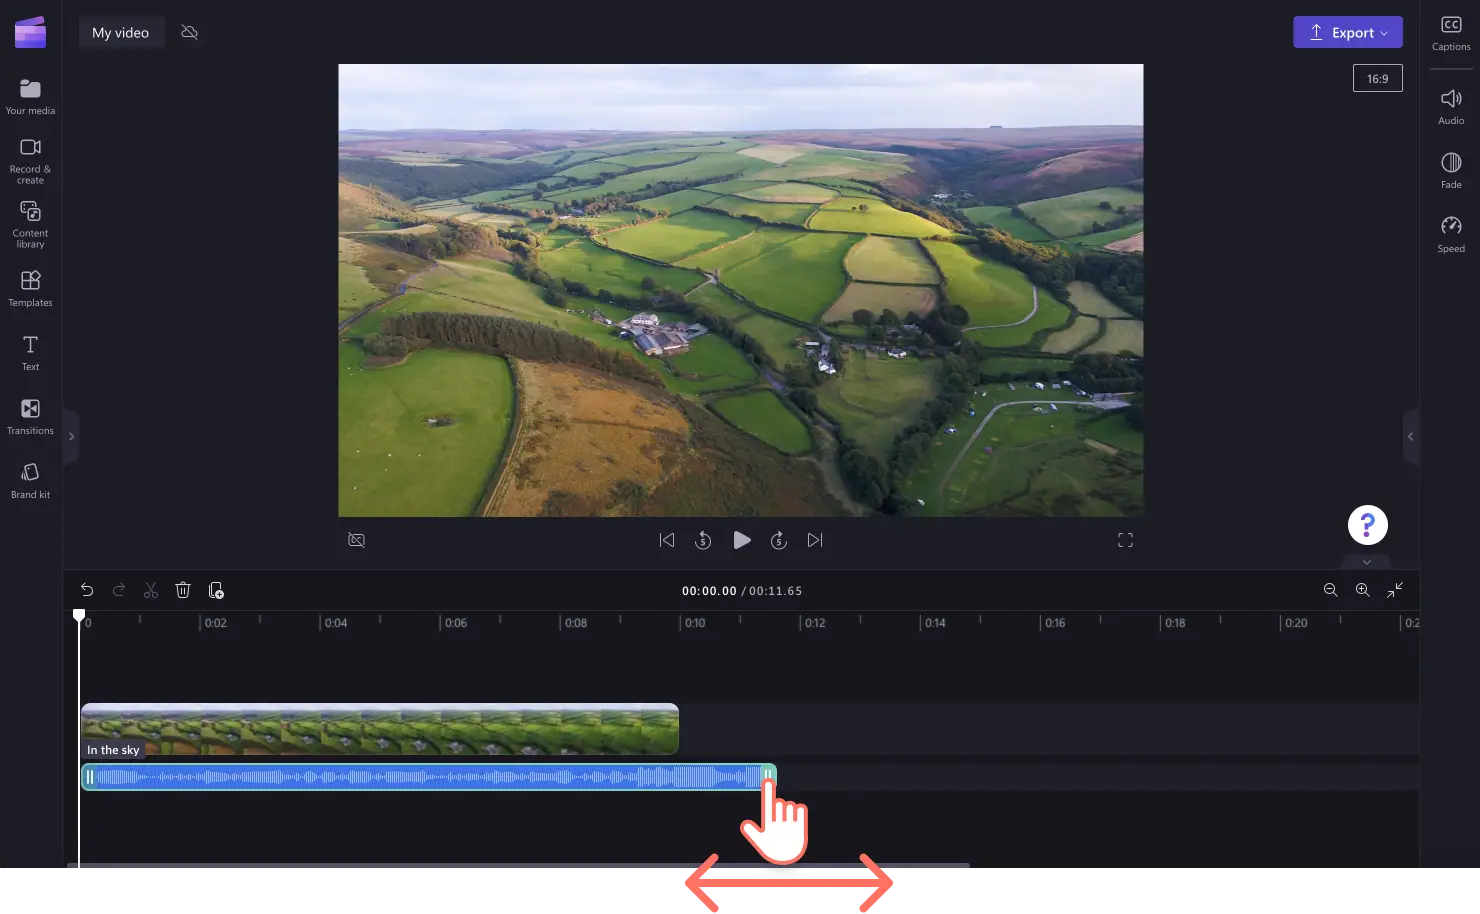
Click on the audio file on the timeline so it’s highlighted.
Next, click on the right handle, then drag the handle to the left of the timeline. Dragging to the left will automatically trim audio assets.
Note: using the trim handles will remove the excess audio from the timeline. If you’re trimming a voiceover, you’ll lose some of the voiceover file that’s trimmed.
How to cut audio using the split tool
Split to trim audio assets at a specific time stamp on the timeline with the split and delete video editing tools. The split tool is perfect for trimming excess music, cutting voiceovers into multiple assets, and cutting certain parts of a song. Follow the steps below to split or cut audio tracks, then delete the excess audio.
Drag and drop an audio file onto the timeline. You can select stock music, a sound effect or create a text to speech voiceover or audio recording.
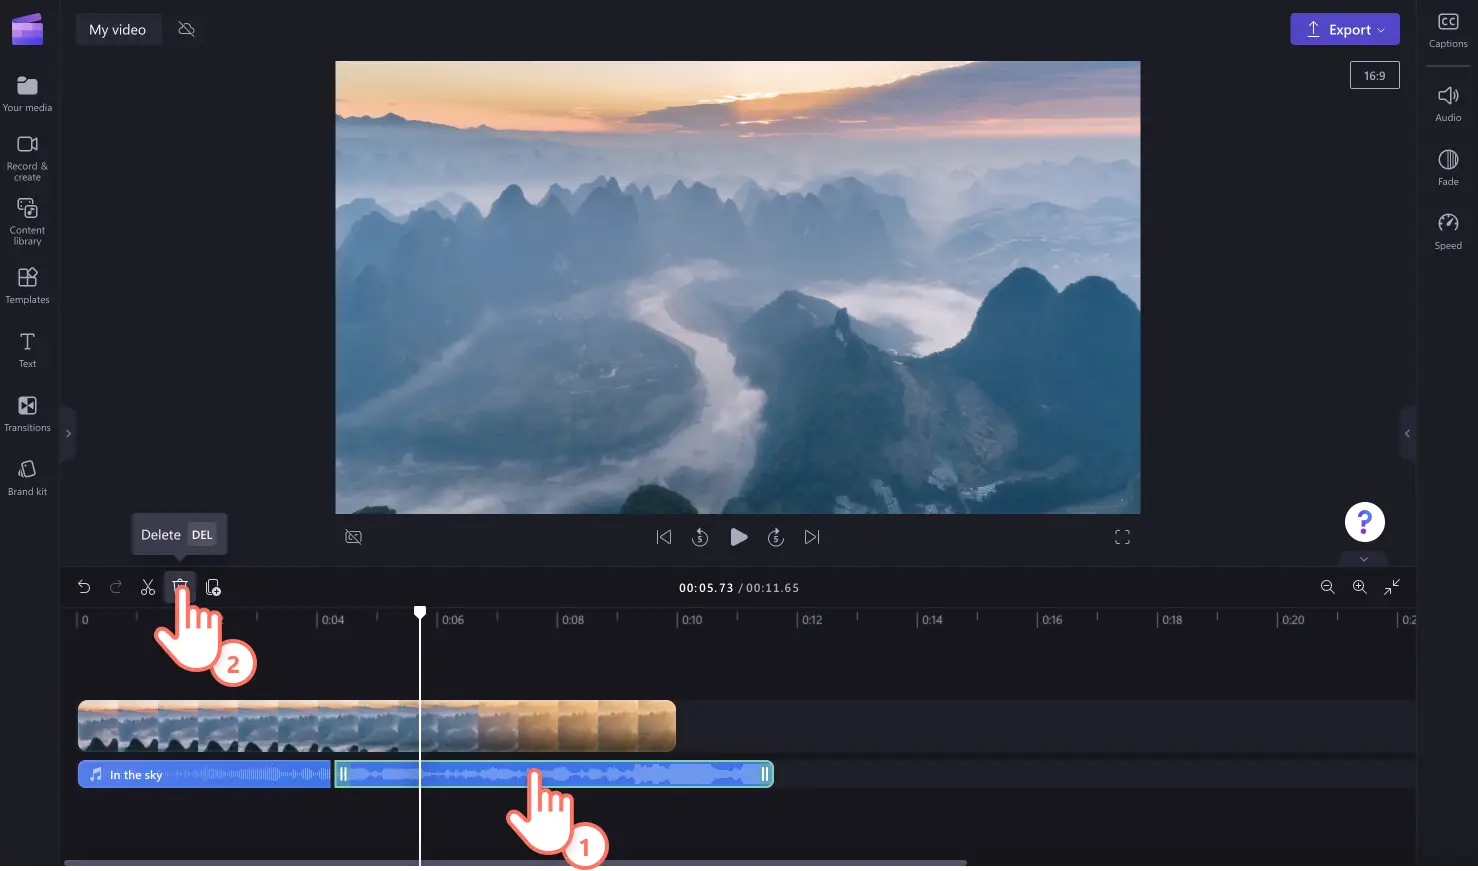
Click on the audio asset so it’s highlighted.
Move the seeker on the timeline to a timestamp, then click on the split button (scissors icon).
Audio will automatically cut into two. Click on the audio asset you would like to remove, then press the delete button on your keyboard.
How to trim multiple assets at once
Want to trim audio and video at the same time? By trimming both assets using the multi-item editing feature, quickly trim audio and video together. Follow the steps below to explore trimming audio and video at once.
Hold down the shift key on your keyboard.
Click on the assets that you would like to trim.
Drag the right handle to the left to trim.
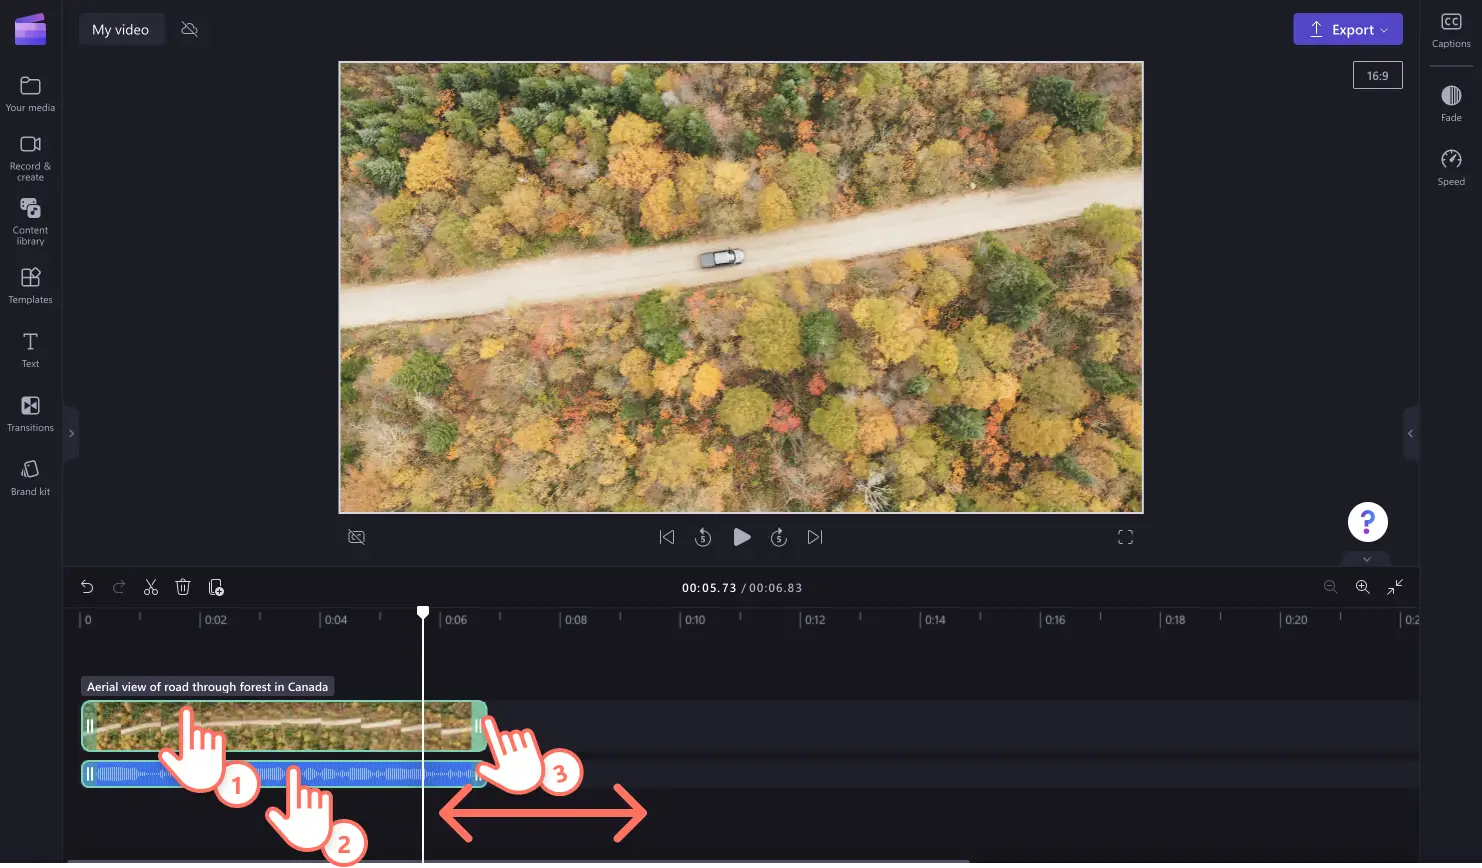
Note: trimming with the multi-item editing tool works best when all assets are the same length to start with.
Check out more ways to edit audio like a pro by exploring 12 audio editing hacks.
Start editing today using the online audio trimmer with Clipchamp for free or download the Clipchamp Windows app.
Frequently asked questions
Can I trim audio in Windows 10 and Windows 11?
Easily download the Clipchamp Windows app to start trimming and editing audio or videos on any Windows device.
Can I trim audio and video together?
If a video includes audio, use the online audio trimmer to automatically trim both audio and video. If you want to trim separate audio and video assets on the timeline, just use the multi-item editing feature to trim both assets at once.
Can you trim audio at the beginning and the end?
The online audio trimmer lets you edit and trim audio tracks either at the beginning, end, or even at a specific timestamp.
Can I save audio in Clipchamp video editor?
Seamlessly edit and download any audio assets like voiceovers, music, and webcam recordings using the audio-only saving option.
Heads up! The screenshots in this article are from Clipchamp for personal accounts. The same principles apply to Clipchamp for work and school accounts.