Heads up! The screenshots in this article are from Clipchamp for work accounts and the same principles apply to Clipchamp for school accounts. Clipchamp personal account tutorials may differ. Learn more.
On this page
Creating an engaging and professional video presentation requires both delivering information and connecting with your audience. Transform PowerPoint slides into a dynamic and personal storytelling tool by adding a face recording to narrate a presentation. Add context to any video with ease, including corporate videos, sales videos, and video projects for school.
This guide covers two ways to video record yourself into a PowerPoint in a few minutes. Explore the PowerPoint recording tools as well as screen and camera recording tools in Clipchamp for work. Learn how to elevate your video presentations in this step-by-step guide.
Method one: how to record your webcam in PowerPoint
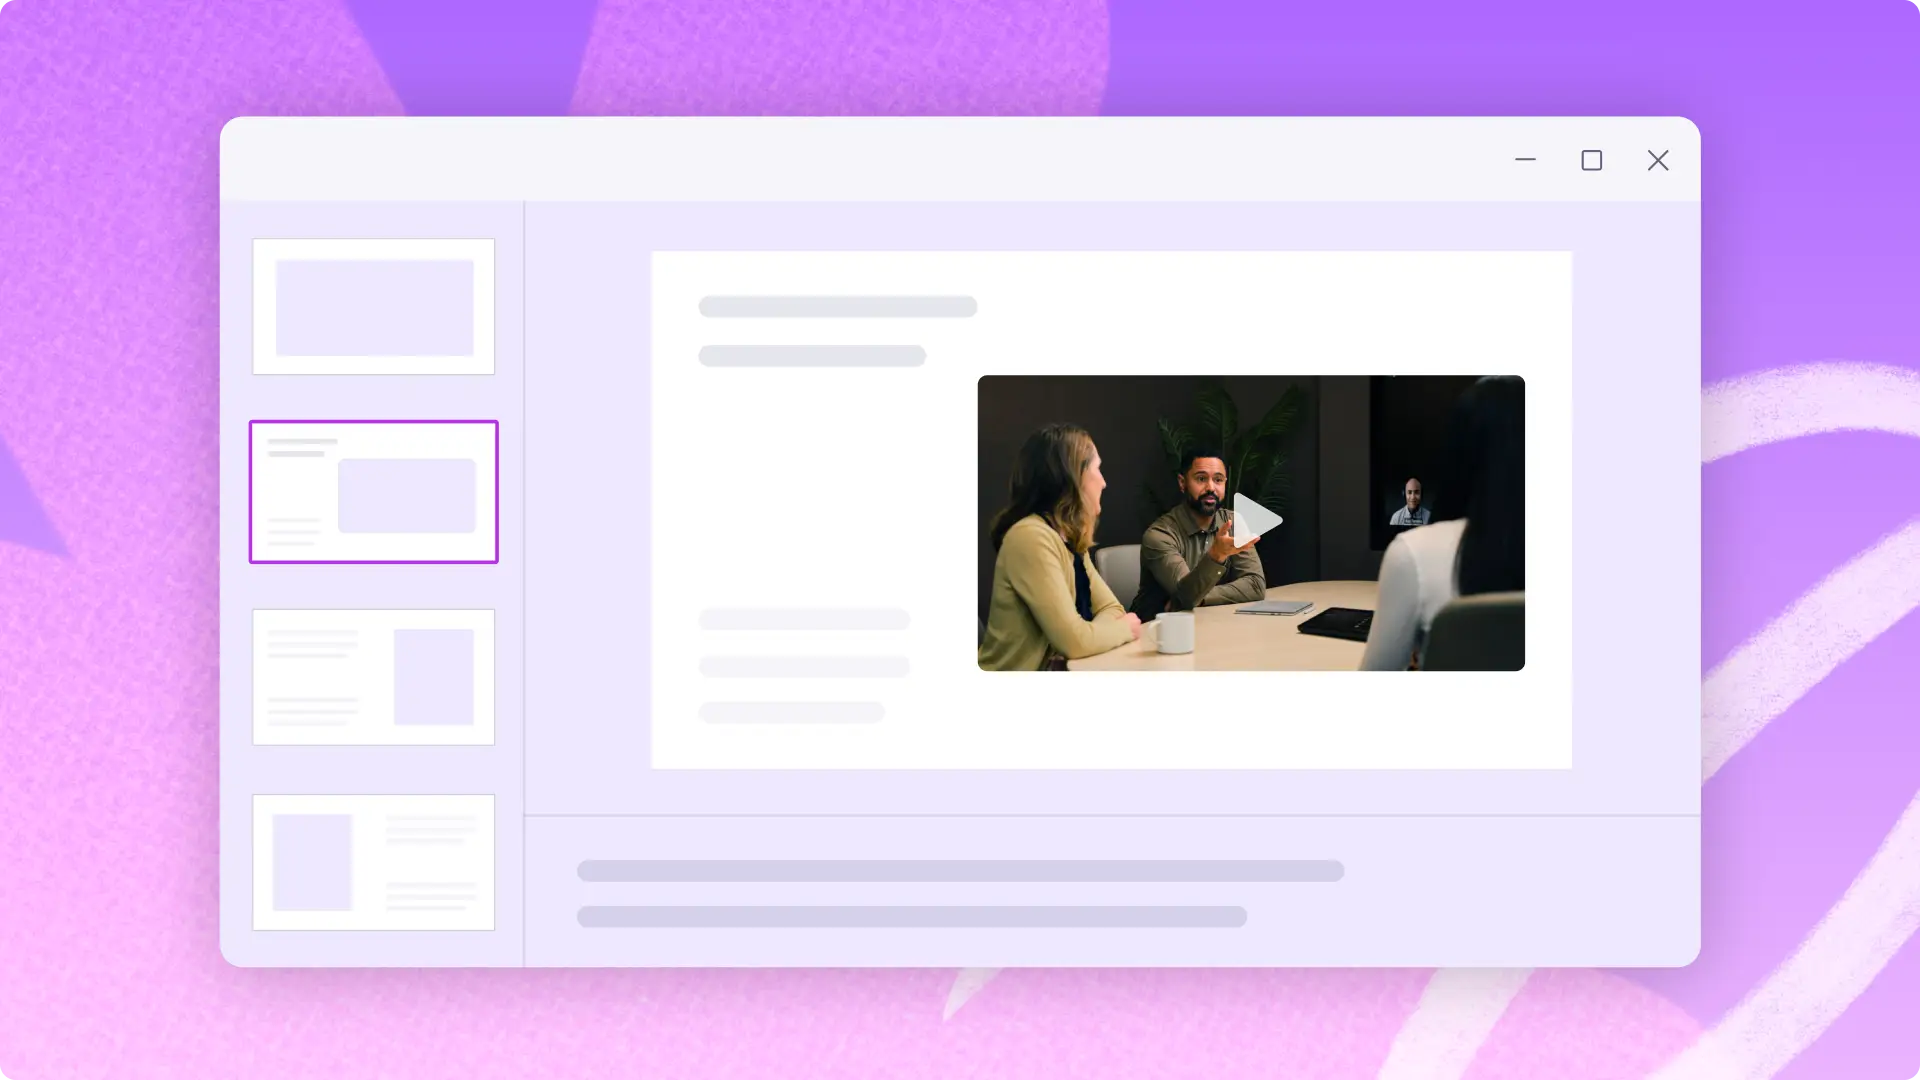
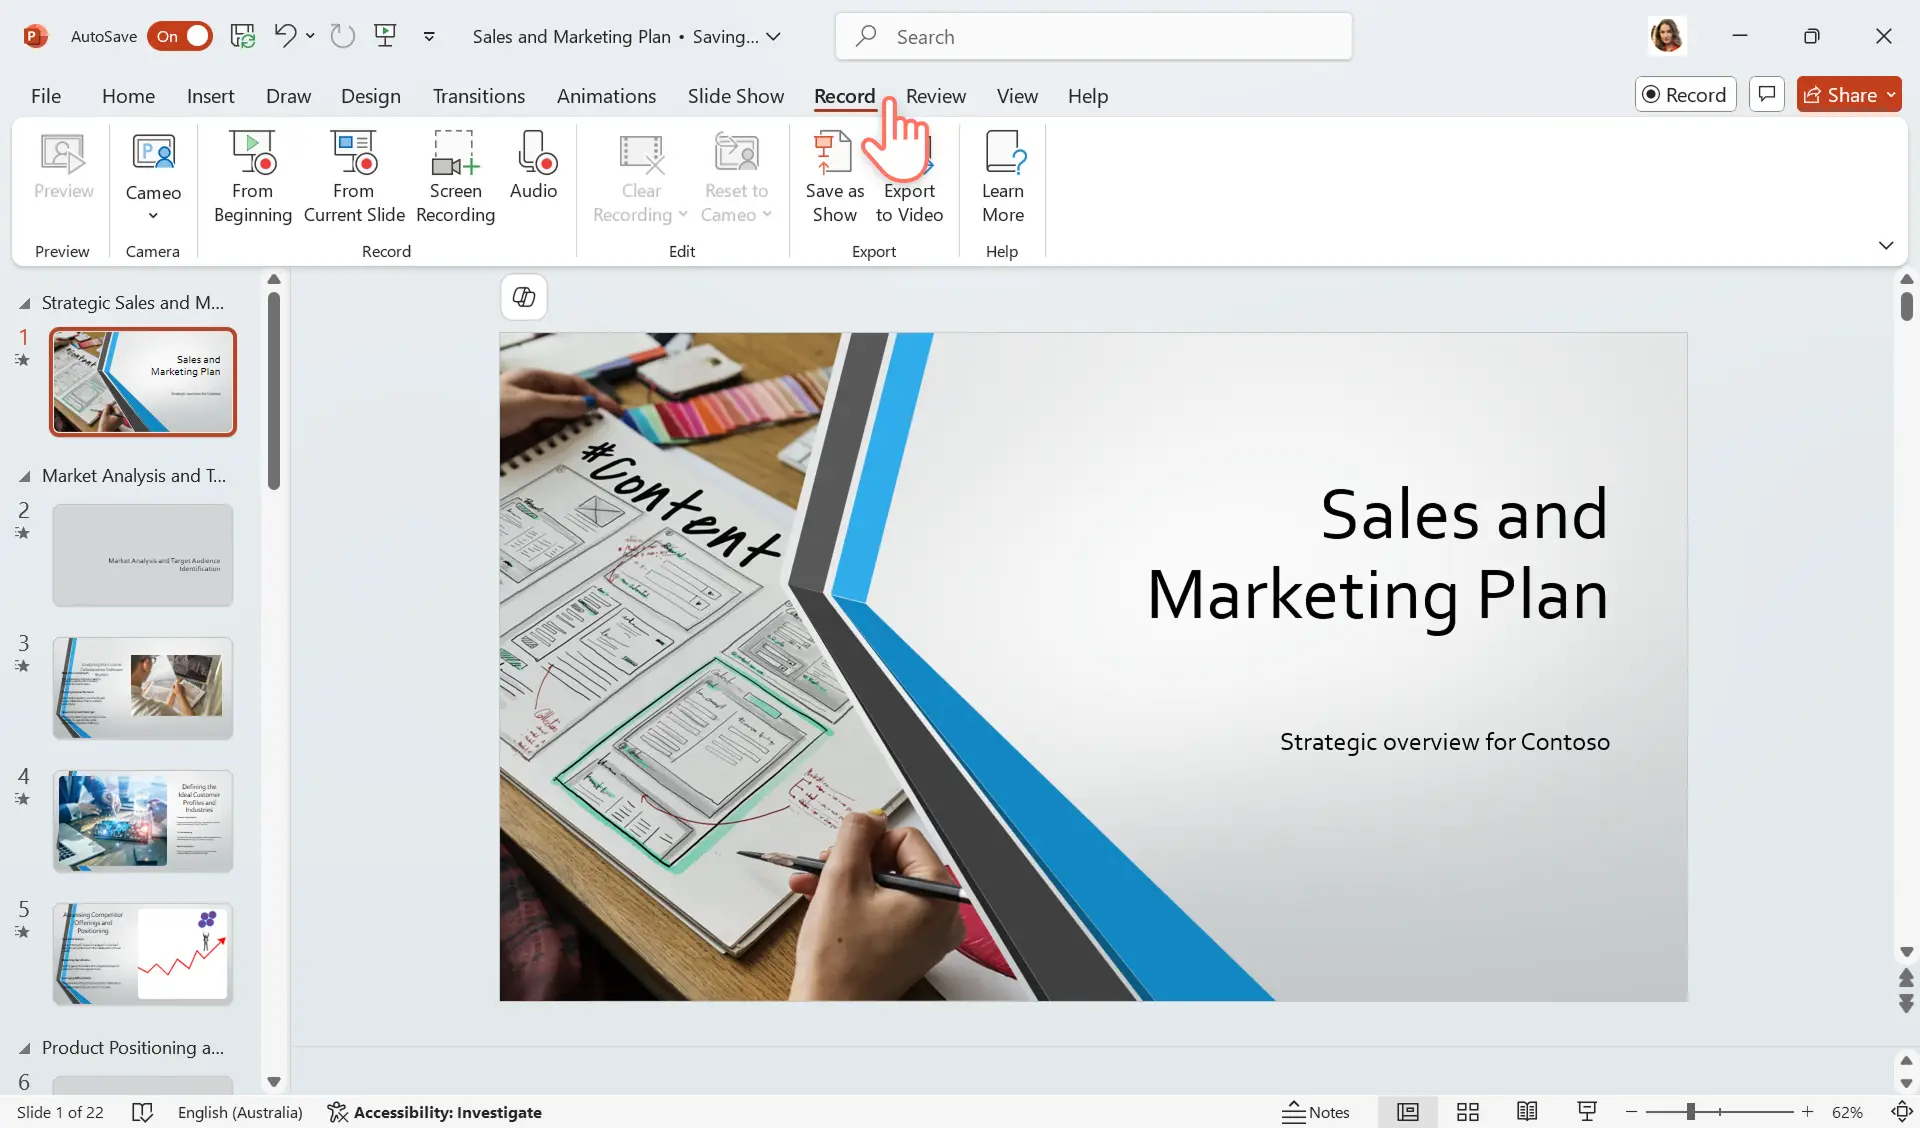
Step 1. Open Microsoft PowerPoint and navigate to the record tab
Head over to the PowerPoint application to start webcam recording in PowerPoint. Next, click on the record tab to view recording options.
Step 2. Select the cameo option to enable your webcam
Click the cameo button on the record tab in the toolbar.
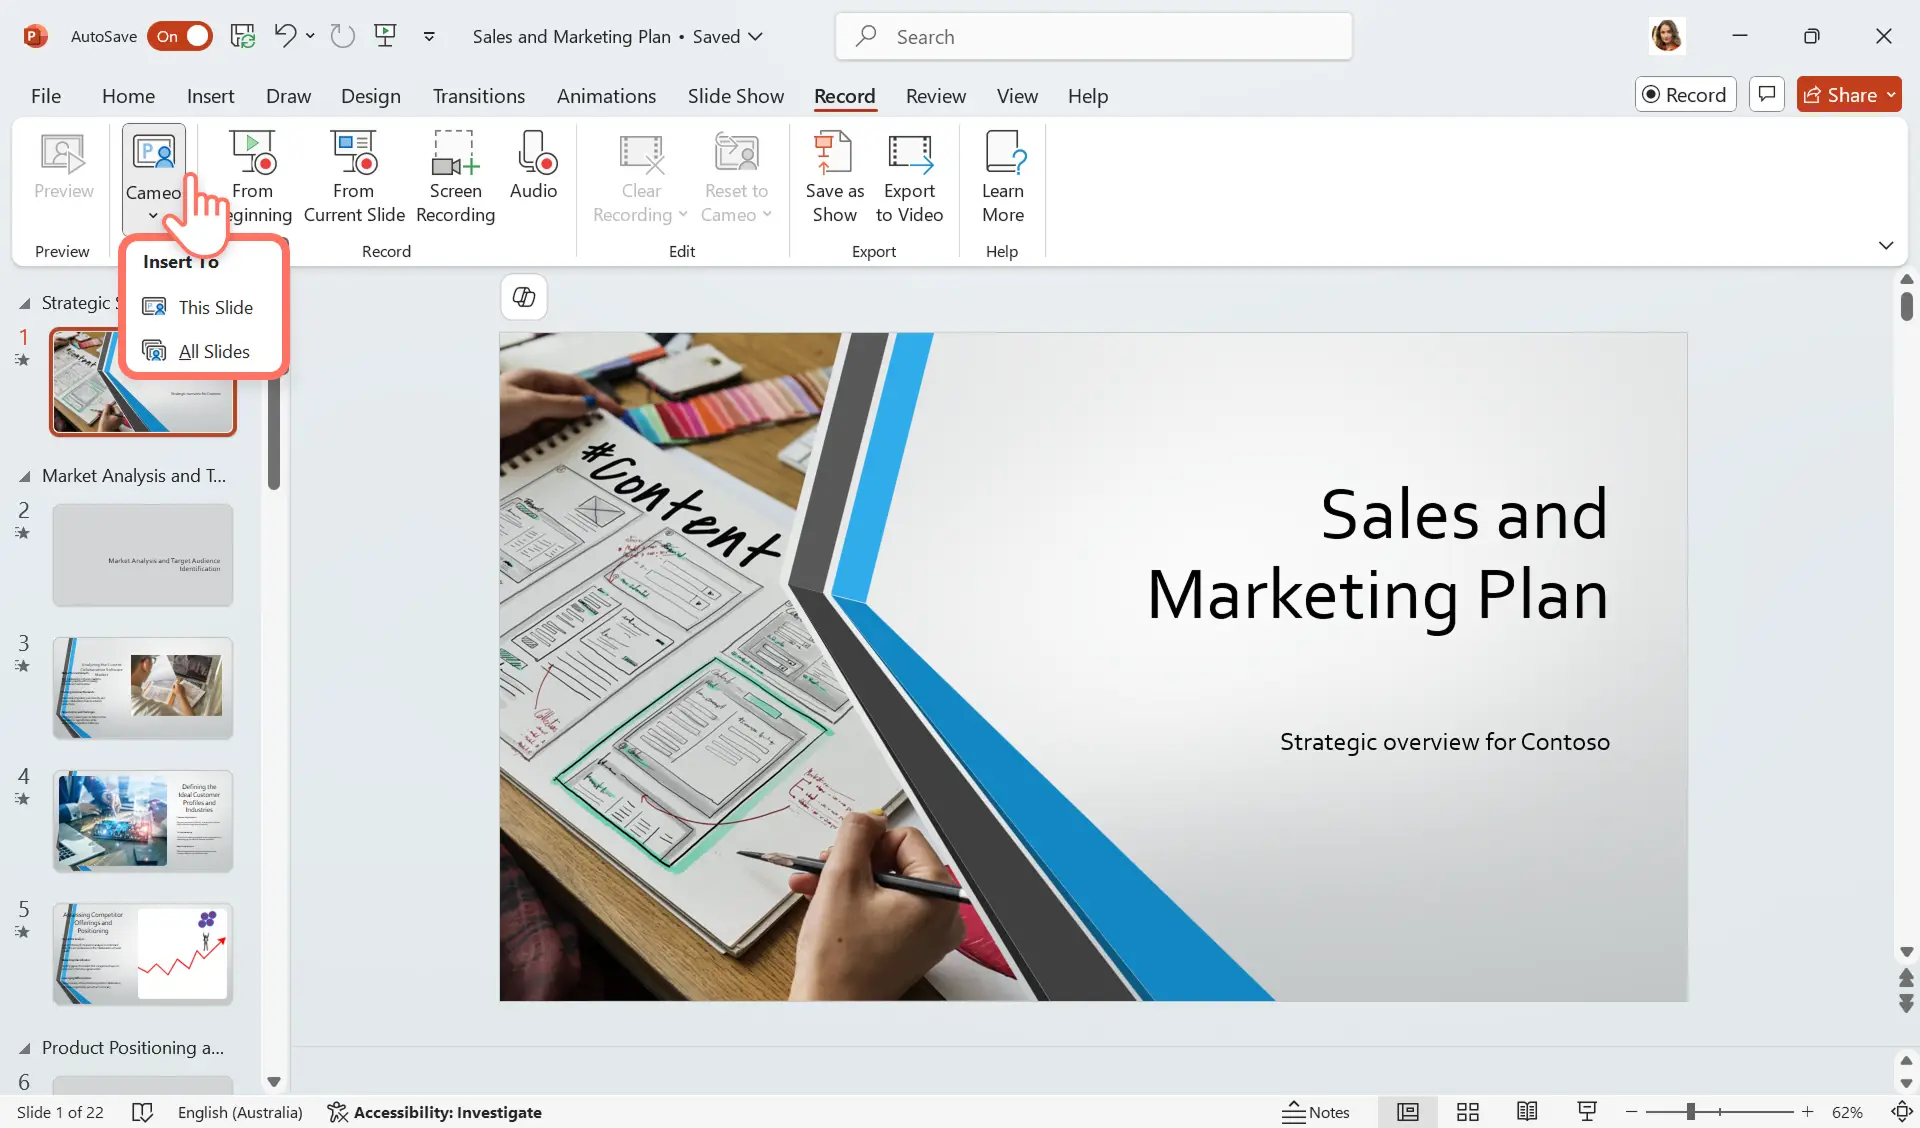
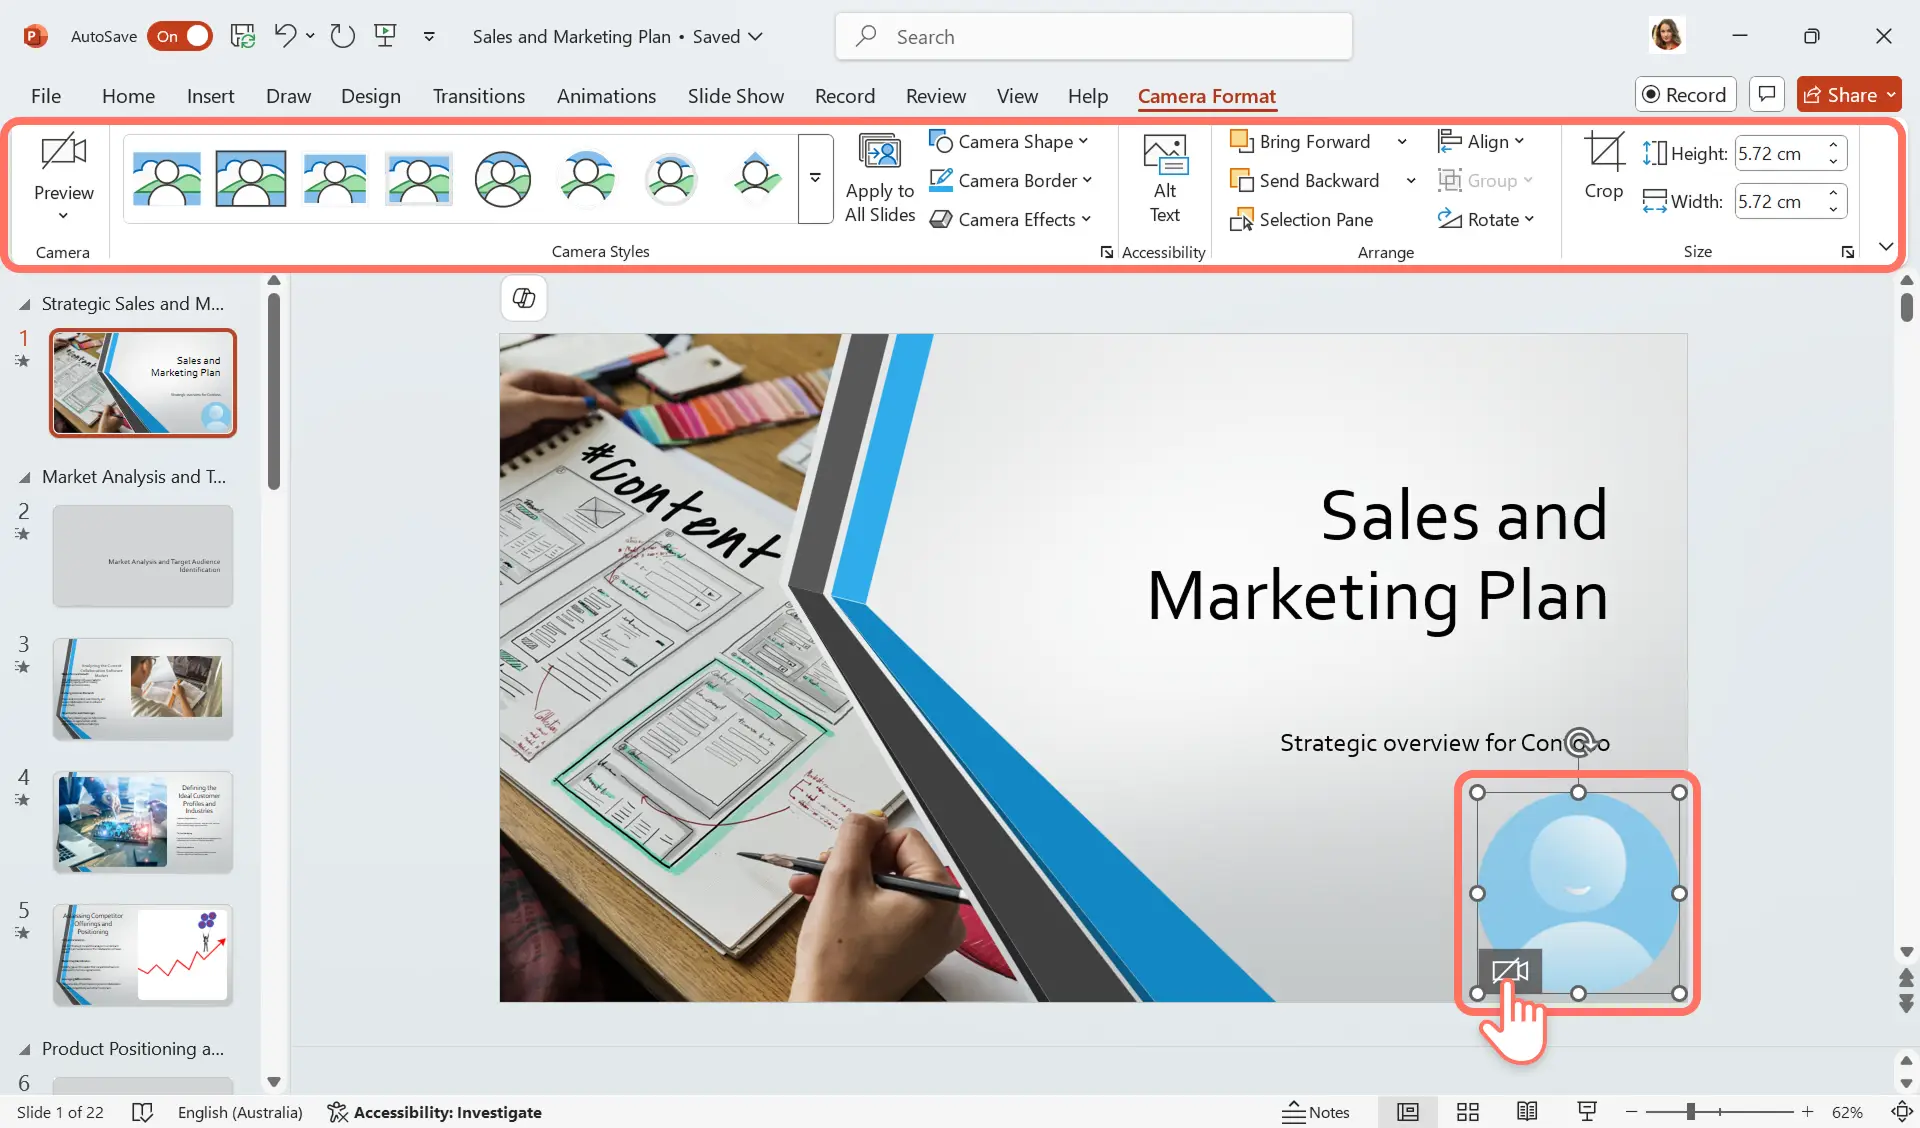
A blue placeholder circle will appear to preview the placement of a webcam recording overlay. If desired, customize the shape and add a border to your webcam recording in the toolbar. Enable the webcam and microphone permissions and select the mic and camera source if this is the first time using the feature.
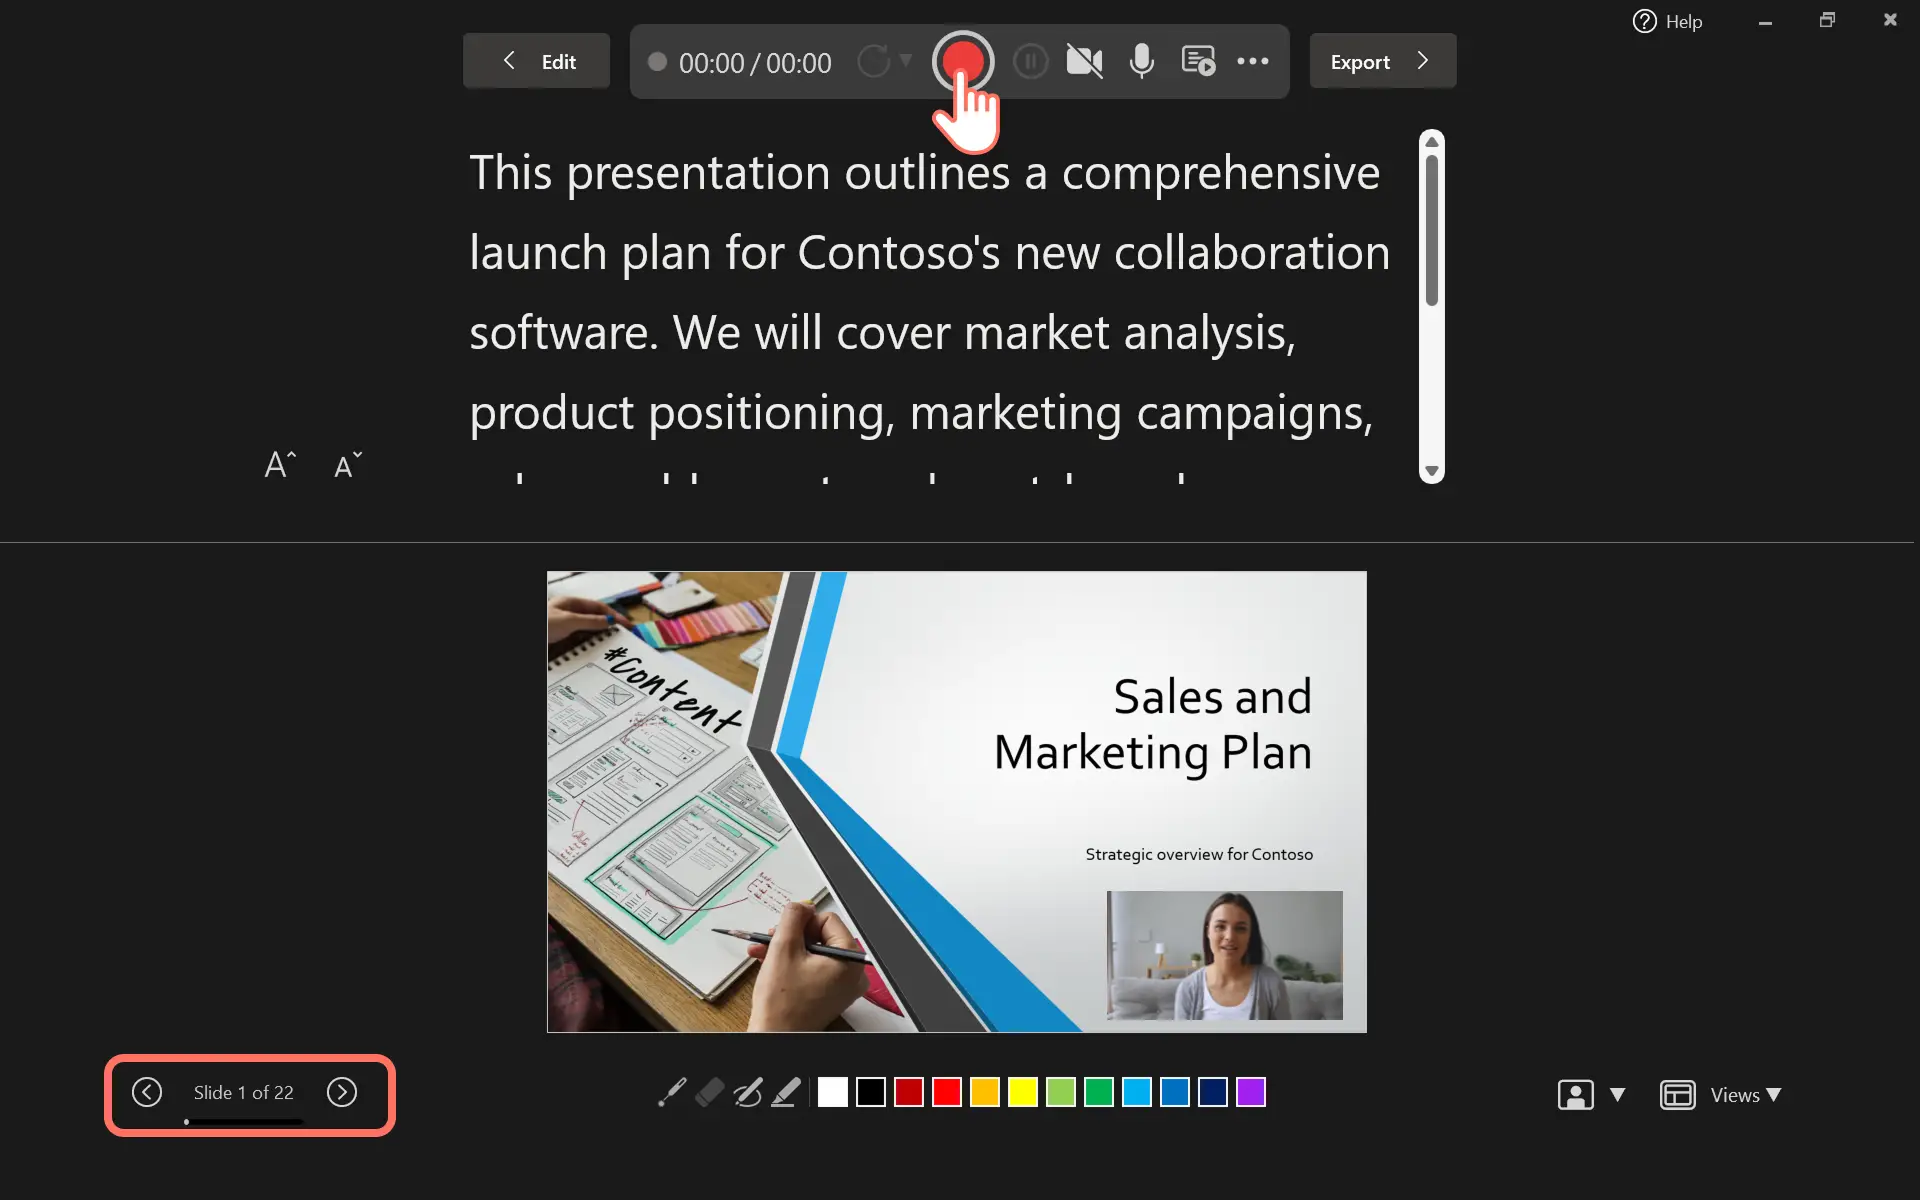
Step 3. Record the presentation video
Click on the record button in the top right corner to start recording. A window will appear to record the PowerPoint presentation slides, teleprompter, and webcam. Click the start recording button (red circle) to initate recording and a three-second countdown will appear in preparation. To stop recording, click on the stop recording button. Preview the PowerPoint video recording before saving, then click anywhere on the slideshow to export video to slides.
For more help, take a look at this record a presentation help article.
Now that you've mastered the basics, learn another workflow that will make your PowerPoint presentations even more impressive.
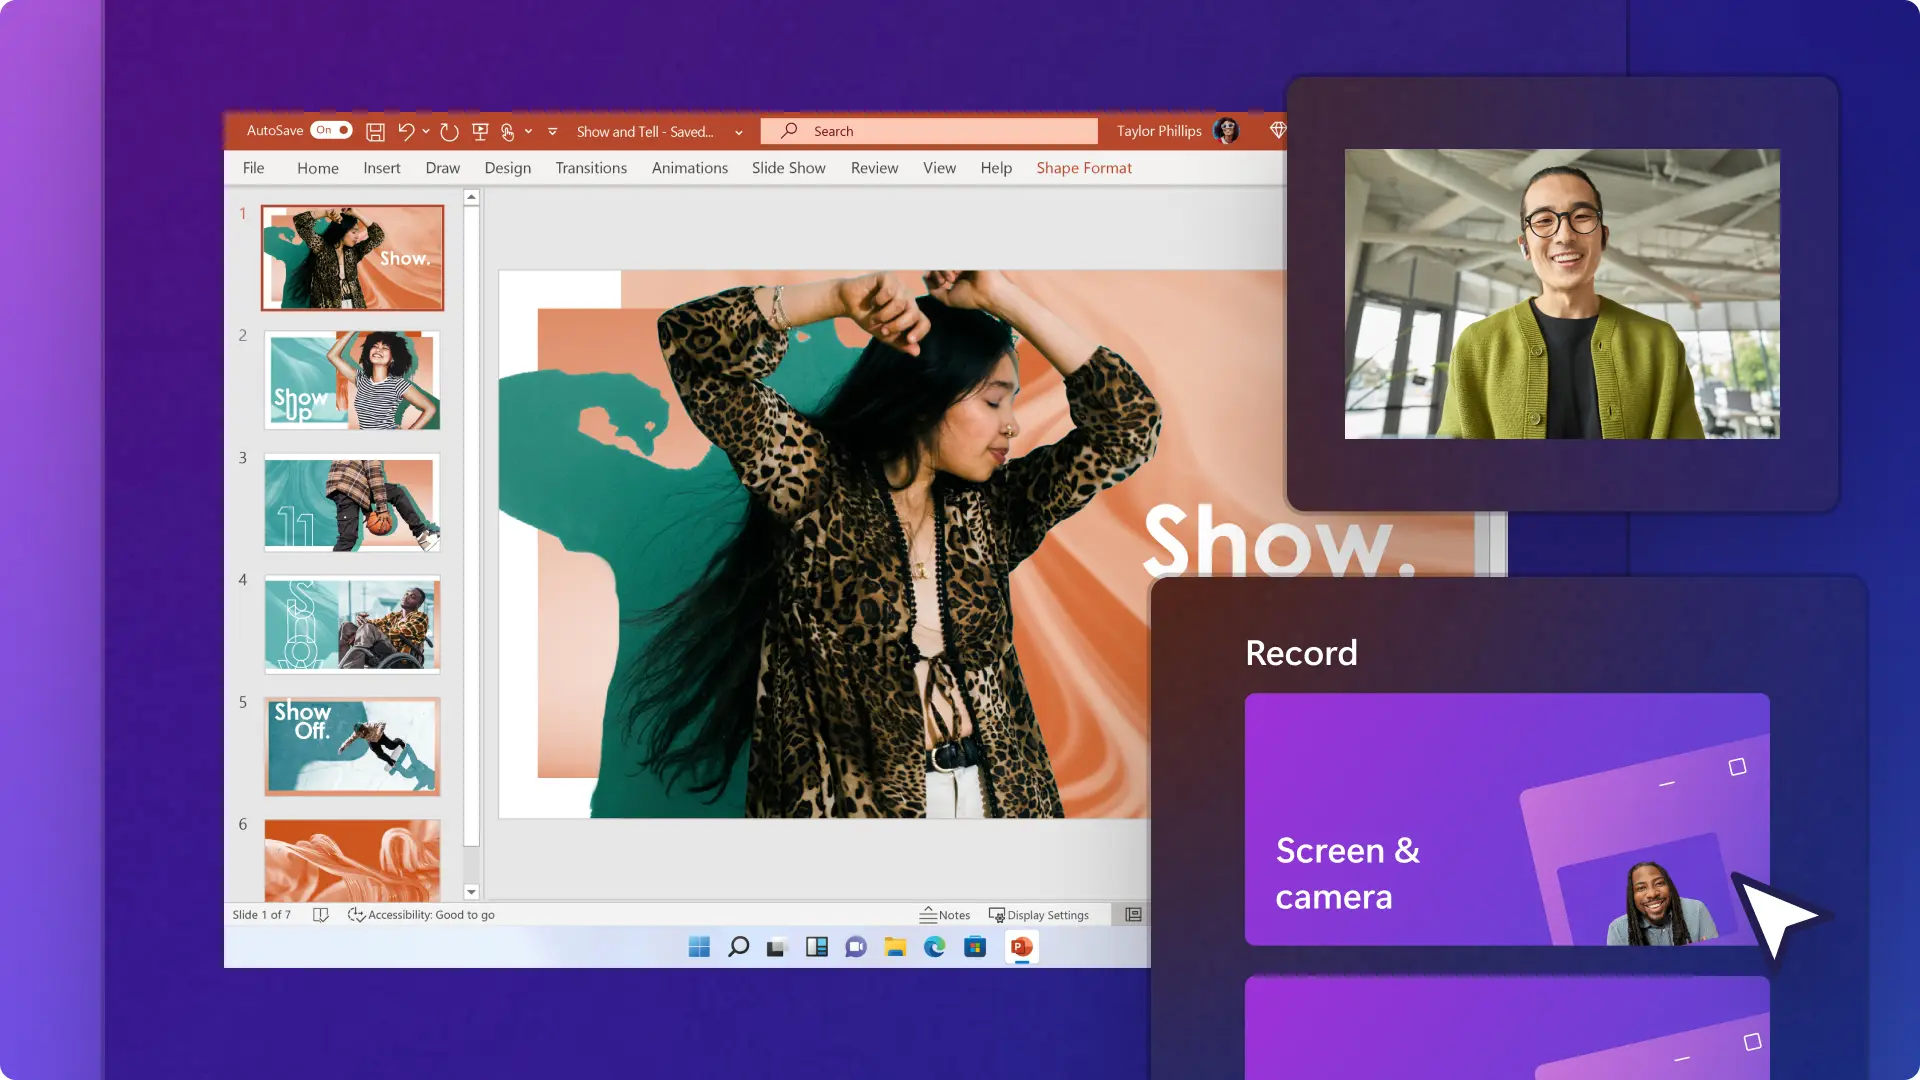
Method two: how to record your webcam and PowerPoint in Clipchamp
To level up any presentation, we'll explore how to video record yourself presenting a PowerPoint with Microsoft Clipchamp and edit a video with beginner-friendly features. Users can get started with the free online screen and camera recorder, or login to Clipchamp for work based on your editing needs. The webcam recording automatically saves as a picture-in-picture overlay, making the video easy to edit and customize.
Follow the steps below to learn how to record your webcam and video presentation in Clipchamp for work.
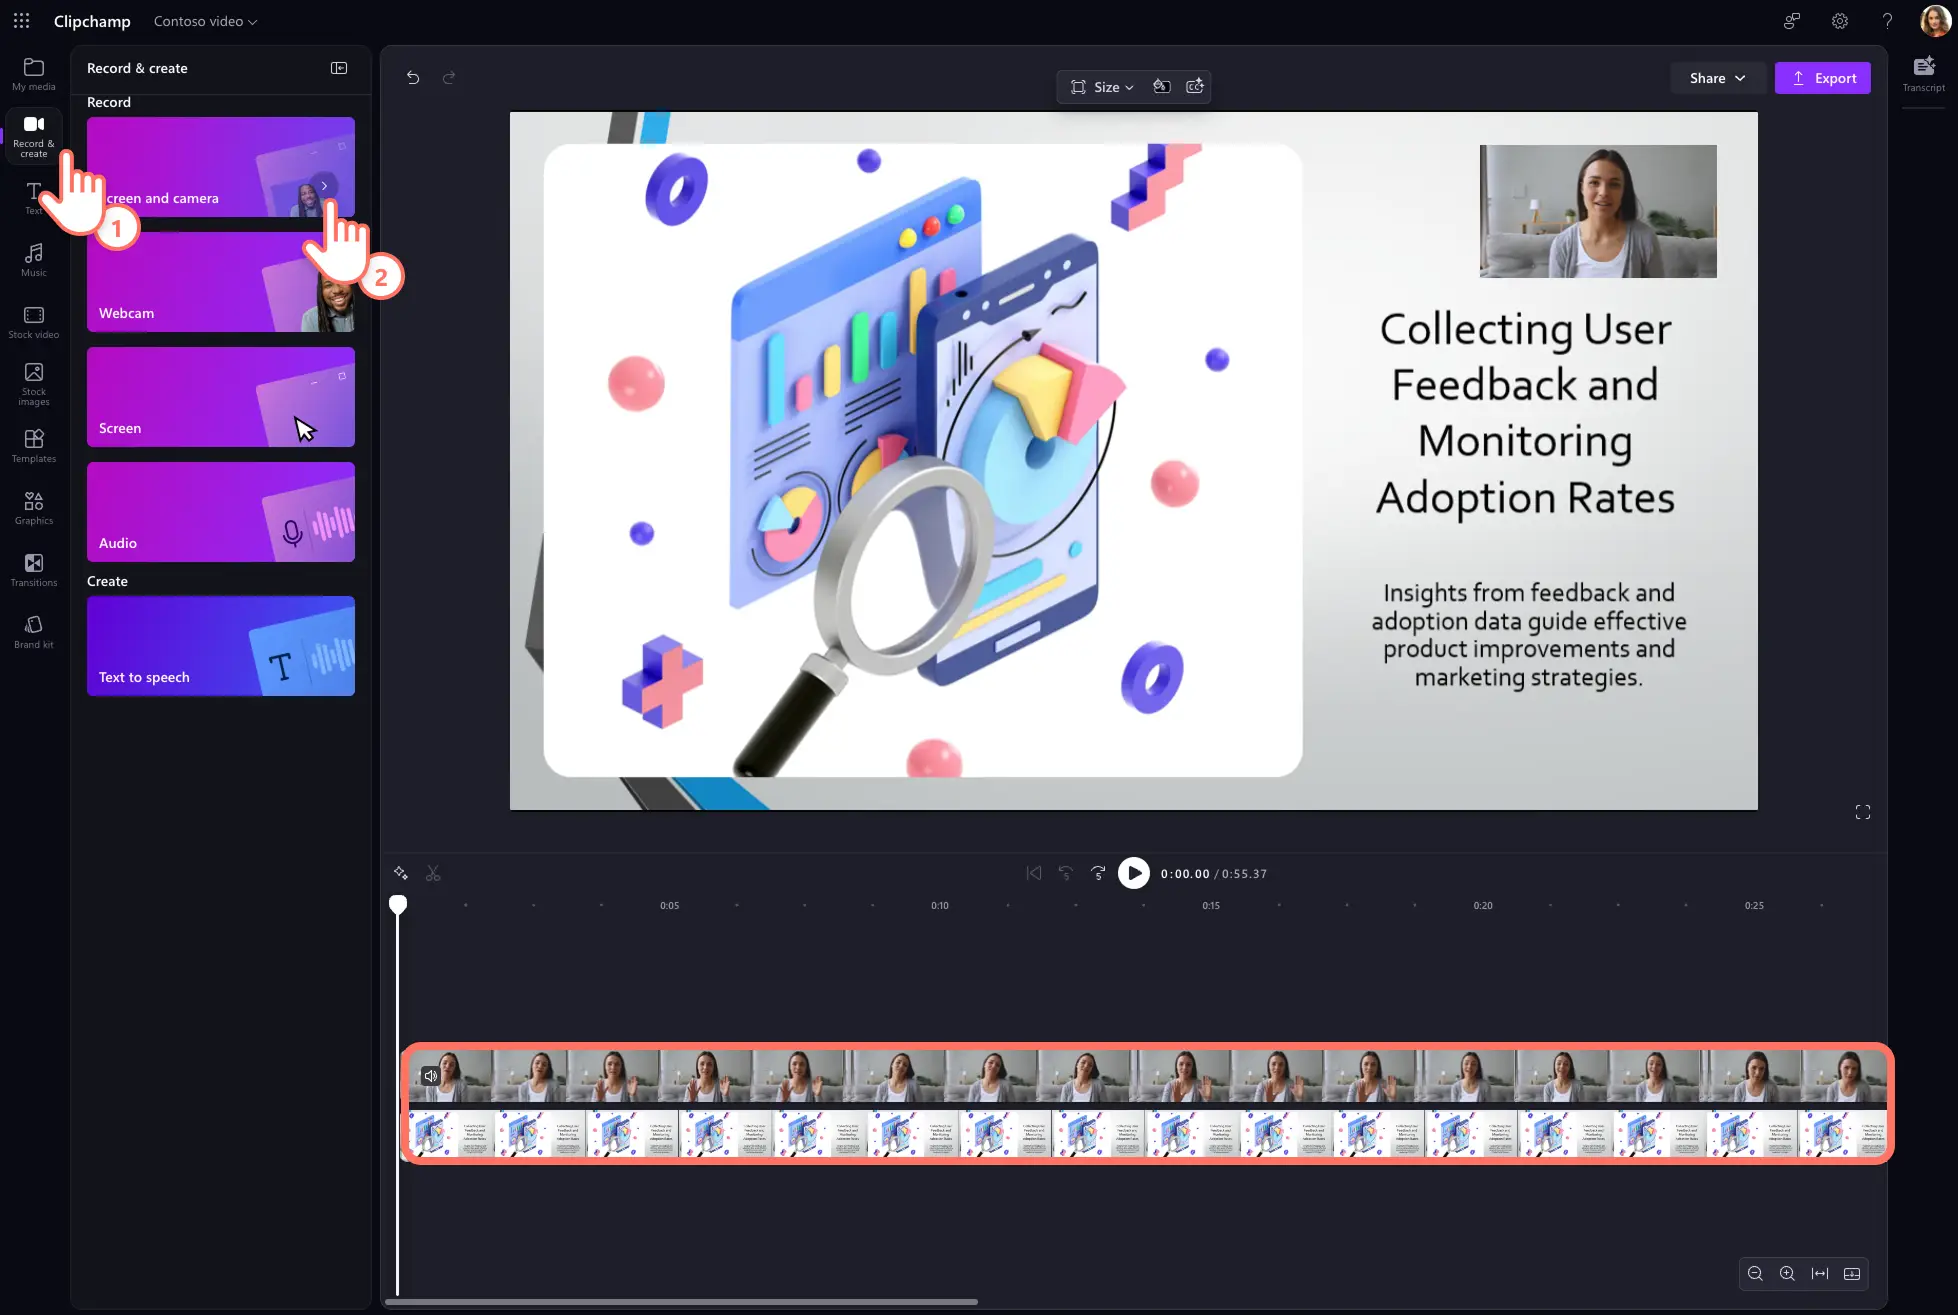
Click on the record and create tab on the toolbar.
Click on the screen and camera option.
Select a camera and mic source to use.
Click on the record button to select a tab, window, or entire screen with your PowerPoint presentation shown.
Save your recording after presenting.
Trim away mistakes or excess footage on the timeline with the trim tool.
Save your video presentation in high quality and using a preferred video resolution.
For more help, check out the screen and camera tutorial. You can also save your PowerPoint presentation as an MP4 or MOV file, then import the video onto the timeline to start editing.
Resize your video presentation for any platform
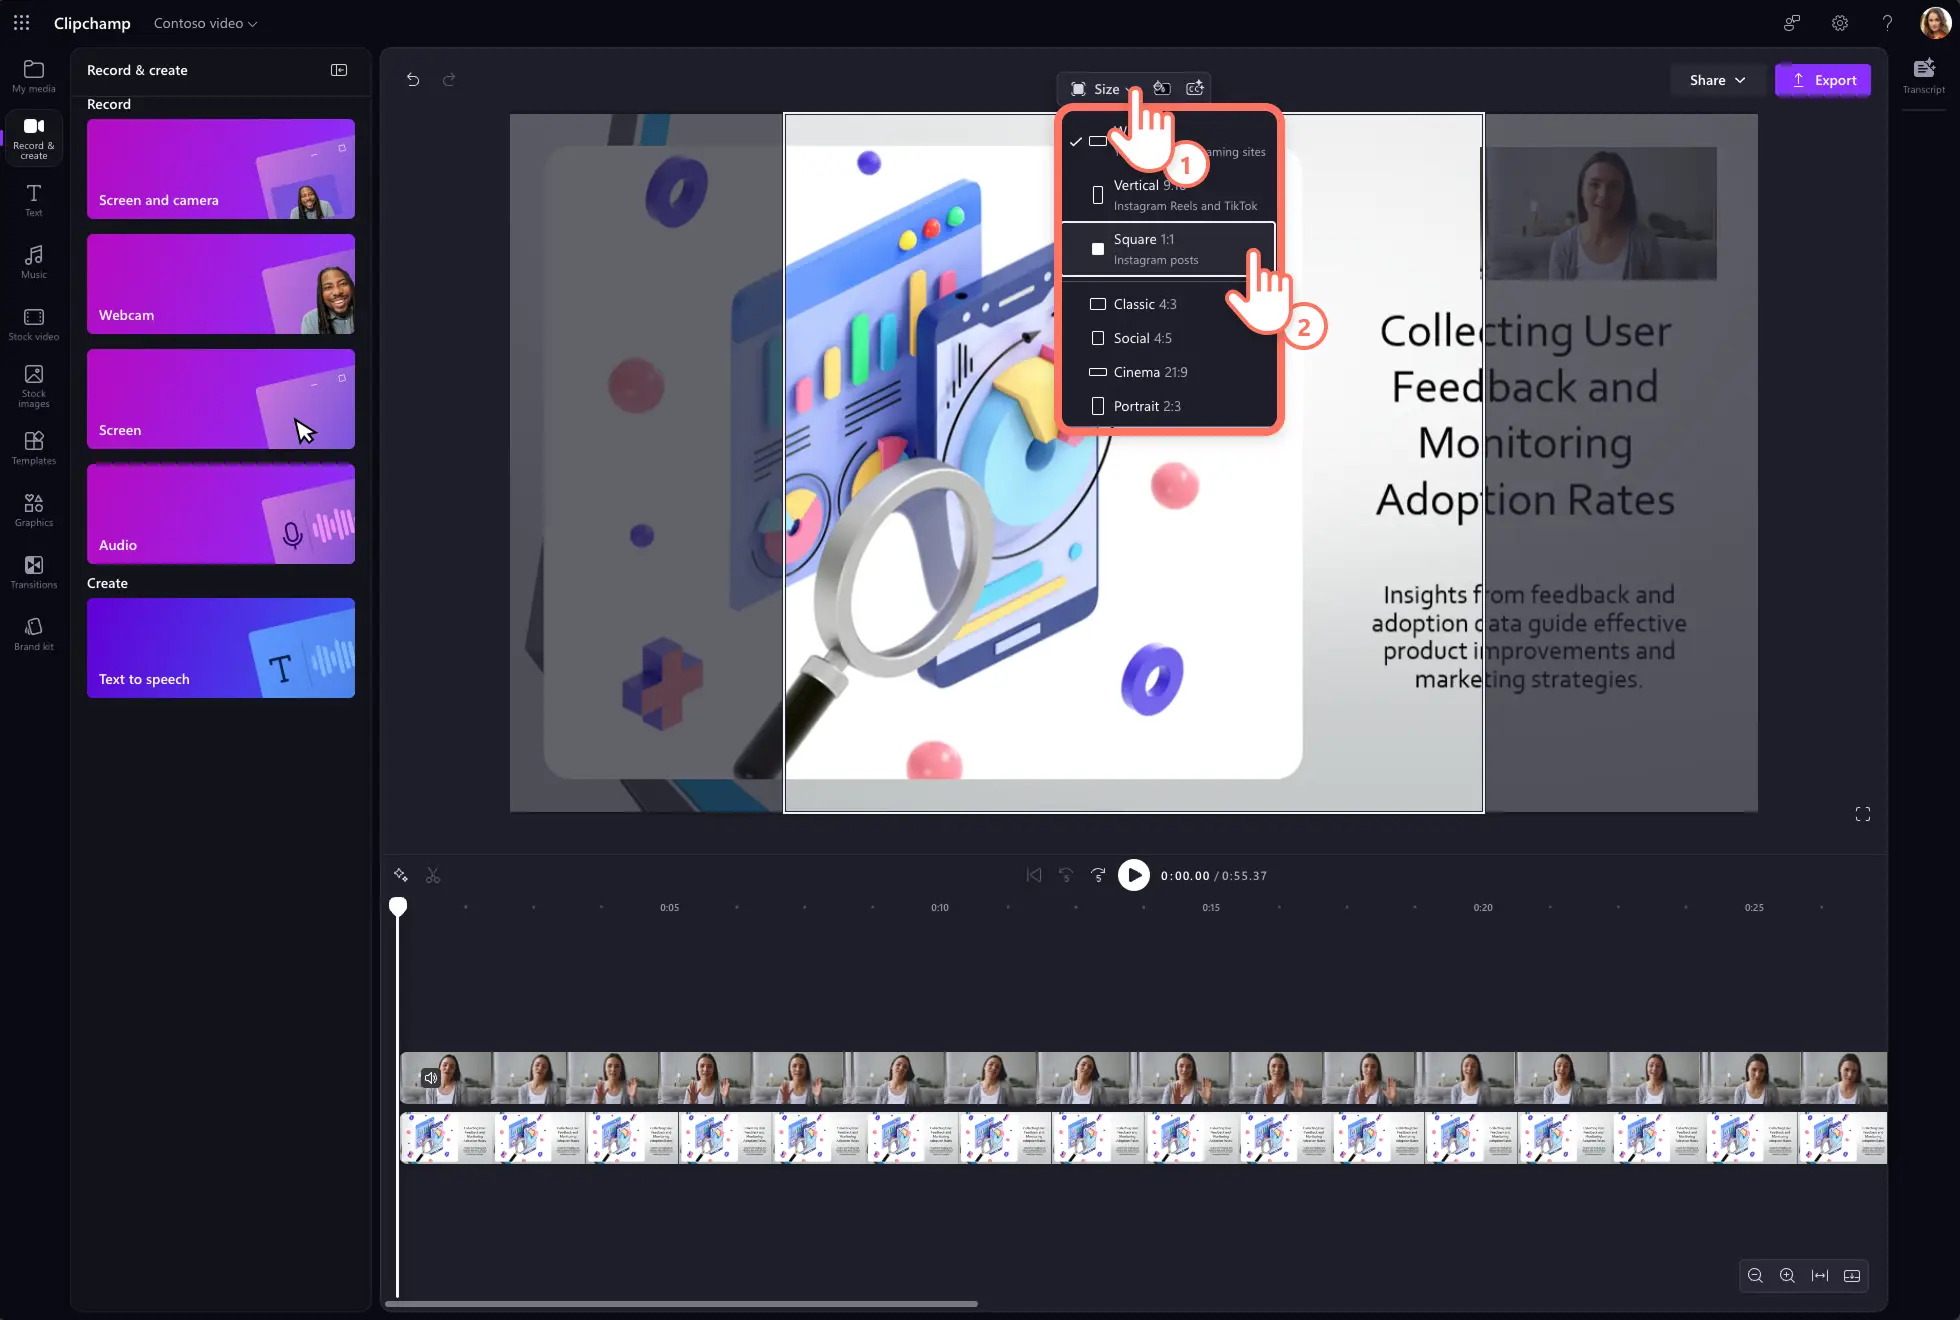
Need to share a video presentation to multiple different platforms, such as YouTube? It might require different aspect ratios to suit the platform's video dimensions. Instead of creating a new video for each platform, just resize the PowerPoint video using the aspect ratio presets.
Follow the steps below to resize a presentation video using the presets quickly.
Import and add your video to the timeline.
Click on the size button in the floating toolbar.
Hover over each preset to preview the aspect ratio.
Click on a new aspect ratio that suits your platform to resize your video.
Use the fit or fill buttons in the floating toolbar to remove black borders or bars.
Save your video by clicking on the export button and selecting a video resolution.
Tips to setup video presentation recordings
In order to produce high-quality recordings, it's important to pay attention to a few key factors: a stable internet connection, a quiet recording environment, and good lighting. Once these are sorted, consider setting up the technical tools correctly.
Here's how to configure your recording setup when using PowerPoint or Clipchamp.
How to setup PowerPoint recording features
As mentioned above, PowerPoint allows you to record your slides as well as your camera. Take a look at some considerations to record without errors.
Video source setup: Navigate to the recording tab in PowerPoint. Here, you can select your video source—usually your computer’s built-in webcam or an external camera connected to your computer. Ensure the camera is correctly selected and positioned.
Audio source setup: Select your audio input source in the same recording tab. This could be your laptop’s internal microphone, an external microphone, or another connected audio device. Choose the best-quality microphone available and record audio to check for clarity and volume. Adjust the microphone settings to reduce background noise and ensure your voice is clear and audible.
Preview and testing: Before starting the actual recording, do a test run to see and hear how you appear and sound in the recording. This test will help you adjust the camera position, audio settings, and move to another location if the lighting or background noise are distracting.
How to setup screen and webcam recording in Clipchamp
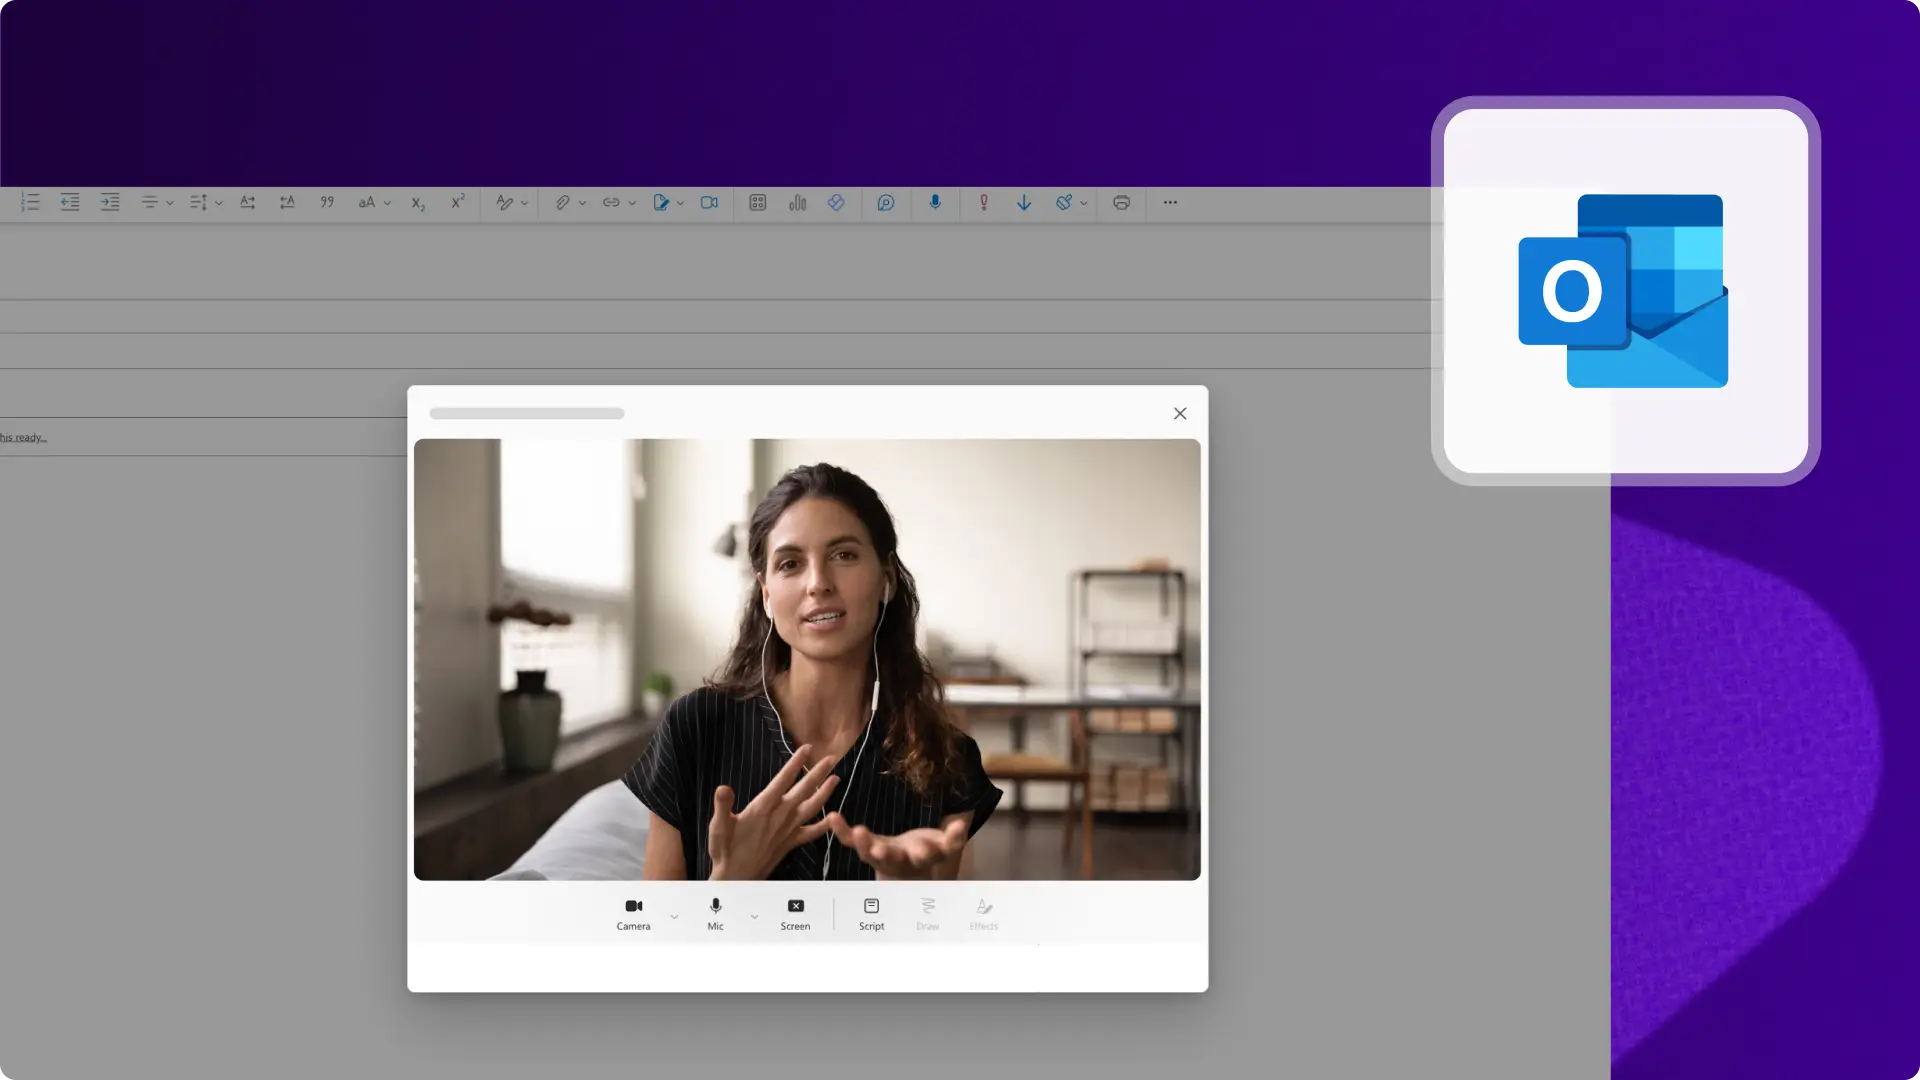
Configure your recording settings in Clipchamp to optimize video and audio quality. You can also record and embed videos in Microsoft Outlook. Follow the tutorial below to screen and camera record in Clipchamp.
Choose a presentation size: a standard 16:9 aspect ratio is suitable for most presentations.
Set up your screen and camera recording permissions: go to the record and create tab on the toolbar. Next, click on the screen tool or screen and camera tool. A popup window will appear requesting permissions. Allow Clipchamp access to your camera and microphone if you haven't used our webcam recorder before. Click allow when ready to proceed.
Choose screen source: either record your browser tab, window, or entire screen through the popup window.
Choose webcam and audio source: select your microphone source and camera source.
Editing tips to make better video presentations
Trim away mistakes
Use the intuitive trimming tool in Clipchamp to remove unnecessary segments of your screen recording, webcam video or audio voiceover in a few clicks. This helps maintain the engagement in your presentation. Learn how in this tutorial video.
Use captions to create accessible videos
Generate real-time captions for your video presentation to make it easier to understand on mute with the autocaptions feature. Just turn on autocaptions to automatically create a video transcript which consists of an index of timestamps to help you navigate your video better.
Add annotation stickers to enhance messages
Draw attention to specific elements within your PowerPoint presentation by overlaying sticker annotations. In the content library tab on the toolbar, search through an endless range of shapes and annotations like arrows, squares, circles, stars, graphics, and more.
Speed up and slow down videos
If your presentation is too slow or too fast, easily edit your video’s speed with the beginner friendly speed selector. Just remember to make your presentation speed easy to understand and not too fast.
Add text animations for clarity
This can help reinforce your messages and ensure they resonate with your audience. Provide more context for viewers with text animations. Choose from a wide range of professional titles like multiline, lower third, bouncing, mirror and more. Customize titles to suit your presentation theme with different fonts, colors, sizes, and positions.
Use ASL stickers to enhance videos
Make your PowerPoint videos more accessible for work, school, or social media with the help of popular American Sign Language video stickers. Just place an ASL sticker side by side with your video content or as a standalone clip to convey meaning to the deaf and hard of hearing community.
Adjust your webcam footage
Make your webcam videos appear more vibrant and professional-looking with the color correction tools. These tools allow you to adjust brightness, contrast, and saturation simply.
Learn more about adding videos to PowerPoint, making enging video presentations, and how to convert a PowerPoint to video using AI.
Get started making video presentations for your business with Clipchamp for work or download the Microsoft Clipchamp Windows app.