On this page
Whether you’re creating helpful training and tutorial videos or entertaining reaction videos for YouTube, easily capture your screen, webcam and audio for free with the screen and camera recorder.
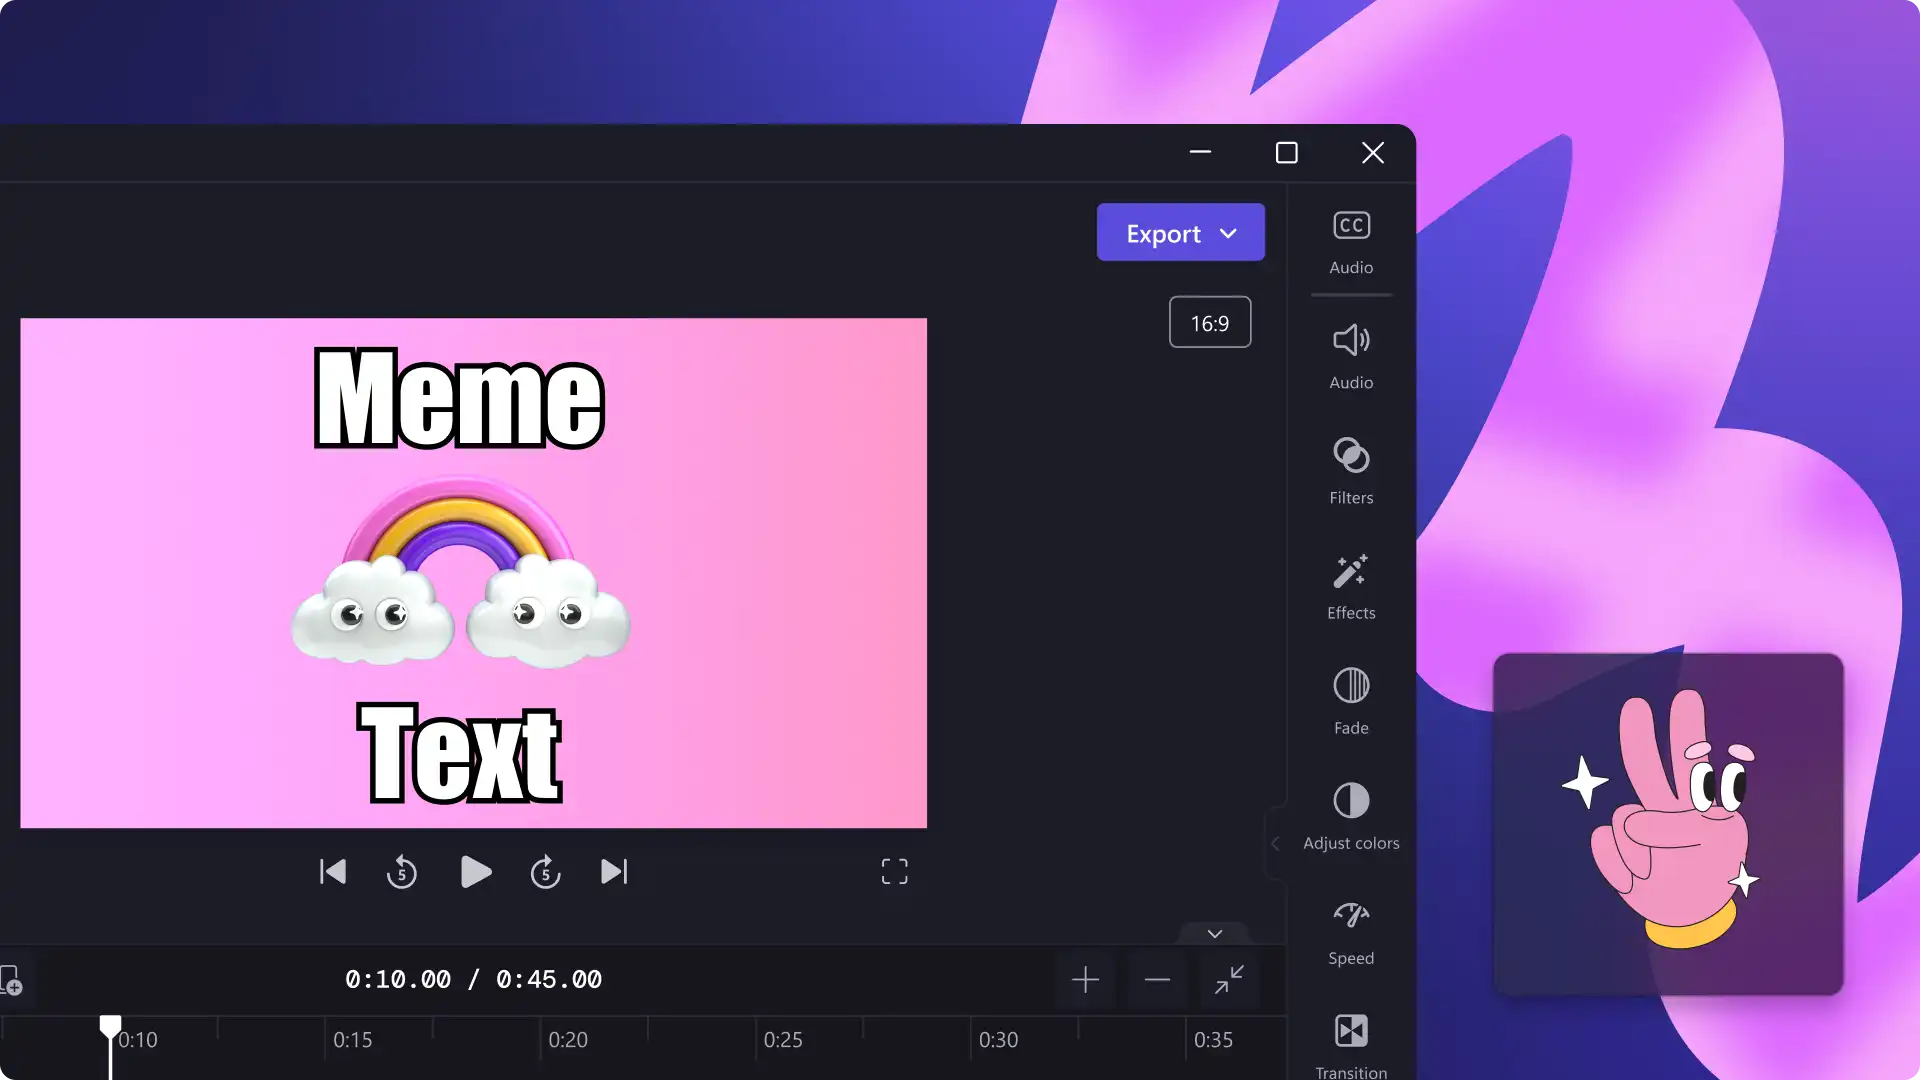
Easily edit your screen and webcam recording with beginner-friendly video editing techniques like customizing with subtitles, trimming away excess footage, or adding video filters, stickers, and music.
Explore how to simultaneously record your screen and webcam to make picture-in-picture videos and further editor your video with Clipchamp.
How to screen and webcam record on Mac and Windows
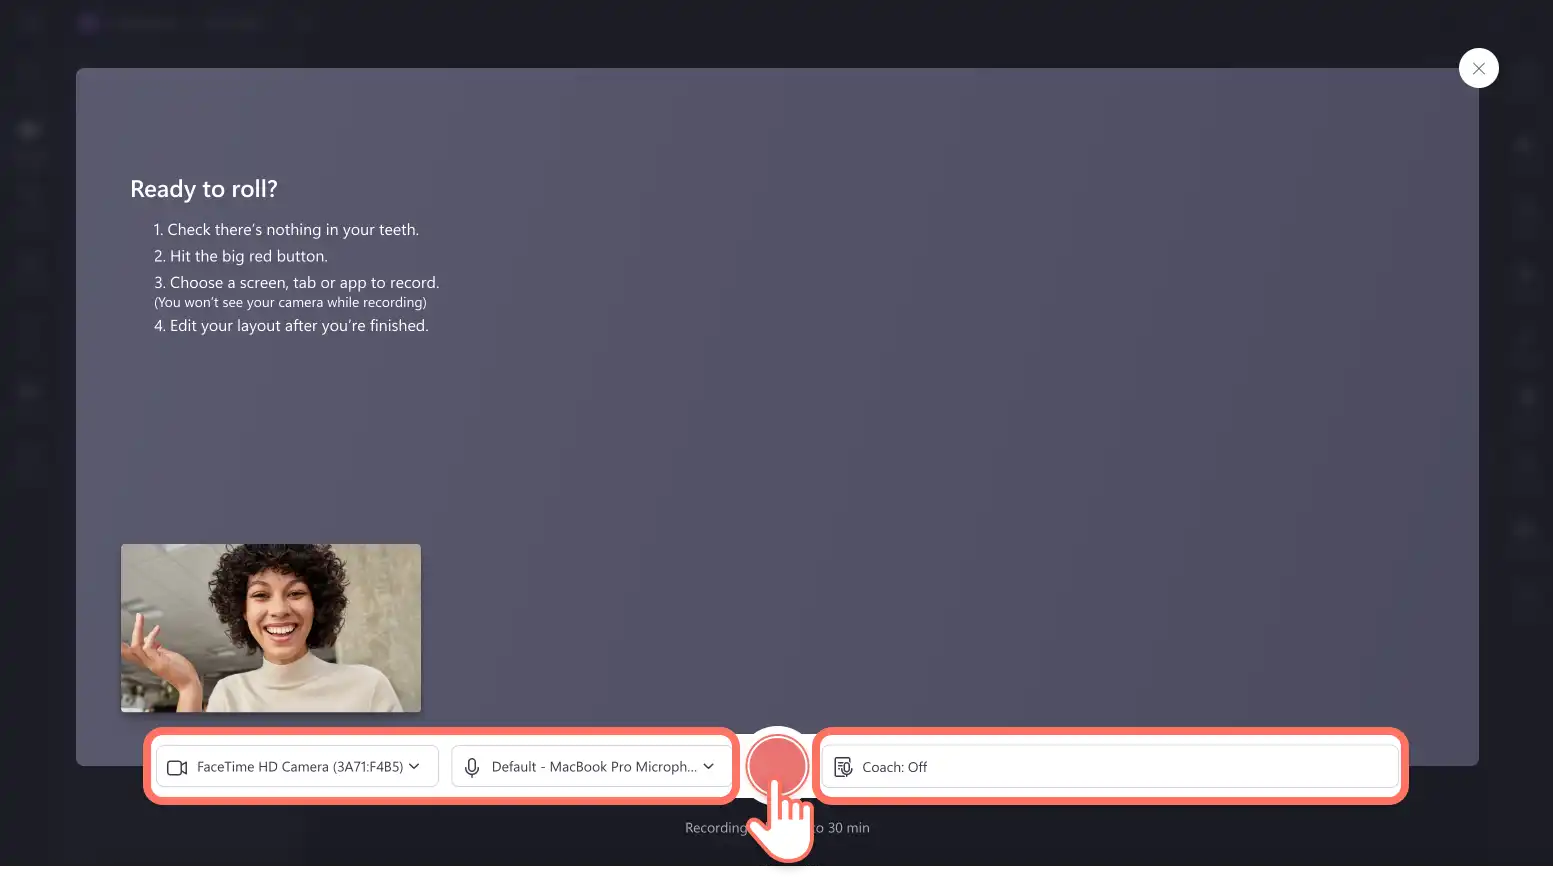
Step 1. Click on the screen and camera tool
Click on the record & create tab on the toolbar, then click on the screen and camera button.

A popup window will appear requesting camera and microphone permissions. Allow Clipchamp access if you haven't used our webcam recorder before.
Step 2. Record your screen and video
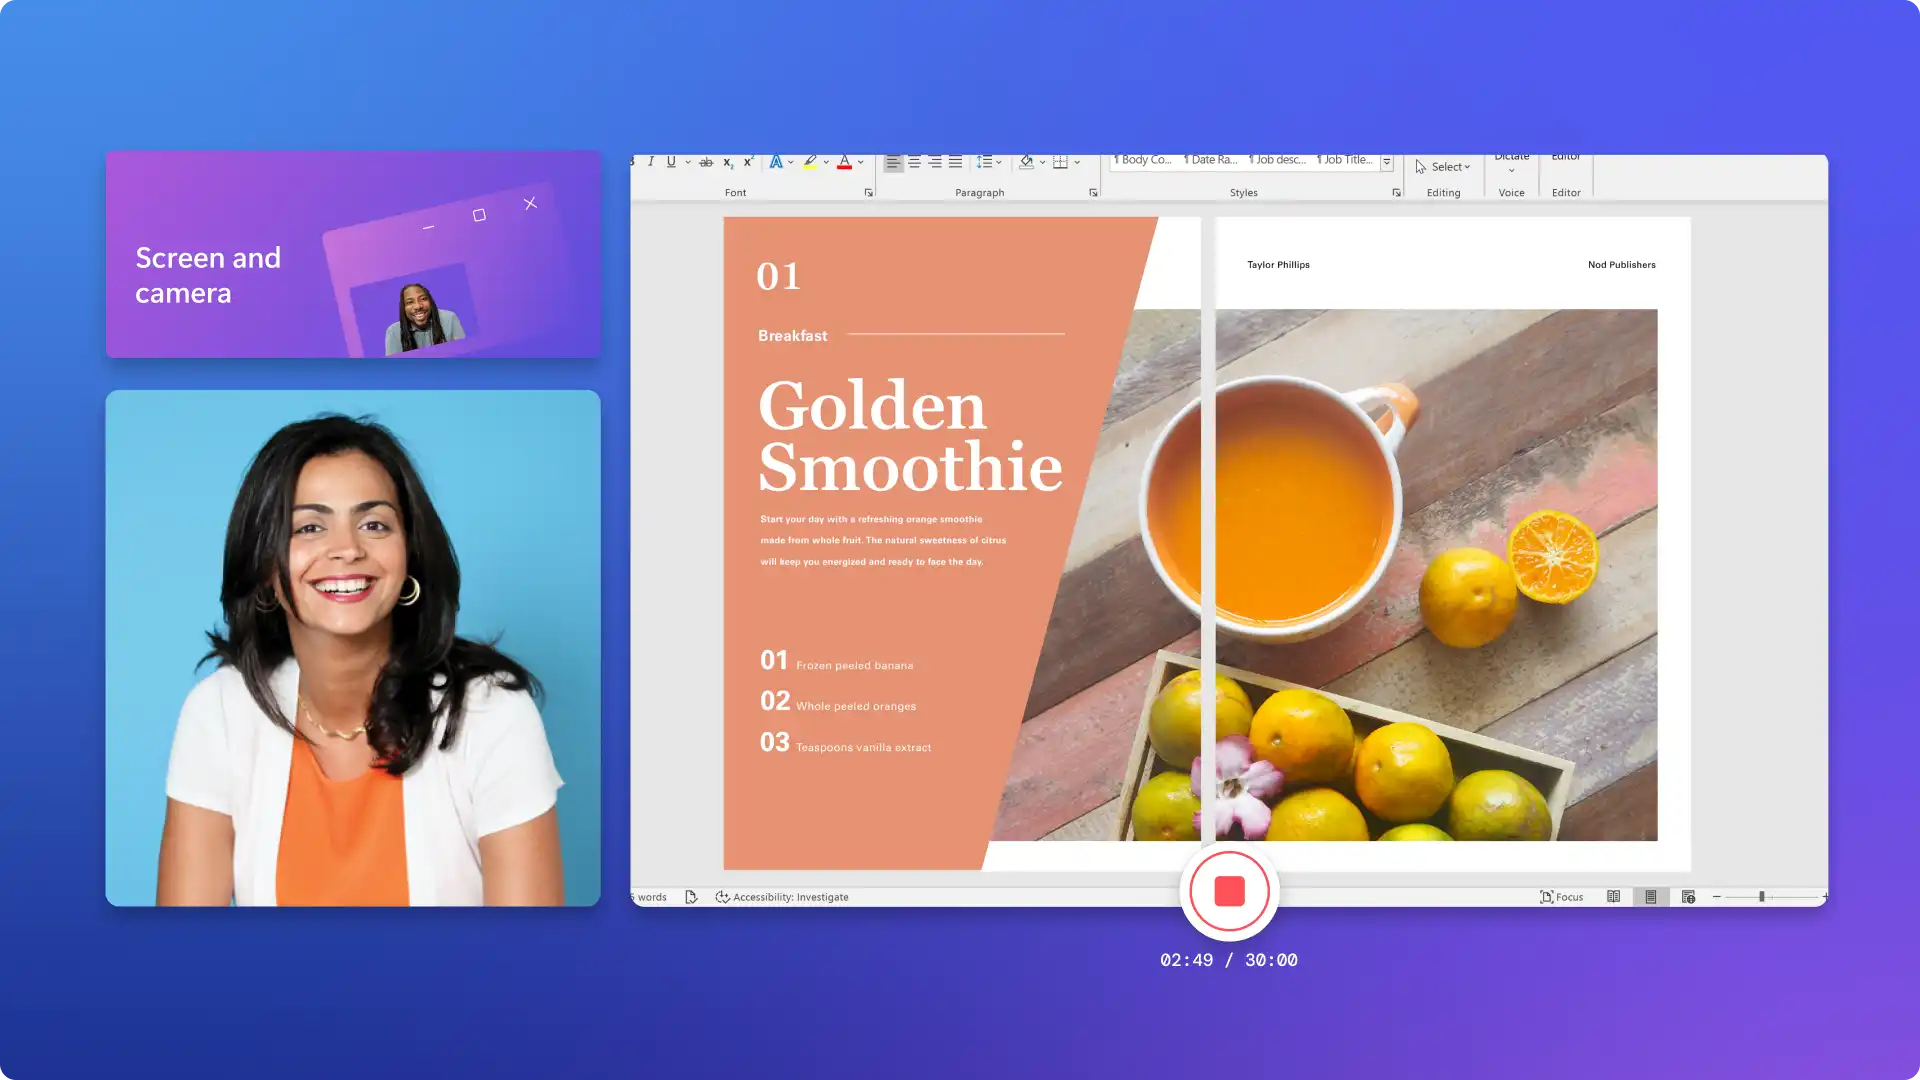
Choose your microphone source and camera source. Next, click on the red record button to start recording.
Note: the screen and camera recorder lets you record up to 30 minutes in total. If you want to record longer than 30 minutes, just create multiple screen and webcam recordings. There's no limit to the number of recordings you can create for free.
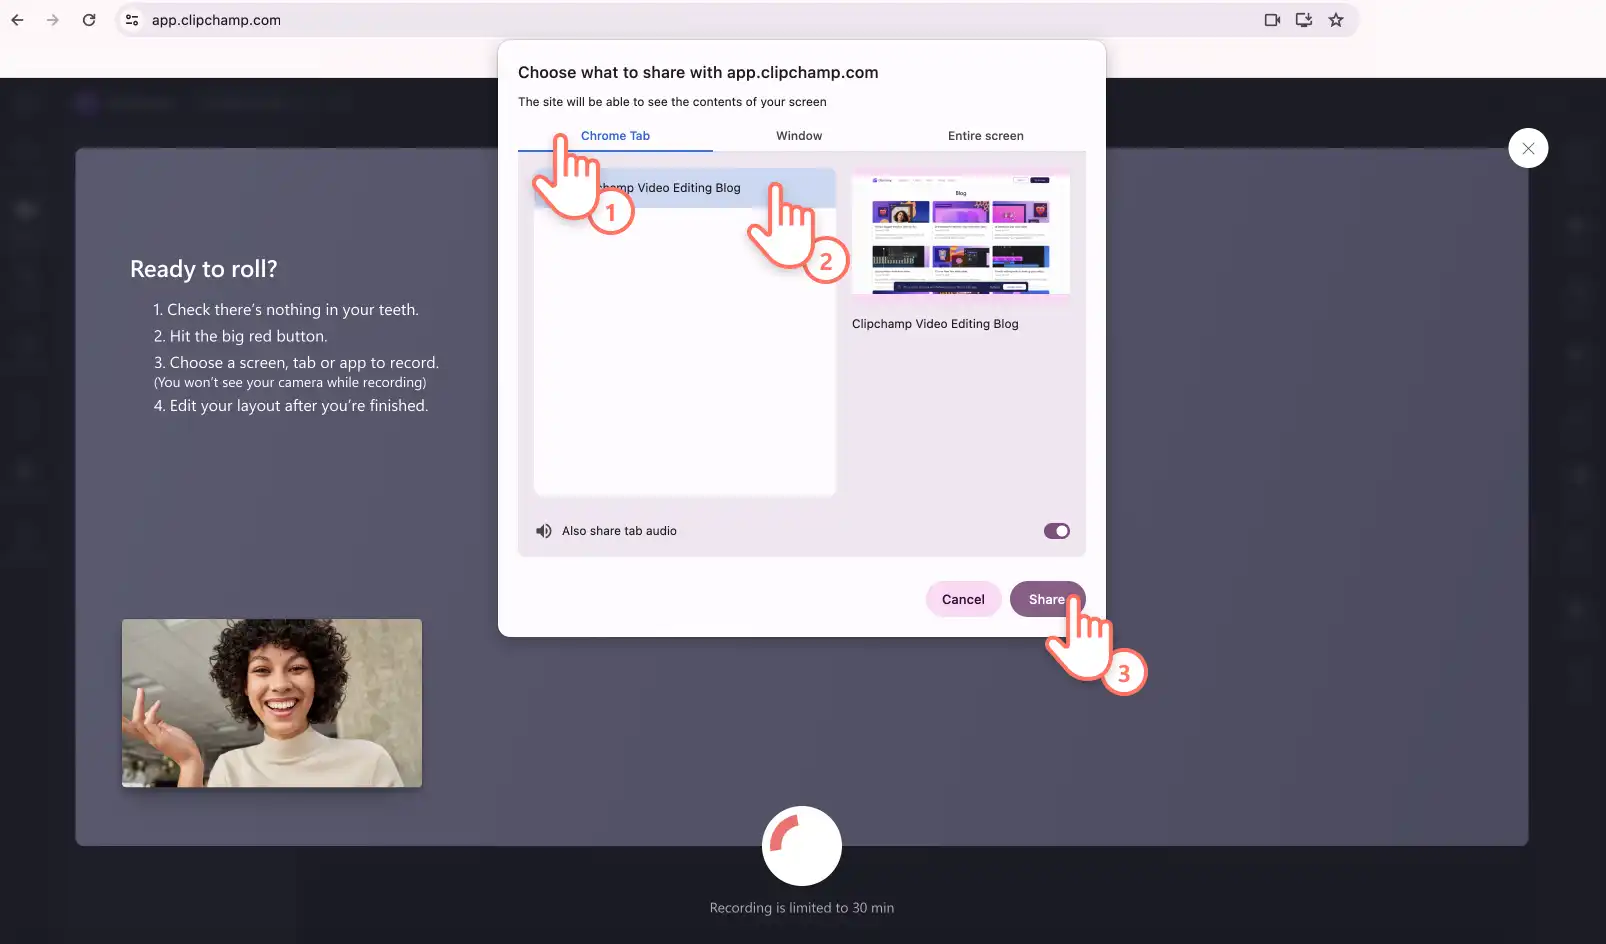
A smaller popup window will appear with screen recording options. Choose to record a single browser tab, a window, or your entire screen. You will be able to see your webcam in the bottom left corner of the popup window. Once selected, click on the share button.
Note: This tutorial will show how to screen record a Chrome tab only.
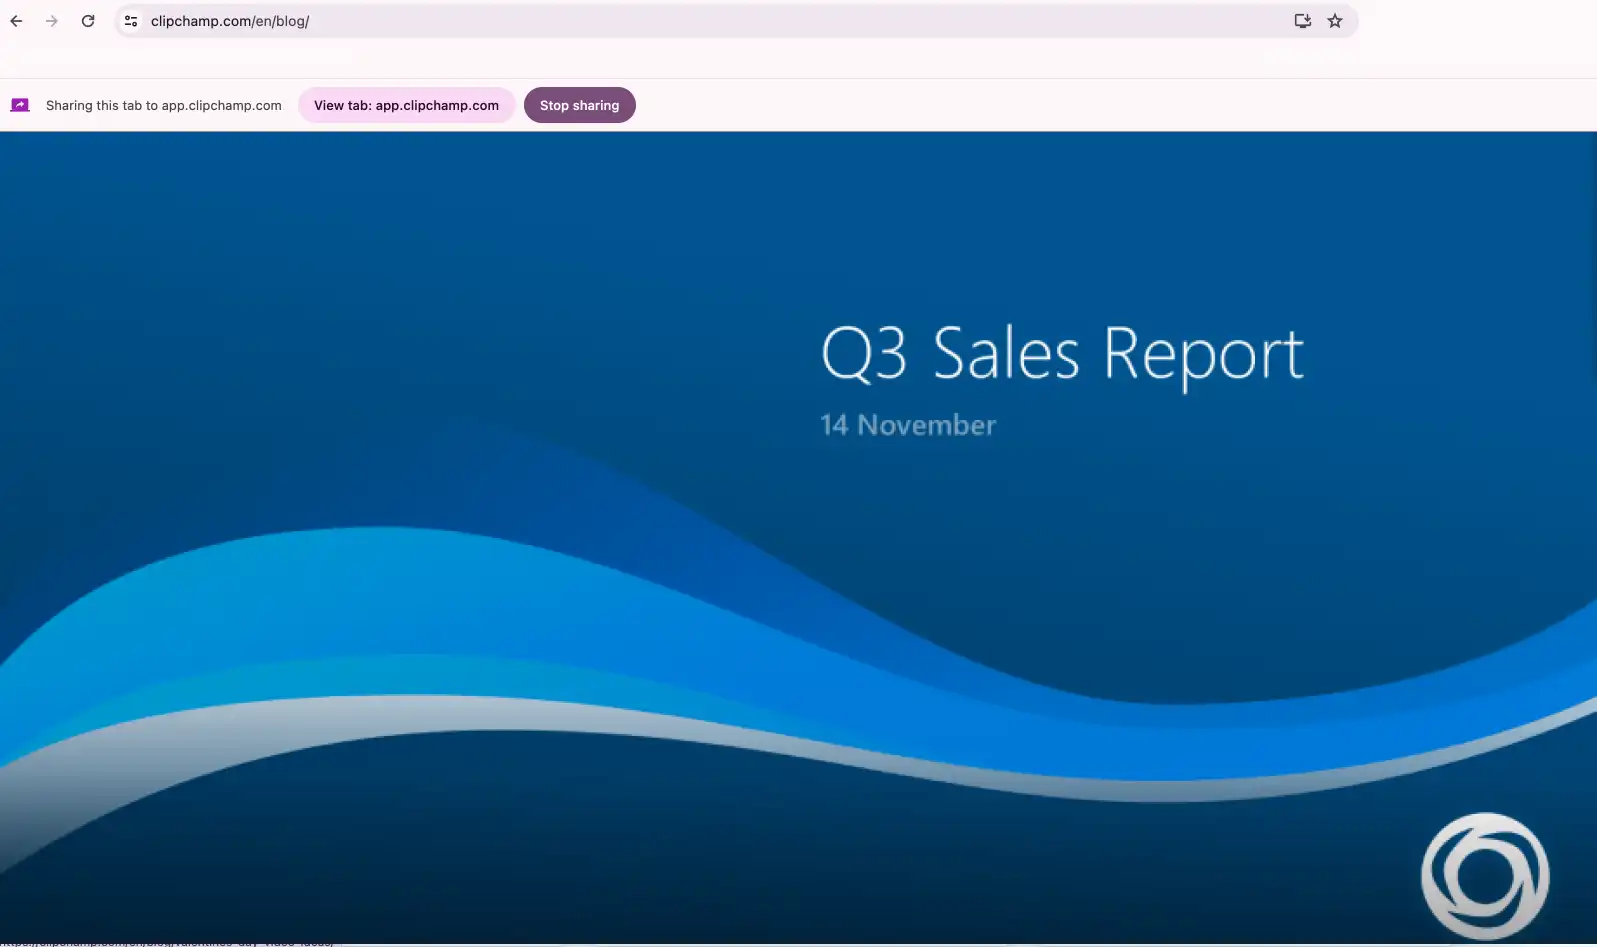
Now you're ready to record your computer screen and webcam. If you have selected to record a Chrome tab, you will automatically be taken to the tab in a full screen preview like this.
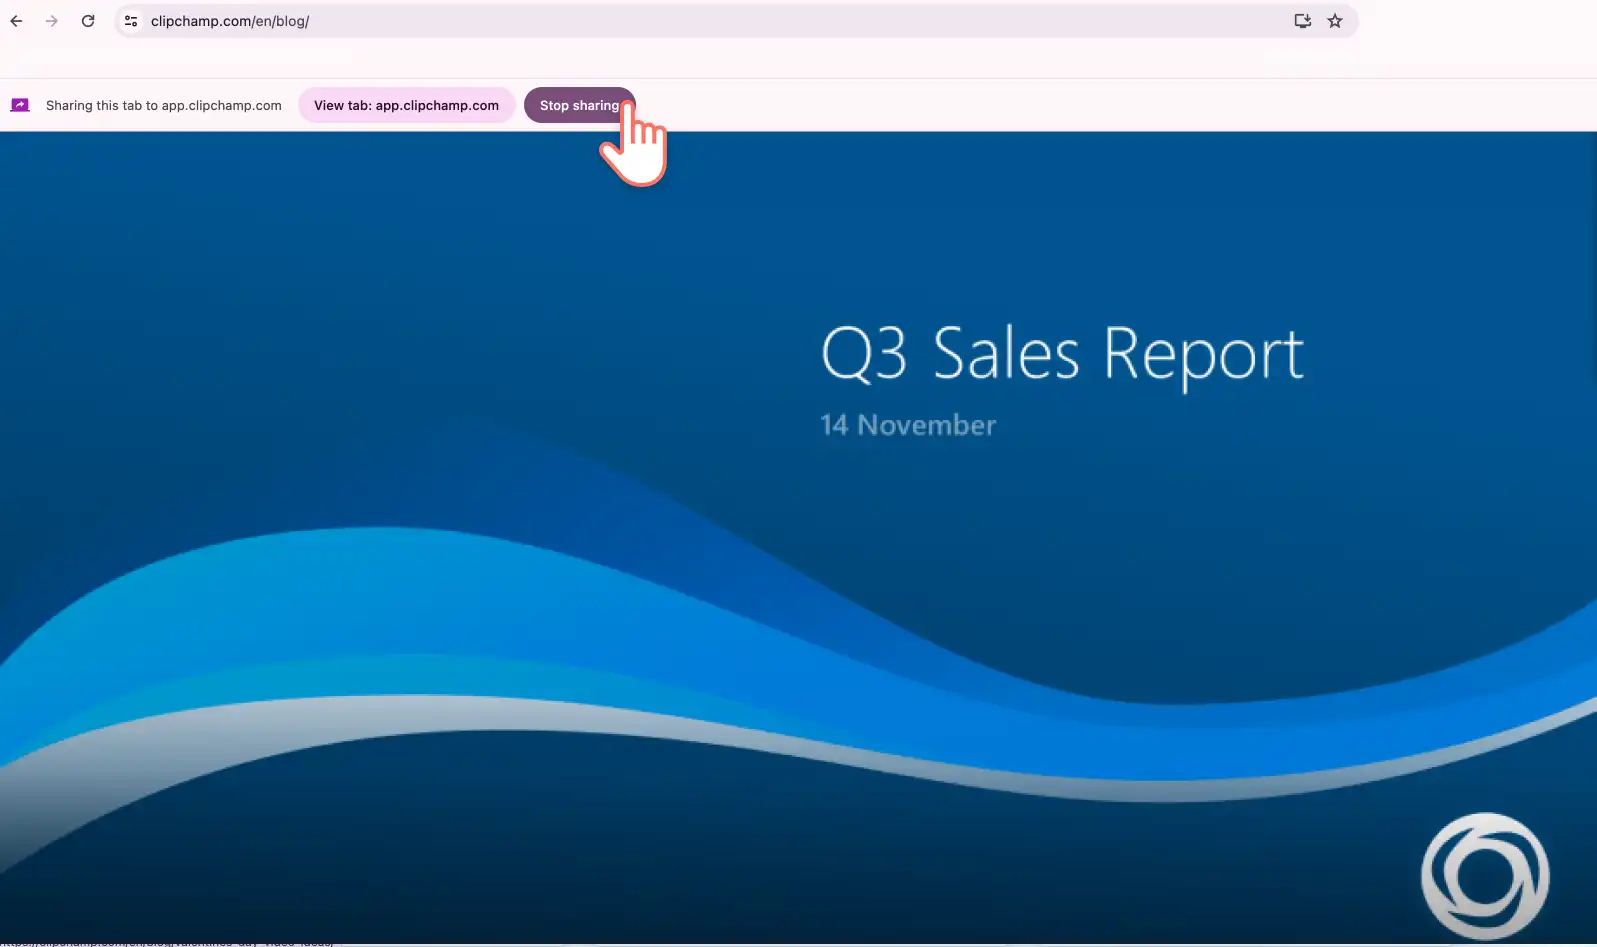
Once you are happy with your recording, click on stop sharing button.
Note: You won't be able to see your webcam while recording in the tab, window, or screen, but the camera recording is working.
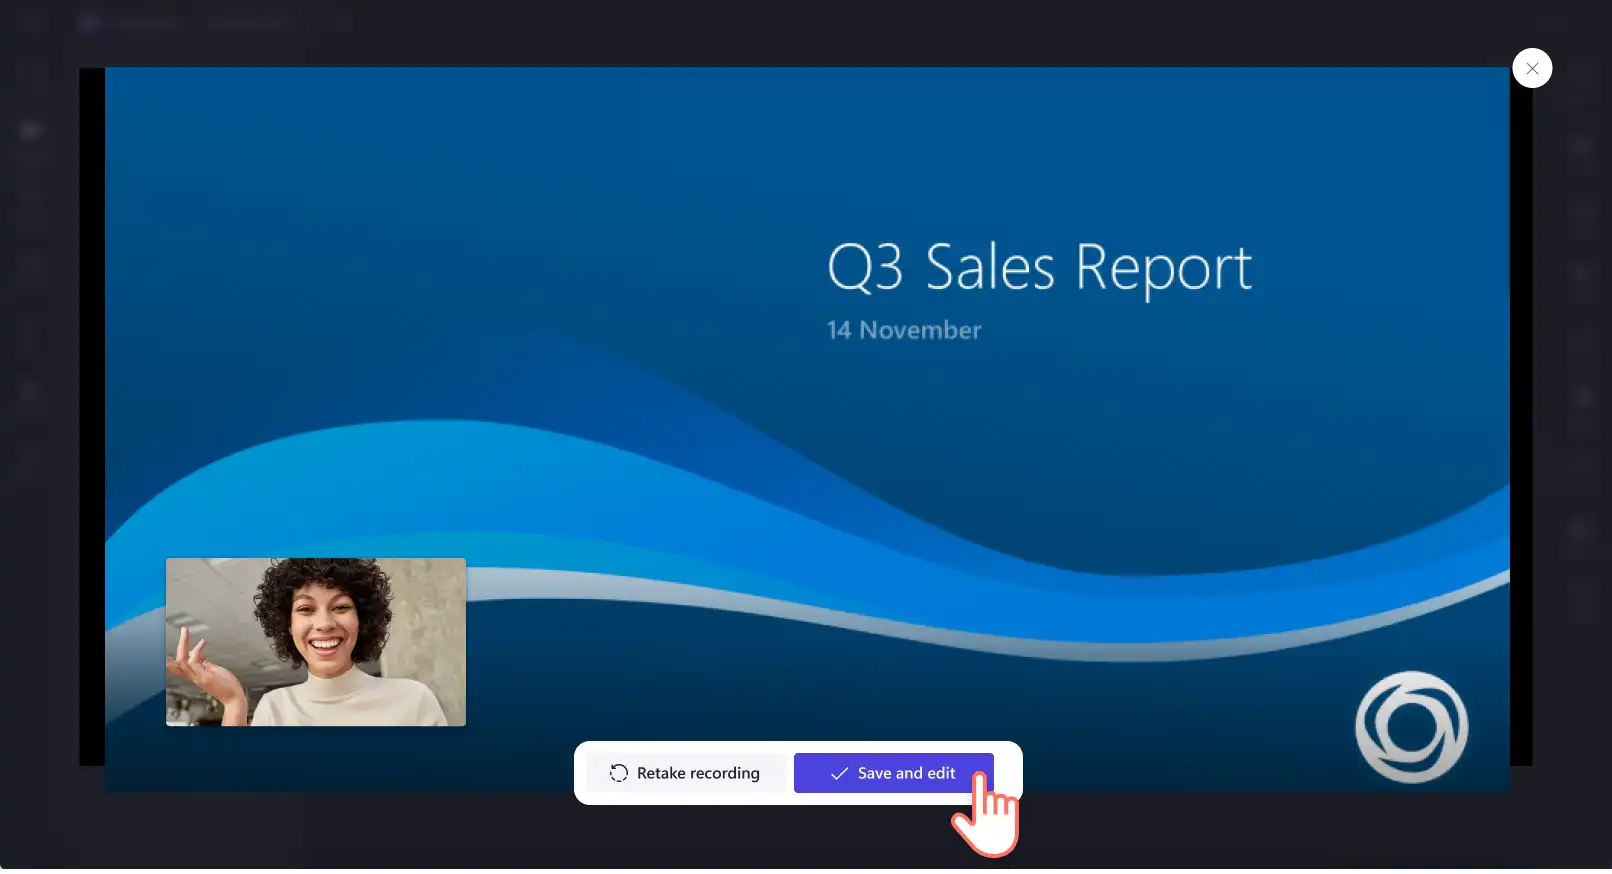
Step 3. Preview and save your screen and camera recording
A preview of your screen and camera recording will appear. Here, you can watch your screen and camera recording with or without sound. Click on the retake recording button if you would like to redo your video, or click save and edit to return back to the editor.
If you want to abandon your video, click on the x button in the top right corner of the video. You will be presented with a new window giving you options to stay or exit.
Head over to our screen and camera recorder help article for more guidance.
How to customize your screen and webcam recording
Overlay videos with text and titles
If you’re sharing your screen and camera recording to YouTube or a learning portal, start and finish your video with an intro or outro template. Add subtitles using autocaptions and on-screen text to make your screen and webcam recording more accessible.
Tidy your footage with the video trimmer
Use the trim tool to cut out mistakes and excess footage in your screen or camera recording. You can also separate the audio from your webcam recording to have more control over editing the video and audio.
Polish videos using AI
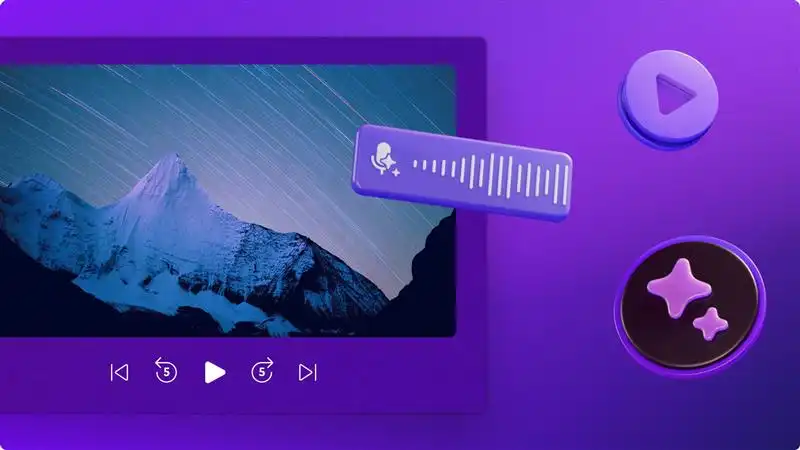
Quickly and easily remove awkward silences and pauses in your video to elevate your screen and camera recording with the AI silence remover. If you’re not happy with the audio in your recording, just mute your video audio to replace with an AI voiceover or voice recording.
Add your brand logos, colors and fonts
Create consistent screen and camera videos for your business and social media by adding branded logos, colors, and fonts with the brand kit. All you have to do is upload your branding then effortlessly use your brand kit on every video. You can even turn your brand logo into a video watermark by reducing the opacity.
6 videos to create using the screen and webcam recorder
Make on-trend reaction videos for YouTube and TikTok by recording your device screen and webcam simultaneously.
Keep employees informed and up to date with the latest information in training videos using screen recordings with face recorder video attached.
Teach your students with online tutorials by creating educational sessions using your webcam, voice recorder and screen recorder.
Give new hires even clearer guidance by using the screen and camera recorder to create engaging onboarding videos with easy-to-follow steps.
Add a personal touch to presentations and online content by adding your face to screen recordings using the camera recorder.
Create easy-to-follow software walkthroughs and product demos without leaving your computer screen.
Frequently asked questions
Is it a free screen and camera recorder?
Yes. The screen and camera recorder is available for all Clipchamp users on Windows 10, Windows 11 and Mac for free. Just start recording with Clipchamp video editor or download the Clipchamp Windows app.
How do I record my screen and webcam at the same time in Windows 11?
The screen and camera recorder in Clipchamp is compatible with Windows 10, Windows 11, PC, and Mac. Take a look at our tutorial for screen recording in Windows 11 for more information.
Where can I share my screen and camera recording video?
Can I record a screen and webcam video without audio?
Yes. You can create free screen recordings and webcam videos without audio in Clipchamp. Select the ‘none’ option when choosing your microphone settings before clicking the record button. You can also detach audio from recorded videos, or mute audio online.
For more ways to enhance your screen and webcam recorded videos, check out how to add a voiceover to video using the voice recorder.
Get started today with Clipchamp video editor or download the Microsoft Clipchamp Windows app for free.
Heads up! The screenshots in this article are from Clipchamp for personal accounts. The same principles apply to Clipchamp for work and school accounts.