Want to change the mood of your video? Transform your footage to create your ideal video style with video filters. Filters can be the perfect addition to any video, whether you’re creating a memorable slideshow video or fun TikTok video. Choose from retro and vintage filters to social media-friendly filters in our online video editor. Plus, you can further edit your videos with cool video effects like blur video, bokeh effect or glitch effect.
Read on to learn how to add filters to your videos and explore popular trending filters in Clipchamp.
How to add filters to videos
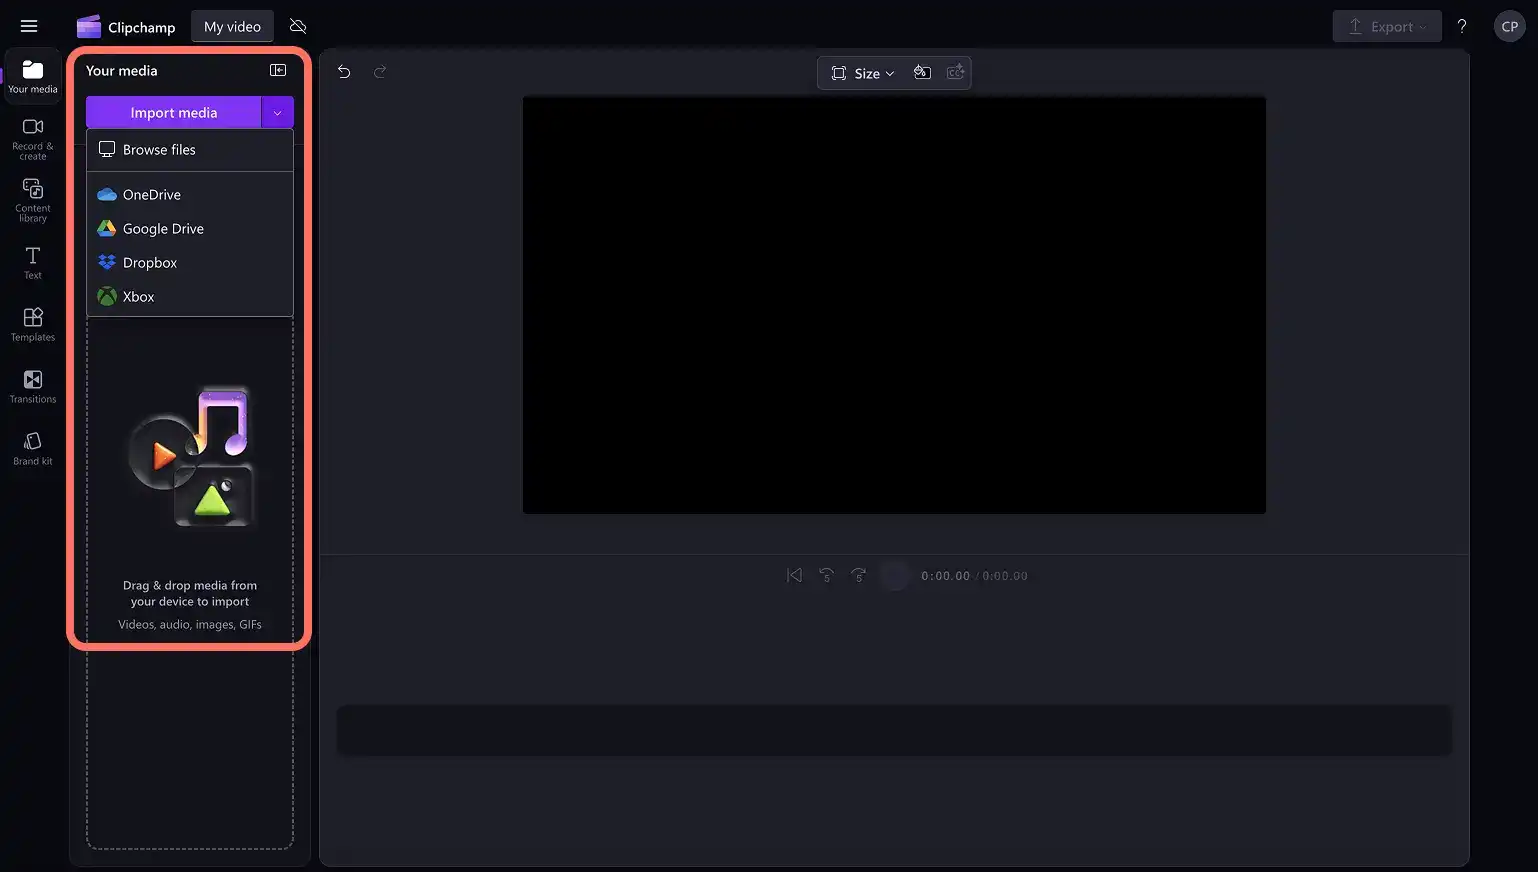
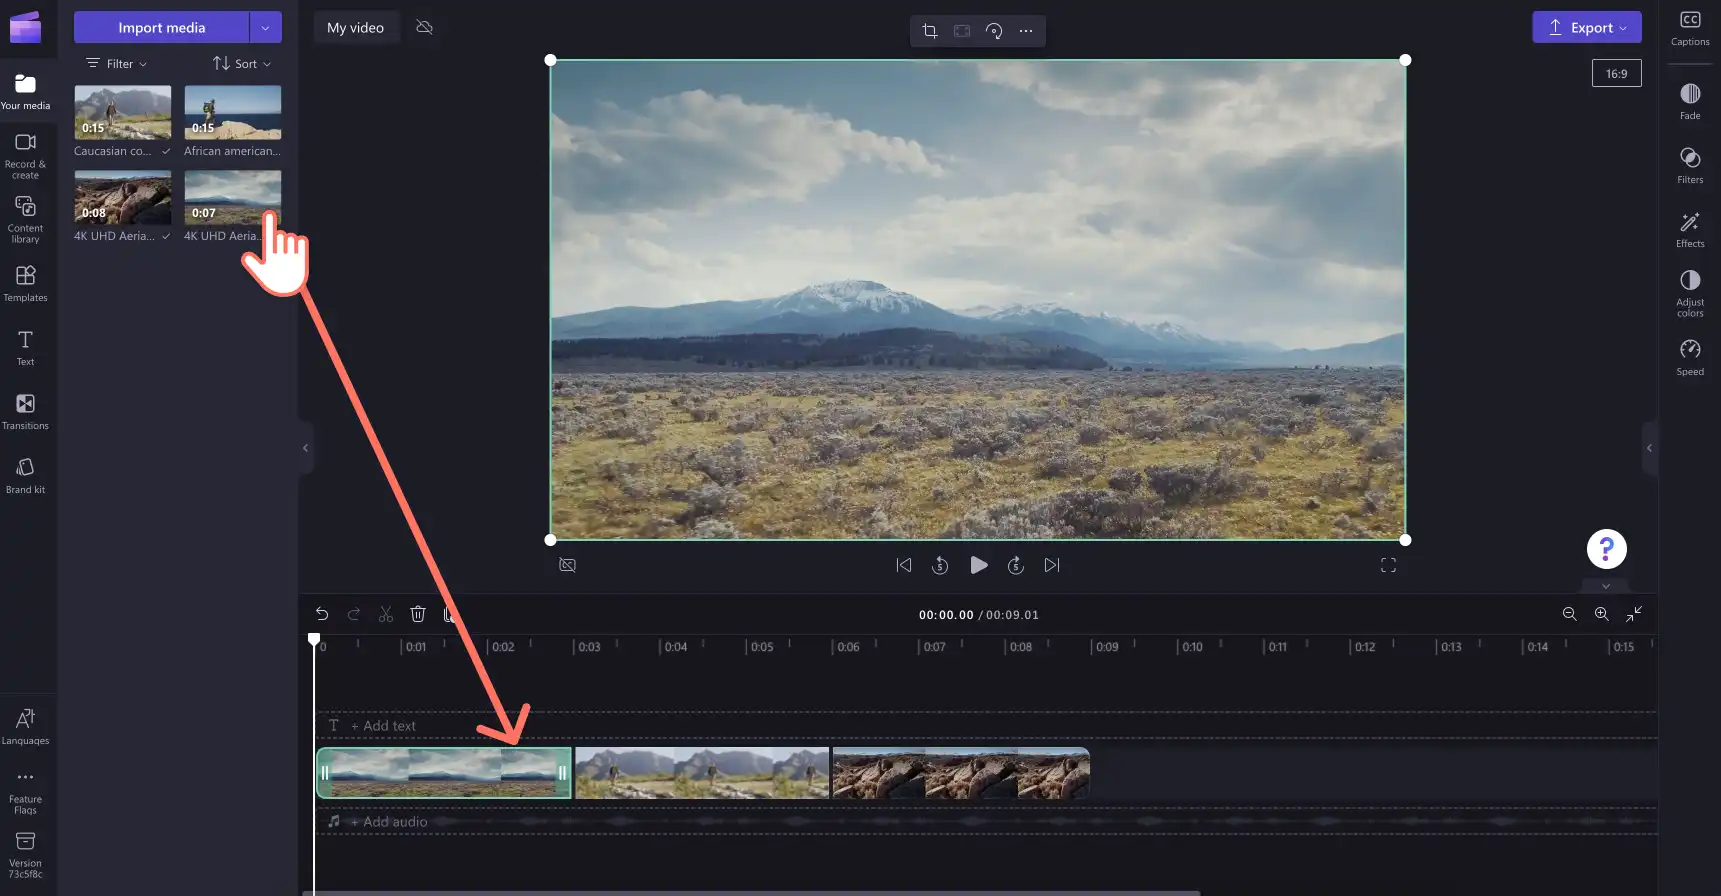
Step 1. Import videos or select stock footage
To import your own videos, click on the import media button in the your media tab on the toolbar to browse your computer files, or connect your OneDrive.
You can also use royalty-free stock media. Click on the content library tab on the toolbar and click on the visuals drop down arrow, then videos. Search through the different stock categories using the search bar as well.
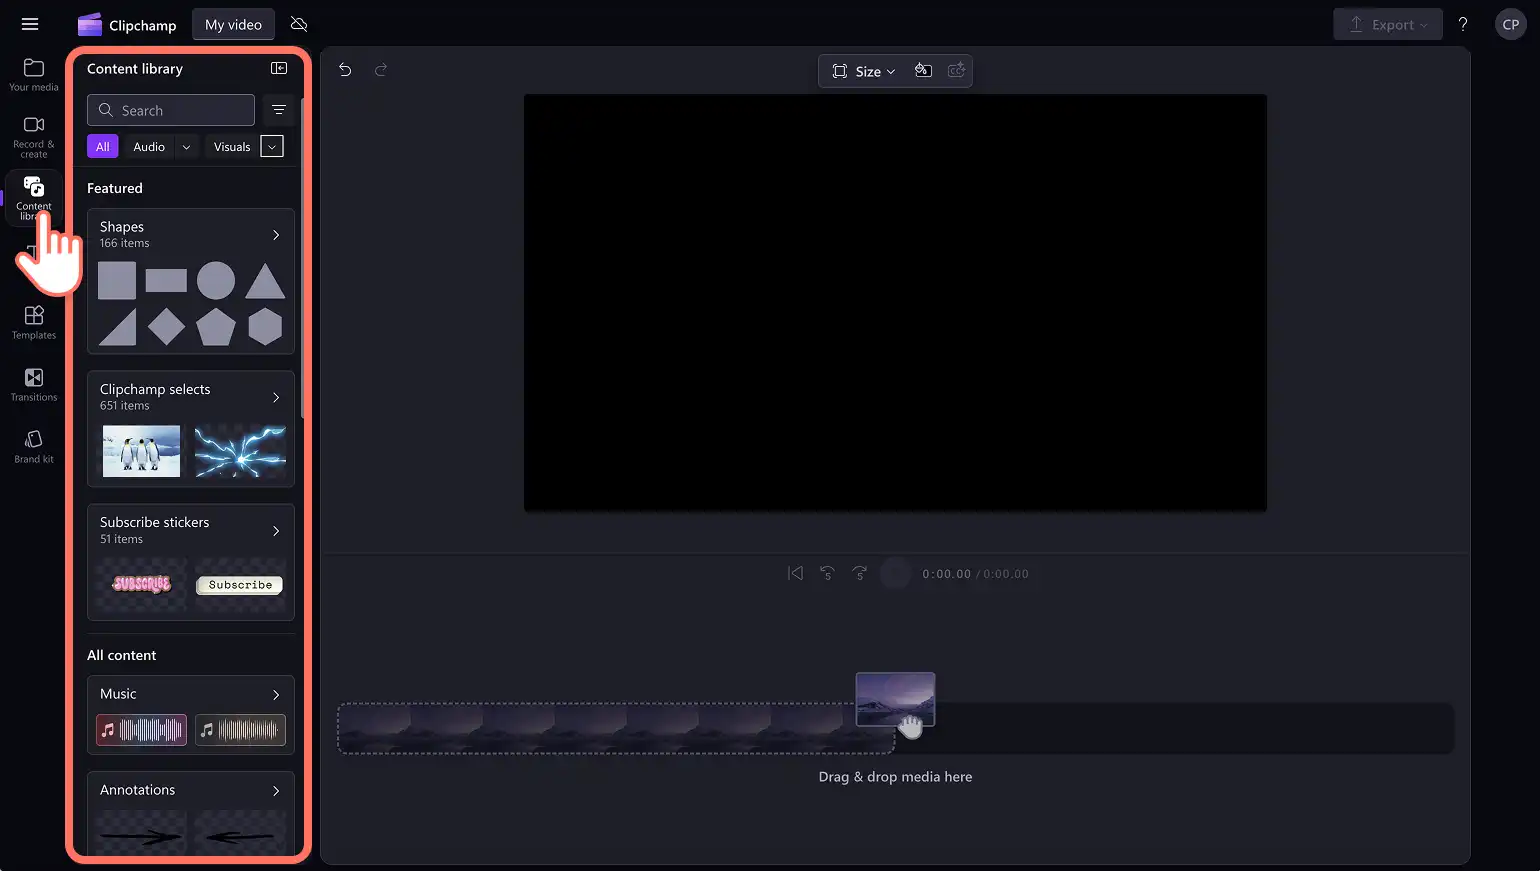
Next, drag and drop each video onto the timeline from the your media tab.
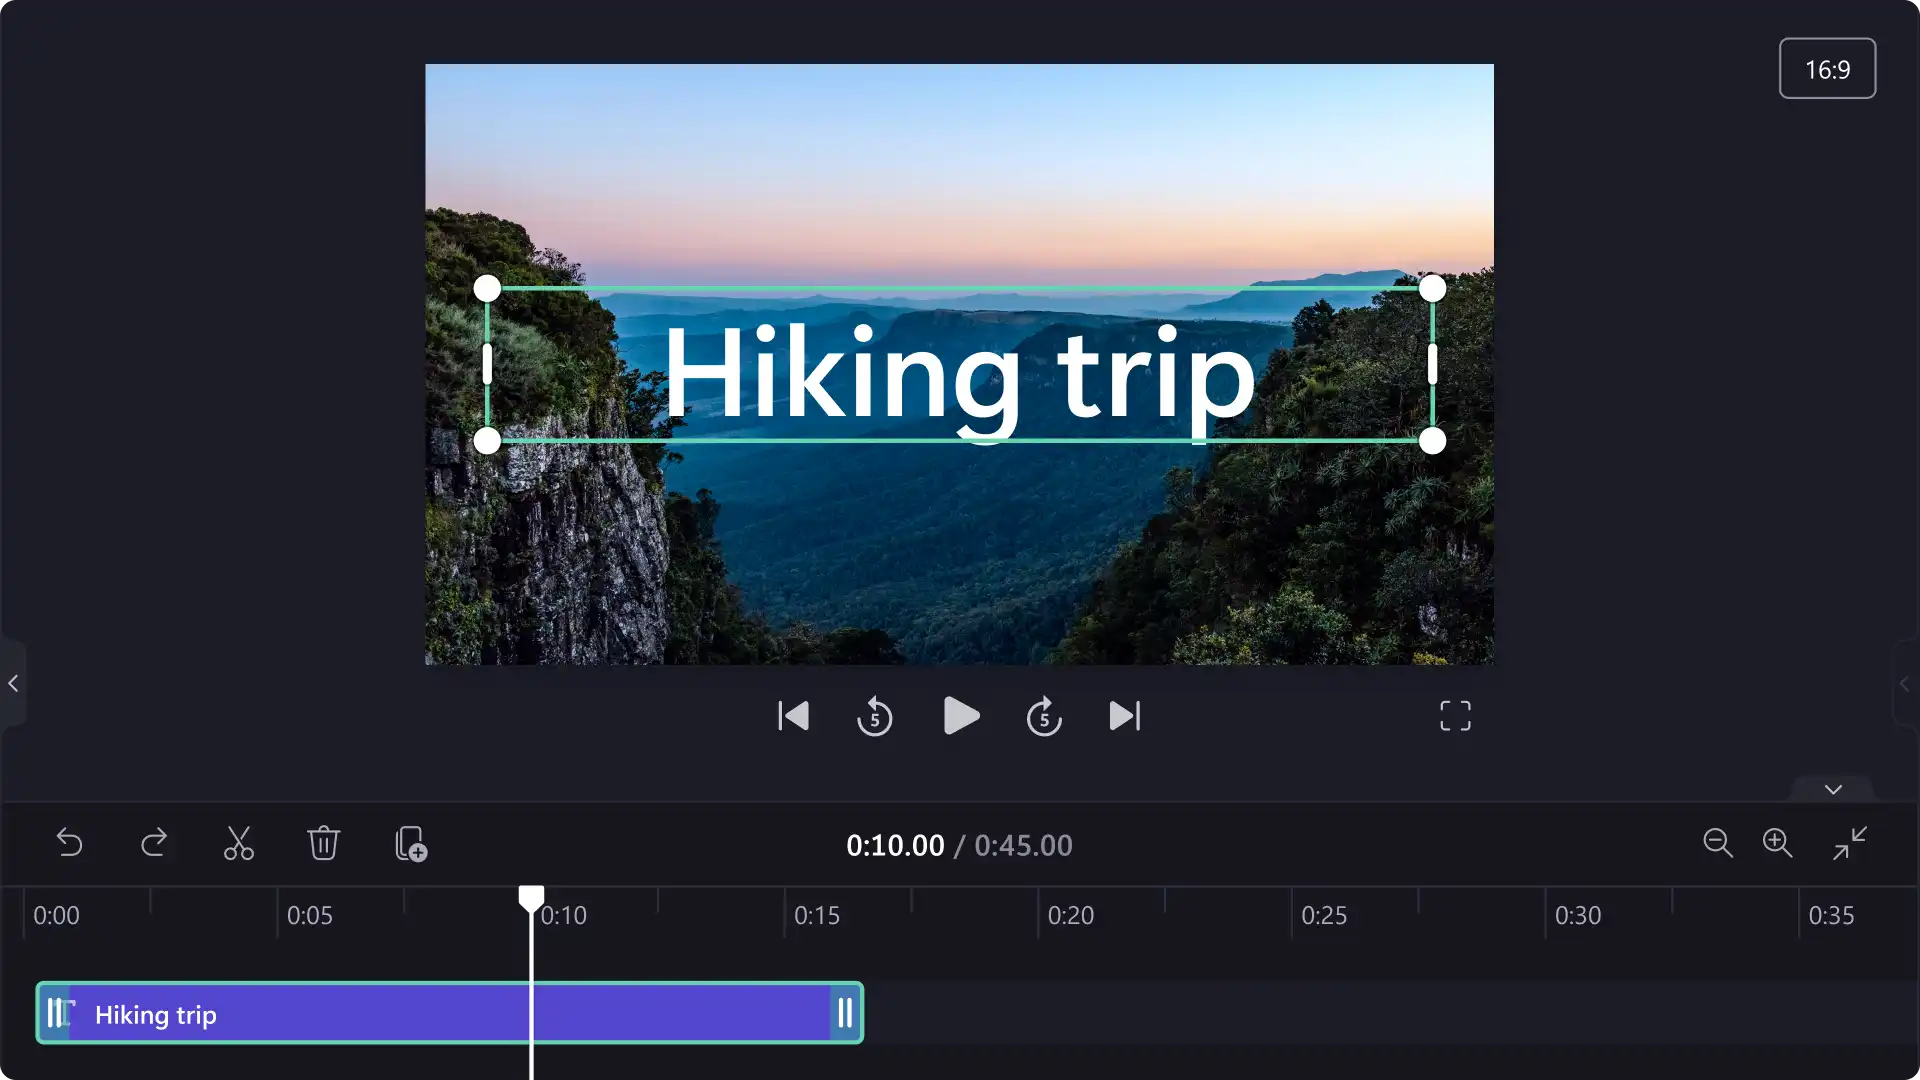
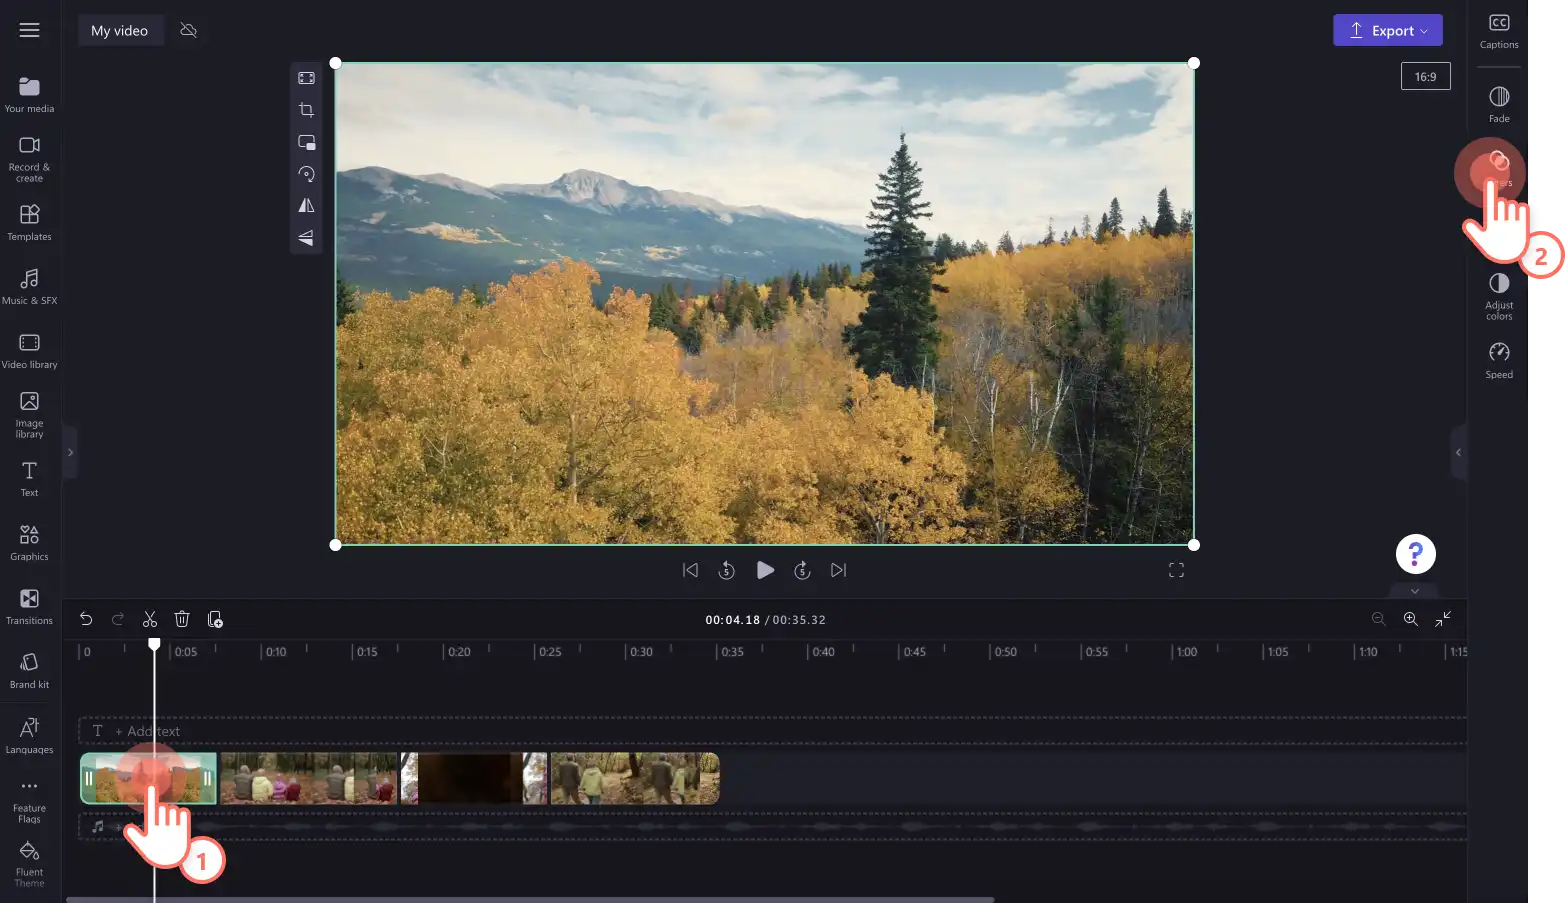
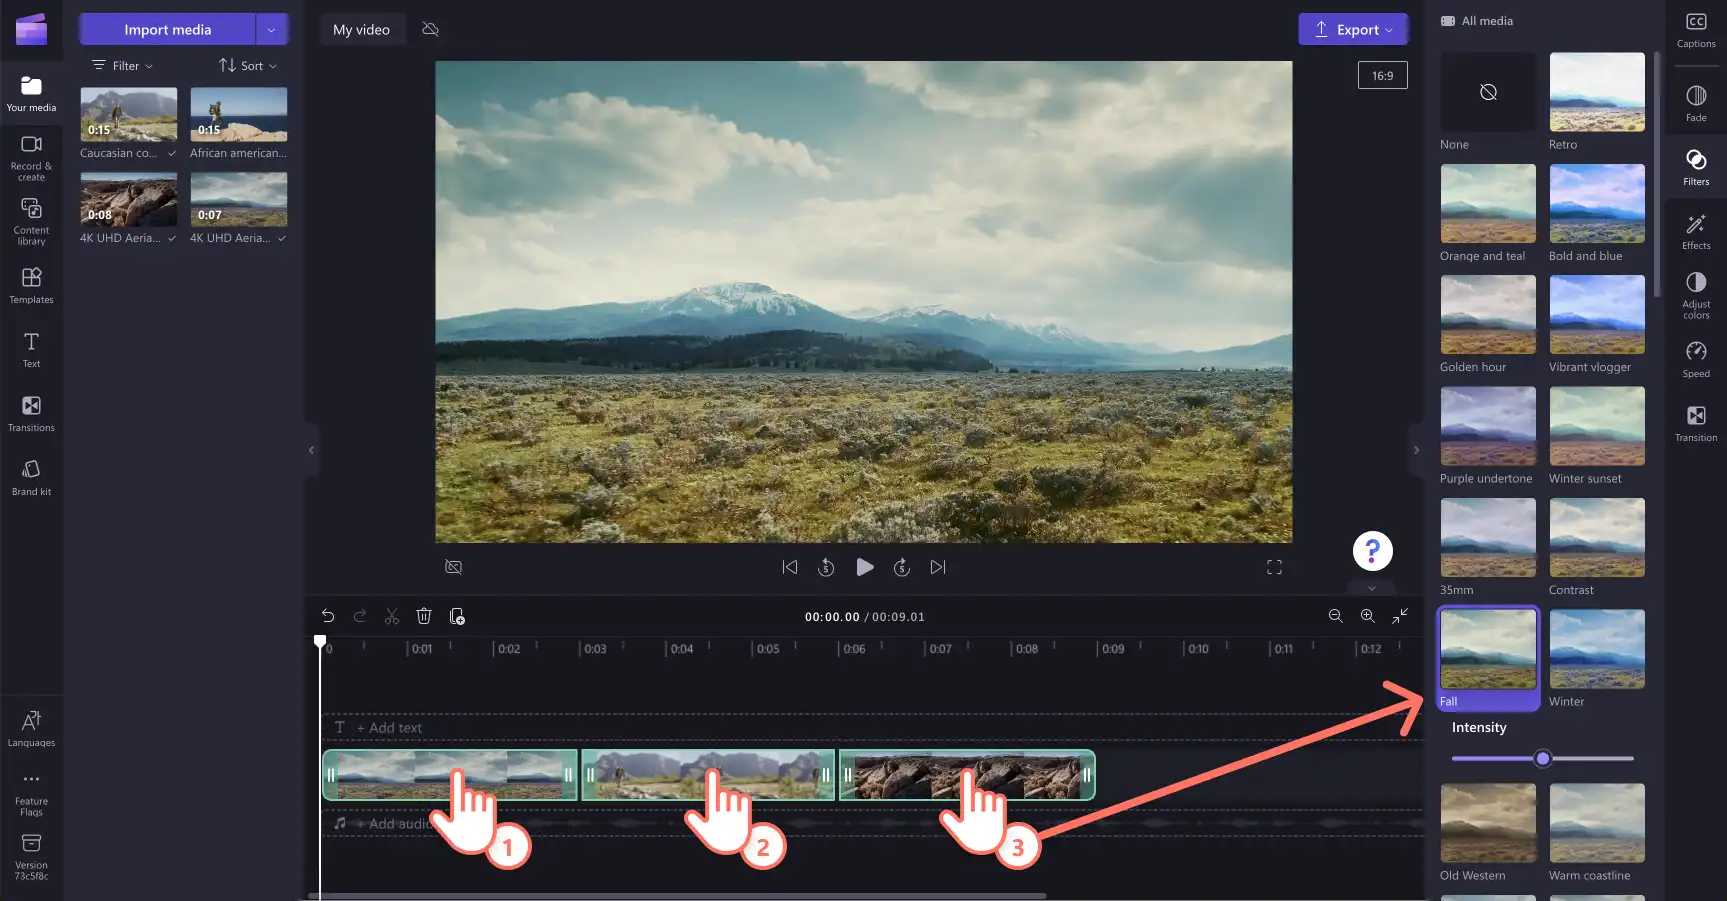
Step 2. Add filters to your video
Click on the video on your timeline that you would like to add a filter to, then click on the filters tab on the property panel. For more help, check out the help article.
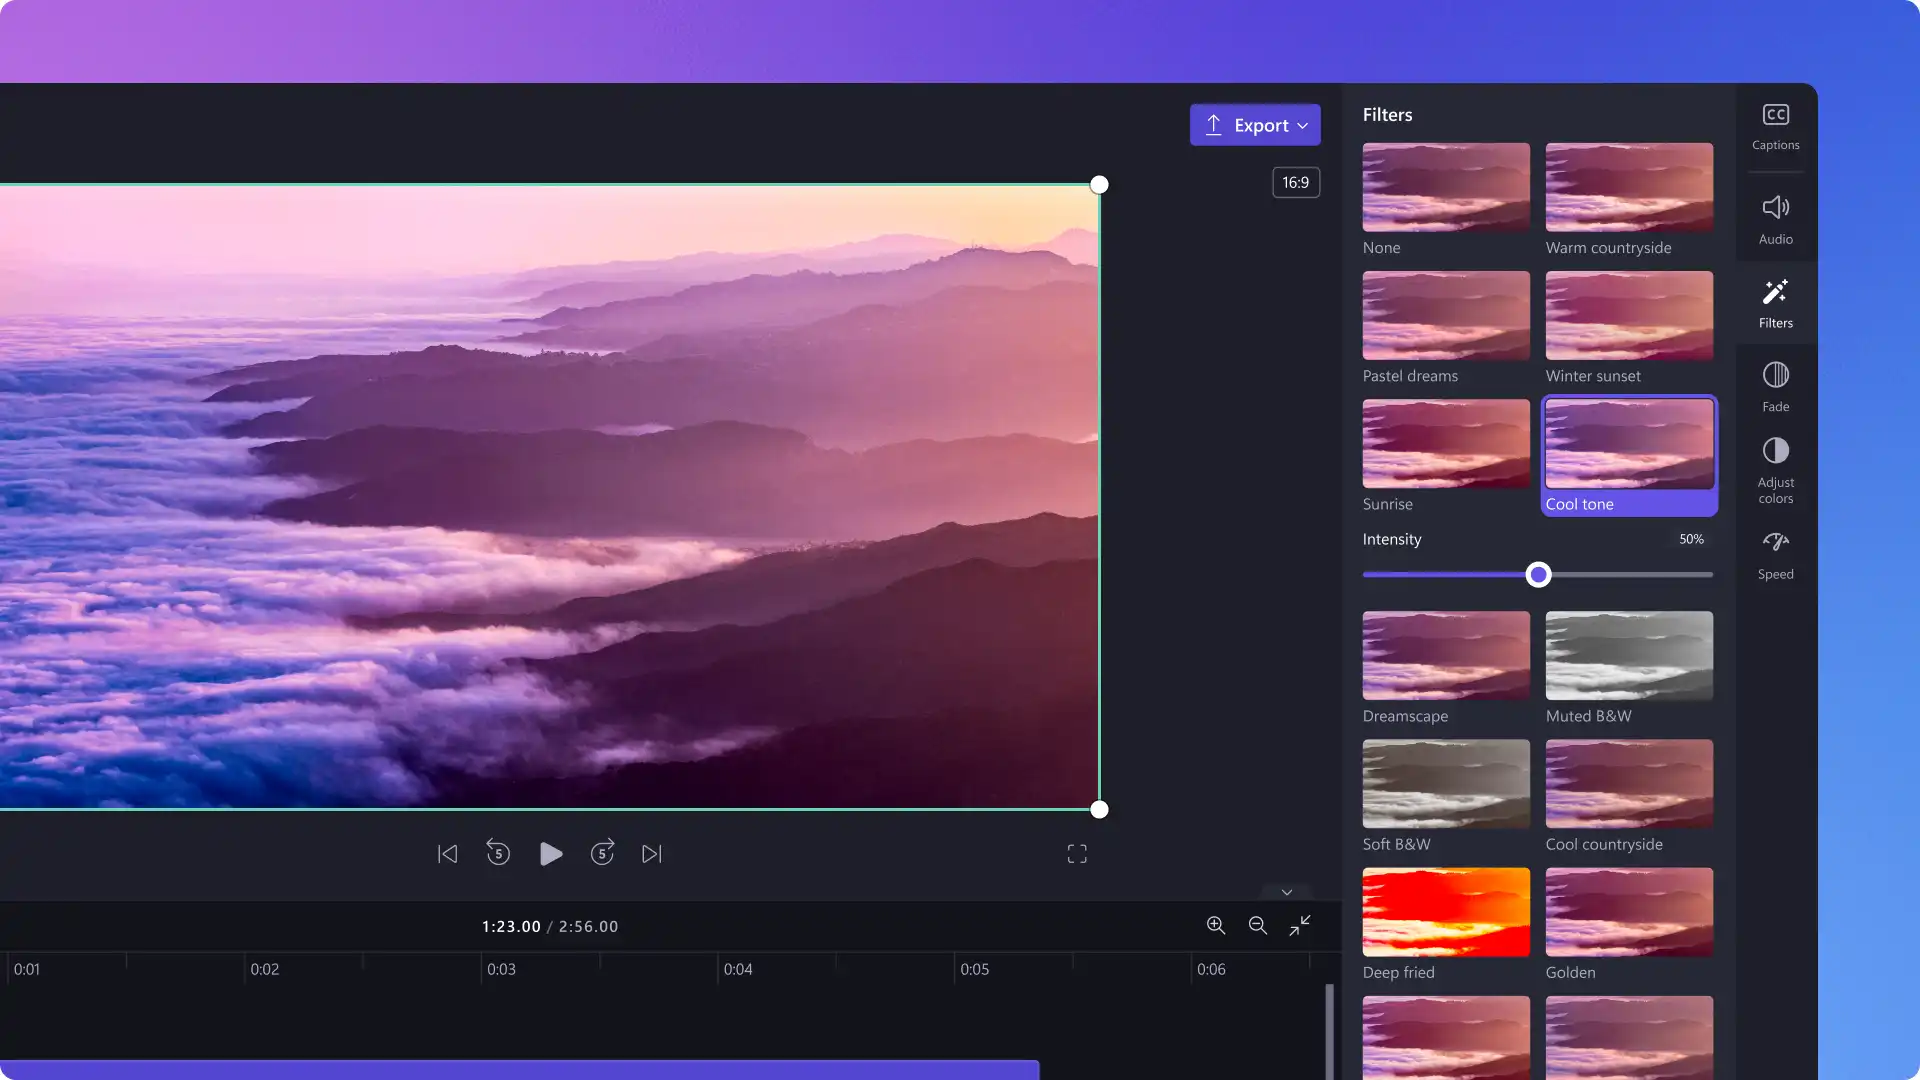
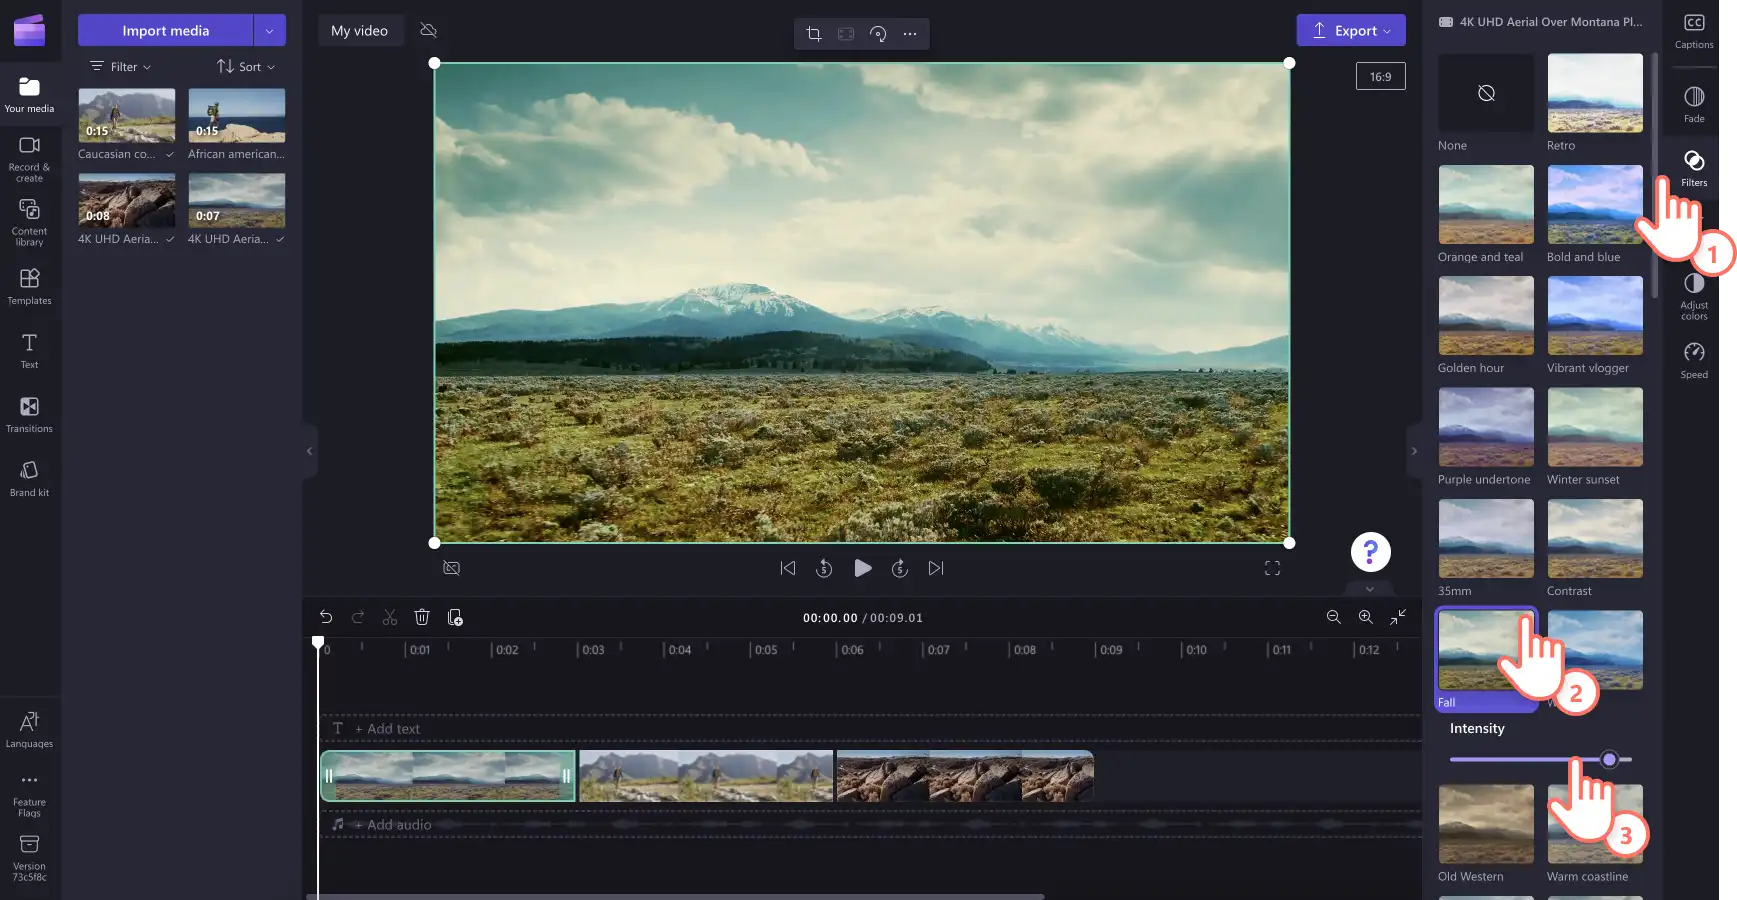
Browse the video filter options to find a style that enhances your video and suits your video aesthetic. Hover your cursor on a filter to see a live preview on your video clip in the stage.
To apply a filter to your video, simply click on the filter. You can add multiple filters to your video at once if you wish. Edit the intensity of the filter using the intensity slider.
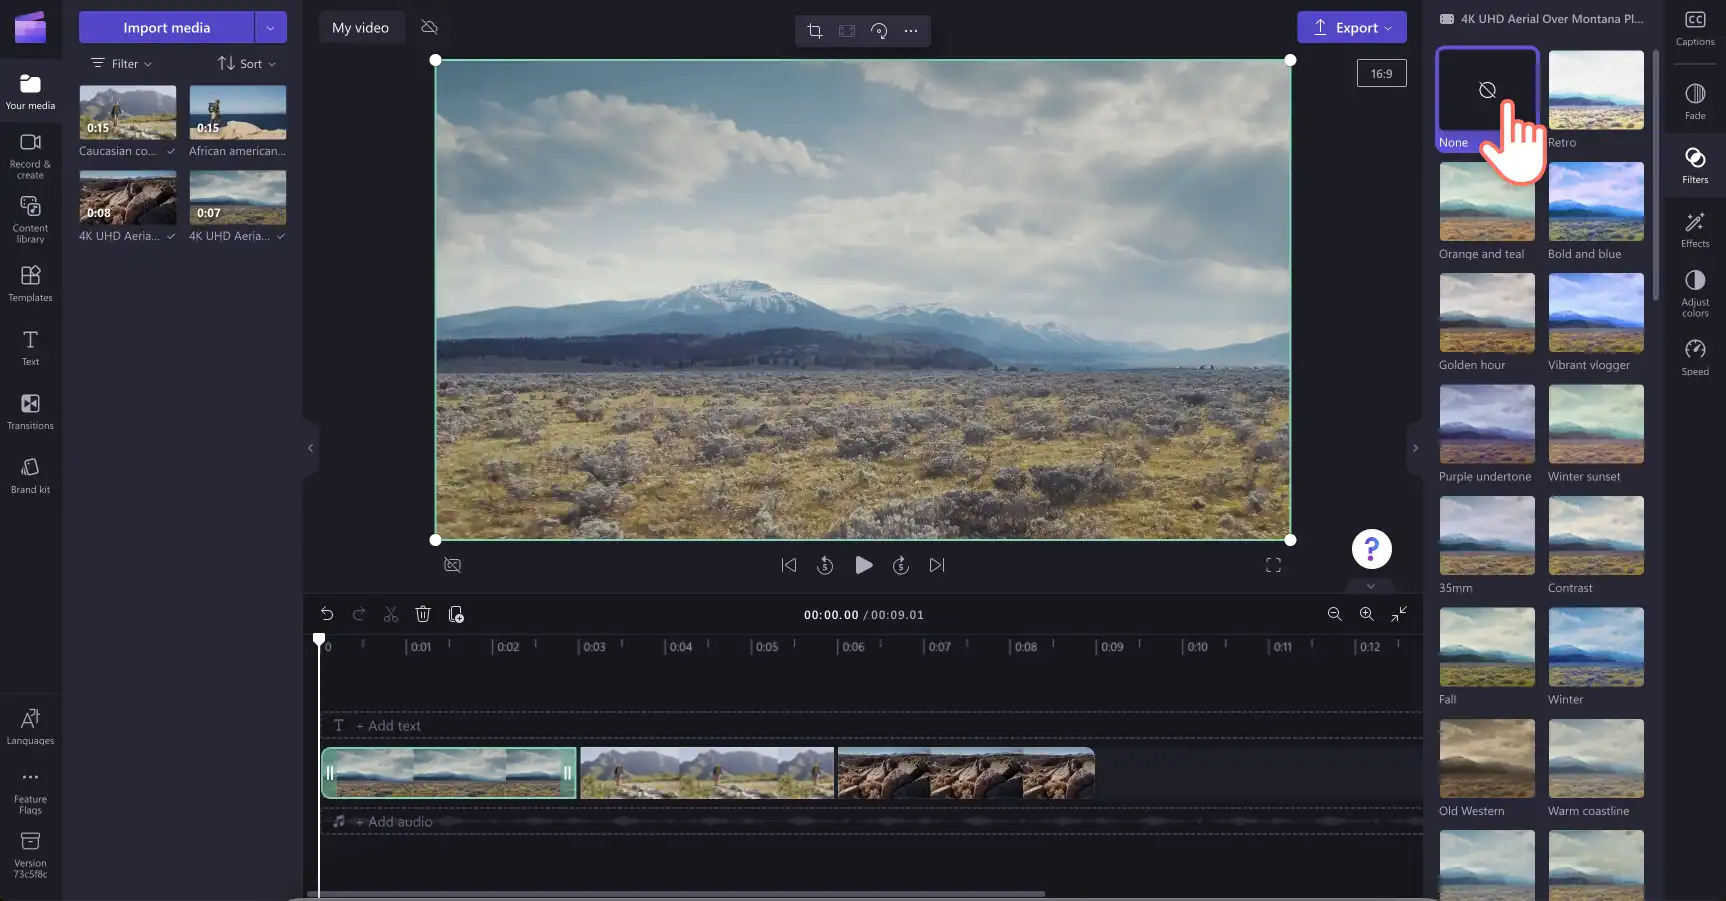
To remove filters from your video, click on the none option in the filters tab. This will remove any filters added to your video clip.
If you would like to add the same filter to multiple clips, use the multi-item editing feature. Hold down the shift key on your keyboard, then click on the assets on your timeline that you would like to add filters to at once. Your assets will highlight in green. Next, click on the filter to apply.
For more help, check out the help article.
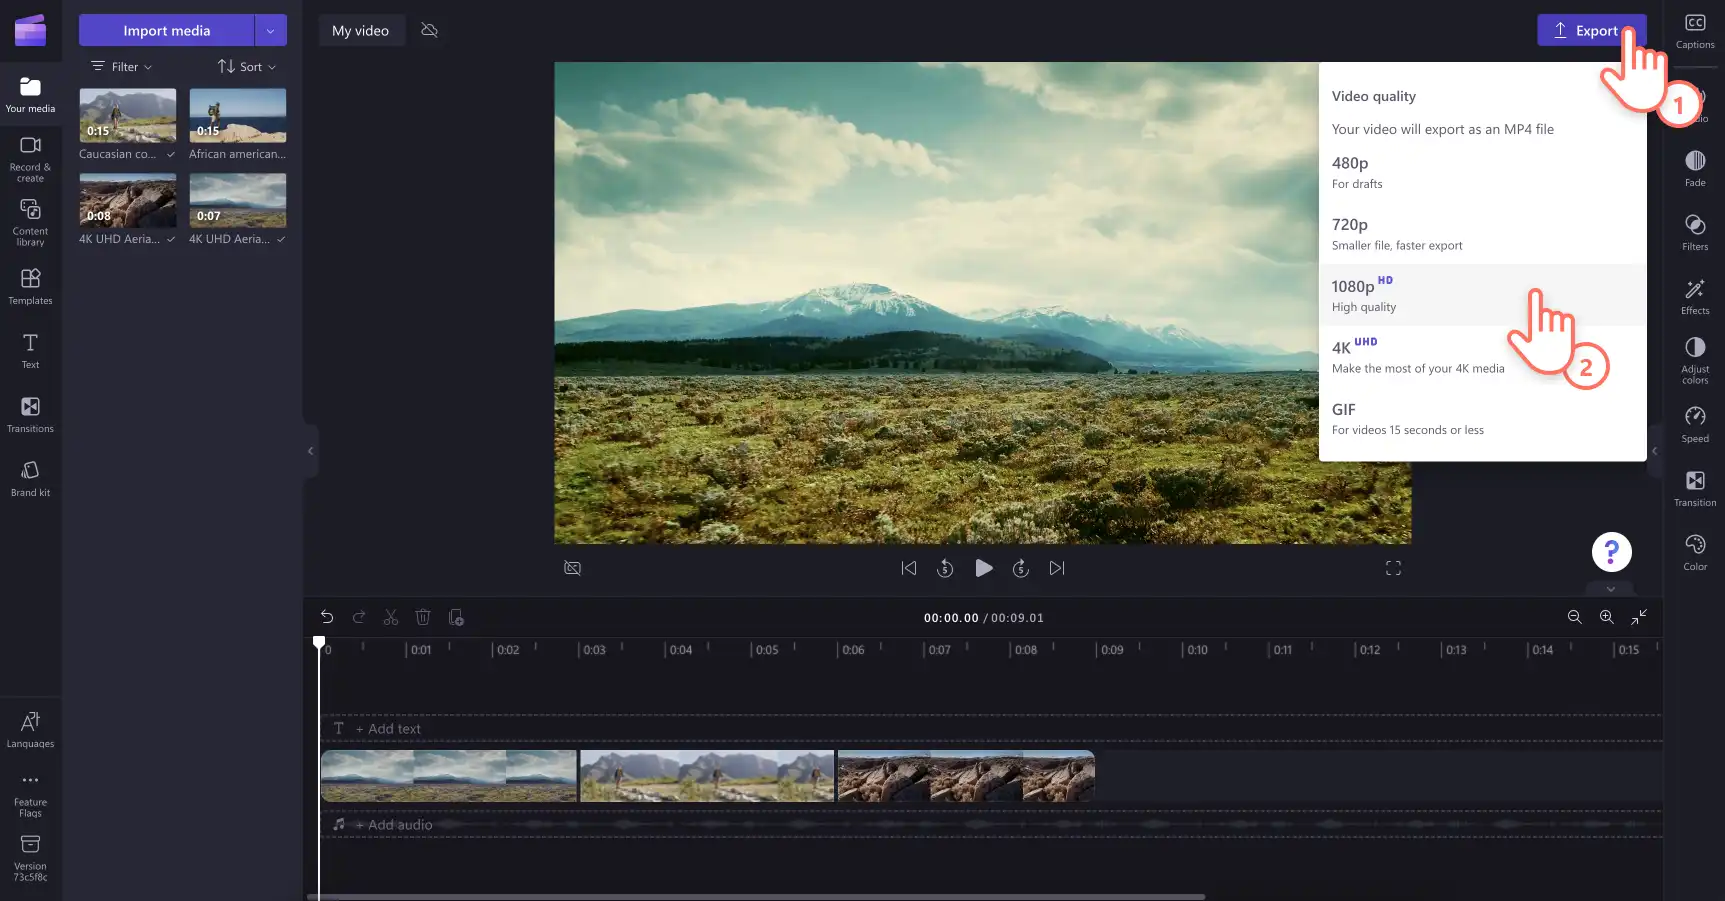
Step 3. Preview and save your video
Before saving your new video, make sure to preview by clicking on the play button. When you’re ready to save, click on the export button and select a video resolution. We recommend saving all videos in 1080p video resolution for the best quality. Paid subscribers can save in 4K video resolution.
Try popular filters in Clipchamp
Retro
If you want to give your video clips a vintage look and feel, try adding the retro filter. The retro filter mimics the appearance of old school photos or film footage, giving your video a nostalgic and artistic vibe.

Vibrant vlogger
Enhance the color of your video footage and create bright clips with the vibrant vlogger filter. This versatile filter is perfect for everyday and outdoor video clips in vlogs, GRWM videos, and ideal to brighten product demos. You can color correct further using the video enhancer.

Black and white
Remove colors out of your video clips with the range of B&W filters. A black and white filter creates a timeless and classic look and feel to your video.

Color overlay
Turn videos into any color like green, red, blue, pink, yellow, and so many more with color overlay filters. The block color changing filters are ideal for branding videos and making intro and outros for YouTube stand out.

Pastel dreams
Create social media videos to suit your aesthetic with the pastel dreams filter. The pastel dreams filter adds a pastel overlay to any video clip to enhance soft colors. This unique filter is exclusive to paid subscribers.

Take a look at our YouTube tutorial to learn how to add filters to multiple videos.
For more ways to create scroll-stopping videos, check out how to make montage videos for social media and explore more editing techniques like adding transition sound effects.
Try Clipchamp for free or download the Clipchamp Windows app to get started.
Heads up! The screenshots in this article are from Clipchamp for personal accounts. The same principles apply to Clipchamp for work and school accounts.