Heads up! The screenshots in this article are from Clipchamp for personal accounts. The same principles apply to Clipchamp for work and school accounts.
On this page
Time-lapses are an artistic video style where viewers can literally see time fly by. These videos can be captivating no matter what is captured, like busy city streets, flowers blooming, and even sunsets.
Turn photos into a quick time-lapse video or GIF without any advanced video editing needed. Explore how to make a time-lapse video using Clipchamp video editor, and learn beginner-friendly tips to make them look professional.
How to make a time-lapse video using images
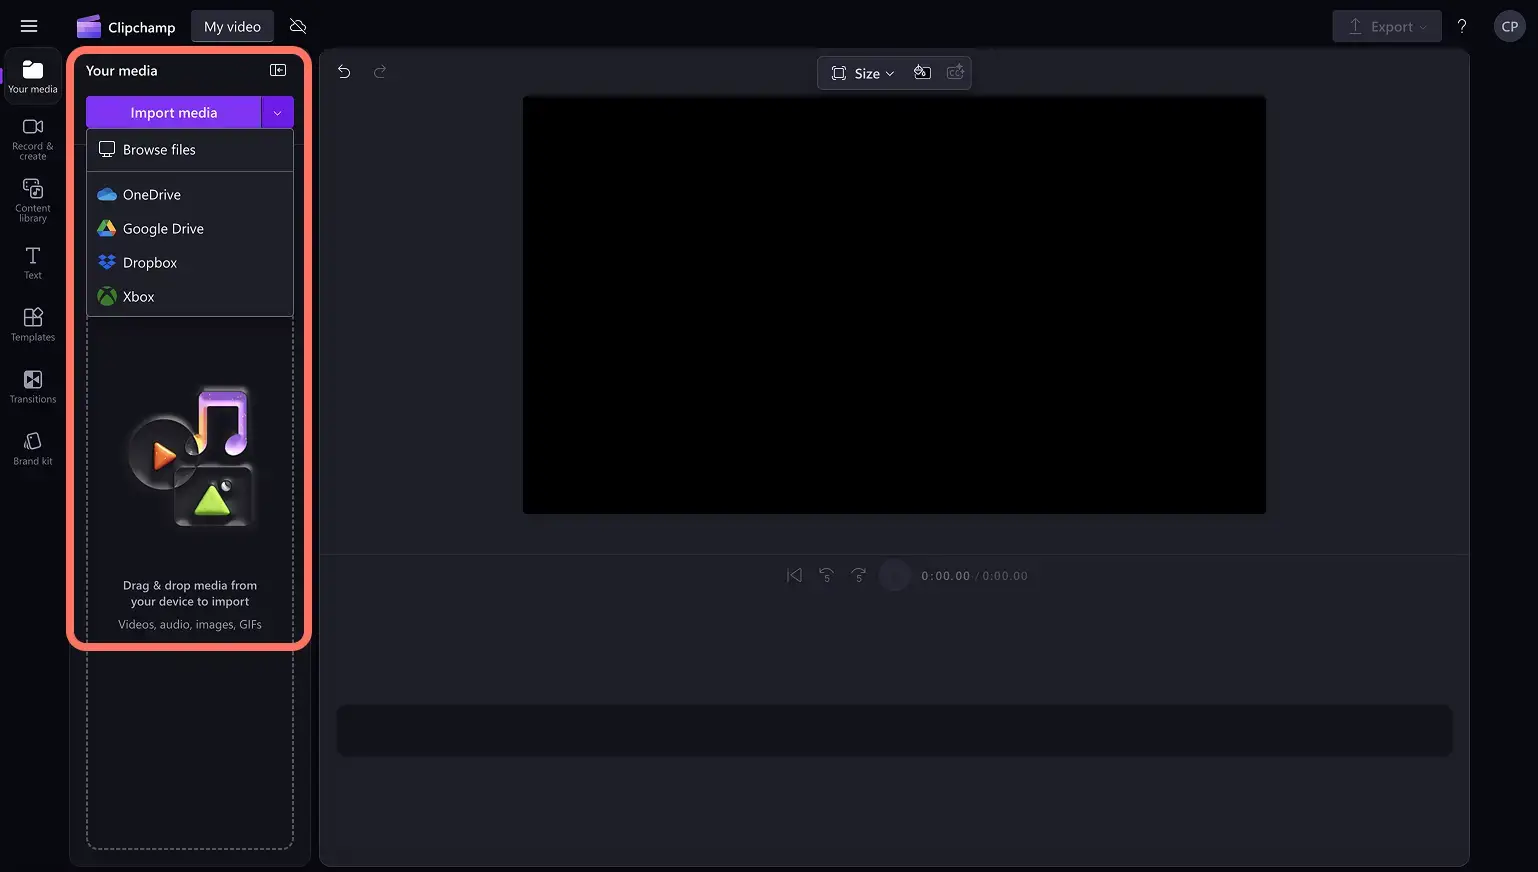
Step 1. Import your photos or media
Click on the import media button in the your media tab on the toolbar. Browse computer files, or connect OneDrive to import photos to build a time-lapse video.
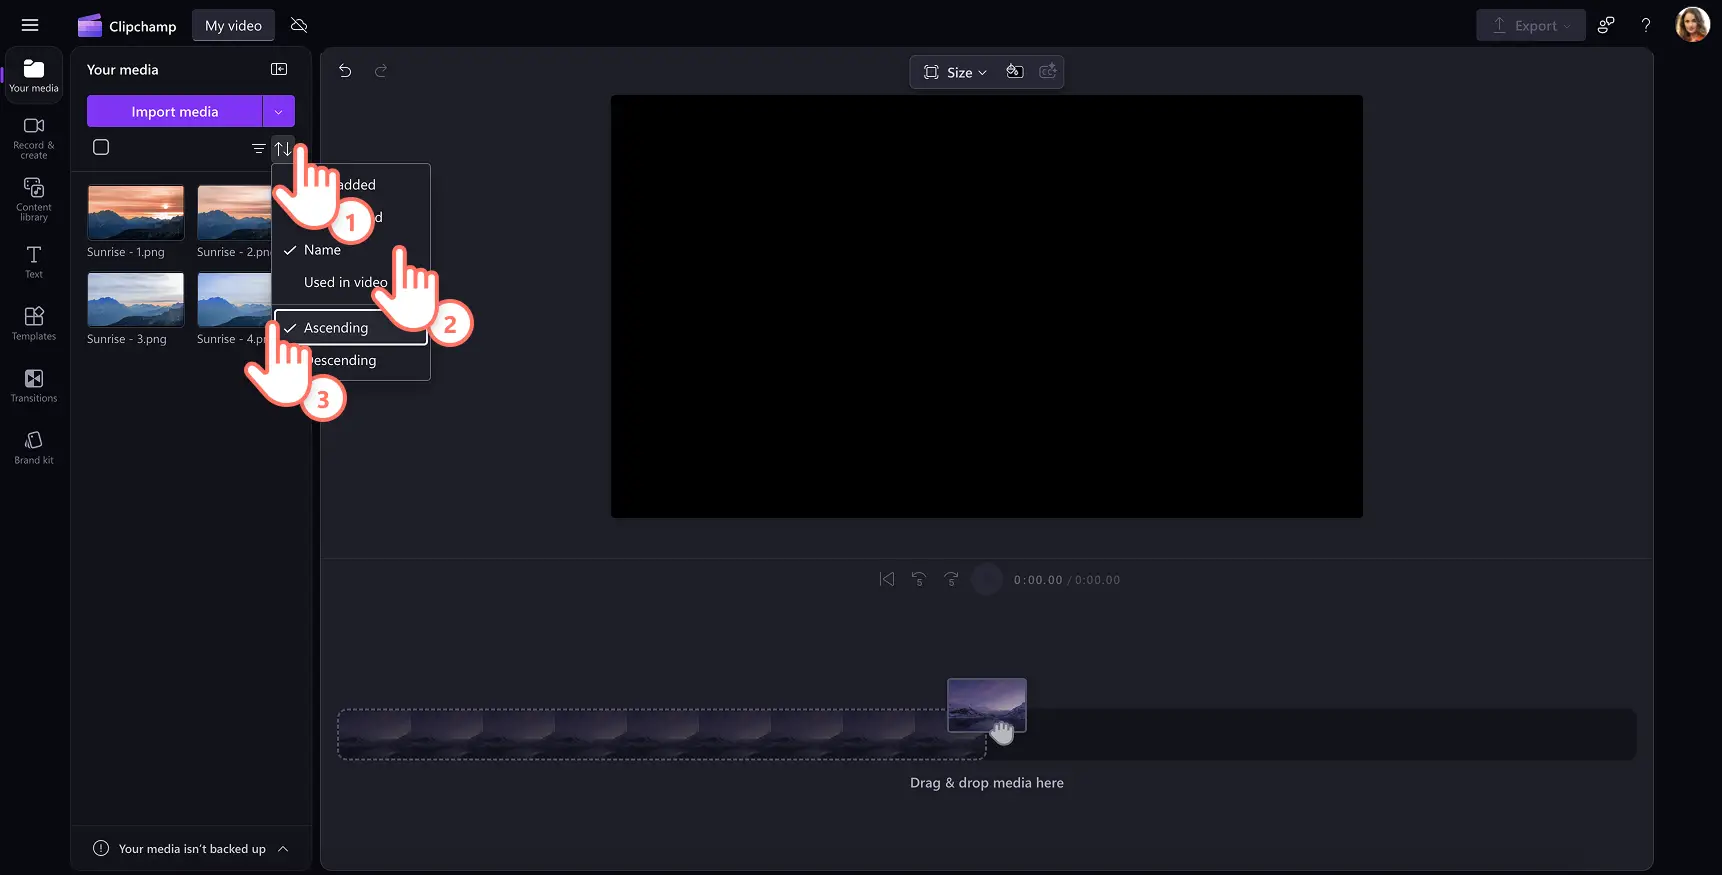
If using a large number of photos, sort the photos before adding them onto the video editing timeline. Click on the sort button inside the your media tab on the toolbar and select name and ascending.
Step 2. Arrange photos on the timeline
Add the images to the timeline in any order desired. Drag and drop the media or use the green plus button that appears when hovering over any media.
If there are a large number of image assets, use an editing shortcut by clicking the checkbox button to select all items in the your media tab. Next, select the green plus button in the your media tab to add the assets to the timeline in one click.
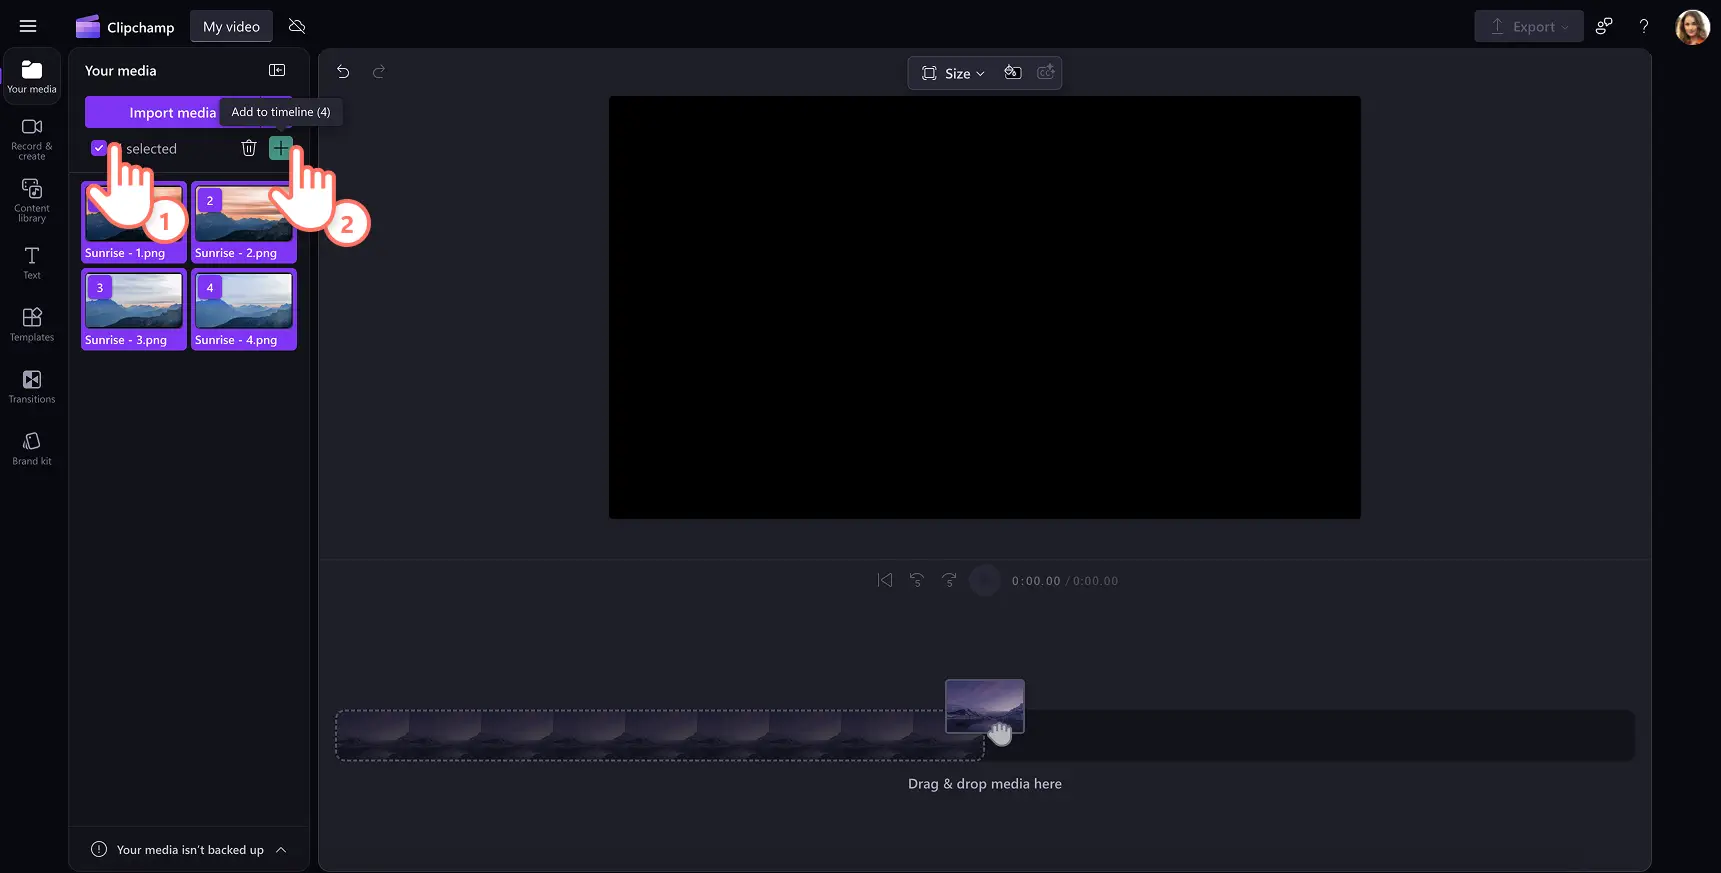
All photos will be added to the timeline.
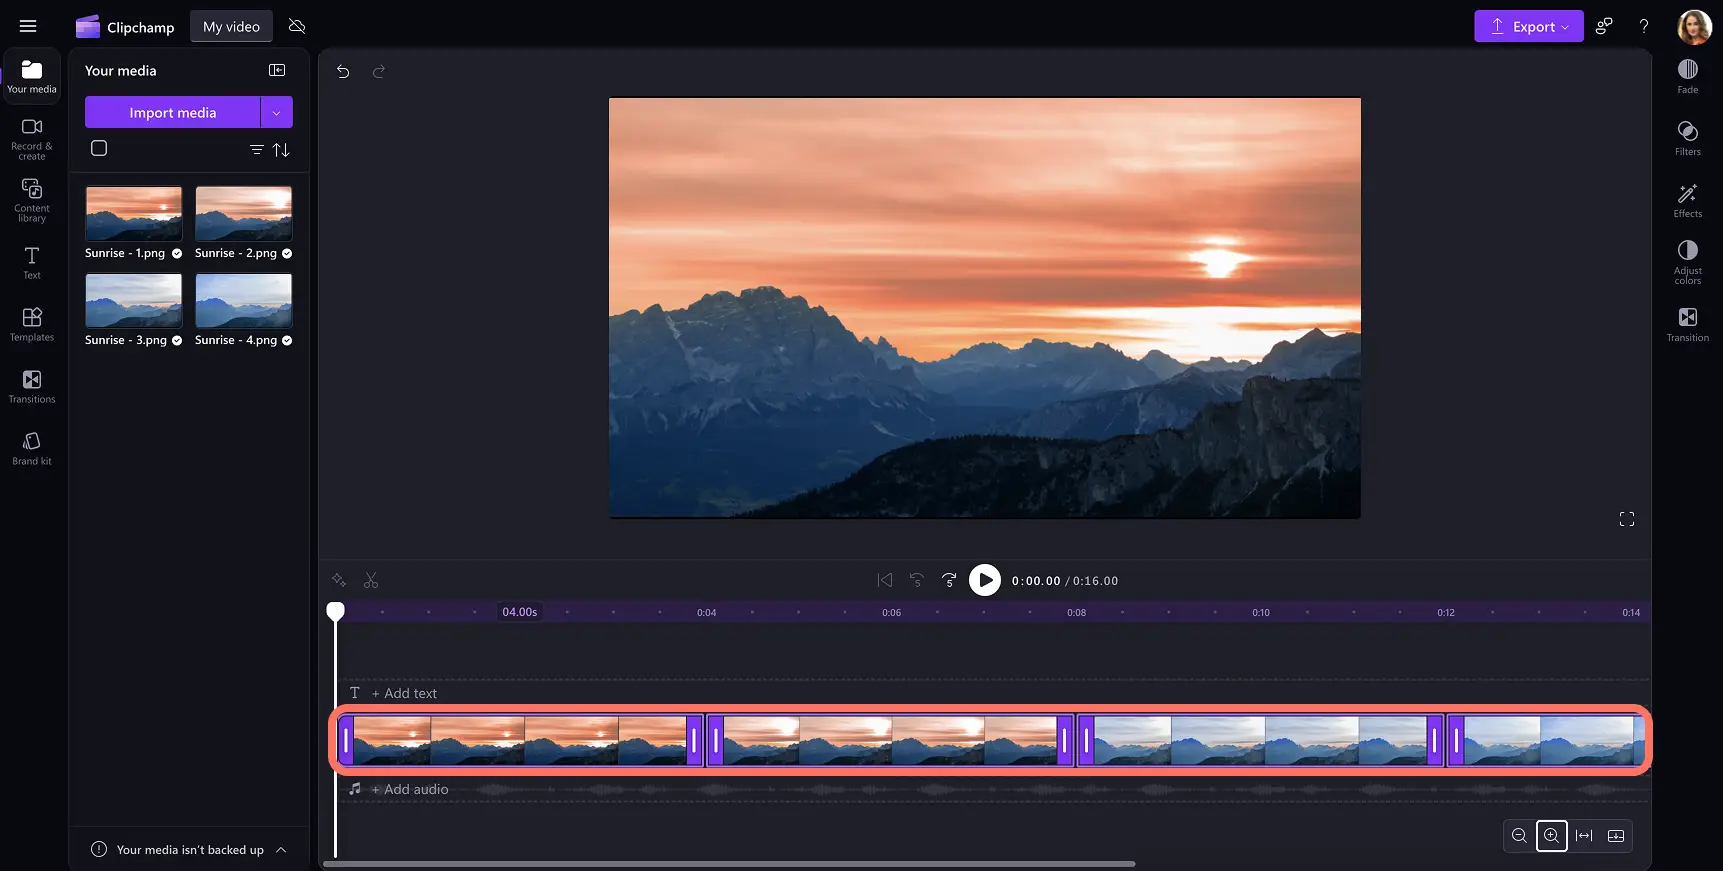
Step 3. Adjust the image length
To edit multiple images at once to adjust the duration, hold down the shift key on your keyboard, then click on the images on the timeline to edit all at once. The assets will be highlighted. Next, simply drag the trimming handles to the left to reduce the clip length. The fast time-lapse look can be achieved by trimming the clips down to one second or one and a half seconds.
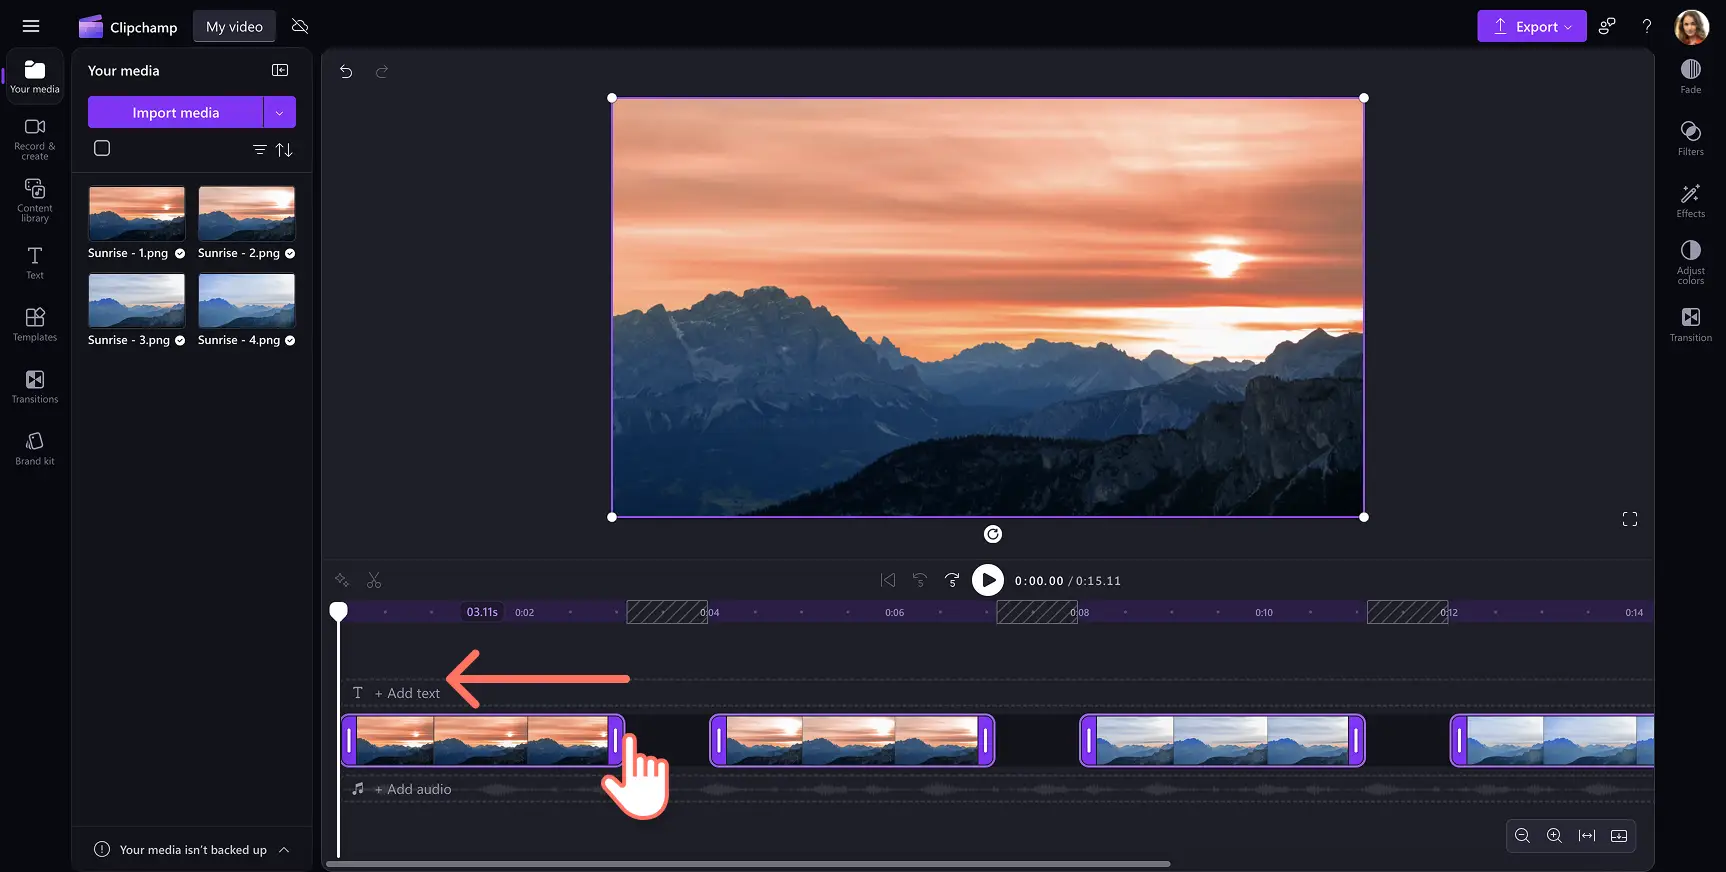
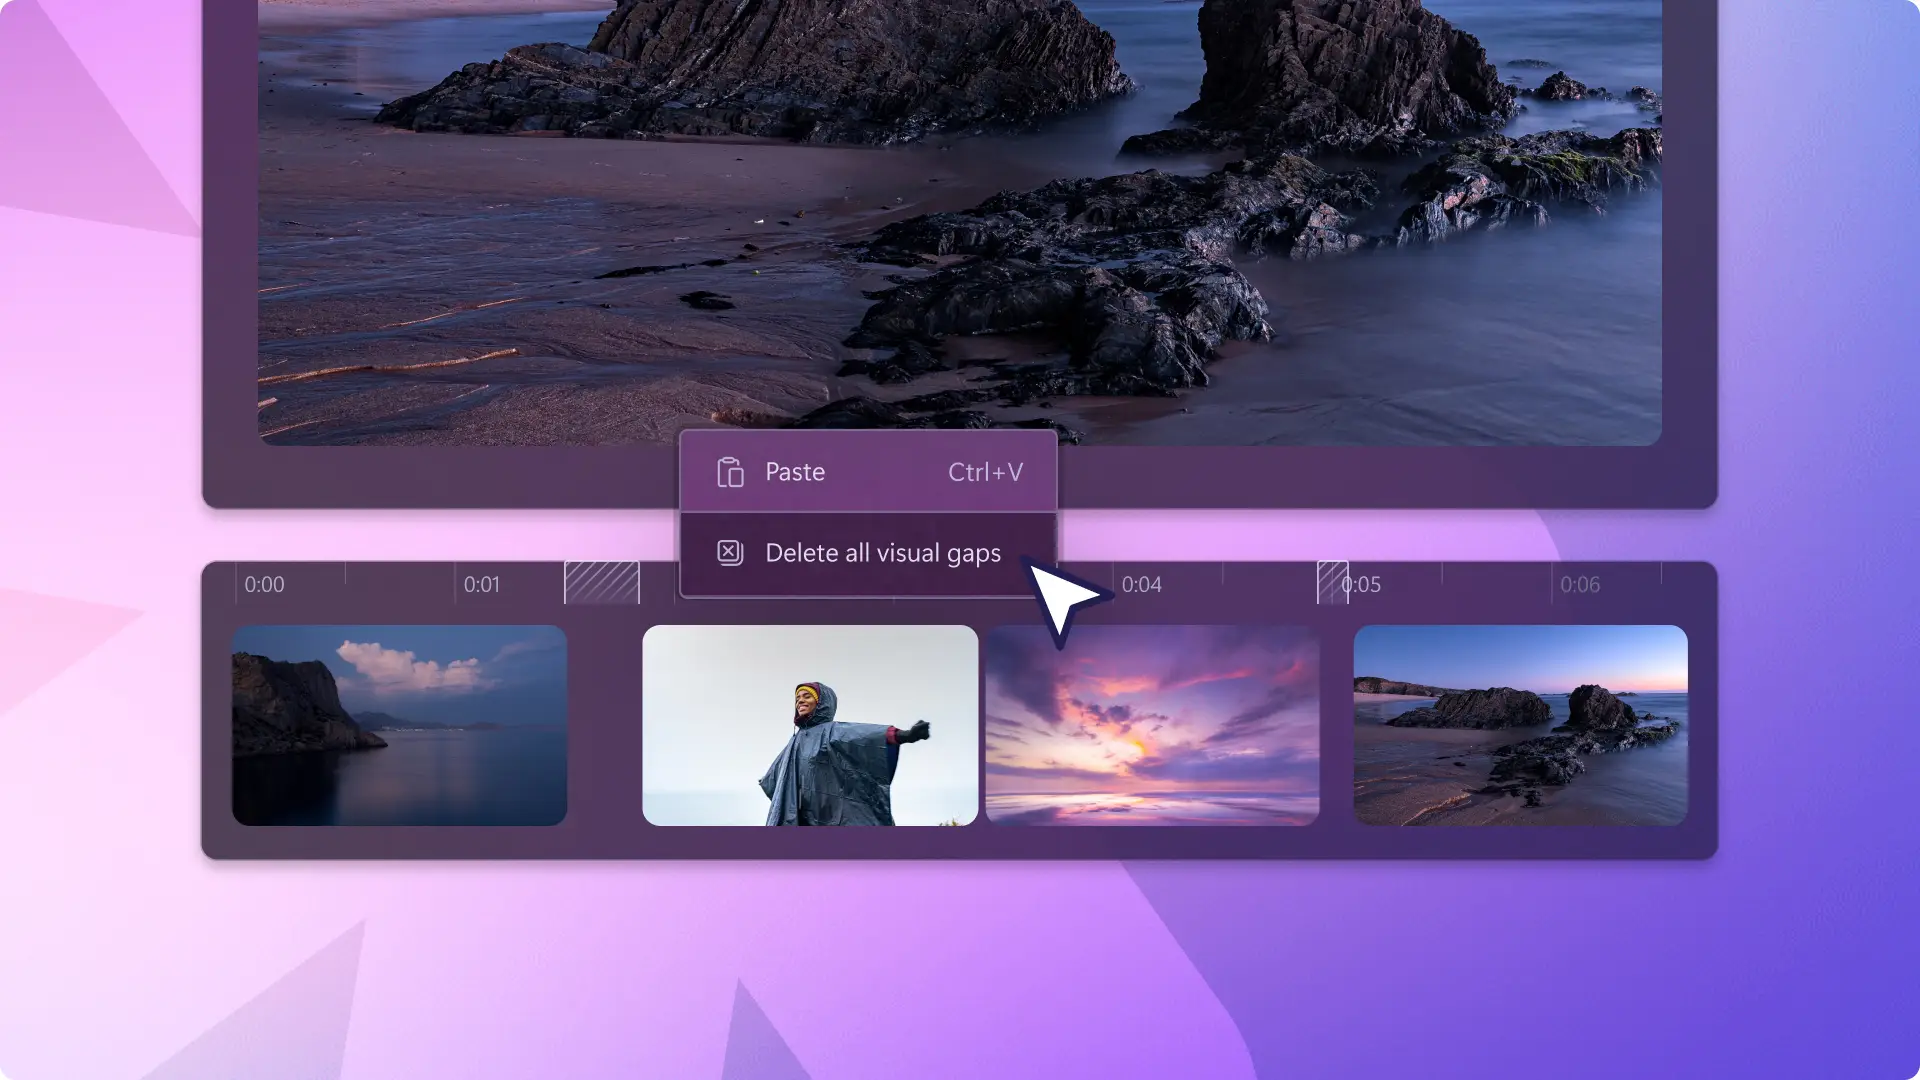
Step 4. Delete timeline gaps
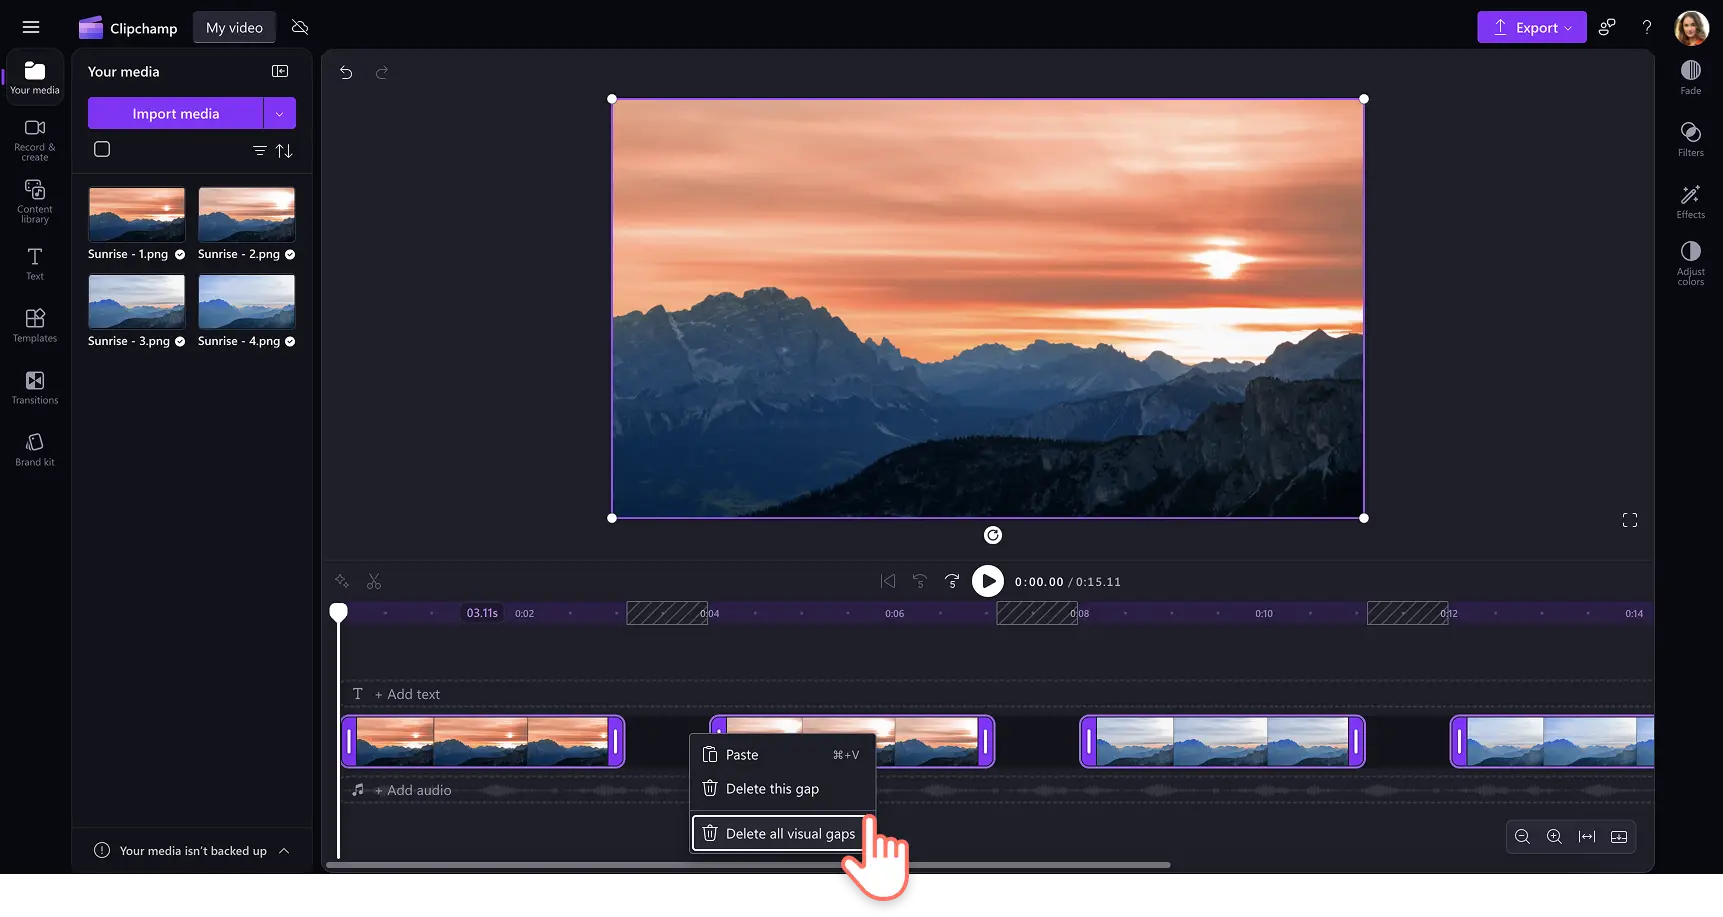
The timeline will highlight any gaps once all the video assets have been trimmed. Hover the cursor over the gap and a trash can icon will appear. Click the icon to remove the gap. To delete all the gaps in the time-lapse video timeline, hover the cursor over the gap, then right-click and click on the delete all visual gaps.
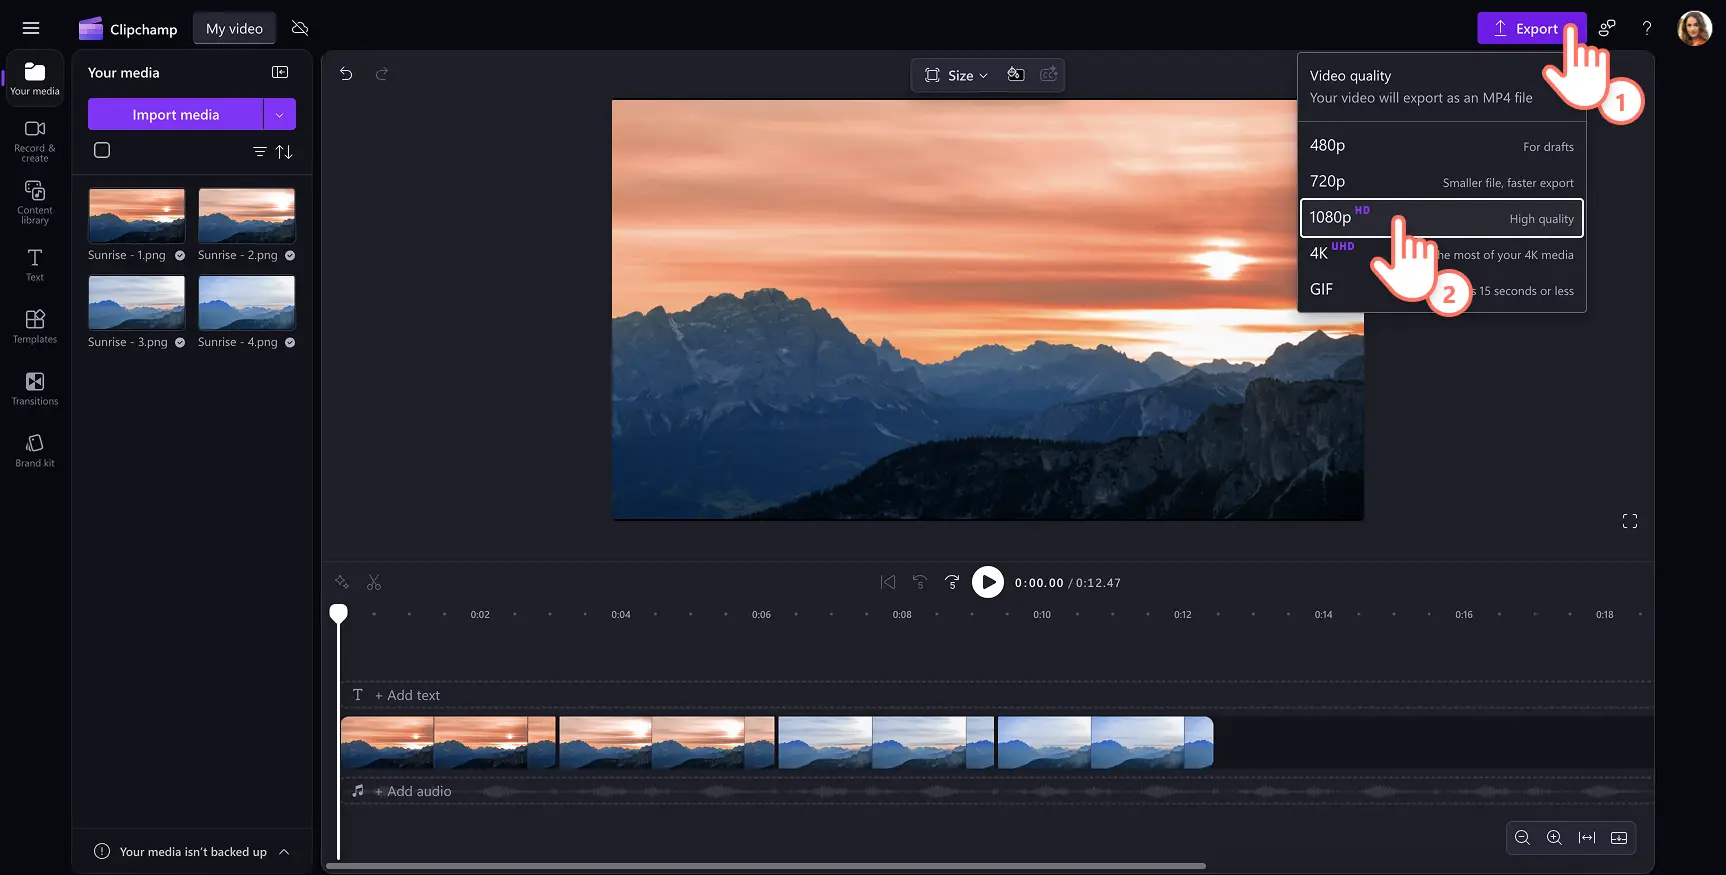
Step 5. Preview and save time-lapse video
Watch the final video by clicking on the play button. When ready to save, click on the export button and select a video resolution that suits the video platform needs.
Tip: if you're time-lapse is under fifteen seconds, create a GIF to share on social media easily.
Watch how to speed up videos tutorial
Another technique to achieve a time-lapse video look is by speeding up a slideshow video to showcase time passing by. Learn how to speed up a video in Clipchamp using this video tutorial.
Five ways to polish time-lapse videos
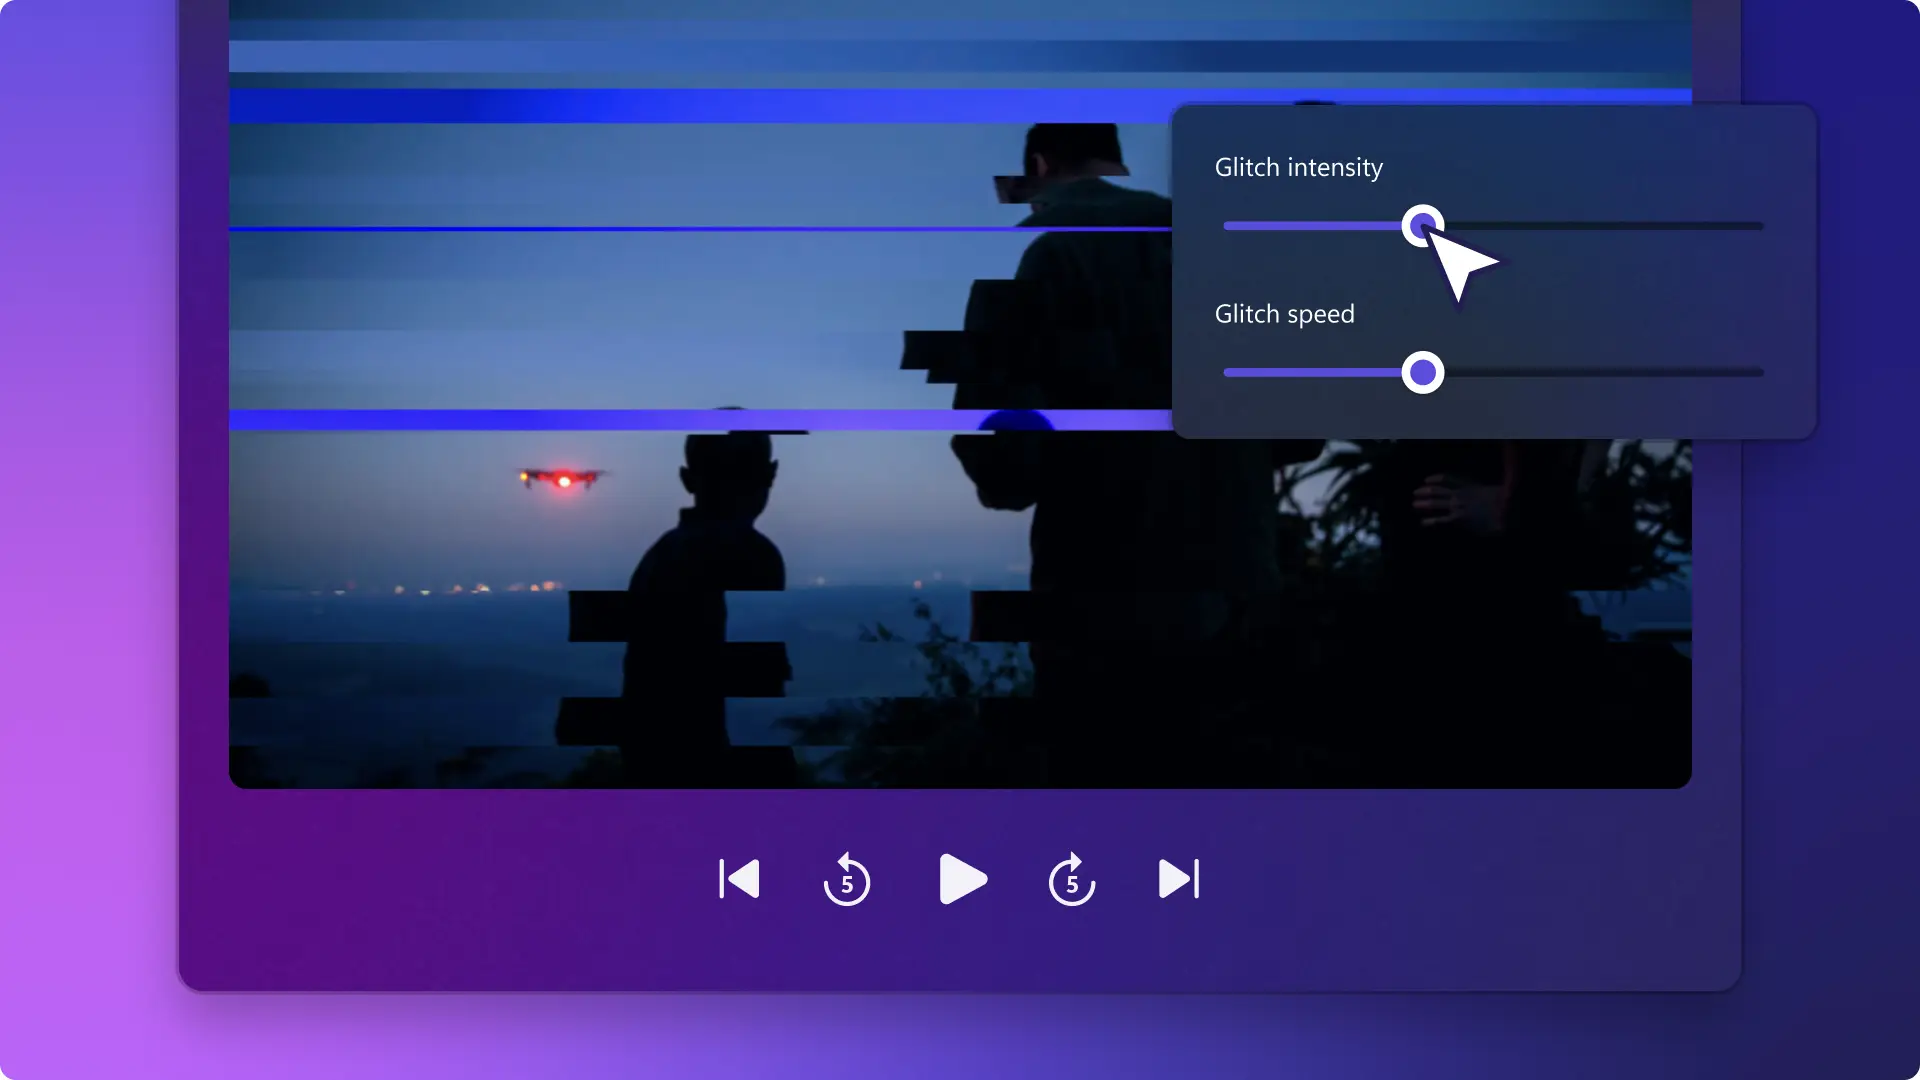
Enhance and adjust colors
Evoke different emotions from viewers by adjusting the brightness, contrast, and color correcting the video. Experiment with different looks like VHS filters and black and white filters to add an artistic touch to any time-lapse video.
Overlay ambient background music
Let music help your video storytelling. Instrumental music can help create a sense of rhythm in the time-lapse video. Make sure to use royalty-free music to avoid any copyright issues when posting on Instagram Reels or similar short video platforms. Explore the Clipchamp music library and original music tracks perfect for sharing on social media.
Create AI voiceovers or voice recordings
Make a cinematic time-lapse video by adding voice narration. Create realistic AI voiceovers in a few minutes by typing a script and choosing a preferred language and voice. For creators who want to make it personal, try writing a video script and recording your voice. Make your time-lapses artistic and stand out on any social media feed.
Use frames and overlays
Place unique video overlays such as bokeh effects, light leaks, or lens flares to add visual interest to a simple time-lapse. You can also lighten the vibe with video stickers or level up your video with decorative video frames.
Add intro and outro video templates
Add an introduction to the time-lapse subject matter or simply add a stylish intro video to suit the style of YouTube videos, or your channel. Choose from professionally-designed intro templates made to match YouTube's requirements and make your time-lapse video look polished. With time-lapse video editing mastered, continue improving your video editing skills by learning how to make a montage video or must-have video effects to add to videos.
Try Clipchamp for free or download the Clipchamp Windows app to get started.