On this page
Edit excess video footage with ease for any style of content. Effortlessly cut and trim uploaded or recorded videos, from vlogs to work slideshow presentations with the free video splitter.
Separate videos into multiple parts to add clarity or to meet length requirements in a single click. Automatically detect and remove long pause and unwanted silences in audio clips with AI technology.
Split your videos or audio assets online for free with no extra downloads required in Clipchamp video editor.
How to split videos for free
Step 1. Import videos or select stock media
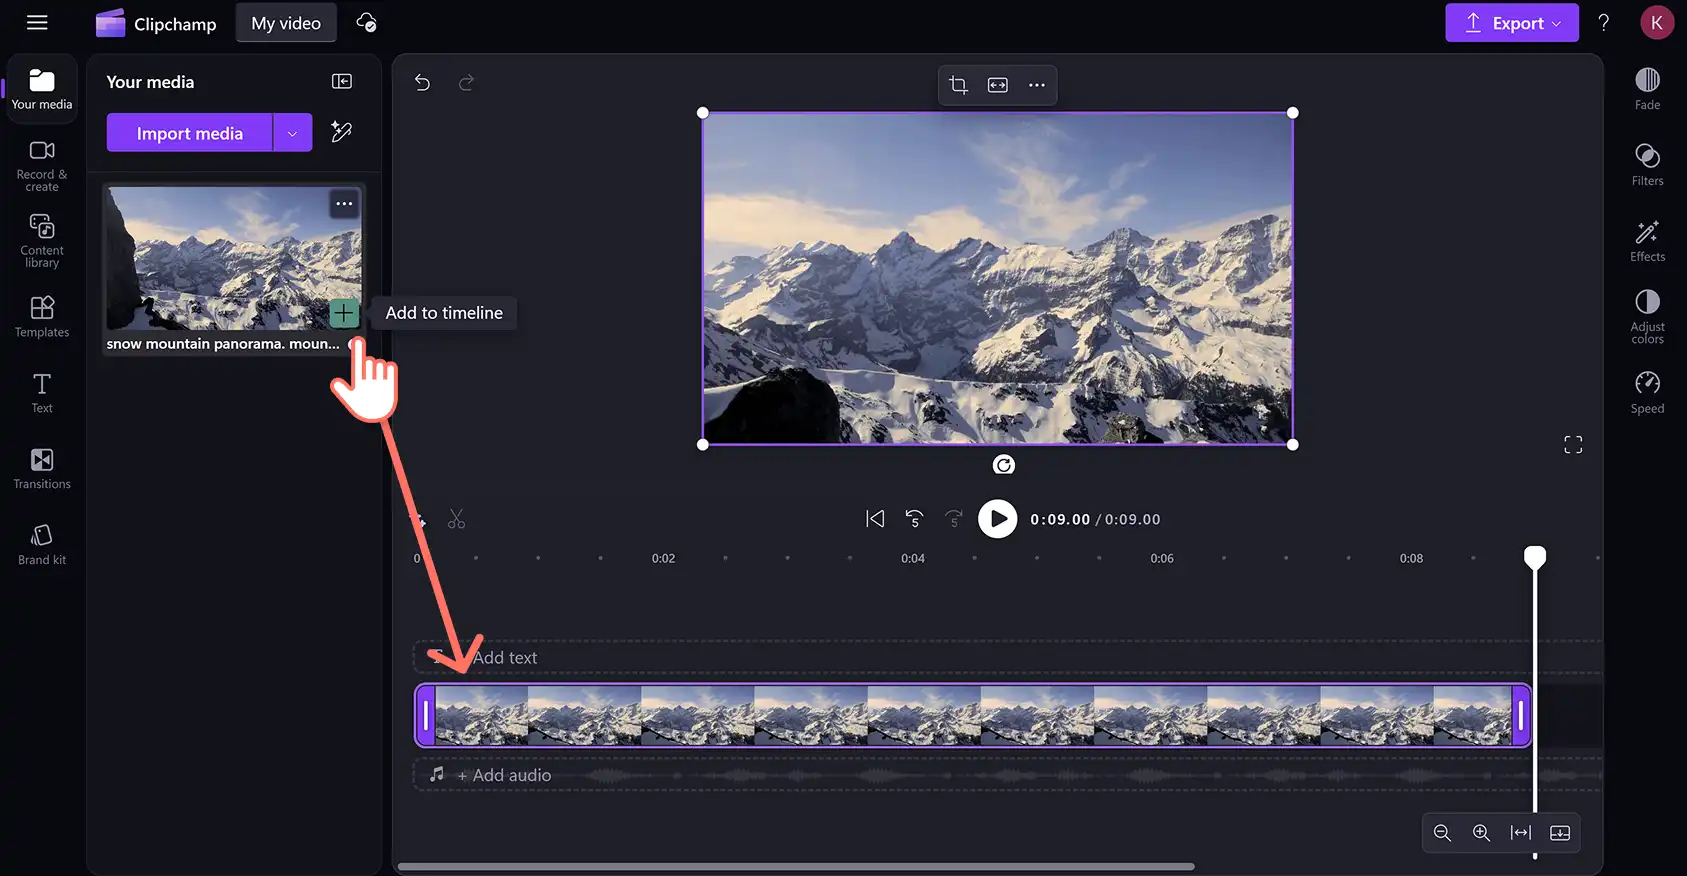
Click on the import media button in the your media tab on the toolbar to browse your computer files, or connect with OneDrive.
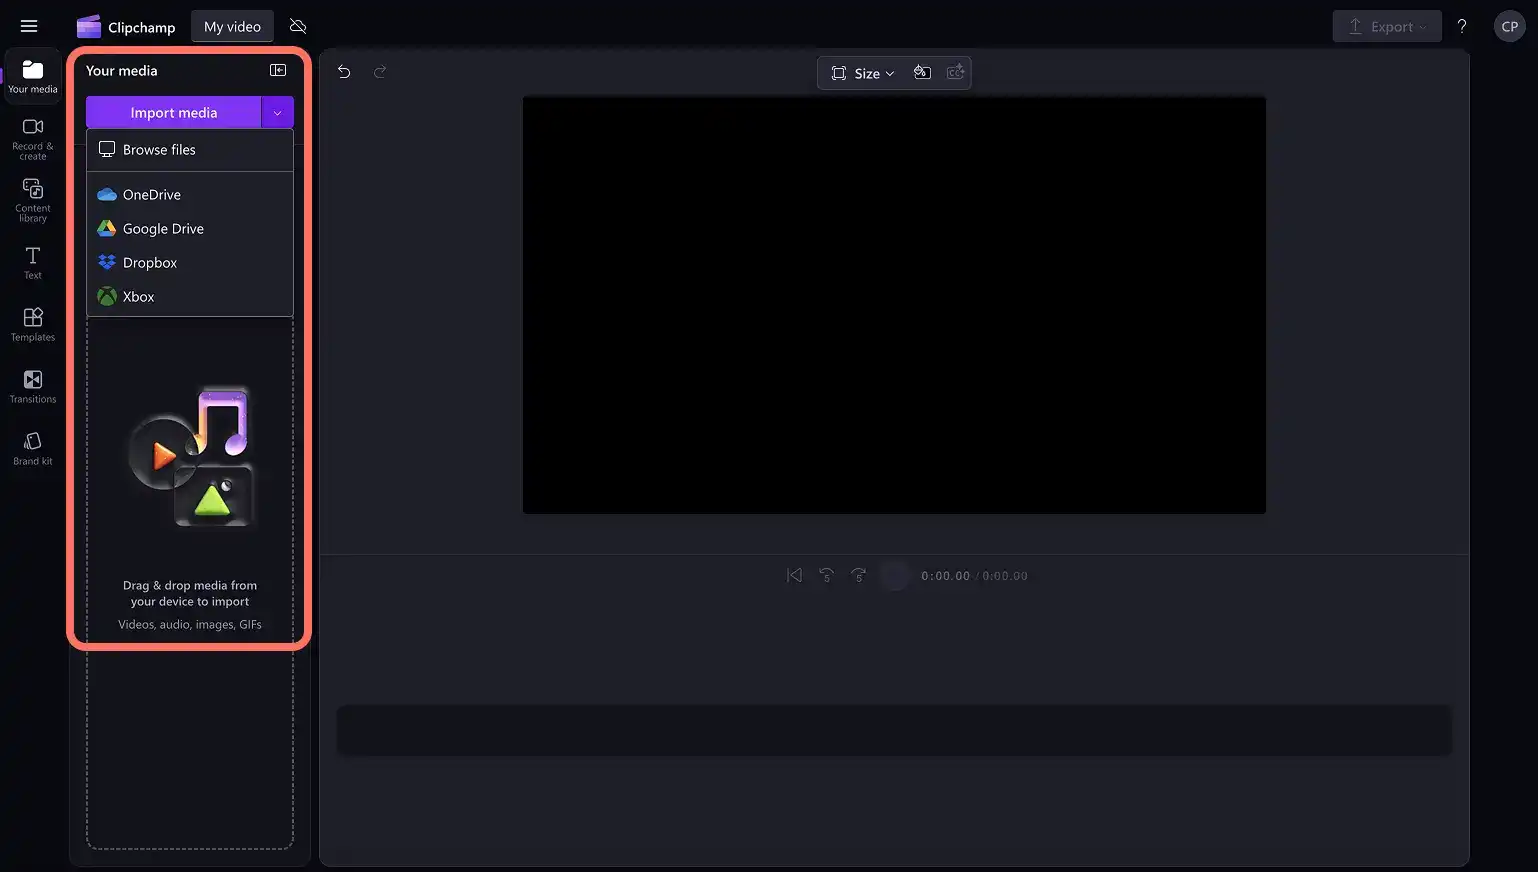
If you would like to include any stock assets like videos and images, click on the content library tab on the toolbar. Browse the royalty-free stock library by category or enter keywords into the search bar.
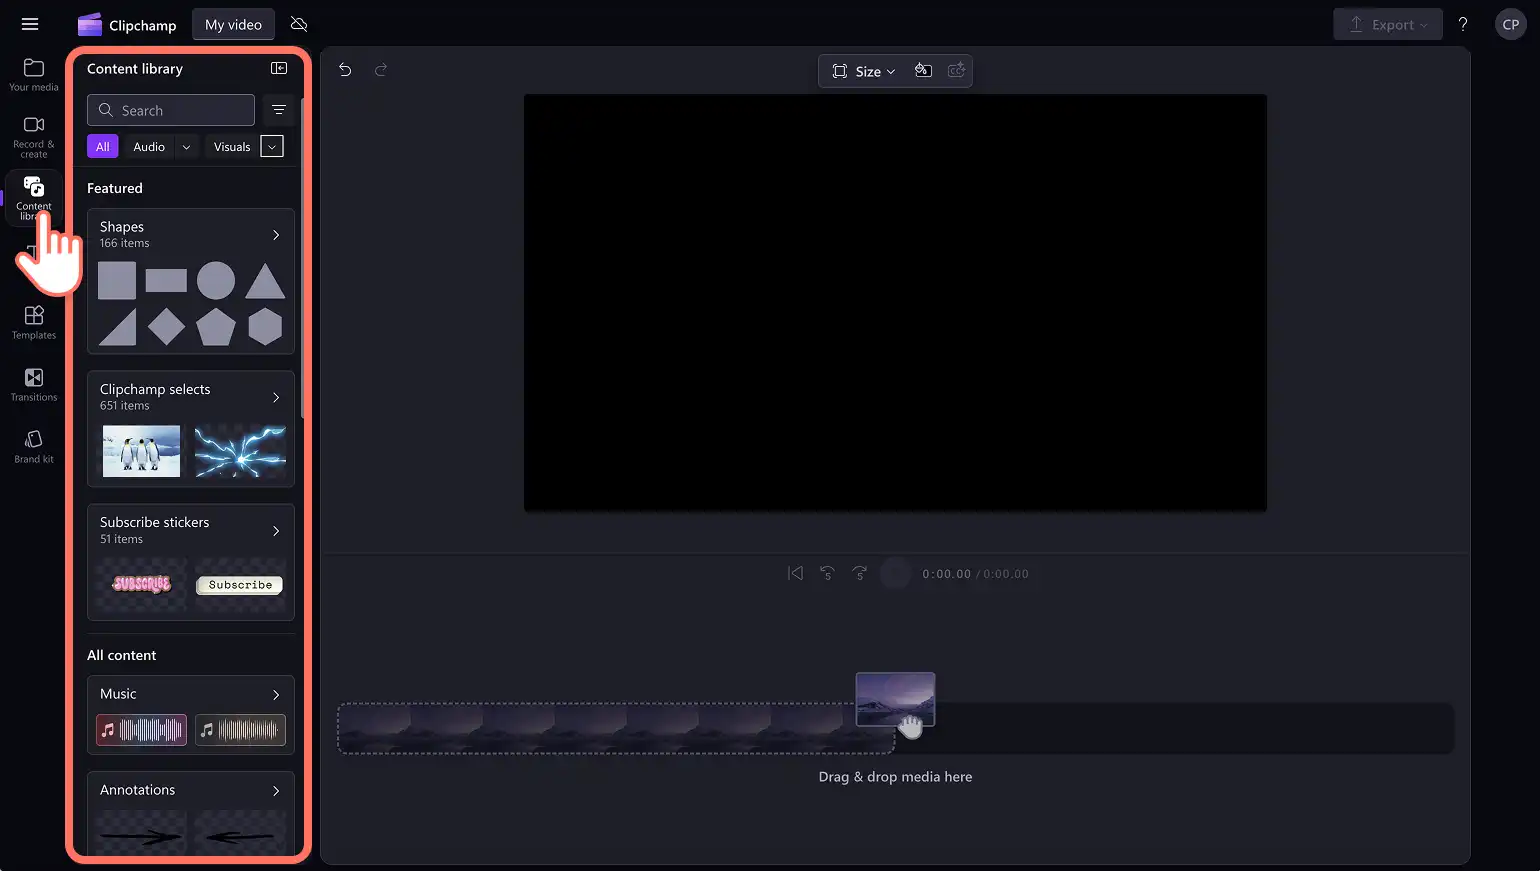
Drag and drop assets onto the timeline to begin editing.
Step 2. Split video using the video splitter
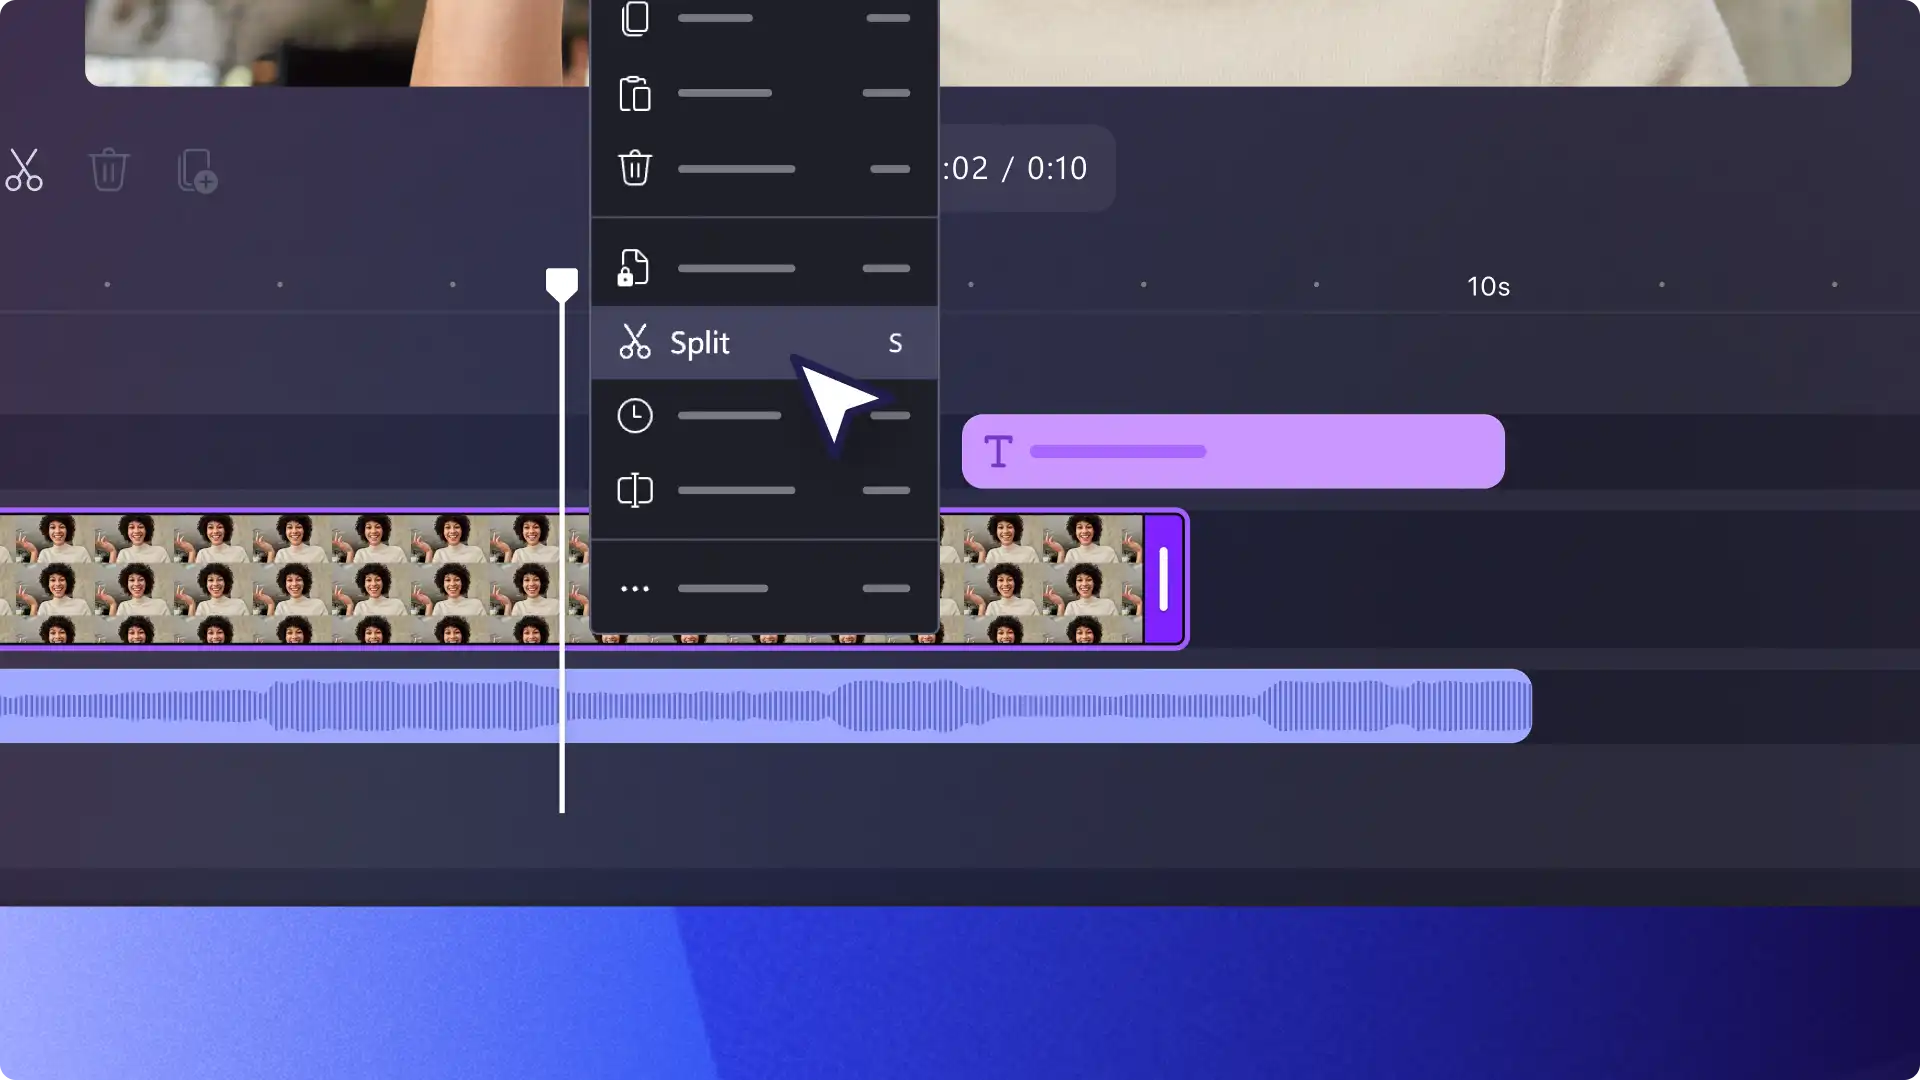
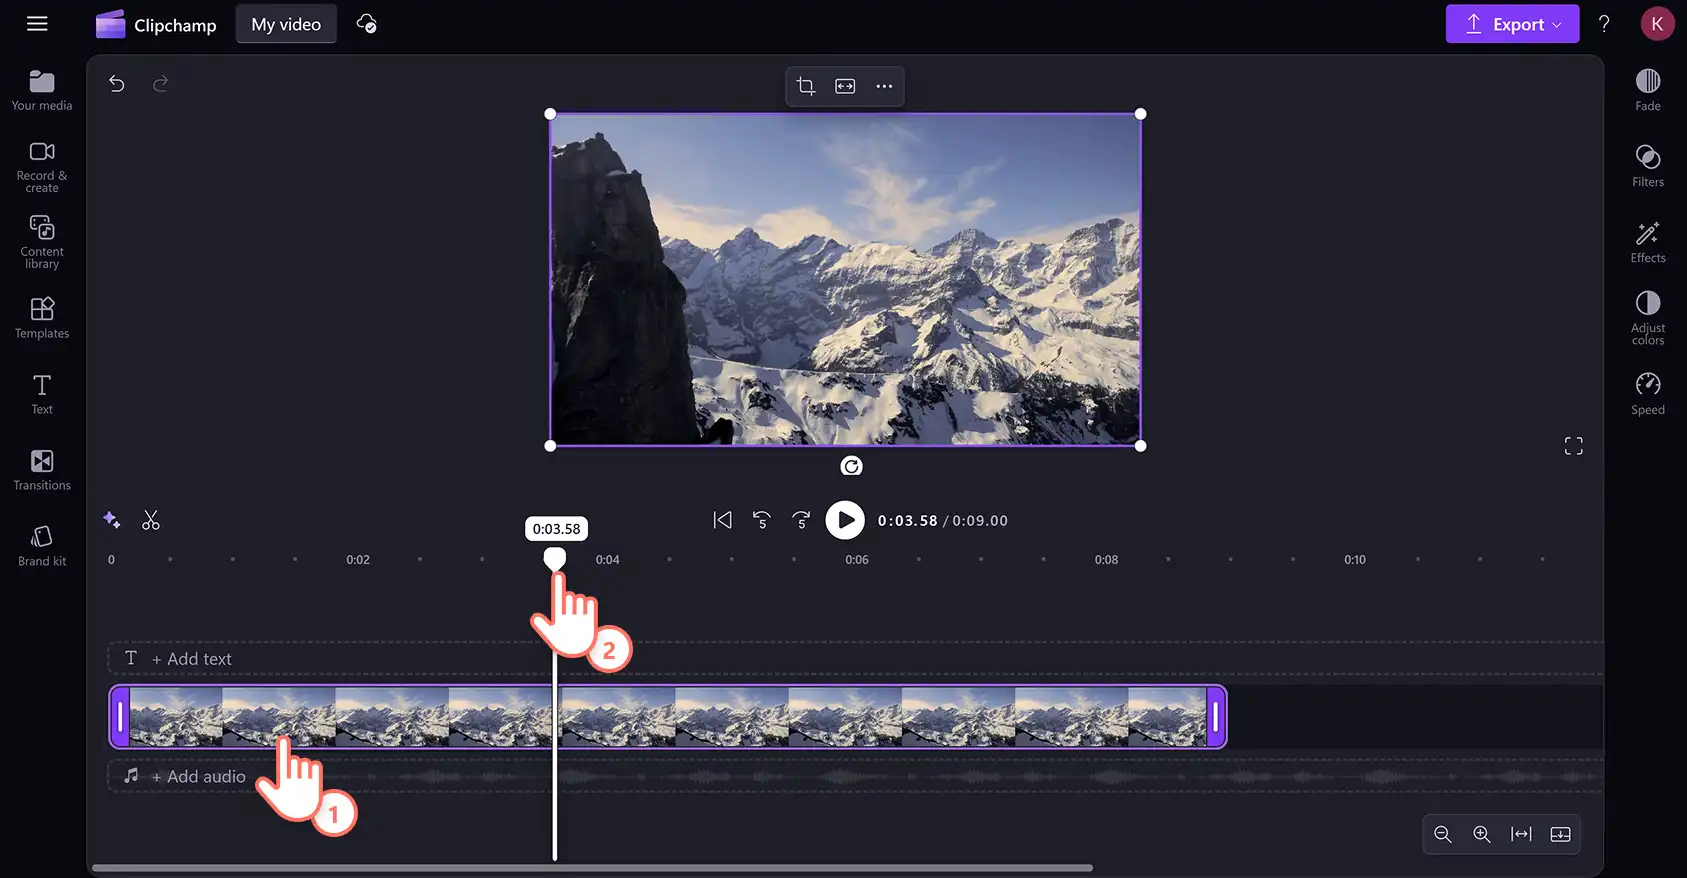
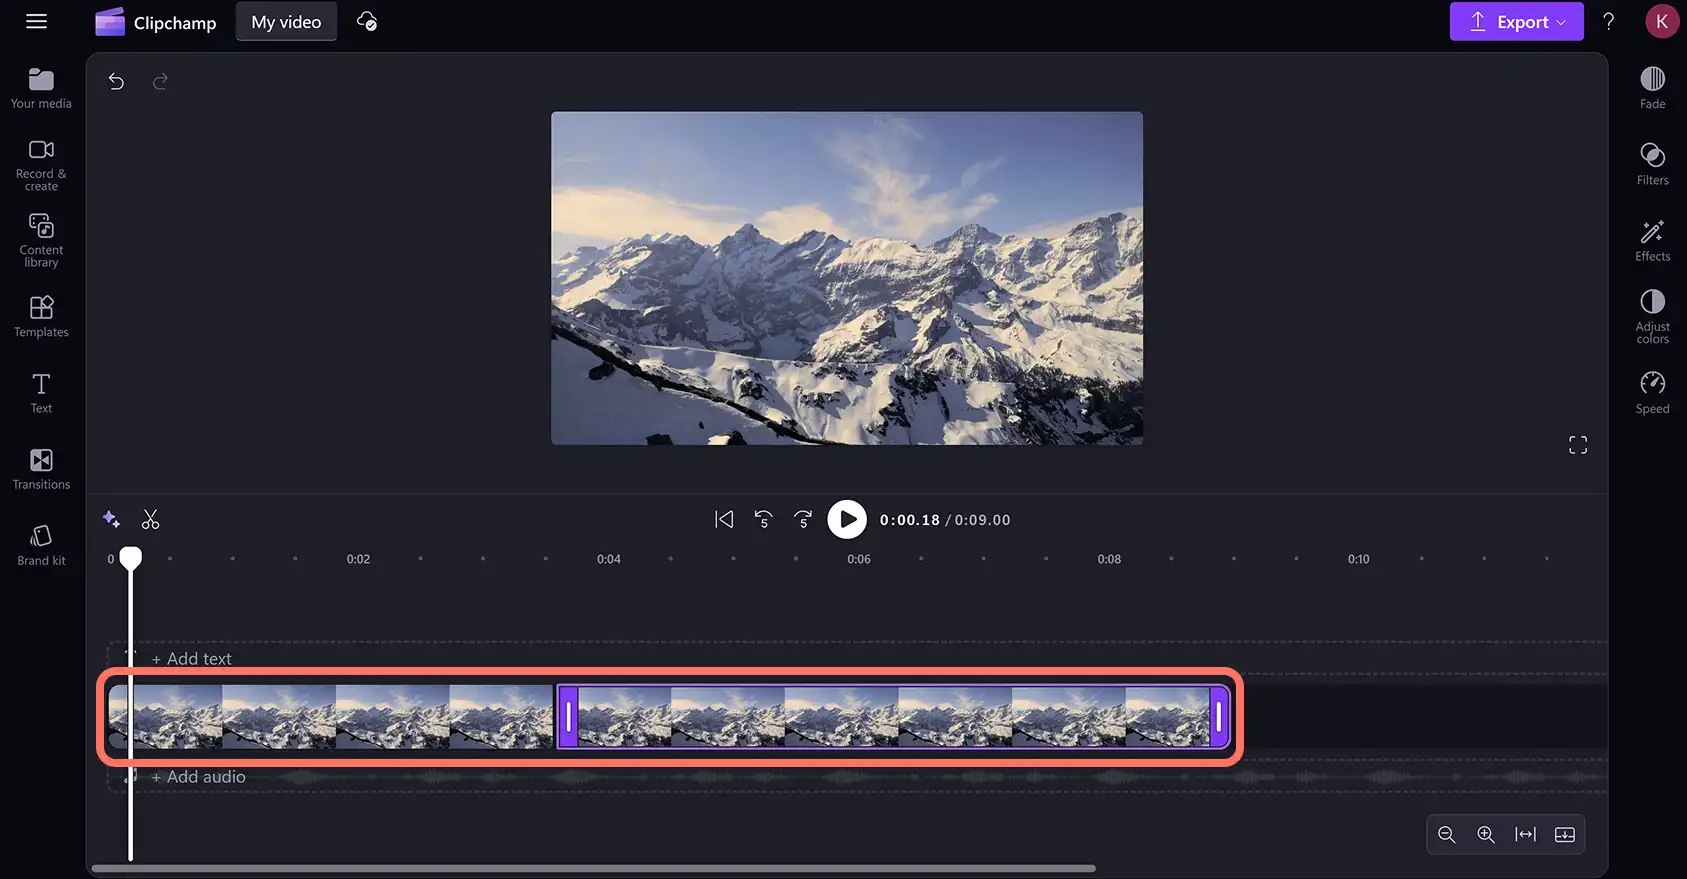
Click on the video on the timeline that you would like to split. Next, move the seeker to the location on the timeline where you would like to split the video clip.
Click on the split button (scissors icon) above the timeline to split video. You can also press the S key on your keyboard to use the split tool shortcut. Alternatively, after moving the seeker, right-click on the video clip on the timeline then click on the split option.
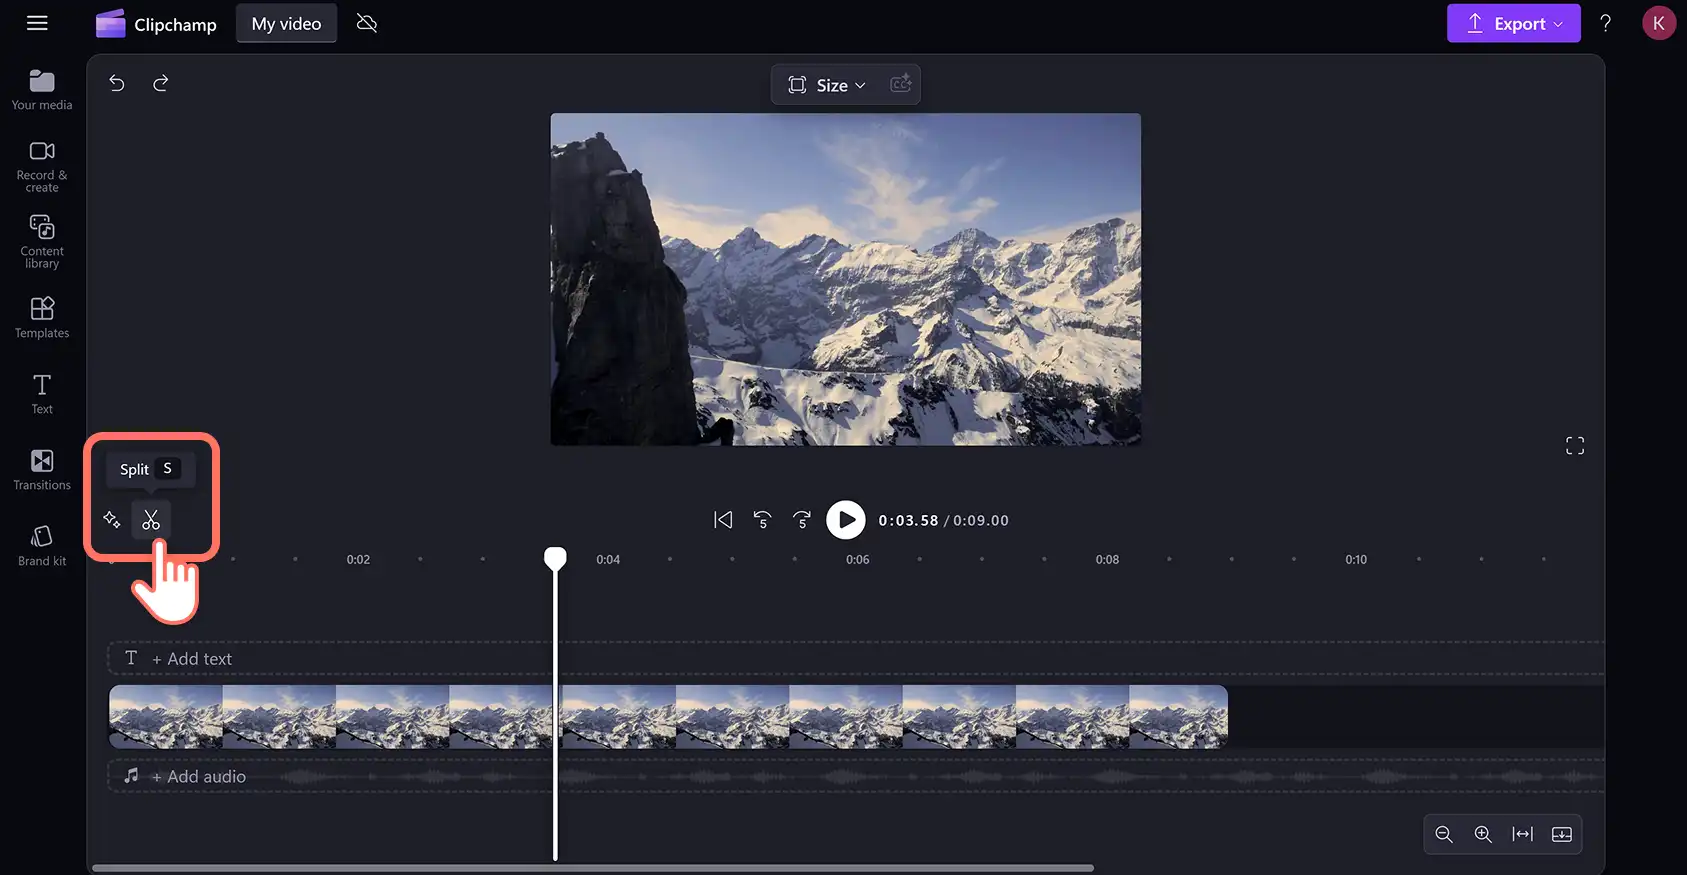
The video will now be split into two clips on the timeline.
Repeat this step to split a video into multiple clips on the timeline.
Step 3. Delete unwanted split video clips (optional)
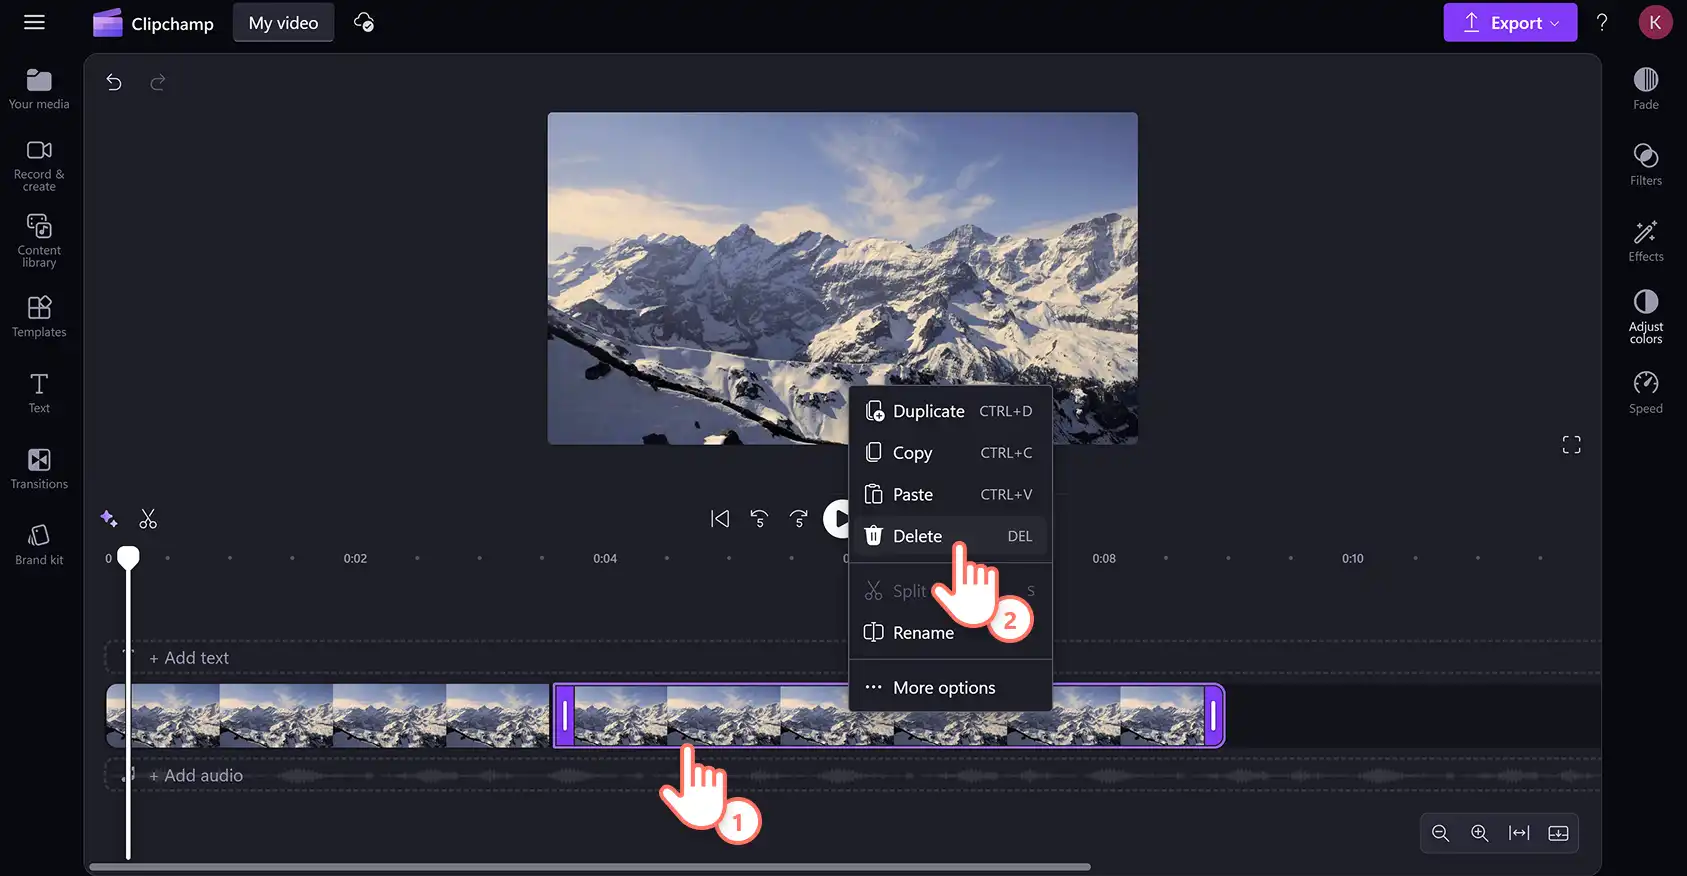
To remove any split video asset from the timeline, right-click on the clip so it's highlighted, then press the delete key on your keyboard. Should you need to access any removed footage, find the full clip in the your media tab on the toolbar.
Step 4. Preview and save your video
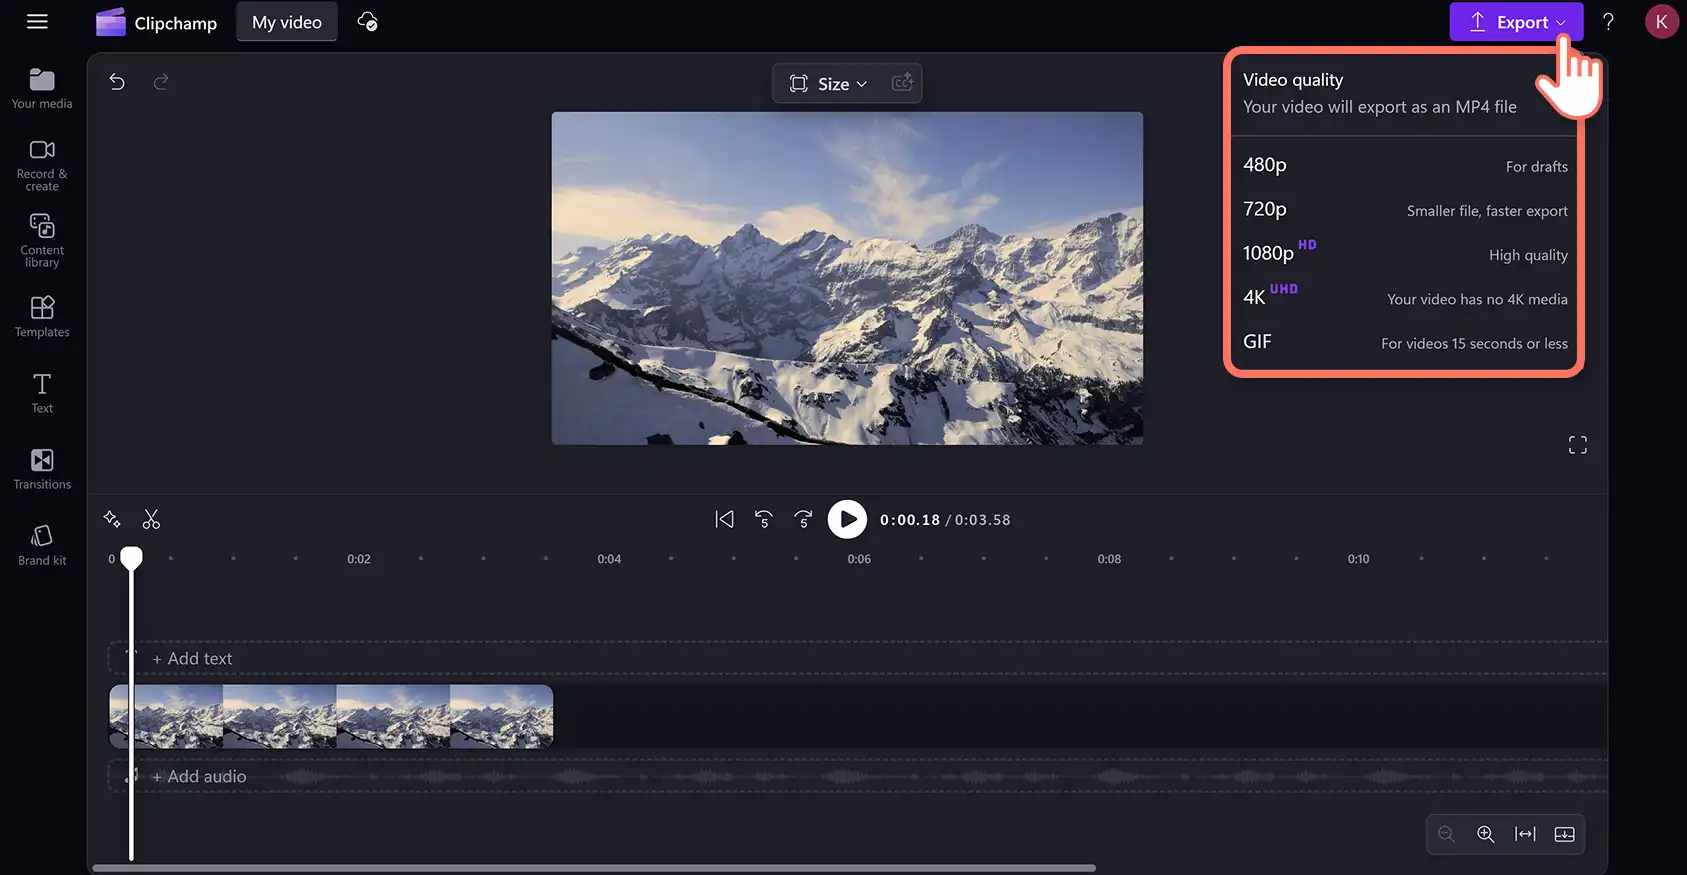
Before saving, make sure to preview videos by clicking on the play button. When you’re ready to save, click on the export button and select a video resolution.
For more help using the video splitter, watch the YouTube tutorial.
How to split videos with audio using AI
Click on the AI suggestions sparkle button then click on the auto cut option.
Choose a language and click on the checkbox if you would like to filter out any offensive language.
Next, click on the transcribe button to split your video with AI.
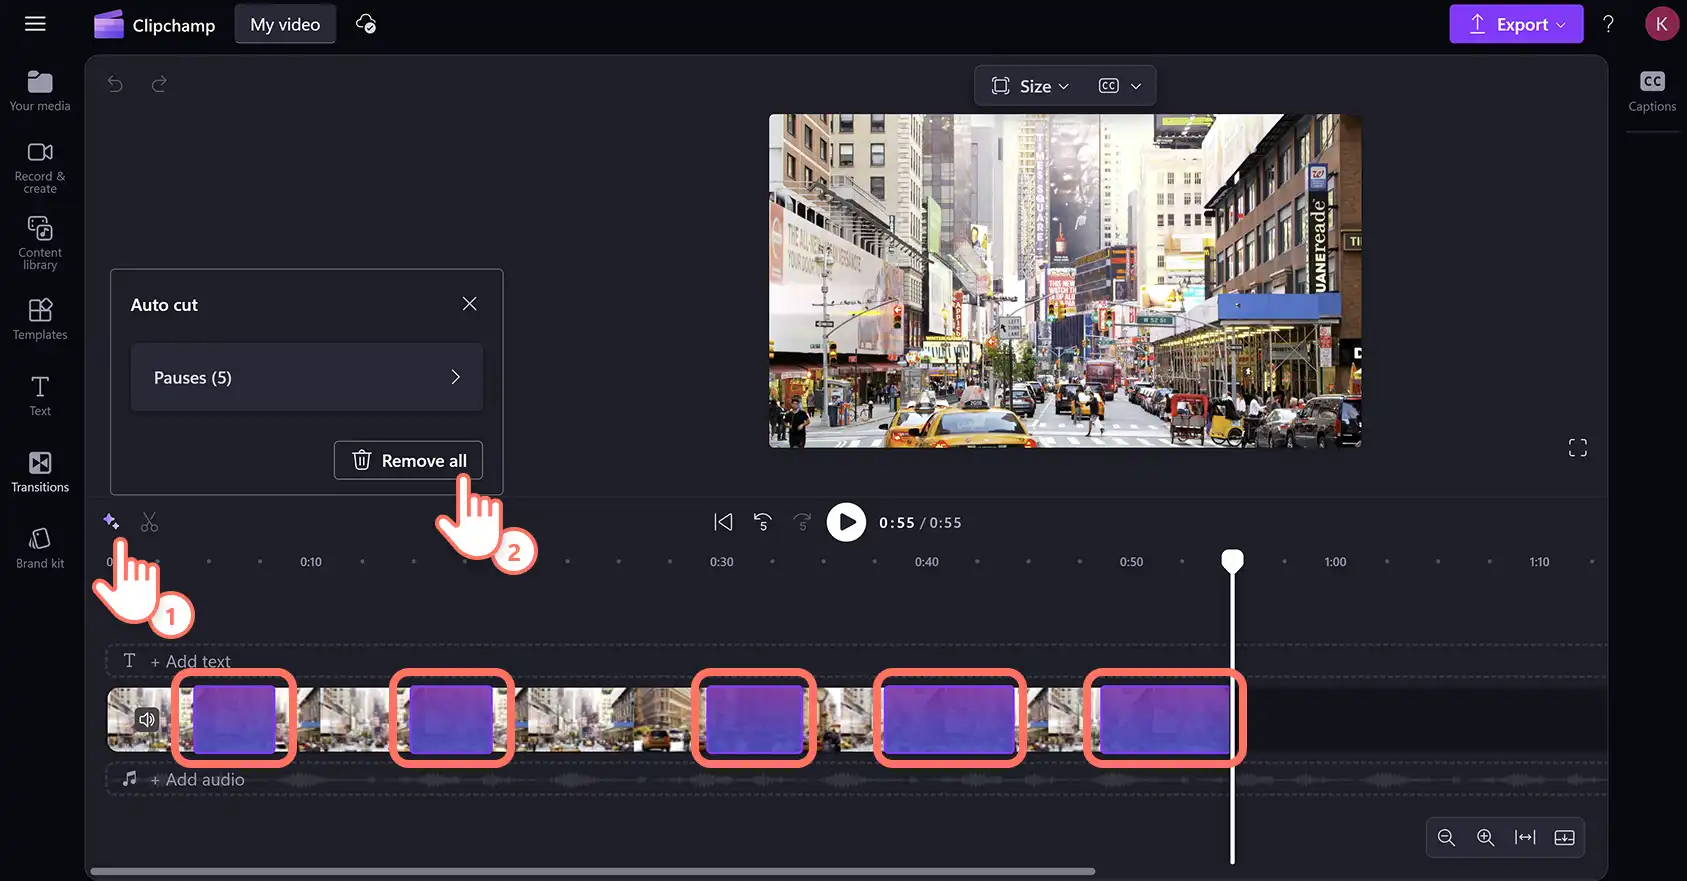
AI will automatically scan for any pauses or silences longer than three seconds. The pauses will then be highlighted within the video clip on the timeline. You can also preview each pause with a transcription and timestamp inside the AI suggestions box.
To delete all audio silences at the same time, click on the remove all button.
All silences will automatically delete and your video will split into multiple clips on the timeline. You can also delete pauses and gaps individually using the AI suggestions box and manually moving the seeker to the timestamp.
For more help removing audio with AI autocut, watch the YouTube tutorial video.
How to split YouTube videos into parts
Import a YouTube video, then drag and drop the video onto the timeline.
Move the seeker to the timestamp where you would like to split the YouTube video.
Click on the split button (scissors icon) to split YouTube videos.
To remove the unwanted footage, click on the clip, then press the delete key on your keyboard.
How to split audio files for free
Import an audio file, select stock audio inside the content library tab, or separate audio from video.
Click on the audio clip on the timeline, then move the seeker to the timestamp where you would like to split audio.
Click on the split button (scissors icon) to cut audio files into two clips. Alternatively, right-click where you would like to split your audio clip then click on the split option or press the S key on your keyboard.
To remove any unwanted audio, click on the audio clip, then press the delete key on your keyboard.
Six reasons to split a video or audio file
Split large video files into smaller clips to repurpose content to suit different social media guidelines.
Save split videos in small parts to avoid long rendering times when uploading to YouTube.
Share videos on social media without time or size limitations by splitting long videos into smaller clips.
Edit out excess footage to prioritize important information in tutorial videos.
Hold your viewers' attention by splitting fast paced travel highlight videos into small preview size clips.
Tell your stories faster by splitting and deleting filler words and awkward pauses in presentations.
For more editing features, check out how to add subtitles to video, and explore everything you need to know about adding AI voiceovers to video.
Effortlessly split videos for free with Clipchamp video editor or download the Clipchamp Windows app.
Frequently asked questions
How do I split a video into parts?
You can instantly split video assets into multiple clips with the free video splitter in Clipchamp. Simply move the seeker on the editing timeline to the timestamp where you would like to separate your video and click on the split button. You can do this multiple times to create as many separate video clips as you need. If you would like to move multiple clips on the timeline at the same time, you can use the grouping feature.
Is the split video tool free in Clipchamp video editor?
The video splitter is free for all Clipchamp video editor users including free and paid subscribers.
How to split a long video into 1-minute parts?
You can use the seeker and timestamp to split long video clips into any designated duration you need.
What assets can I split on the timeline?
You can split all assets on the timeline including video, audio, images, stickers, GIFs, text, subtitles, backgrounds, overlays, vector shapes, and other graphics.
Heads up! The screenshots in this article are from Clipchamp for personal accounts. The same principles apply to Clipchamp for work and school accounts.