On this page
- What is a video presentation?
- Benefits of video presentations
- Popular video presentation formats
- How to plan your video presentation
- Branding for video presentations
- Crafting voiceovers for video presentations
- How to create an engaging video presentation
- Downloading format options for video presentations
- Repurposing video presentations
- Bonus tips to make your video presentations stand out
Are you looking for innovative ways to share information with your team, students, or followers? Engage your audience with captivating video presentations they can watch anytime, anywhere.
Did you know that 83% of people prefer watching videos over reading or listening to information? This makes video presentations more impactful than traditional slides. Luckily, creating a video presentation is easy with a little planning and an online video editor like Clipchamp. Read on to learn how to make fun and effective presentation videos.
What is a video presentation?
A video presentation combines videos, images, webcam footage, voiceovers, and animations to deliver a message.
Presentation videos are useful to share with groups and remote teams working asynchronously, to enliven online learning and even generate customized marketing and sales presentation pitches. Depending on the content, video presentations can be created to be shared and repurposed or be edited to match the presenter’s needs.
Benefits of video presentations
Video presentations are becoming increasingly popular due to their ability to engage audiences and convey information in a dynamic and visually appealing manner. Here are some key benefits.
Enhanced engagement
Visual and auditory elements in video presentations capture and hold viewers' attention more effectively than static text or images alone.
Interactive features, such as clickable links or embedded quizzes, can further increase engagement.
Versatility
Video presentations suit various purposes, including education, marketing, business pitches, and more.
They can be tailored to different audience needs and preferences, making them a flexible communication tool.
Improved accessibility
Videos can be easily shared and viewed across multiple devices and platforms, making them accessible to a wider audience.
They can be hosted on websites, shared via social media, or distributed through email, ensuring broad reach.
Retention and understanding
Combining visual and auditory information helps improve comprehension and retention of the presented content.
Using storytelling techniques and clear visuals can make complex information easier to understand.
Professionalism
Well-crafted video presentations can enhance your professional image, making your message appear more polished and credible.
High-quality visuals, animations, and voiceovers can elevate the production value.
Popular video presentation formats
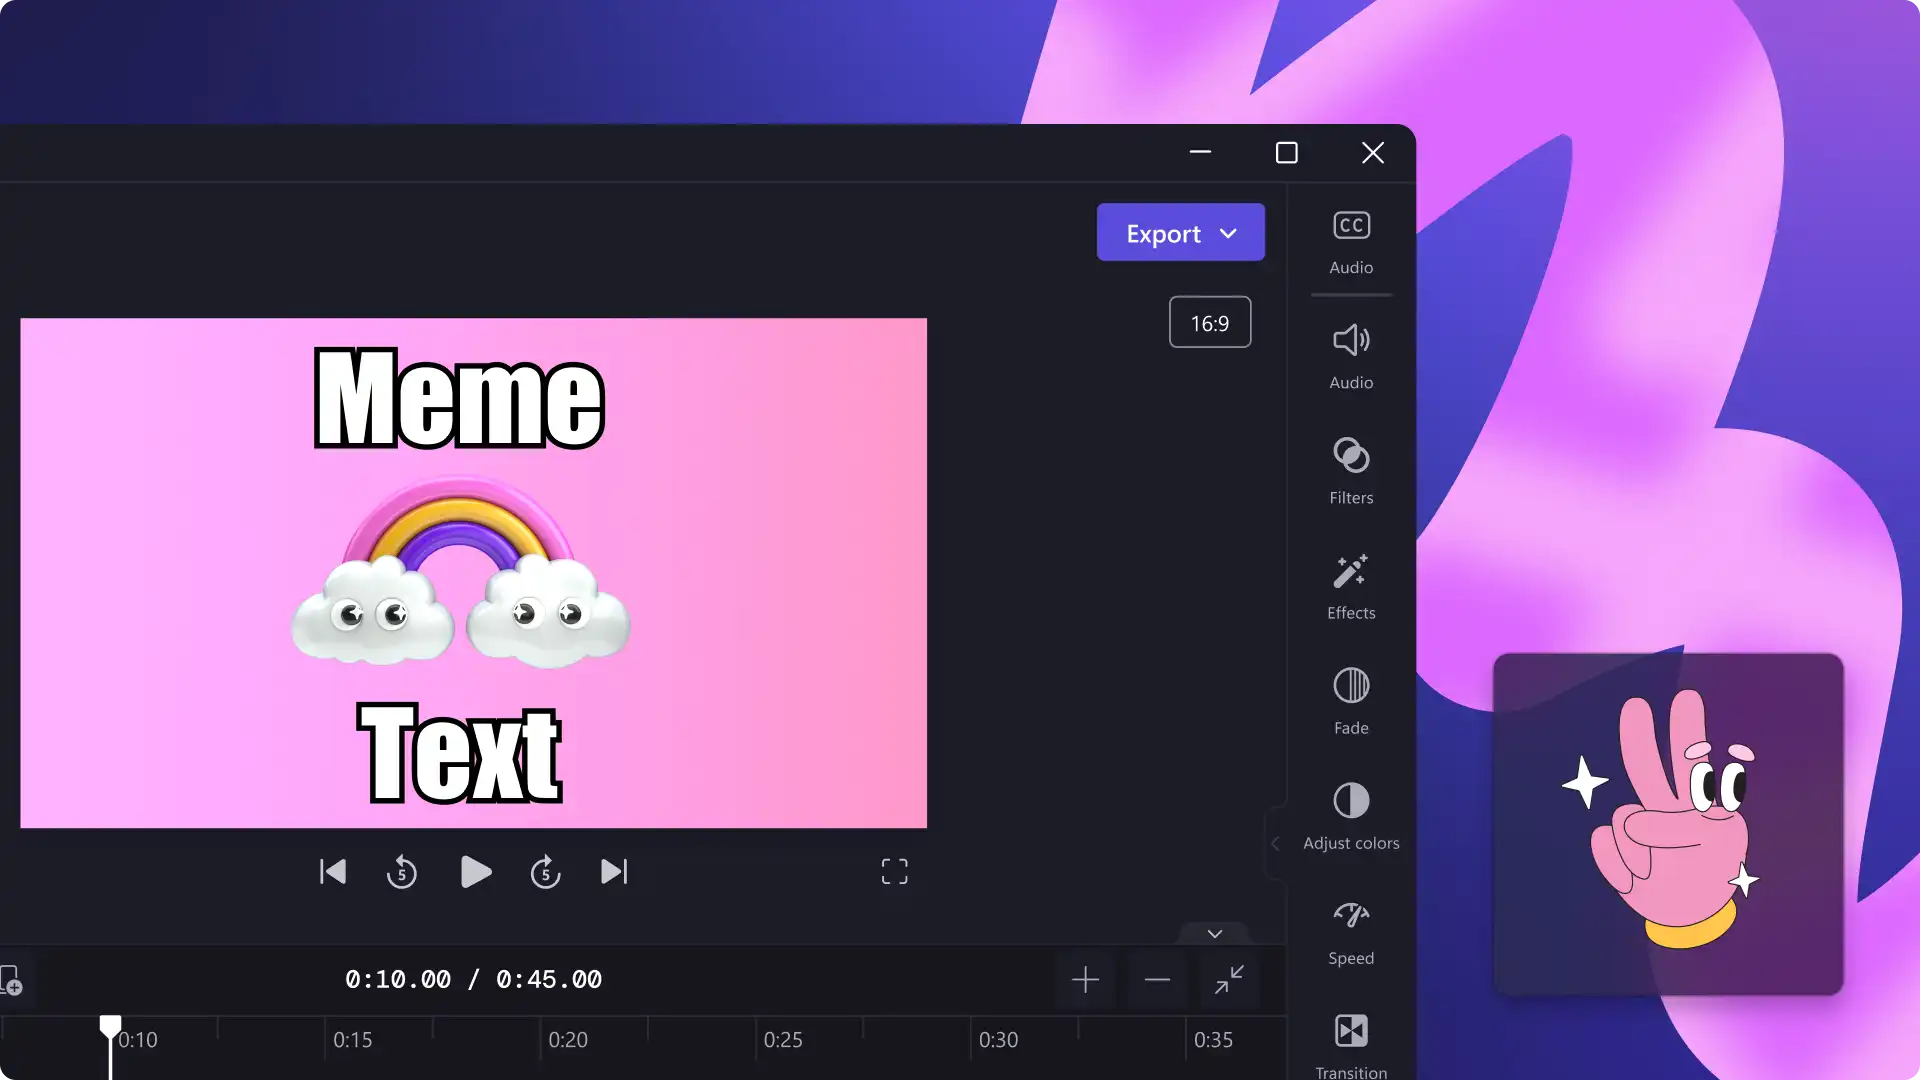
1. Slideshow presentation video
We’re all familiar with making PowerPoint slides. A slideshow presentation video takes this to the next level. Instead of static backgrounds and tiny bullet points, a slideshow presentation video allows you to tell a story. It's a creative way to present information.
Start by arranging stock video backgrounds to create the foundation of your video and place smooth transitions between slides or topics. Share your key messages using animated texts, lower thirds and graphics which make your video memorable. You can stop here, or add a webcam recording or record an audio voiceover.
It’s a popular format for school projects, corporate intro videos, and even product launches, and the process can be simplified even further by using an online video presentation maker.
2. Video presentation with audio narration
Another effective video presentation format is when you create a screen recording of a website, process, workflow or PowerPoint presentation and add a voiceover to guide viewers. It’s comparatively low effort to a slideshow presentation video, but still ensures engagement from viewers. With new tools like lifelike text to speech generators, narrations can be created in global languages in just a few minutes.
Effortlessly record your screen online, trim away unnecessary frames and use graphics like arrows and circles to highlight key points. Next, type your ideal video voiceover and let AI create a flawless voiceover that explains your video well.
This is a great video solution if you’re trying to whip up a group presentation by collecting information from different team members as it can help you make a consistent and high-quality video. It’s also super useful if you’re hosting an online learning session, webinar or creating a demo video.
3. Video presentation with talking head
Wait, what’s a “talking head”? It simply refers to when a webcam recording is inserted into a presentation video to make it easy to follow. This may be bad news for the camera-shy presenters out there–adding your friendly face captures the attention of your audience while building interest and trust in your presentation.
The good news is that such videos are super easy to create. Simply record your webcam footage online and layer it on top of your slideshow presentation video. Finetune the size of your webcam video, overlay the video in a corner or place it side-by-side with your presentation visuals. Don’t forget to add captions to make your video stand out even when played on mute, like on social media feeds.
Sales, explainer videos, and even video resumes can benefit from the personal touch of a talking head presentation video.
4. Animated presentation video
Evoke emotions from your viewers when you create an animated presentation video. While there are whiteboard animation softwares out there, that’s not the only option in this format. If you think a cartoon character could educate your class, tell your business story or simplify a big idea, consider this video format. If you’re wondering how that would suit your budget (or lack of), explore free cartoon stock videos and turn up your creativity to make them suit your needs.
Remember that choosing the right background music, adding your brand logo and adjusting the aesthetics of your stock video (like adding a filter) can truly help your video look custom-made.
How to plan your video presentation
Identify your main audience: Choose your key audience, whether it’s potential or existing customers, colleagues, or others. Map their needs, interests, and pain points to help you create valuable content.
List your key messages: Identify the main points to convey in the video, and prioritize them based on how relevant they are to your viewers. Make sure they match your video’s goal and are crafted in a way that’s useful to your main audience.
Consider your video’s lifetime: Consider where you’ll host, post, or share your video, how long it will stay current and relevant, and whether it will need revisions.
Decide your branding needs: Don’t miss a good branding opportunity. Think about adding your logo, brand colors or other elements that link your presentation video closer to your brand.
Create a script or storyboard: Structure matters! Plan out the content and flow of your video in advance to help achieve its goals. A storyboard is a shot-by-shot outline of what main frames in your video will look like. If your video only needs a voiceover, write a script so your visuals match the audio narration.
Consider audio and video tools: If you aim for a professional look and feel, choose your toolkit wisely. Clipchamp is an easy online tool that can record your screen and webcam, generate voiceovers, and even has royalty-free stock and video elements to confidently edit video presentations.
Branding for video presentations
Nothing says "we've got our act together" like using your company’s logos, colors, and fonts throughout your presentation videos to reinforce your brand recognition. Adding your branding shows attention to detail and commitment to quality, which makes a good impression on your viewers.
Incorporating strong calls-to-action (CTAs) with logos into presentation videos can encourage viewers to take the next step and boost your conversion rates. According to a study by Lucidpress, consistent branding can increase revenue by up to 23%. That's why Clipchamp makes it easy to customize videos to match your corporate identity using our brand kit feature, ensuring your presentation maintains a professional and cohesive look.
Use branded fonts and colors to make your slideshow videos and presentations easy to identify, no matter where they are shared.
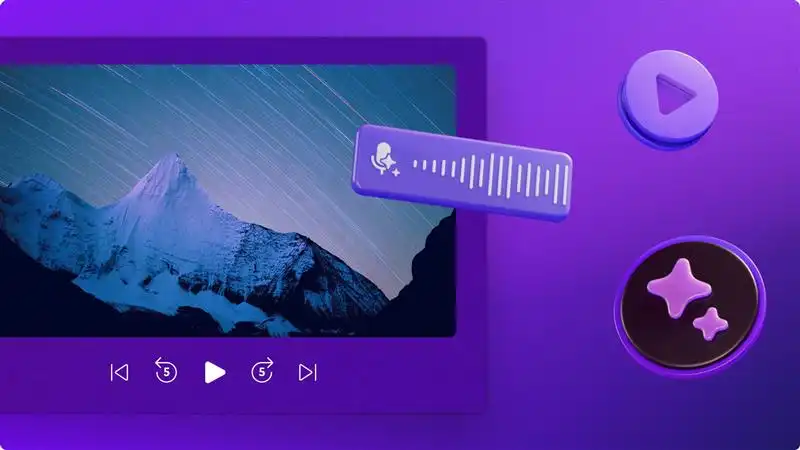
Crafting voiceovers for video presentations
A well-crafted voiceover script is key to delivering a clear and engaging presentation. Here are some tips to help you write an effective script for a presentation.
Keep your script conversational: write your script as if you’re speaking directly to the audience. Use simple language and avoid jargon to make your narration relatable and understandable. If you need help with writing, try these useful AI prompts to write video scripts.
Be concise: assume your viewers have short attention spans and keep your sentences short and to the point. Break down any complex information into bite-sized pieces.
Emphasize key points: repeat or summarize key points to highlight the most important information.
If you're recording your own voice, leverage the simplicity of the voice recorder feature in Clipchamp to produce voiceovers with ease. It's good to practice your delivery to sound more natural and confident during the actual recording.
Voice recordings not your thing? Try our AI voiceover generator instead.
How to create an engaging video presentation
Step 1. Create video slides or record your screen and webcam
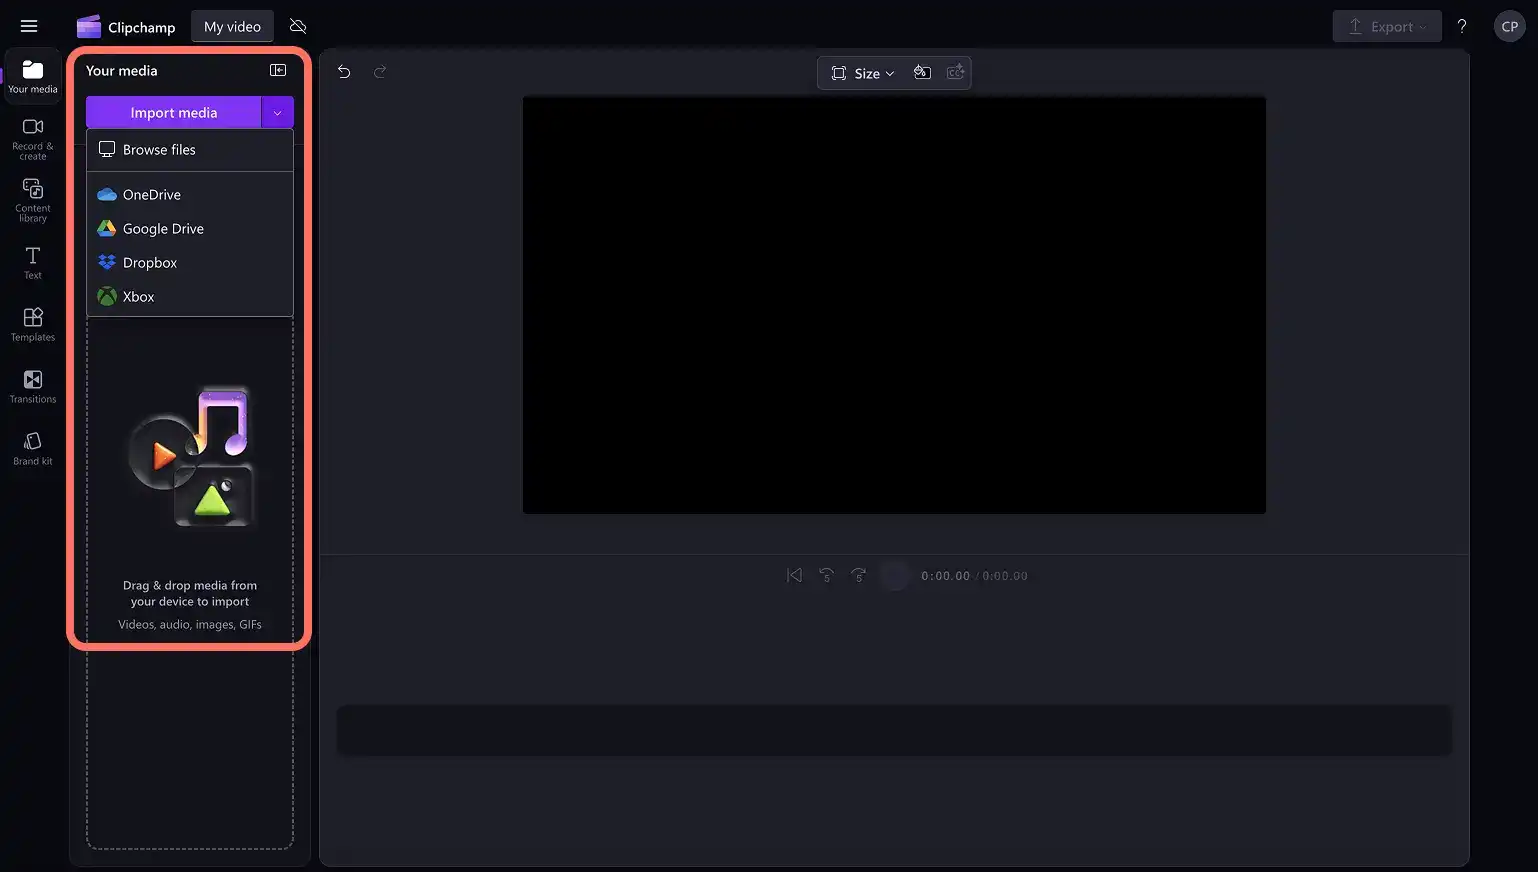
To import your own presentation videos, photos, and audio, click on the import media button in the your media tab on the toolbar to browse your computer files, or connect your OneDrive.
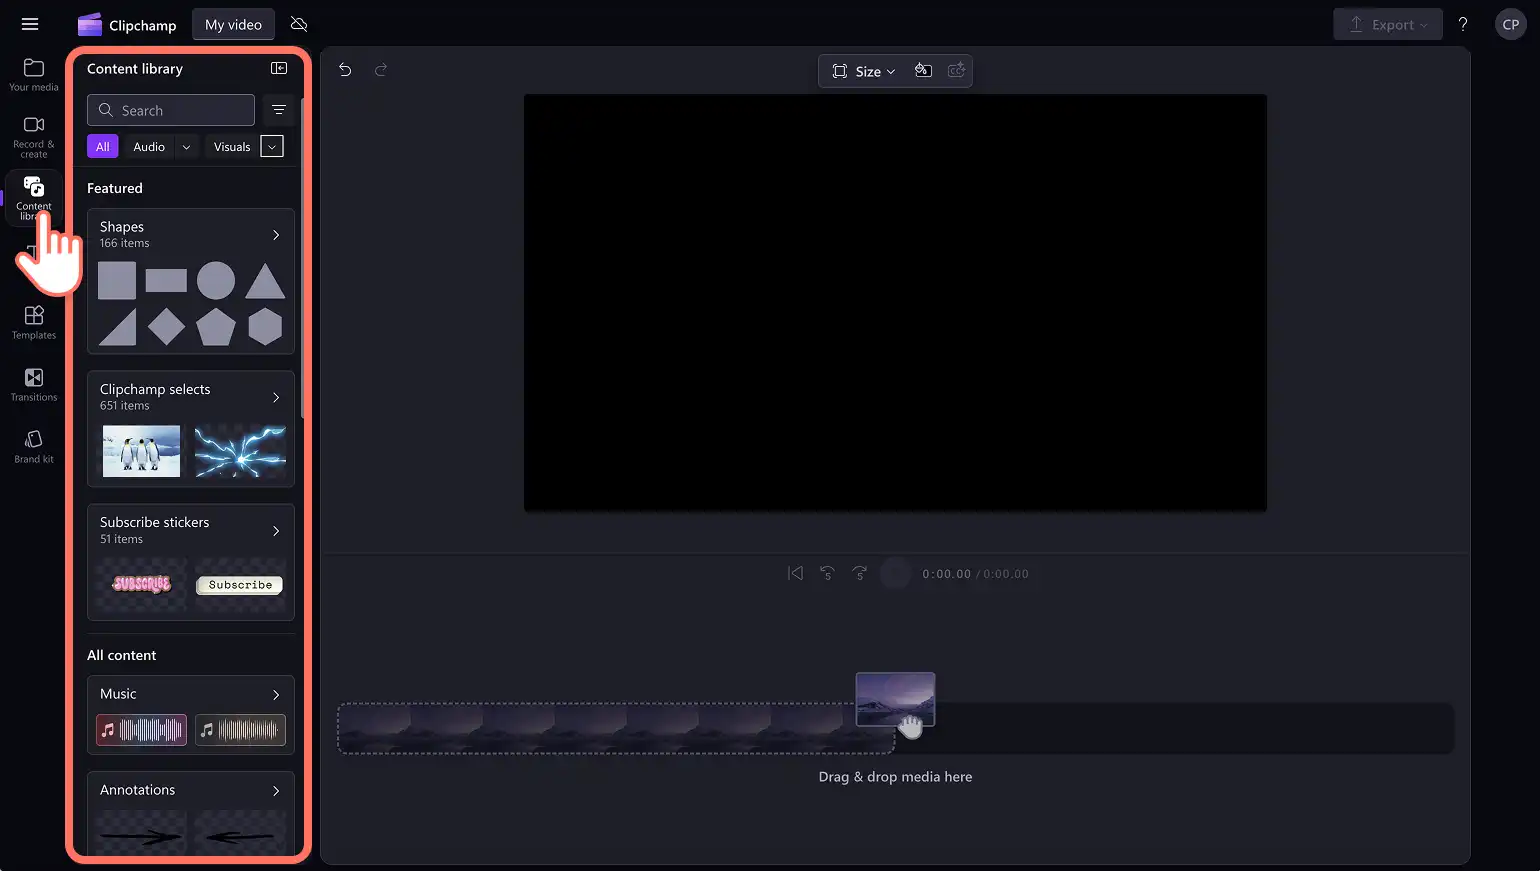
You can also use free stock media like video clips, photos, video backgrounds, and GIFs. Click on the content library tab on the toolbar and click on the visuals drop down arrow, then videos, photos, or backgrounds. You can also use the search bar to search through the different stock categories.
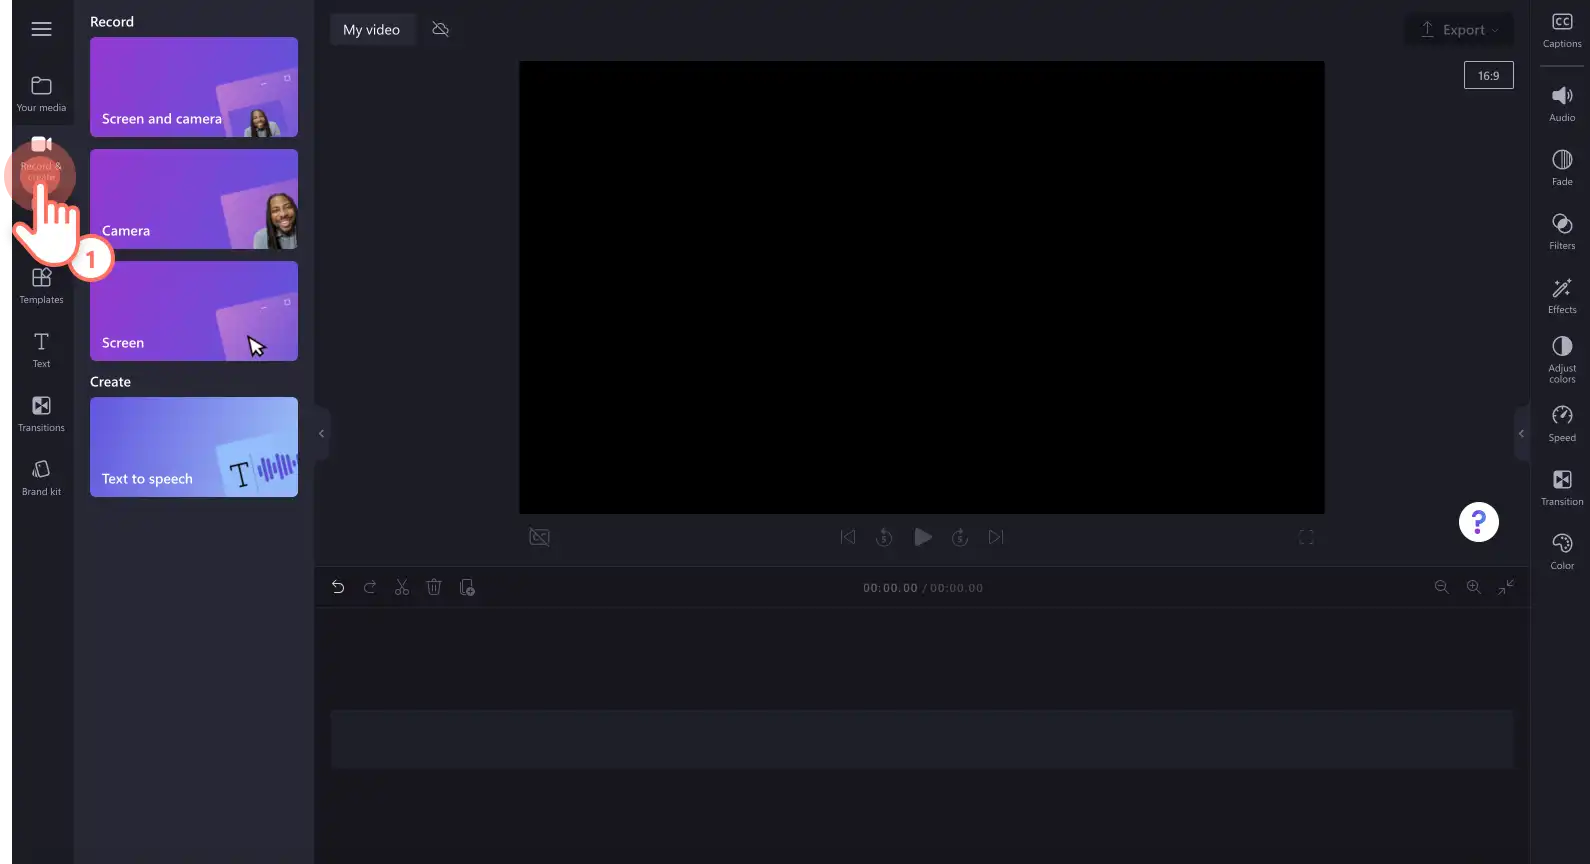
If you would like to record your presentation, click on the record & create tab on the toolbar, then record using either screen and camera, camera, screen or audio options.
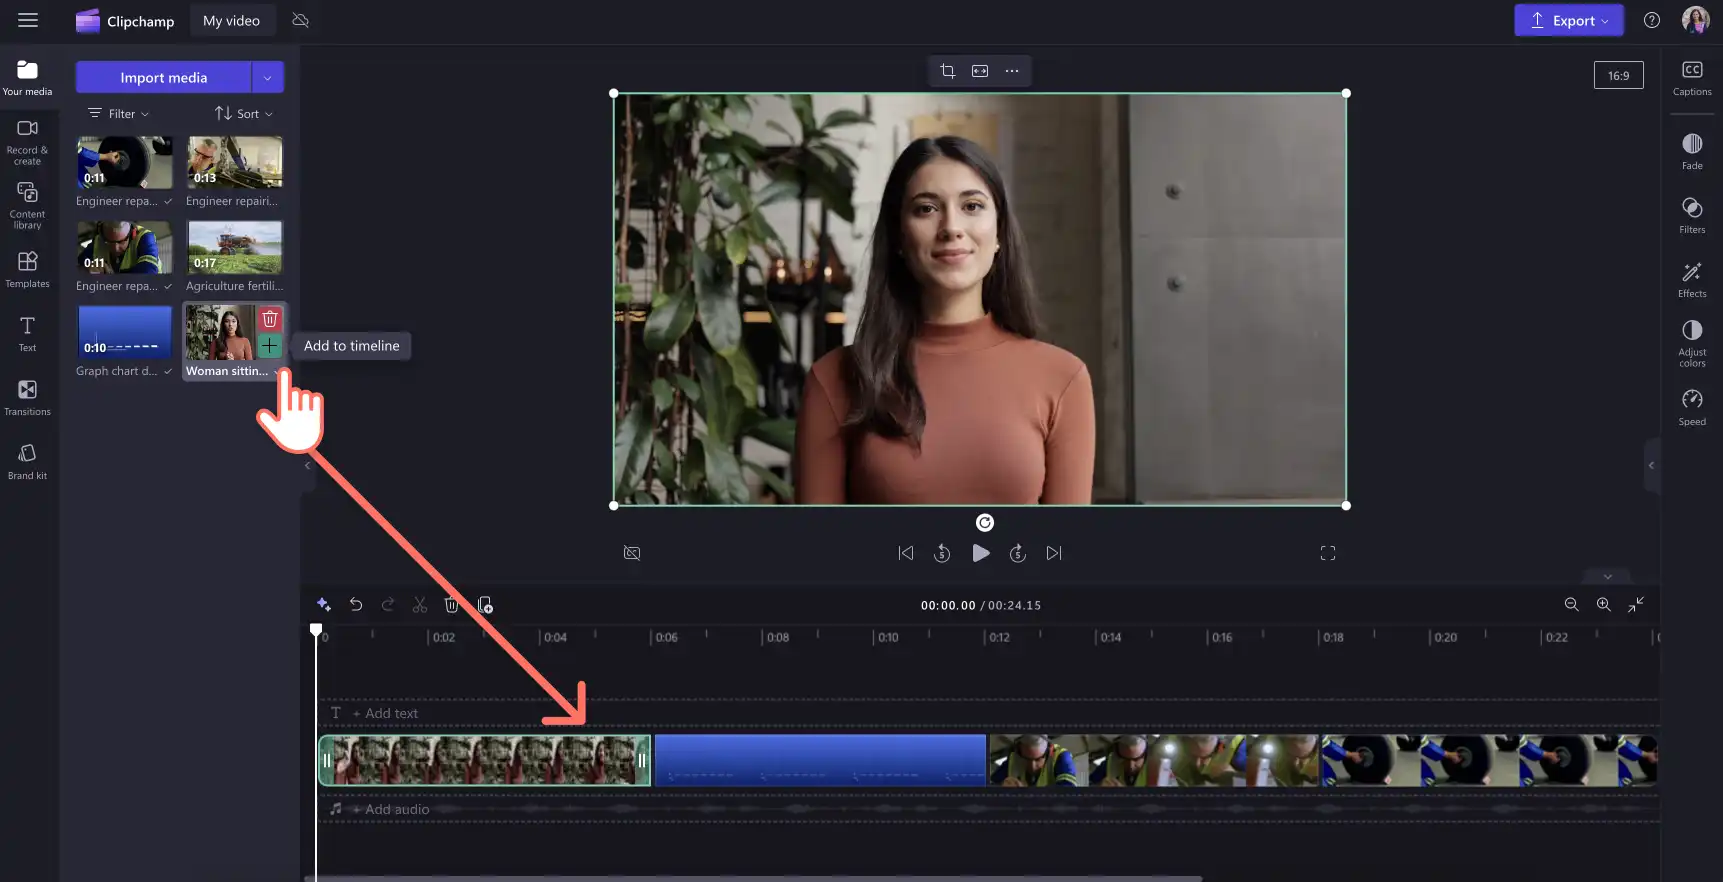
Drag and drop your media onto the timeline side-by-side to create a slideshow video.
Step 2. Edit your video presentation
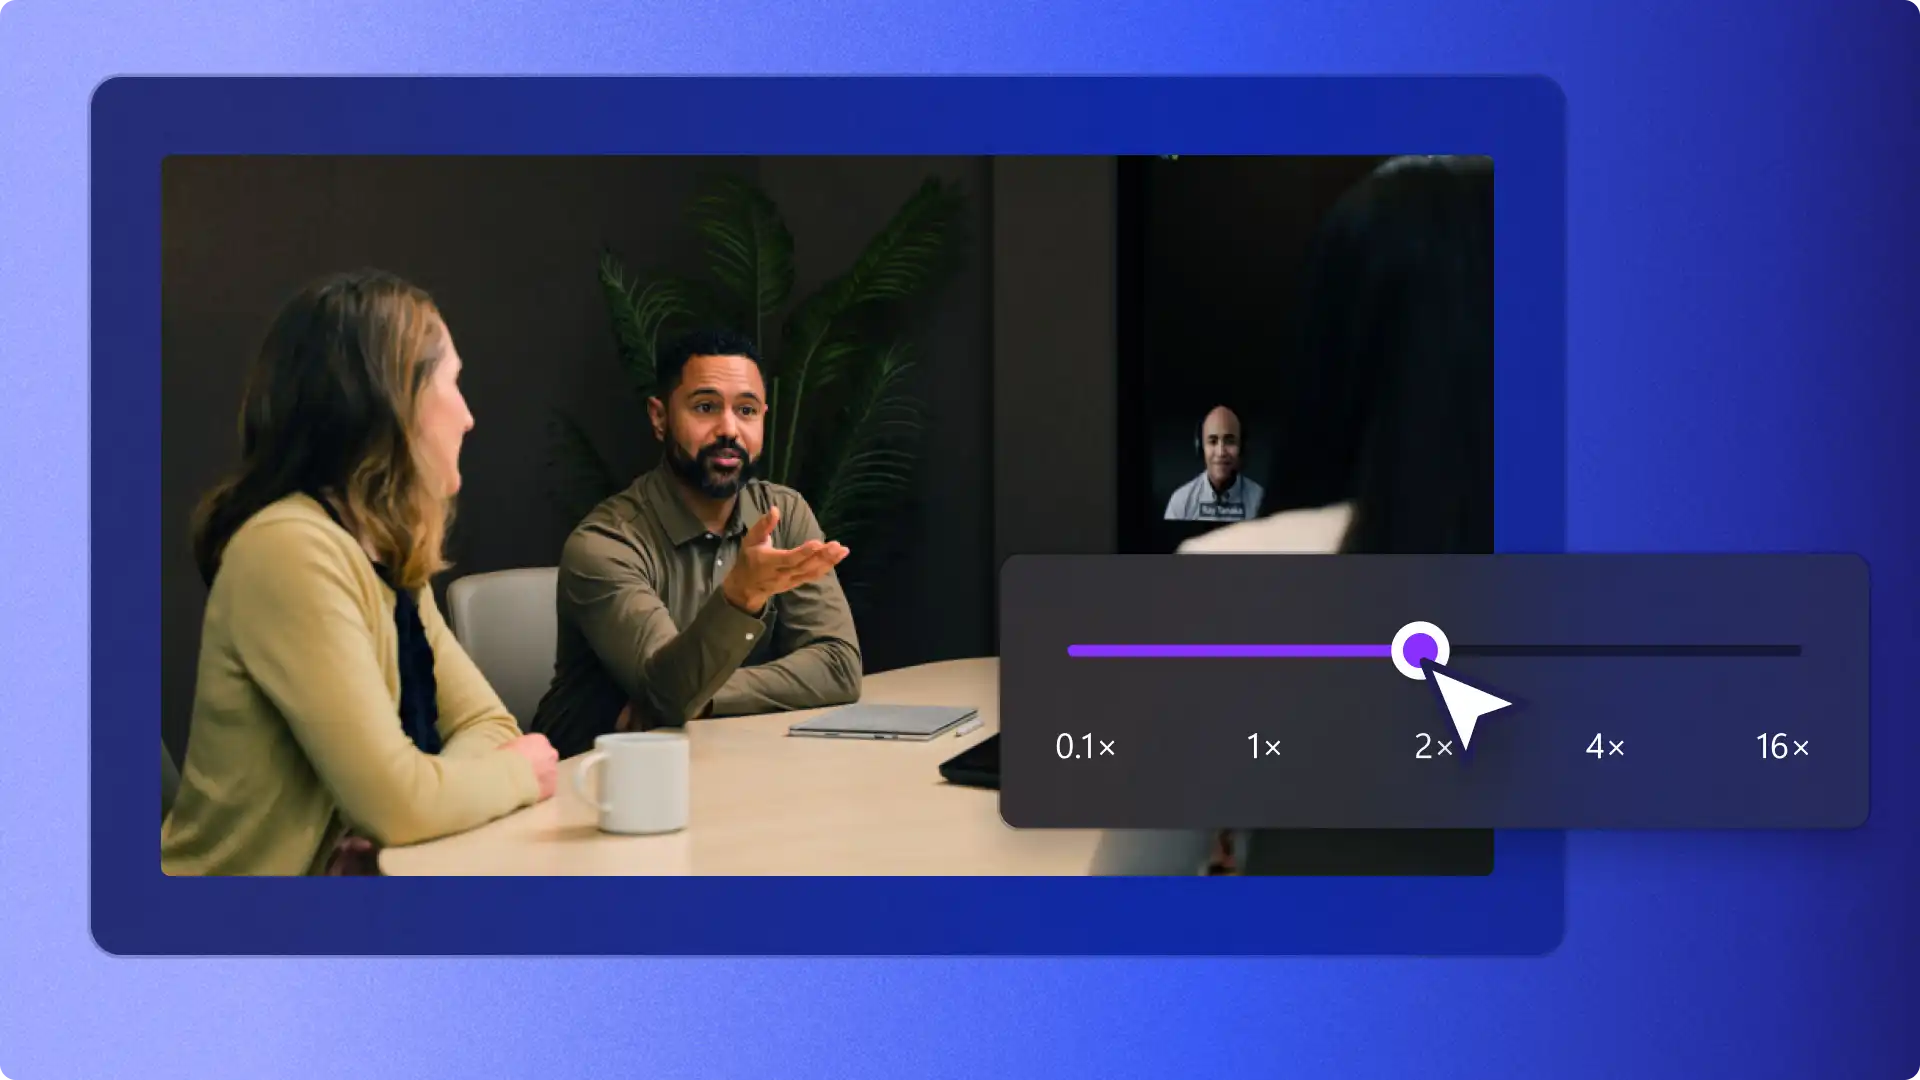
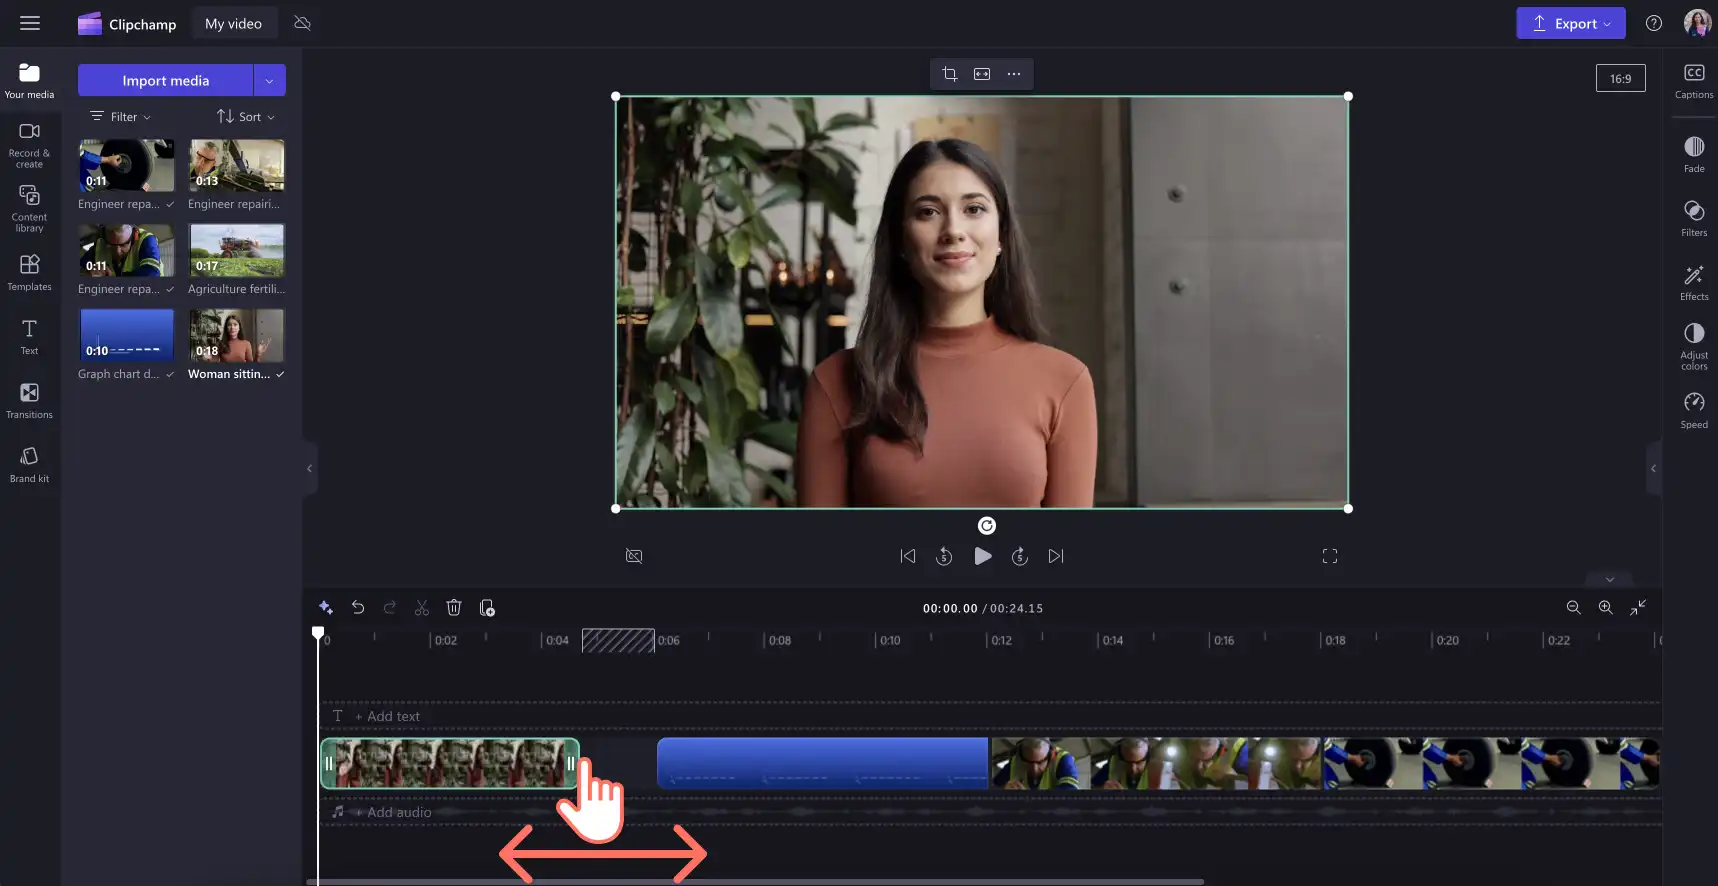
To trim the length of your video, click on the video on the timeline so it’s highlighted. Move the handles to the left of the timeline to trim the video length. If you trim too much footage off your video, just drag the handle back to the right to recover your footage.
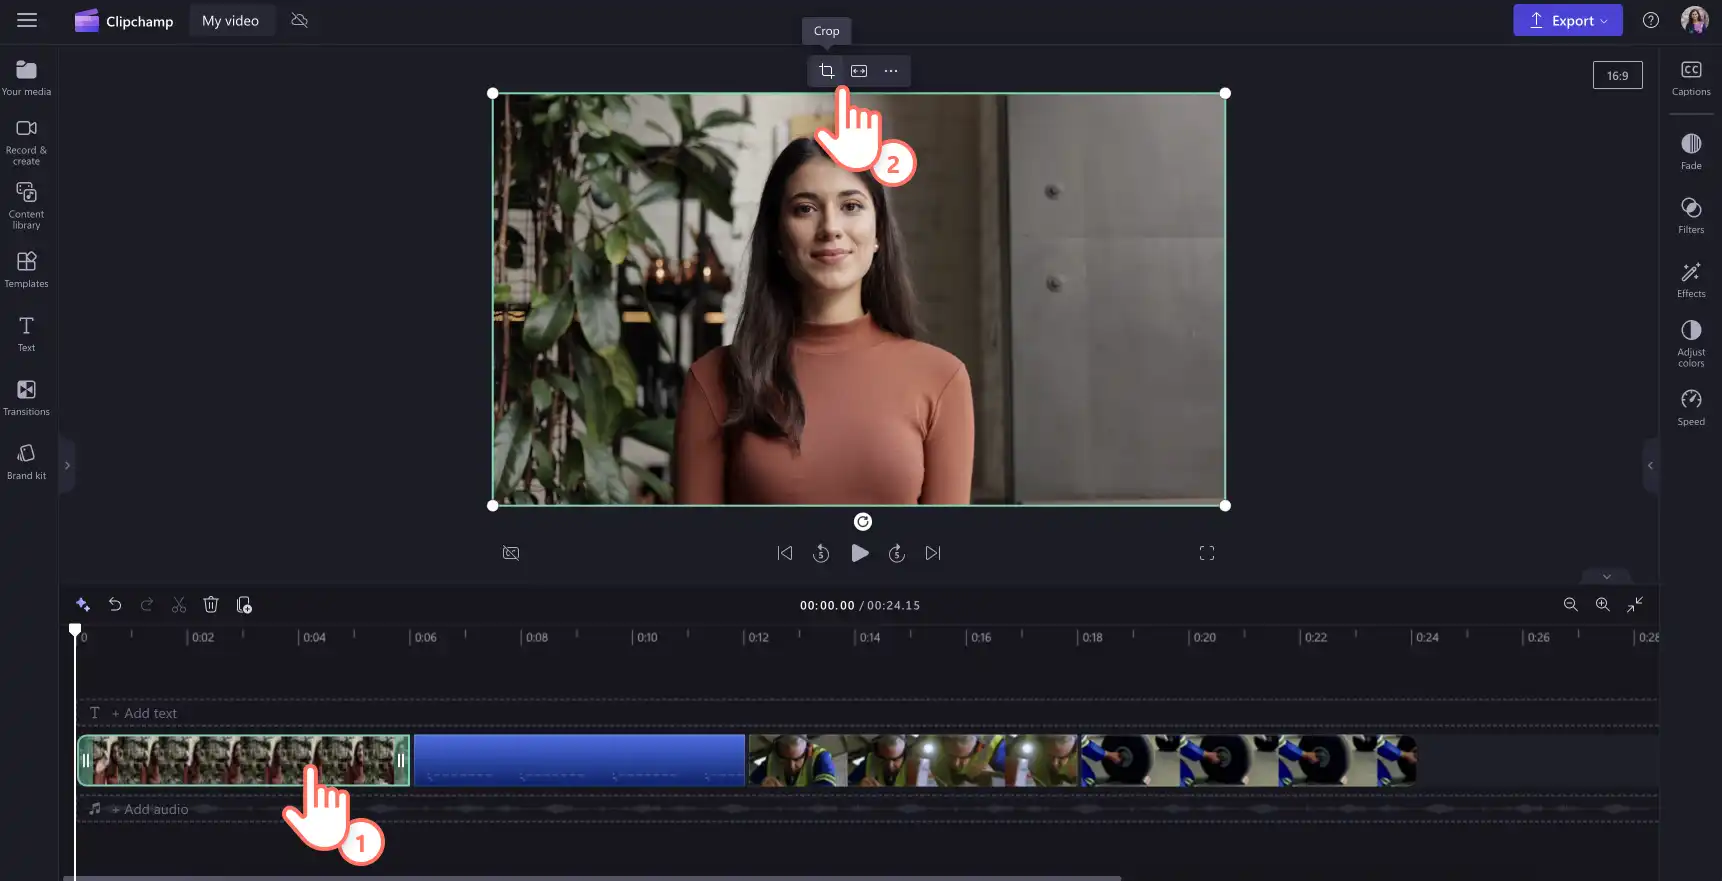
To crop your assets, click on the video so it’s highlighted on the timeline, then click on the crop button on the floating toolbar. Here, you can freely crop away unwanted areas of your video using the cropping handles. Click on the done button when you’re finished.
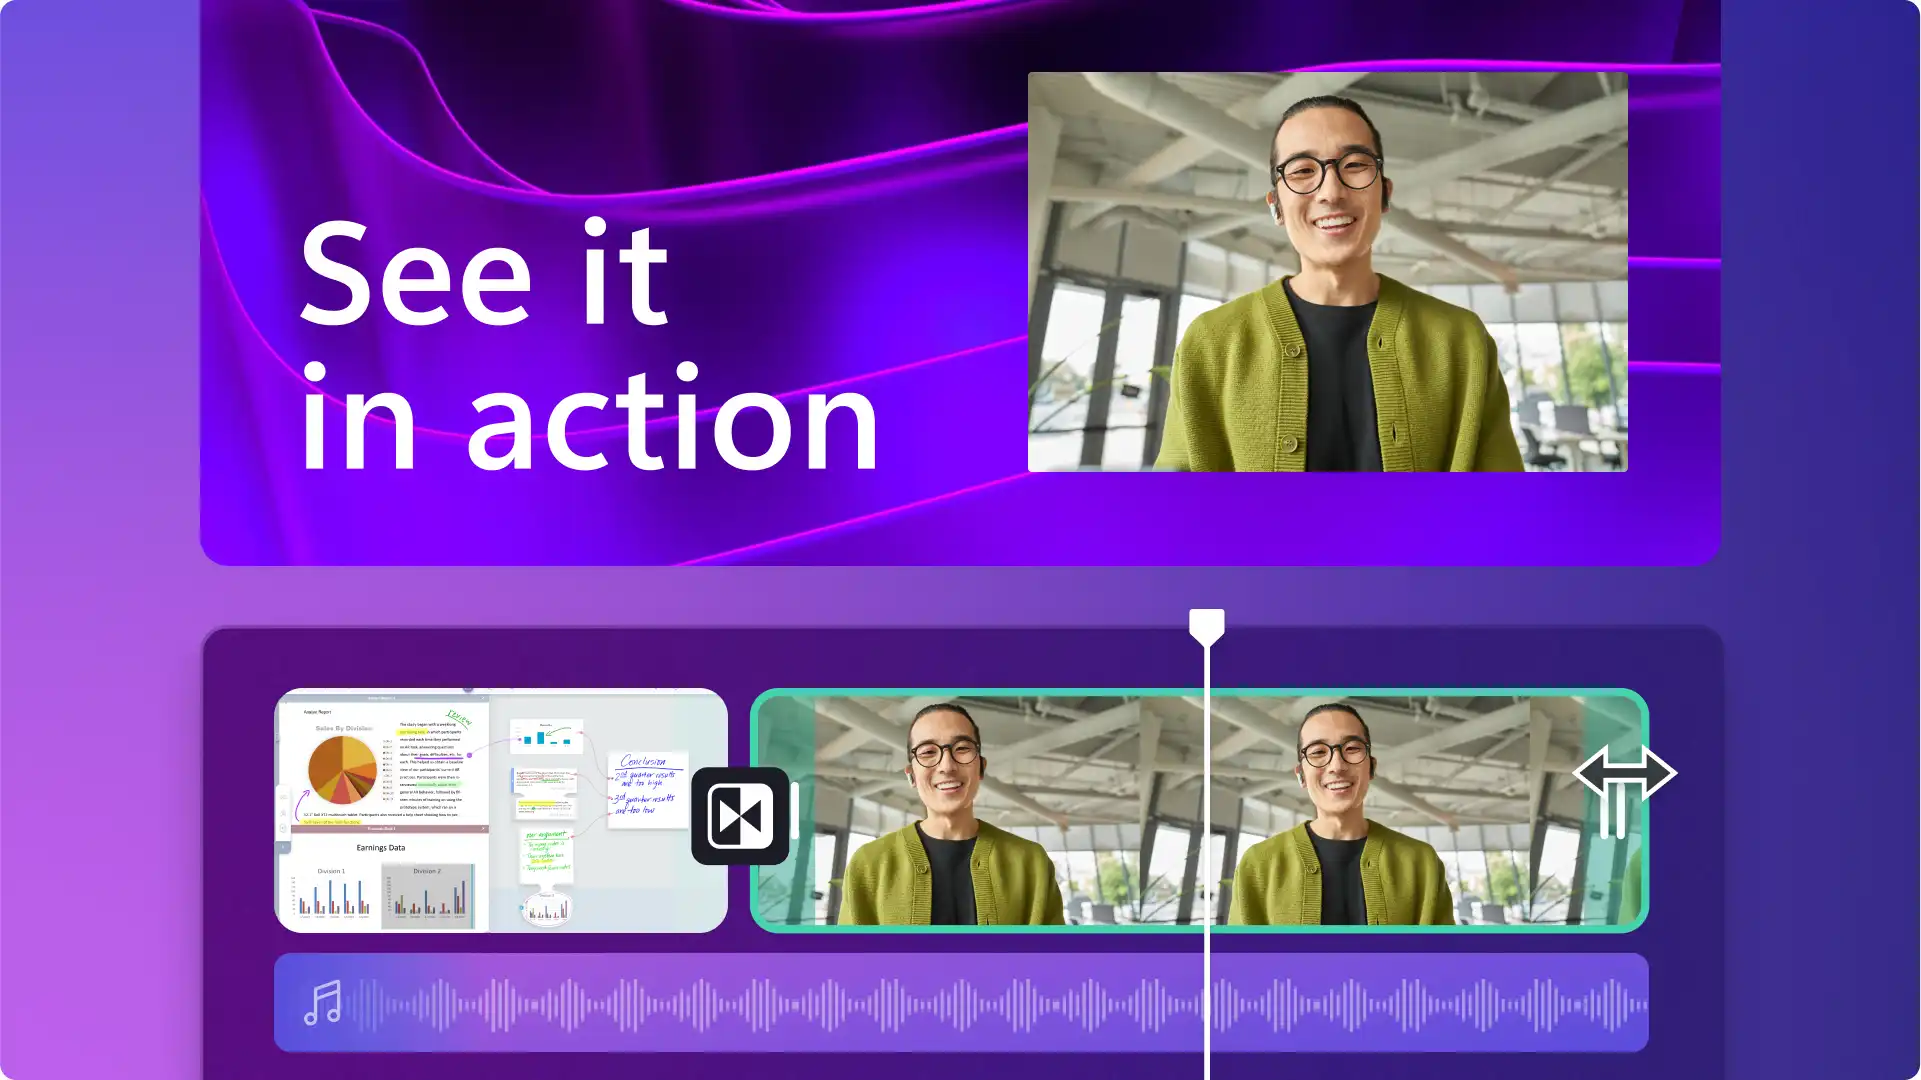
Step 3. Add transitions, animated text and stickers
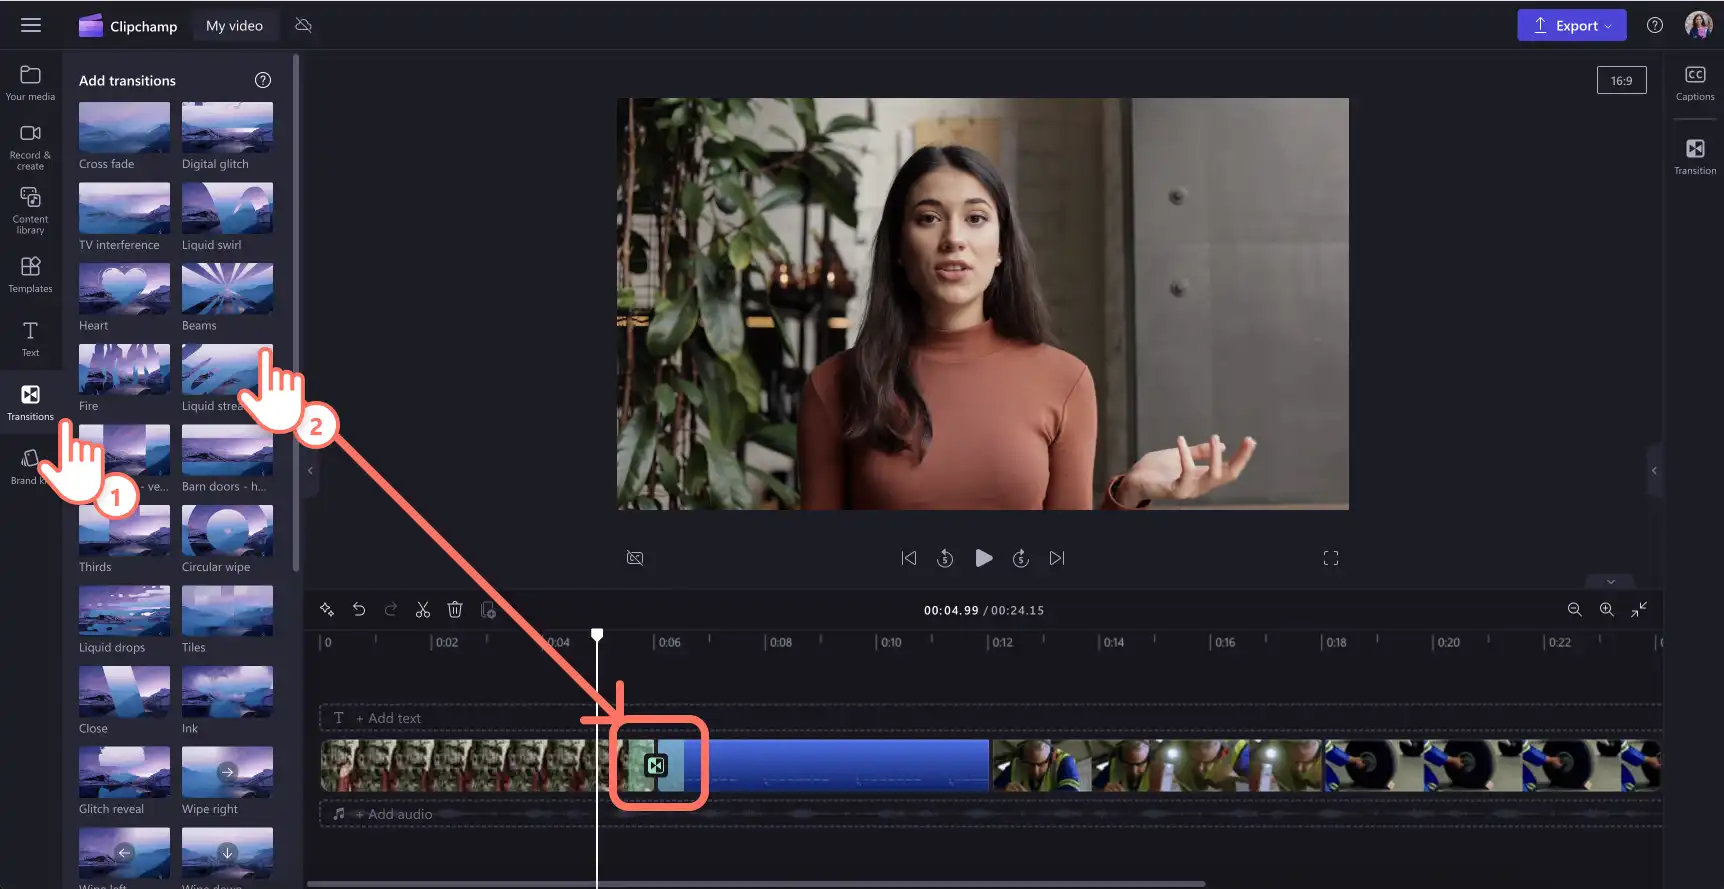
Add transitions between clips by clicking on the transitions tab on the toolbar. Drag and drop a transition onto the timeline between two videos. Repeat this process for the rest of your videos added to the timeline.
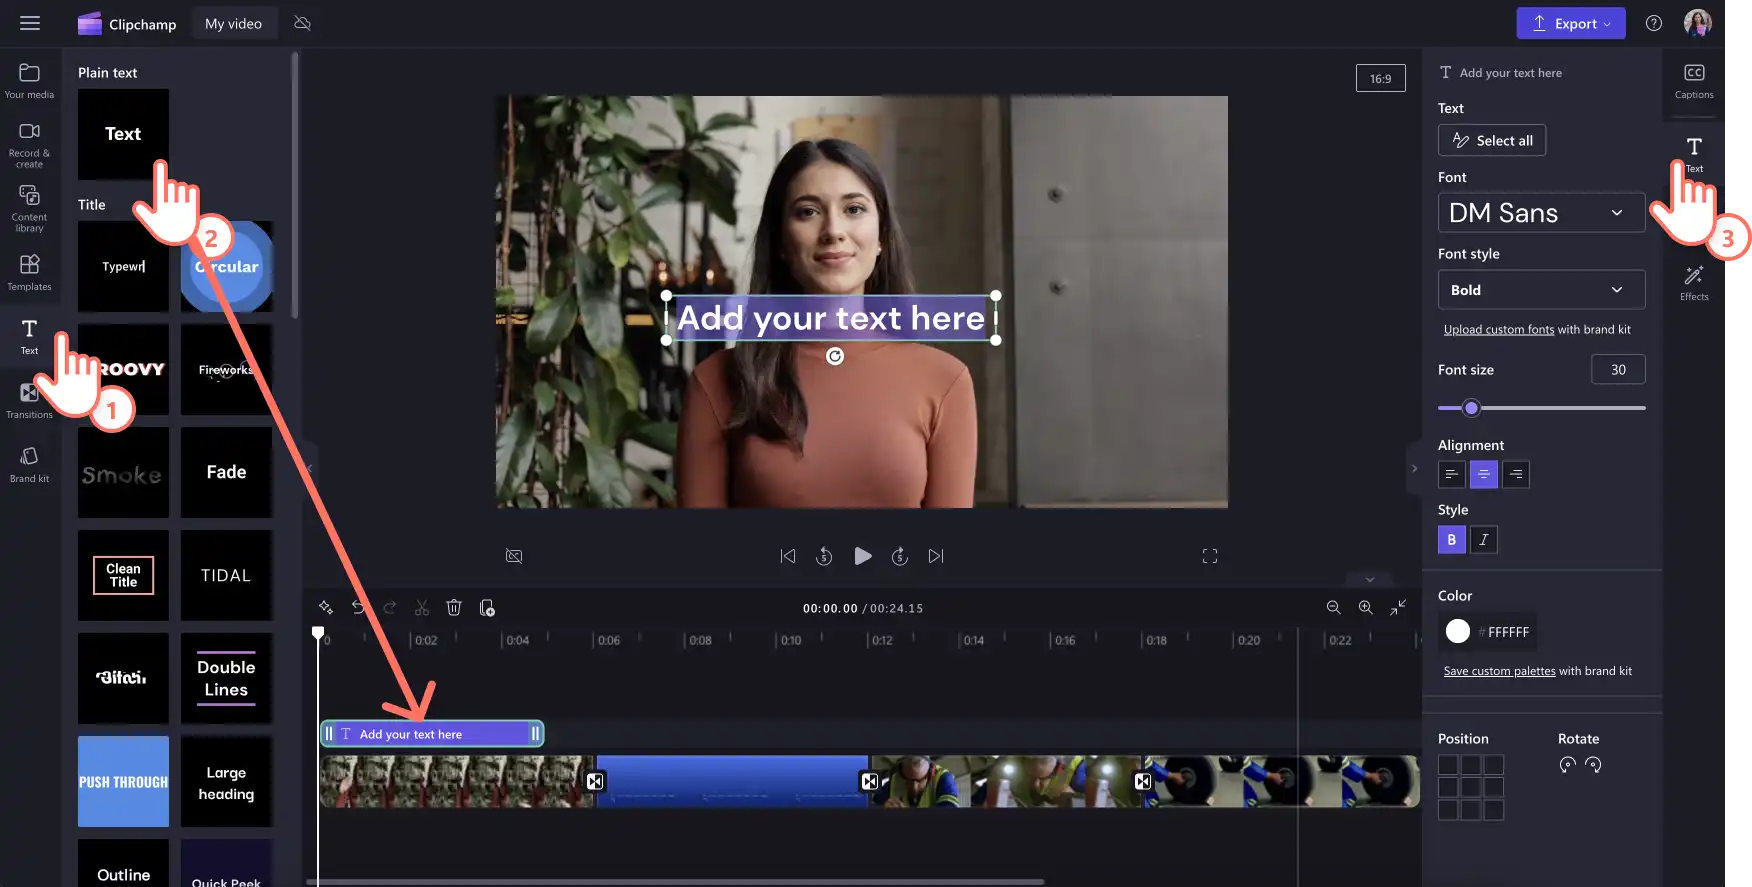
Place text and titles on your video by clicking on the text tab on the toolbar. Drag and drop a title onto the timeline above your video. Use the text tab on the property panel to customize your title.
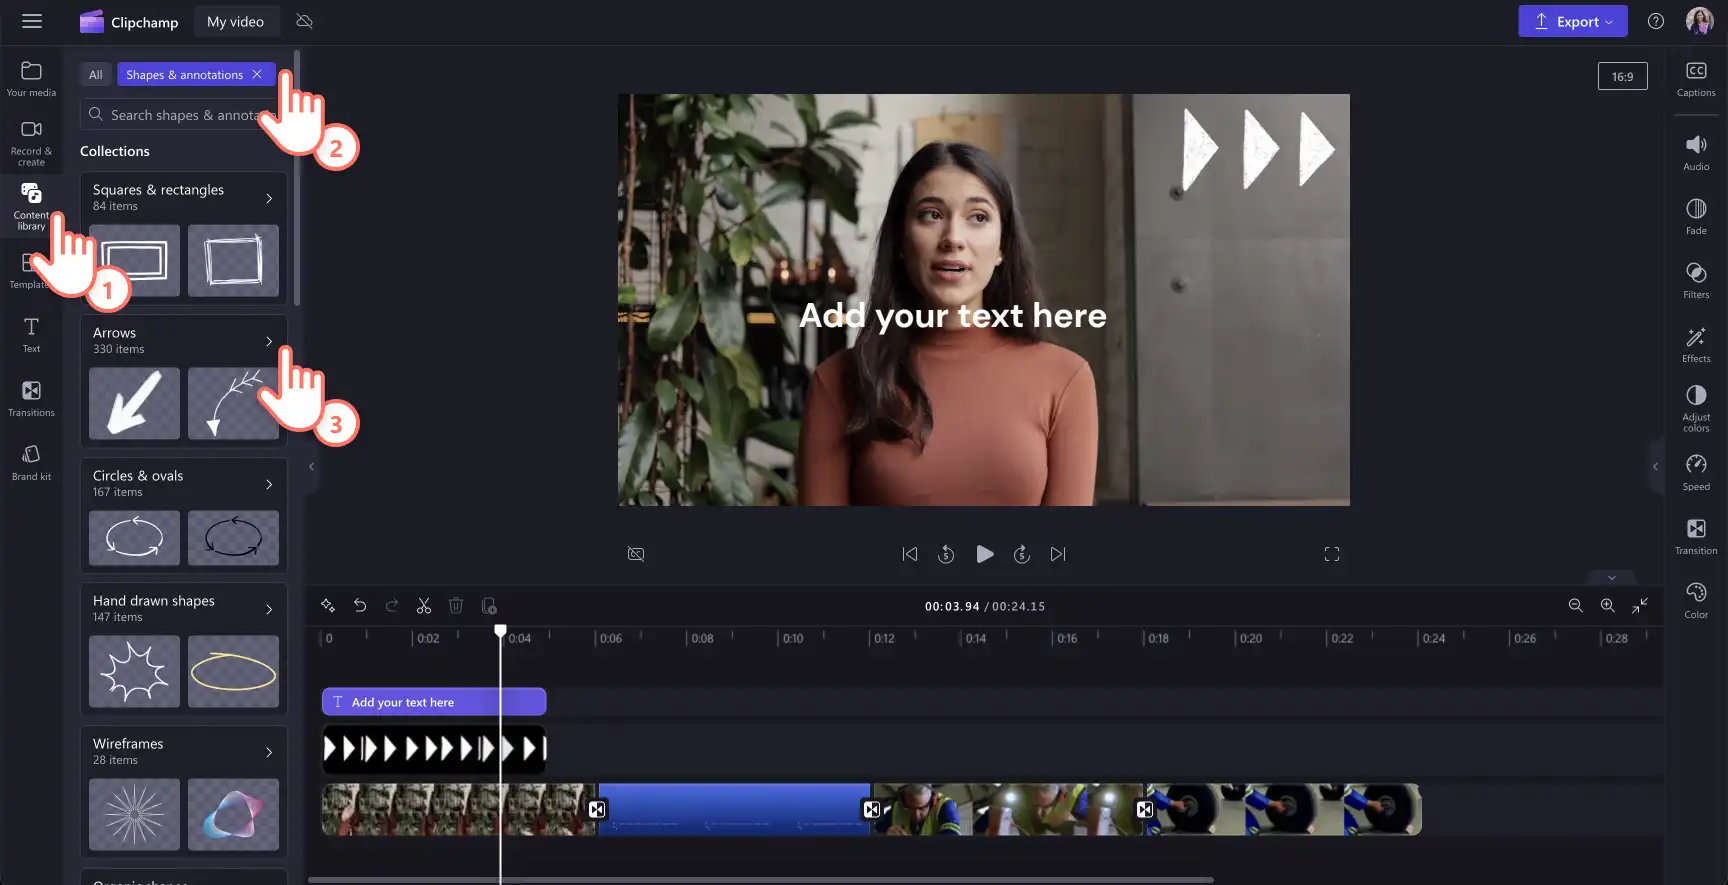
Overlay stickers onto your video by clicking on the content library tab on the toolbar. Next, click on the visuals drop down arrow, then select stickers, shapes & annotations, frames & borders, or overlays. Search through the categories then drag and drop an asset onto the timeline above your video.
Step 4. Preview and save your video presentation
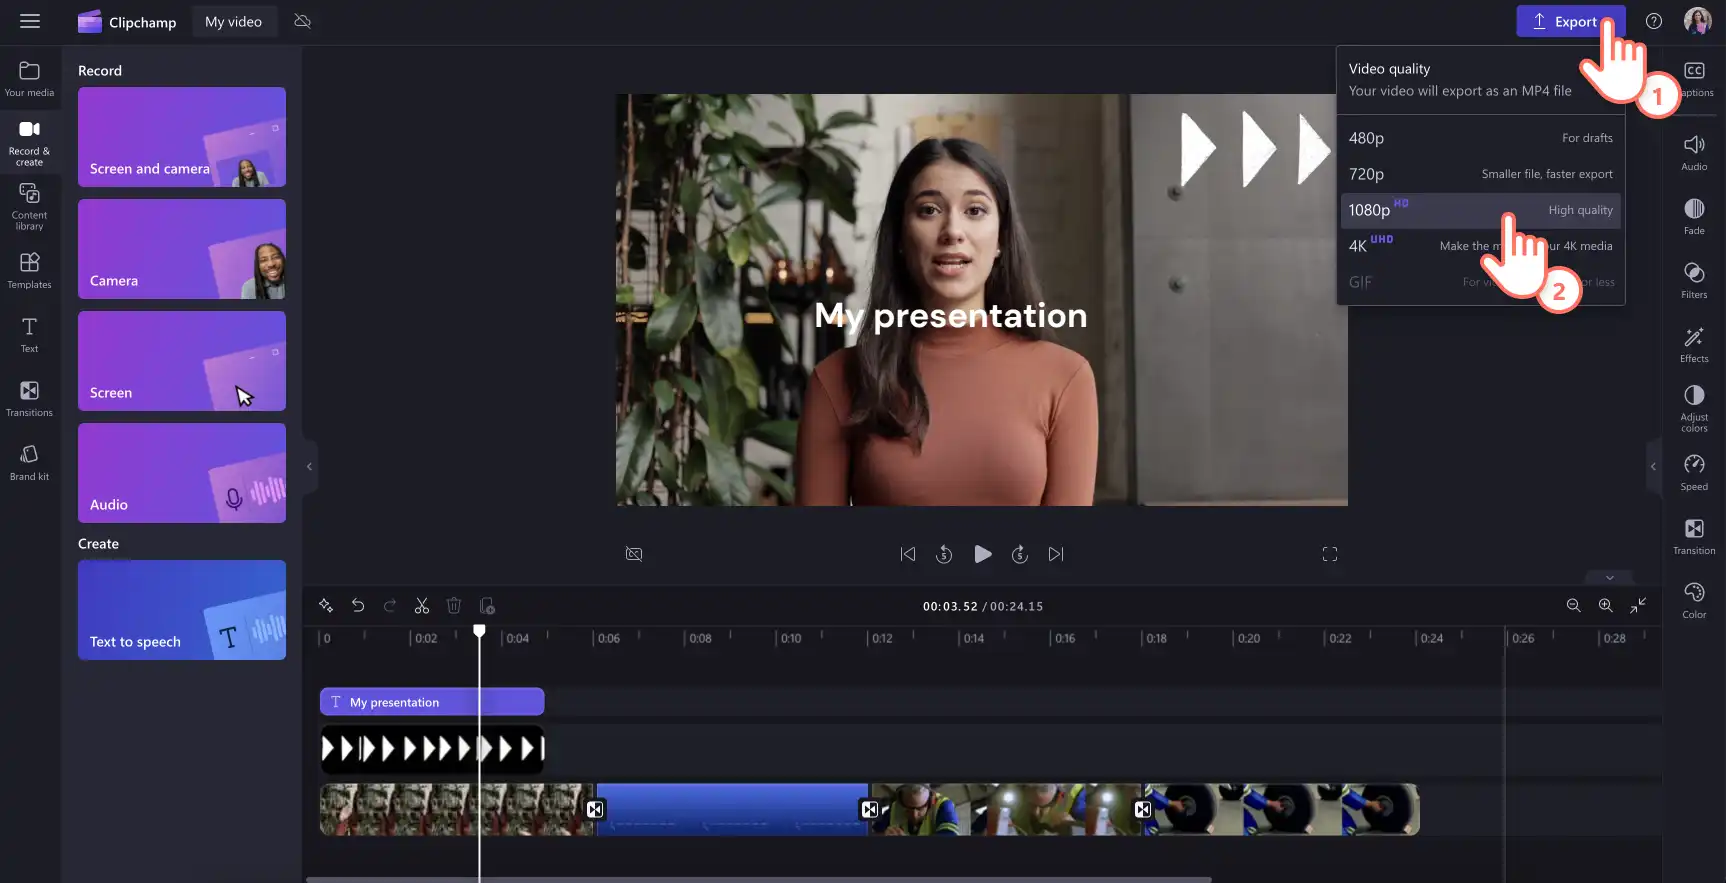
Before saving your new video, make sure to preview using full-screen mode. When you’re ready to save, click on the export button and select a video resolution. For the best quality, we recommend saving all videos in 1080p. Paid subscribers can save in 4K video resolution.
Downloading format options for video presentations
Once your video presentation is complete, it's important to know how to export and share it effectively. Clipchamp offers multiple exporting formats such as MP4 and GIF.
We recommend saving video presentations in 1080p video resolution for high-quality playback wherever you choose to share it, including social media, website, and email. You can also explore different exporting options (like seamless OneDrive integration) in Clipchamp to find the right balance between quality, convenience, and file size.
Repurposing video presentations
Get the most bang for your video presentation buck by repurposing it for different uses. Here are some ideas.
Presentation teaser
Create a short highlight video from your presentation to share with external customers or internal employees. This gives them a sneak peak of what to expect from attending the meeting or watching the video presentation.
Embed into email campaigns
Embed your video presentation into newsletters to provide additional value to your readers. Repurposing content in this way extends its reach and impact.
Video clips for websites
Trim and create video snippets that could support users searching for information on your website. This can also drive traffic back to your full presentation.
Bonus tips to make your video presentations stand out
Adjust the colors or apply a filter to help your webcam videos look and feel consistent, especially if you are combining webcam footage from more than one speaker.
Share additional information to support your visuals, from locations, names of speakers, or key takeaways using animated lower thirds.
Highlight important sections in your screen recording using a colored shape like a hand drawn circle to give your presentation a polished look.
Choose presentation background music that complements your video goals and doesn’t overpower the video narration, if any.
Use an intro and outro slide to make a lasting impression. It can be as simple as a logo animation.
Add captions to your video to make it accessible and easy to view even when on mute.
Embed a YouTube video in Google Slides so you don't need to exit your presentation or open a new window/tab.
Frequently asked questions
Can I turn my PowerPoint into a video presentation?
Yes, you can save your PowerPoint presentation as an MP4 file directly or use the screen recorder in Clipchamp to record your screen instead. When you’re happy with the recording, you can edit it in the timeline.
How to end a video presentation?
It depends on your video’s goal. Corporate presentations usually end with a reminder of the brand name or animated logo, and some call-to-actions to learn more on the website or email the contact person.
Easily create captivating video presentations in Clipchamp and share your video with ease on social media or OneDrive.
Learn more ways to make workplace videos by turning a PowerPoint into video with AI or get inspired with these great explainer video examples.
Start editing with Clipchamp for free or download the Clipchamp Windows app.
Heads up! The screenshots in this article are from Clipchamp for personal accounts. The same principles apply to Clipchamp for work and school accounts.